文章留言功能的最後一步,來做留言列表和刪除留言,把上篇新增的留言秀出來!
先來新增一個留言列表組件:
resources/js/Lightning/CommentList.vue
<template>
  <ul class="divide-y">
    <li class="flex py-6" v-for="comment in comments">
      <div>
        <inertia-link :href="`/user/${comment.commenter.id}`" class="inline-block">
          <img :src="comment.commenter.avatar" class="rounded-full w-8 h-8">
        </inertia-link>
      </div>

      <div class="flex-1 ml-3 md:ml-4 min-w-0">
        <inertia-link :href="`/user/${comment.commenter.id}`" class="font-medium hover:text-purple-500">
          {{ comment.commenter.name }}
        </inertia-link>

        <div class="flex space-x-4 mt-1 text-sm text-gray-500">
          <div>
            <icon class="w-4 h-4 text-purple-500" icon="heroicons-outline:clock" />
            {{ comment.created_at }}
          </div>
        </div>

        <markdown class="mt-3" :value="comment.content" />
      </div>
    </li>
  </ul>
</template>

<script>
import Markdown from '@/Components/Markdown'

export default {
  components: {
    Markdown
  },
  props: {
    comments: Array
  }
}
</script>
引入留言列表:
resources/js/Pages/Post/Show.vue
<template>
  ...
  <div class="card p-6 md:p-8">
    <h3 class="text-2xl font-semibold">留言</h3>
    ...
    <comment-list :comments="comments" class="mt-6 -mb-6" />
  </div>
  ...
</template>

<script>
import CommentList from '@/Lightning/CommentList'

export default {
  components: {
    CommentList
  },
  props: {
    comments: Array
  }
}
</script>
然後在 ShowPost Controller 就可以傳留言列表給前端了。這次有學到教訓,事先預加載 with('commenter') 防止 N+1 問題:
app/Http/Controllers/Post/ShowPost.php
use App\Presenters\CommentPresenter;

public function __invoke(Post $post)
{
    ...
    return Inertia::render('Post/Show', [
        ...
        'comments' => fn () => CommentPresenter::collection(
            $post->comments()
                ->with('commenter')
                ->latest()
                ->get()
        )->get(),
    ]);
}
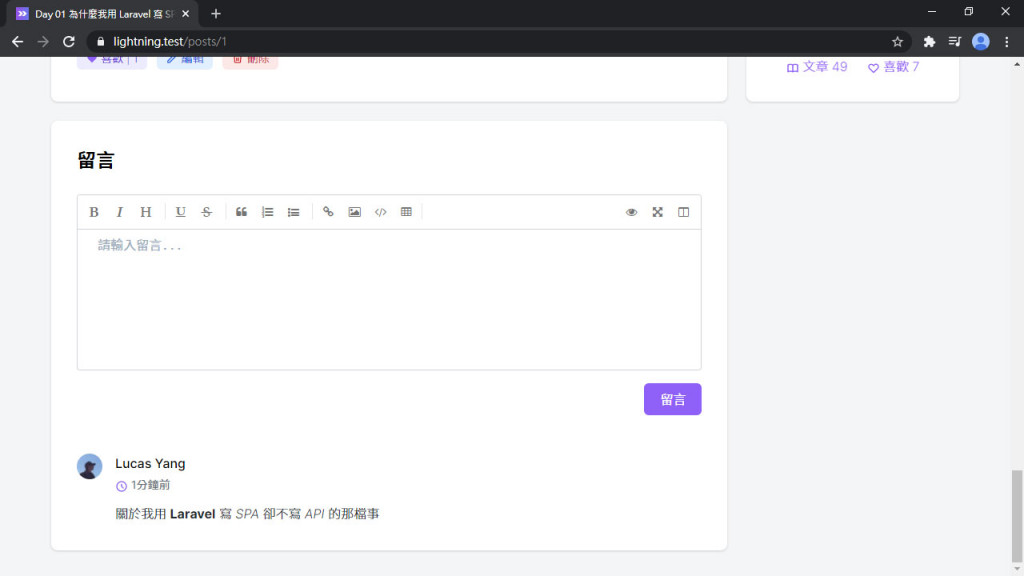
留言列表就出來了:
刪除留言也是要授權通過的用戶才能執行的操作。來新增一個 CommentPolicy:
php artisan make:policy CommentPolicy --model=Comment
這裡我們要授權給兩種人可以刪除,一種是留言的用戶,另一種是該留言的文章的作者:
public function delete(User $user, Comment $comment)
{
    return in_array($user->id, [
        $comment->post->author_id,
        $comment->commenter_id,
    ]);
}
然後在 CommentPresenter 加上 can.delete 的欄位:
app/Presenters/CommentPresenter.php
public function values(): array
{
    return [
        ...
        'can' => [
            'delete' => $this->userCan('delete', $this->resource),
        ],
    ];
}
刪除留言的邏輯:
app/Http/Controllers/Post/CommentController.php
public function destroy(Comment $comment)
{
    $this->authorize('delete', $comment);

    $comment->delete();

    return back();
}
在前端留言列表裡加上刪除按鈕:
resources/js/Lightning/CommentList.vue
<template>
  ...
  <div class="flex space-x-4 mt-1 text-sm text-gray-500">
    <div>
      <icon class="w-4 h-4 text-purple-500" icon="heroicons-outline:clock" />
      {{ comment.created_at }}
    </div>
    <a v-if="comment.can.delete"
      :href="`/comments/${comment.id}`"
      class="link inline-flex items-center"
      @click.prevent="destroy(comment)"
    >
      <icon icon="heroicons-outline:trash" />
      刪除
    </a>
  </div>
  ...
</template>

<script>
export default {
  methods: {
    destroy(comment) {
      if (confirm('確定要刪除該留言?')) {
        this.$inertia.delete(`/comments/${comment.id}`, {
          preserveScroll: true
        })
      }
    }
  }
}
</script>
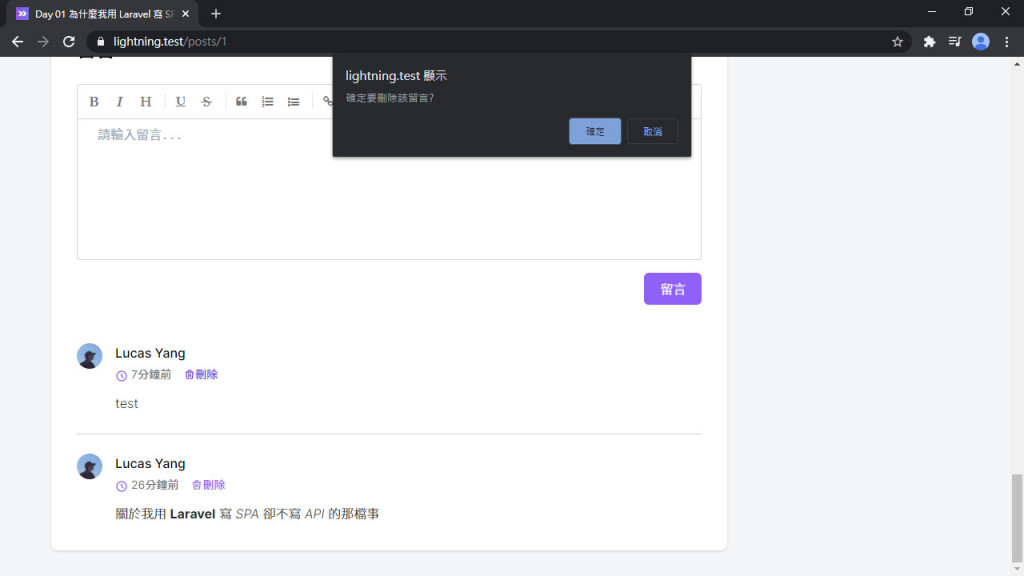
現在可以刪除留言啦:
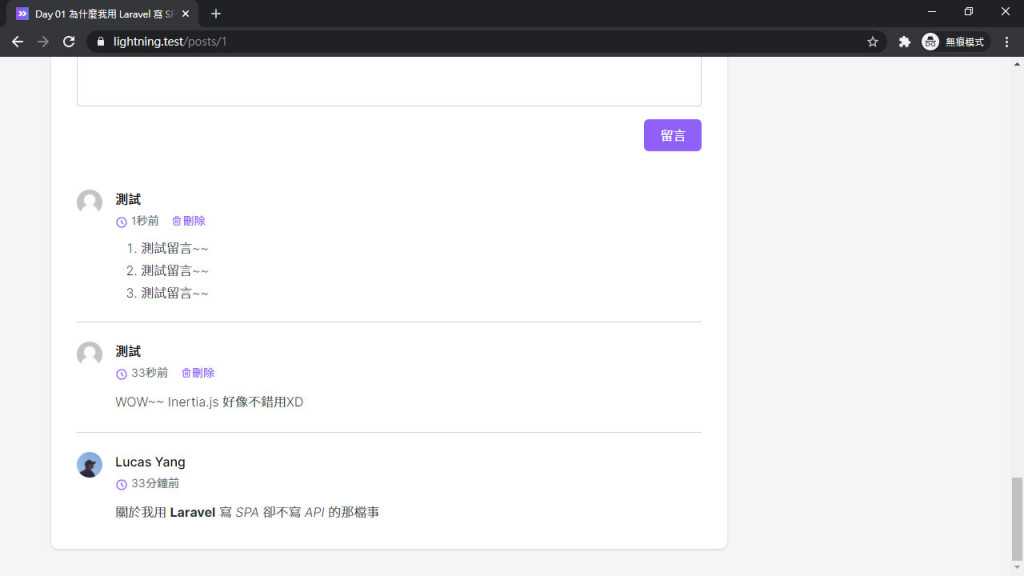
用另一個帳號登入測試留言,留完後只能刪除自己的留言:
但這時候...,又有重複 Query 的問題:
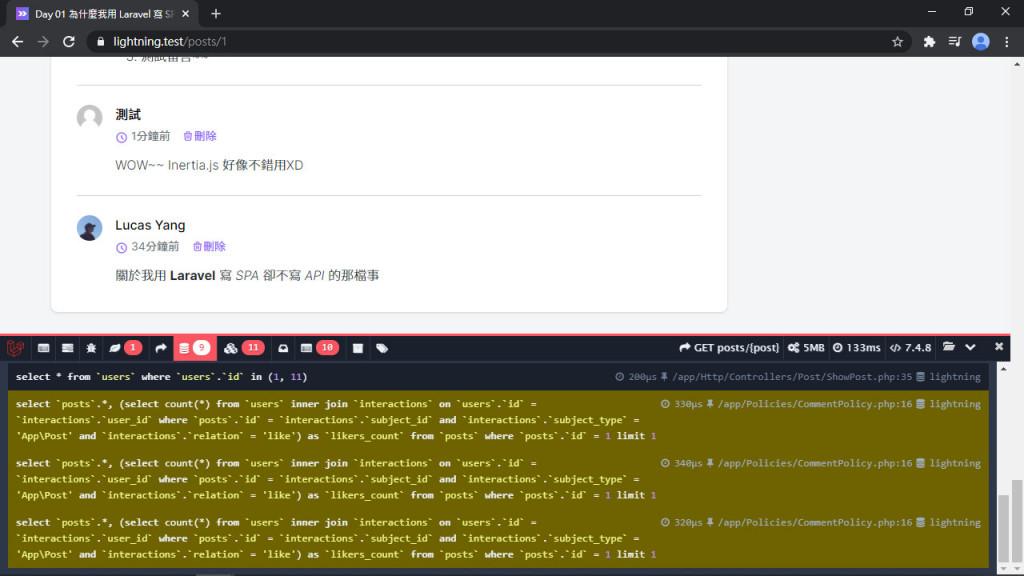
問題是出在剛才 CommentPolicy 裡的 $comment->post->author_id,在每筆留言都查詢一次文章。可是這個文章的 Model 明明已經有了,為什麼還要再去查詢呢?解決方法是用 setRelation(),把 Post Model 直接設定關聯給 Comment Model:
app/Http/Controllers/Post/ShowPost.php
public function __invoke(Post $post)
{
    ...
    return Inertia::render('Post/Show', [
        ...
        'comments' => fn () => CommentPresenter::collection(
            $post->comments()
                ->with('commenter')
                ->latest()
                ->get()
                ->each->setRelation('post', $post)
        )->get(),
    ]);
}
這樣就解決了 Laravel 的循環關聯問題了!
在新增留言後也可以使用部分重載,加上 only: ['comments', 'errors'] 就可以了:
resources/js/Lightning/CommentForm.vue
<script>
export default {
  methods: {
    submit() {
      ...
      this.$inertia.post(`/posts/${this.post.id}/comments`, this.form, {
        preserveScroll: true,
        only: ['comments', 'errors'],
        ...
      })
    }
  }
}
</script>
做了差不多後就來興沖沖的貼 Code,然後就看到我的 Vue 區塊是灰色的... (哭)
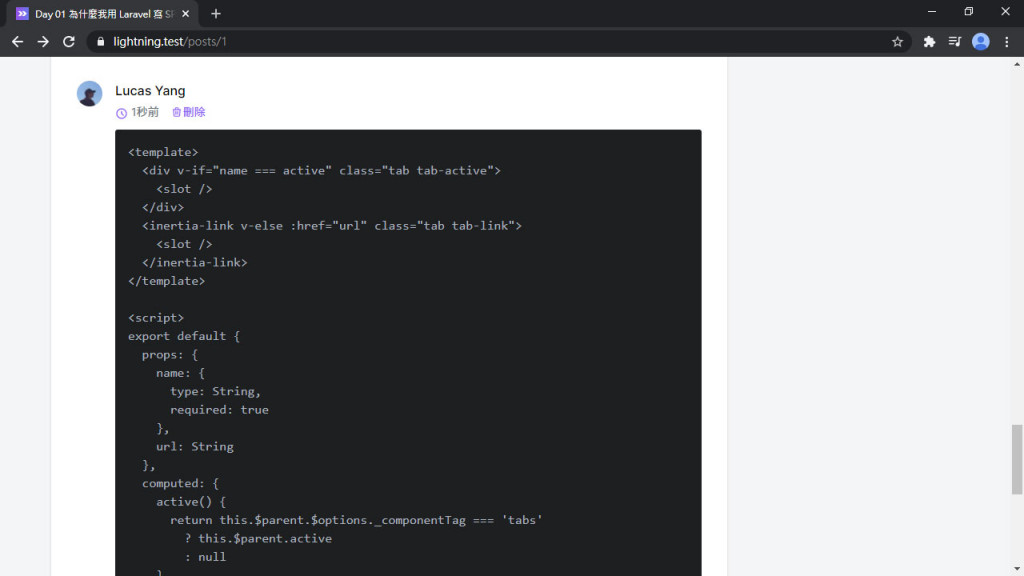
翻了原始碼才發現,Highlight.js 預設沒有包 Vue 的語法樣式。不過還是有套件可以用,把它裝起來吧:
yarn add highlightjs-vue
然後在 Markdown 組件裡引入 Vue 語法樣式:
resources/js/Components/Markdown.vue
<script>
import hljs from 'highlight.js'
import hljsDefineVue from 'highlightjs-vue'

hljsDefineVue(hljs)

...
</script>
現在,Vue 的程式碼區塊恢復了色彩~~:
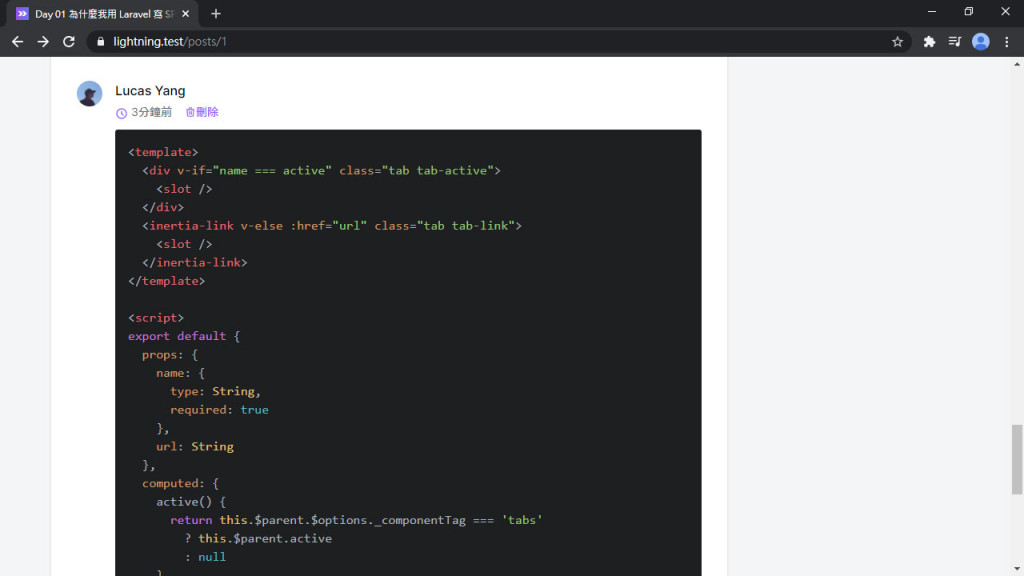
到目前為止,我們用 Laravel + Vue.js + Tailwind CSS + Inertia.js 做了 Lightning 這個簡單的部落格網站,完成了登入、註冊、用戶帳號編輯、發文、留言等功能,但現在只有我自己才能看這個網站。為了要把網站給其他人瀏覽,下篇我們將部署 Lightning 到 Heroku 上。 (想想就興奮啊!!)
Lightning 範例程式碼:https://github.com/ycs77/lightning
