話不多說,直接來開始今天的操作步驟吧~
0.1 準備好一個 Azure Account
0.2 建立好 Python 環境
0.3 打開 terminal (Powershell or CMD),輸入以下指令
pip install requests
1.1 前往 Azure Portal,並搜尋 QnA Maker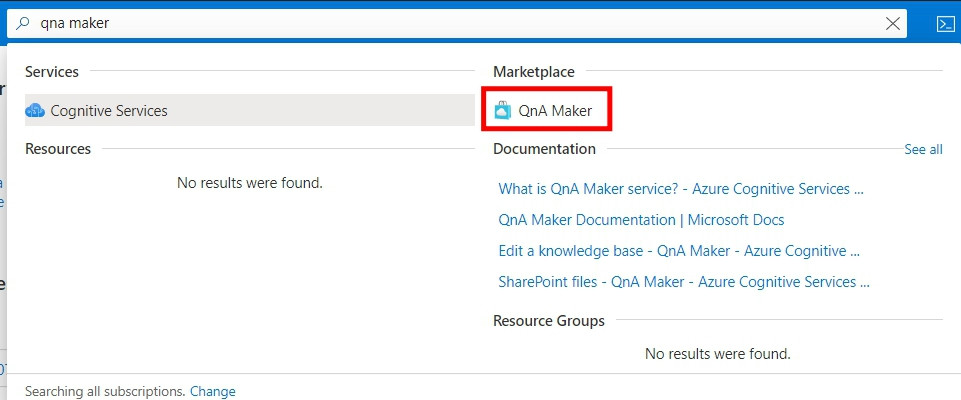
1.2 自己完成以下的設定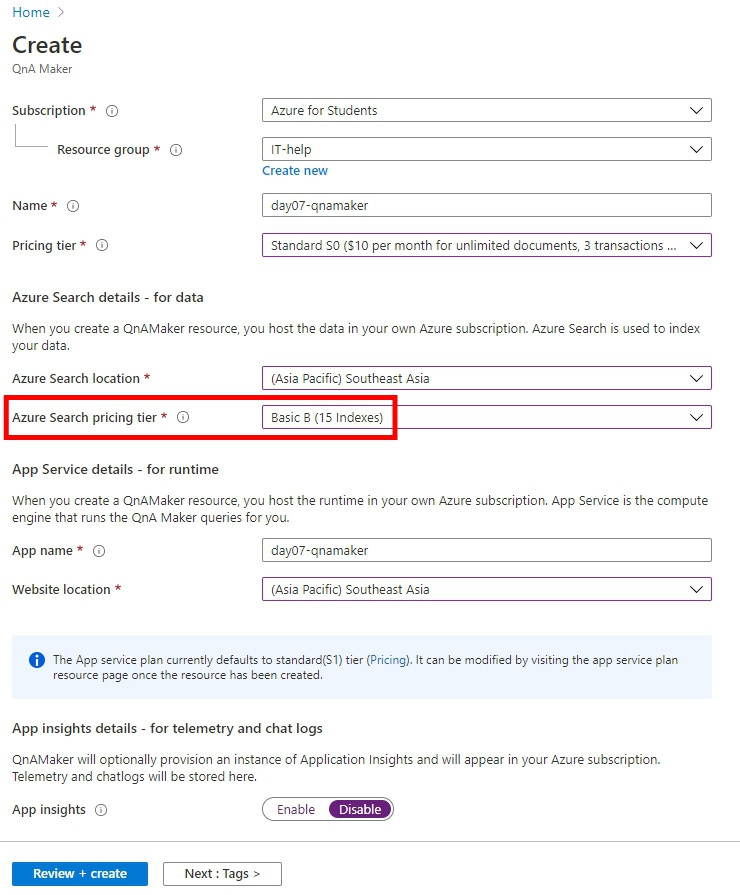
強烈建議 Azure Search pricing tier 至少用 Basic
1.3 待建立完成後,這次不用找到你的資源並且複製 Key,後面還有一些步驟要先做
2.1 前往 QnA Maker 官網
2.2 確認你已經登入你的 Azure Account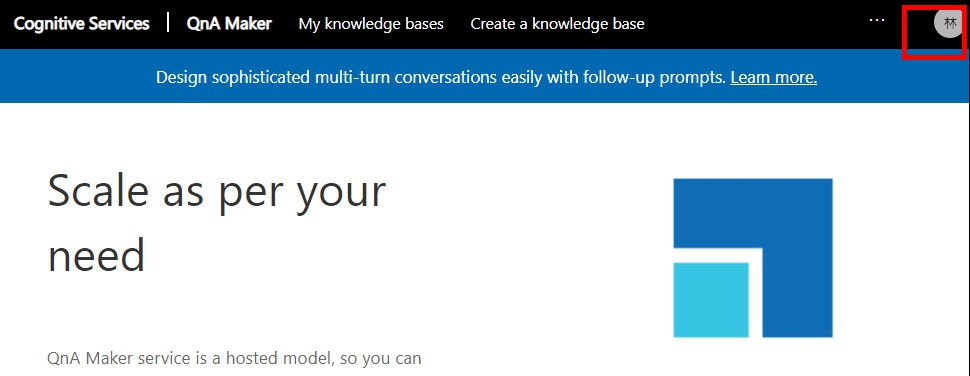
2.3 點選Create a knowledge base
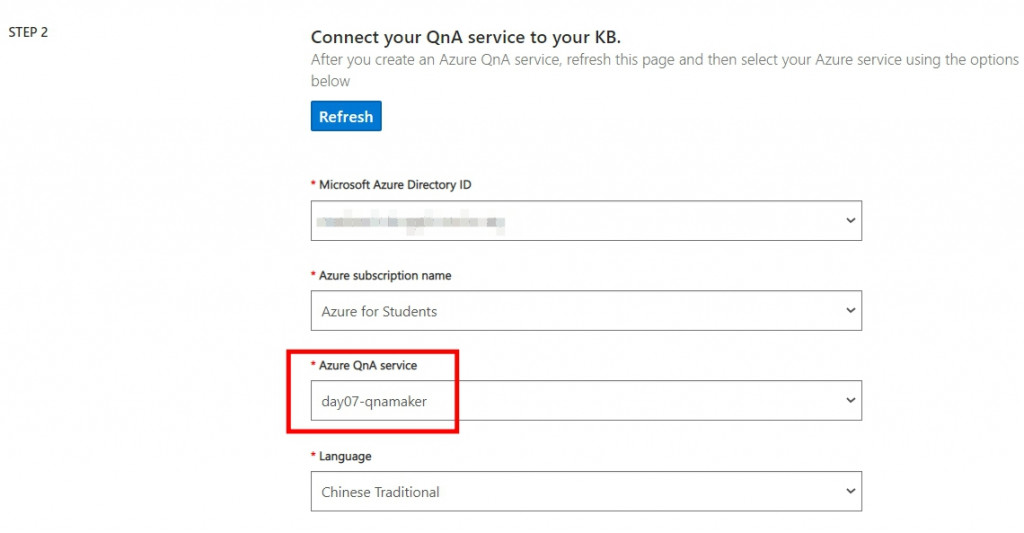
2.4 設定以下欄位
QnA service 選填剛剛建立好的服務名稱
2.5 幫這個知識庫輸入一個名字
2.6 (這個步驟自行選擇要不要做)
我是填入 Costco 的 FAQ 網站
(https://warehouses.costco.com.tw/faq_zh/faq.action)
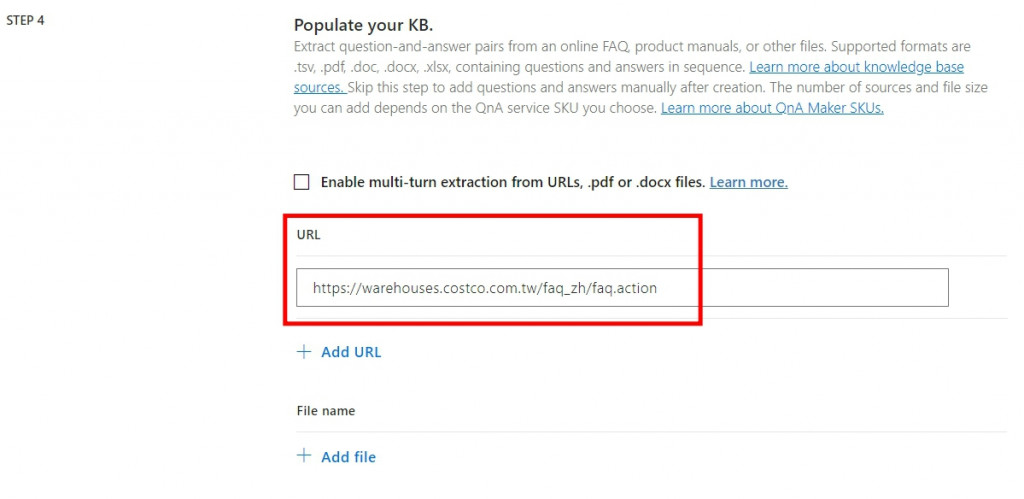
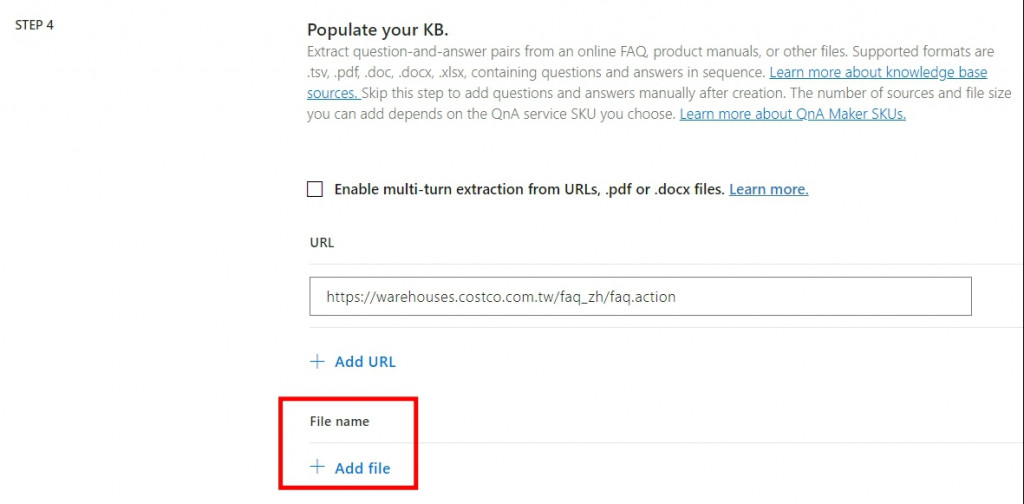
2.7 (這個步驟自行選擇要不要做)
也可以上傳 Word, PDF, 制式的 Excel, Tsv 檔
2.8 上述步驟完成後,滾到最下面按下Create your KB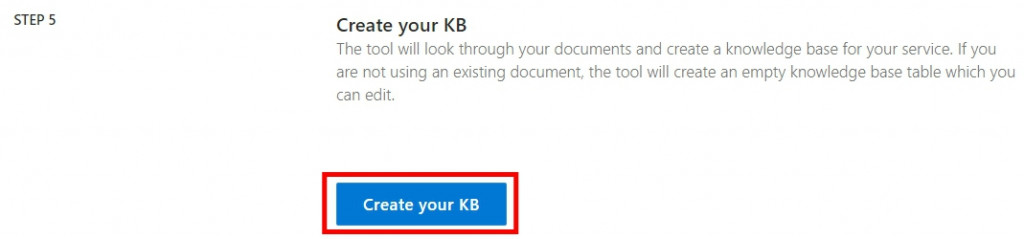
3.1 找到你剛剛建立的知識庫
3.2 你會發現很神奇的 Costco 那邊的 FAQ 都被抓過來了
3.3 建立一個自訂的問答組合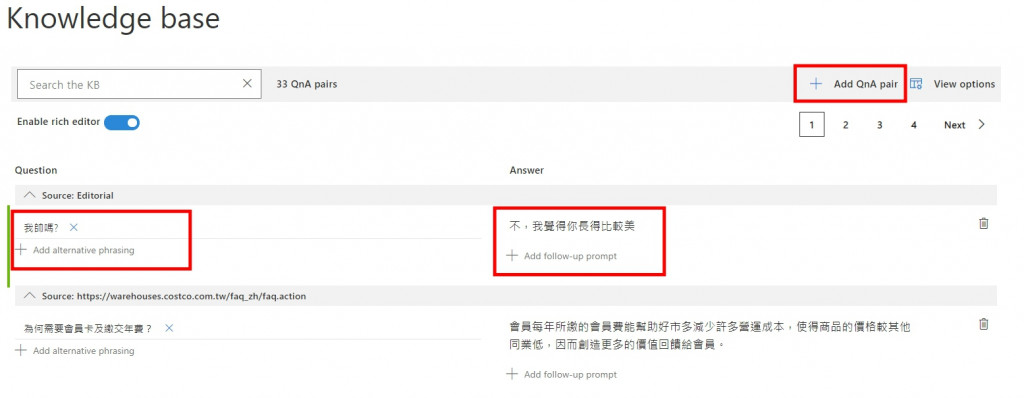
3.4 點擊Save and Train
3.5 點擊Publish,再點擊Publish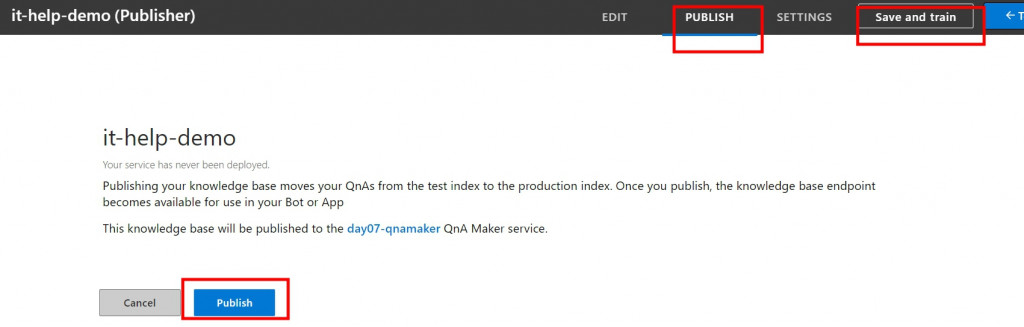
3.6 記錄這個畫面裡的內容,等等程式碼中會用到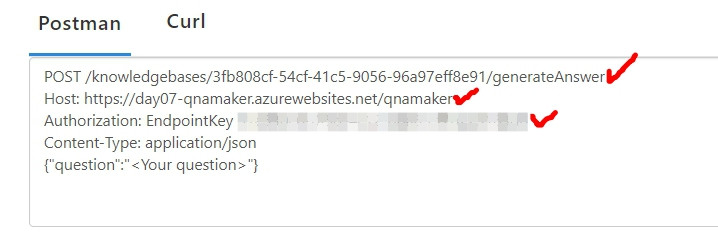
4.1 打開 Visual Studio Code (VS Code)
4.2 新增一個 Python 程式檔,命名為test-qna-maker.py,並將以下程式碼複製貼上
import requests
import json
def get_QA_answer_test(getanswer_url, body):
    headers = {
        # Request headers
        'Content-Type': 'application/json',
        'Authorization': '<你自己的key>'    ## 填入 EndpointKey 後面那亂碼
    }
    url = getanswer_url
    response = requests.request("POST", url, data = body, headers=headers)
    #將json轉成string
    response_text = json.loads(response.text)
    print(response_text['answers'][0]['answer'])

# 按照格式貼入剛剛要記錄的 Host, Post
getanswer_url = 'https://day07-qnamaker.azurewebsites.net/qnamaker/knowledgebases/3fb808cf-54cf-41c5-9056-96a97eff8e91/generateAnswer'
question_sentence = {
    "question":"我帥嗎"   # 輸入你的問句
    }
question_sentence_json = json.dumps(question_sentence)
get_QA_answer_test(getanswer_url, question_sentence_json)
4.3 打開terminal,確認位置為程式檔案的位置後,輸入以下指令
python test-qna-maker.py
以上是今天想要分享的內容,大家明天見。