今日關鍵字:i18n
雖然有聽過i18n,但一直沒用過
想像中用起來大概是:
import { translate, ja } from 'i18n'

const component=()=>{
  ...
  return(
  <h1>{translate(ja)('Hello world')}</h1>
  )
}
這種只要給他想要翻譯的字跟指定的語言
就能翻譯過去的神奇許願機般的套件
使用的是react-i18next
yarn add react-i18next
然後我看一看才發現:什麼?原來翻譯檔要自己寫喔?
先來把底部導覽列的翻譯檔寫好
由於是小專案所以各語言的翻譯檔就不分開寫以方便維護
import routes from '../../routes'

interface AnimePageData {
  [key: string]: {
    [key: string]: string
  }
}

const en: AnimePageData = {
  [routes[0].name]: { title: 'Home' },
  [routes[1].name]: { title: 'Search' },
  [routes[2].name]: { title: 'Favorite' },
  [routes[3].name]: { title: 'Setting' }
}
const tw: AnimePageData = {
  [routes[0].name]: { title: '首頁' },
  [routes[1].name]: { title: '搜尋' },
  [routes[2].name]: { title: '我的最愛' },
  [routes[3].name]: { title: '設定' }
}
const jp: AnimePageData = {
  [routes[0].name]: { title: 'ホーム' },
  [routes[1].name]: { title: '探す' },
  [routes[2].name]: { title: '大好き' },
  [routes[3].name]: { title: '設定' }
}

export { tw, en, jp }
這裡的[routes[i].name]就是'Home'之類的東西
為了以後路徑檔更改後這裡不用再做更改
接著再補上設定檔並import剛才的翻譯檔
import i18n from 'i18next'
import { initReactI18next } from 'react-i18next'
import { en, jp, tw } from './translations'

const resources = {
  en: {
    translation: en
  },
  ja: {
    translation: jp
  },
  'zh-TW': {
    translation: tw
  }
}

i18n.use(initReactI18next).init({
  resources,
  lng: 'zh-TW',
  // default
  fallbackLng: 'zh-TW',
  interpolation: {
    escapeValue: false
  }
})

export default i18n
這樣就可以使用i18n了
首先要把剛才寫好的底部導覽列的翻譯套用上去
// Navigation.tsx
...
import { useTranslation } from 'react-i18next'

const Navigation = () => {
  const { t, i18n } = useTranslation()
  ...
  return (
    <NavigationContainer>
      ...
      <Tab.Navigator
        ...>
        {routes.map((route) => {
          const EachScene = () => route.component
          return (
            <Tab.Screen
              name={route.name}
              component={EachScene}
              key={route.id}
              options={options}
            />
            ...
變成
// Navigation.tsx
...
import { useTranslation } from 'react-i18next'

const Navigation = () => {
  const { t, i18n } = useTranslation()
  ...
  return (
    <NavigationContainer>
      ...
      <Tab.Navigator
        ...>
        {routes.map((route) => {
          const EachScene = () => route.component
          return (
            // 更改處
            <Tab.Screen
              name={t(`${route.name}.title`)}
              component={EachScene}
              key={route.id}
              options={options}
            />
            ...
這裡t的用法是將翻譯物件的key值以字串形式作為參數
然後就可以來看一下成果了
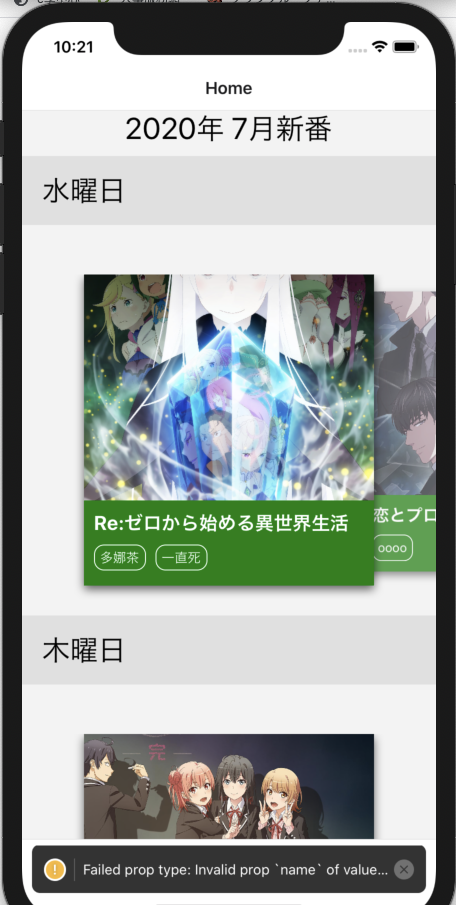
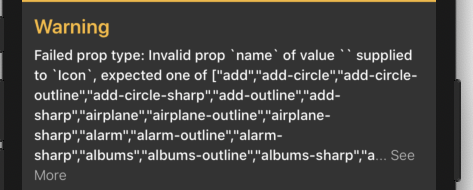

消失的原因就是t(${route.name}.title)(廢話!)
雖然這裡我為了翻譯而把name這個prop拿來翻譯了
以中文為例
原本的name是Home,而路徑也是Home
現在name變成首頁,而路徑還是Home
便會造成無法對應的問題
因此不應該在Tab.Screen的name來翻譯
而應該在上層的Tab.Navigator的screenOptions中來翻譯
      // 只更換顯示的值
      <Tab.Navigator
        screenOptions={({ route }) => ({
          tabBarIcon: ...,
          tabBarLabel: t(`${route.name}.title`)
        ...>
        {routes.map((route) => {
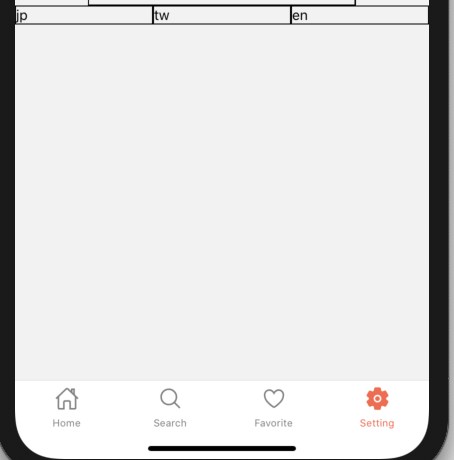
這麼一來顯示就正常了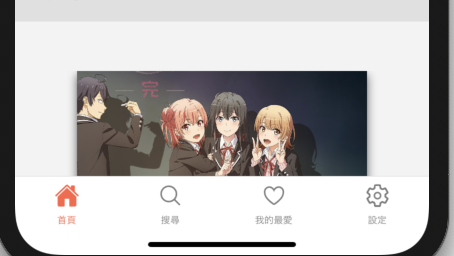
這時候可以在設定頁面中簡單寫些按鈕,測試一下切換語言的功能
// SettingScreen.tsx
import { useTranslation } from 'react-i18next'

const SettingScreen = () => {
  const { i18n } = useTranslation()

  const changeLang = (lang: string) => {
    i18n.changeLanguage(lang)
  }
  ...
  return (
  ...
     <TouchableOpacity
        activeOpacity={1}
        style={{ flex: 1, borderWidth: 1 }}
        onPress={() => changeLang('ja')>
        <Text>jp</Text>
     </TouchableOpacity>
     <TouchableOpacity
        activeOpacity={1}
        style={{ flex: 1, borderWidth: 1 }}
        onPress={() => changeLang('zh-TW')>
        <Text>tw</Text>
      </TouchableOpacity>
     <TouchableOpacity
        activeOpacity={1}
        style={{ flex: 1, borderWidth: 1 }}
        onPress={() => changeLang('en')>
        <Text>en</Text>
      </TouchableOpacity>
  ...
  )
}
其中i18n的changeLanguage輸入的字串參數是i18n中設定檔的resources的key值
// i18n.ts
...
const resources = {
  en: {
    translation: en
  },
  ja: {
    translation: jp
  },
  'zh-TW': {
    translation: tw
  }
}
...
寫完了就來測試一下按鈕的功能是否正常
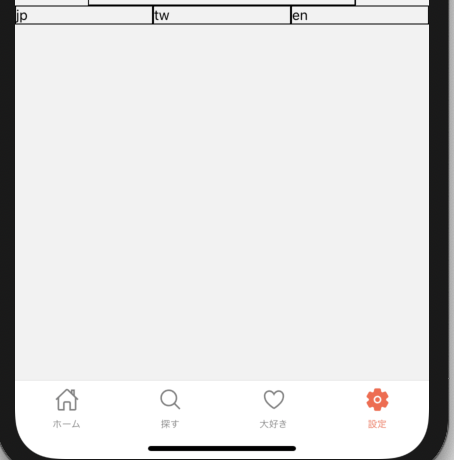

為了設定頁面的語言顯示,明天要來調整store的結構