today articles will cover Authentication problems on web server.
Login
firstly we need to run the script below on your Laravel project:php artisan make:auth
and run the following script to migrate your table schema into your databasephp artisan migrate
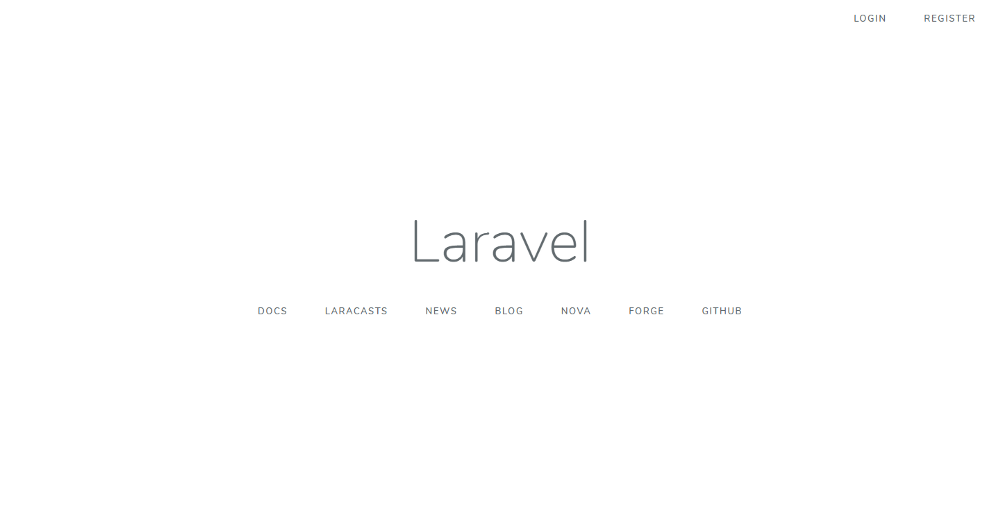
if you run the localhost:8000, it should appear login and register button on the right upper corner of your home page.
JWT
jwt is a JSON web token authentication for Laravel and Lumen. so if you wish to make some authentication on your Api, you can use JWT.
how to use jwt
install using composercomposer require tymon/jwt-auth
Add the service provider to the providers array in the config/app.php config file as follows:
'providers' => [
    ...
    Tymon\JWTAuth\Providers\LaravelServiceProvider::class,
]
Run the following command to publish the package config file:
php artisan vendor:publish --provider="Tymon\JWTAuth\Providers\LaravelServiceProvider"
now you have to generate a secret key. this key will be update on your env file
php artisan jwt:secret
after that update your user model, user model is located under your app folder and copy this:
<?php

namespace App;

use Tymon\JWTAuth\Contracts\JWTSubject;
use Illuminate\Notifications\Notifiable;
use Illuminate\Foundation\Auth\User as Authenticatable;

class User extends Authenticatable implements JWTSubject
{
    use Notifiable;

    // Rest omitted for brevity

    /**
     * Get the identifier that will be stored in the subject claim of the JWT.
     *
     * @return mixed
     */
    public function getJWTIdentifier()
    {
        return $this->getKey();
    }

    /**
     * Return a key value array, containing any custom claims to be added to the JWT.
     *
     * @return array
     */
    public function getJWTCustomClaims()
    {
        return [];
    }
}
configure your config/auth.php
'defaults' => [
    'guard' => 'api',
    'passwords' => 'users',
],

...

'guards' => [
    'api' => [
        'driver' => 'jwt',
        'provider' => 'users',
    ],
],
add the basic authentication routes on routes/api.php
Route::group([

    'middleware' => 'api',
    'namespace' => 'App\Http\Controllers',
    'prefix' => 'auth'

], function ($router) {

    Route::post('login', 'AuthController@login');
    Route::post('logout', 'AuthController@logout');
    Route::post('refresh', 'AuthController@refresh');
    Route::post('me', 'AuthController@me');

});
now create the AuthContoller by run the following script:php artisan make:controller AuthController
then add the following:
<?php

namespace App\Http\Controllers;

use Illuminate\Http\Request;
use Illuminate\Support\Facades\Auth;
use App\Http\Controllers\Controller;

class AuthController extends Controller
{
    /**
     * Create a new AuthController instance.
     *
     * @return void
     */
    public function __construct()
    {
        $this->middleware('auth:api', ['except' => ['login']]);
    }

    /**
     * Get a JWT token via given credentials.
     *
     * @param  \Illuminate\Http\Request  $request
     *
     * @return \Illuminate\Http\JsonResponse
     */
    public function login(Request $request)
    {
        $credentials = $request->only('email', 'password');

        if ($token = $this->guard()->attempt($credentials)) {
            return $this->respondWithToken($token);
        }

        return response()->json(['error' => 'Unauthorized'], 401);
    }

    /**
     * Get the authenticated User
     *
     * @return \Illuminate\Http\JsonResponse
     */
    public function me()
    {
        return response()->json($this->guard()->user());
    }

    /**
     * Log the user out (Invalidate the token)
     *
     * @return \Illuminate\Http\JsonResponse
     */
    public function logout()
    {
        $this->guard()->logout();

        return response()->json(['message' => 'Successfully logged out']);
    }

    /**
     * Refresh a token.
     *
     * @return \Illuminate\Http\JsonResponse
     */
    public function refresh()
    {
        return $this->respondWithToken($this->guard()->refresh());
    }

    /**
     * Get the token array structure.
     *
     * @param  string $token
     *
     * @return \Illuminate\Http\JsonResponse
     */
    protected function respondWithToken($token)
    {
        return response()->json([
            'access_token' => $token,
            'token_type' => 'bearer',
            'expires_in' => $this->guard()->factory()->getTTL() * 60
        ]);
    }

    /**
     * Get the guard to be used during authentication.
     *
     * @return \Illuminate\Contracts\Auth\Guard
     */
    public function guard()
    {
        return Auth::guard();
    }
}
now open your Postman and go to localhost:8000/api/login using POST method and fill the params with your usermail and password
and you should get something like:
