Vault 的參數設定有三種方式: Environment Variables、Command-line Options與Configuration Files.
Environment Variables: 設定在OS環境變數裡,Vault會讀取環境變數來做為預設值。
Command-line Option: 參數透過指令設定,當所需的設定越來越多時,會不容易閱讀與維護。
Configuration Files: 支援HCL與JSON,設定檔結構化,容易閱讀可版控。
這三種支援的參數多寡不同,使用的方式情境也不同,例如”telemetry”就只有configuration file有,所以今天會介紹使用Configuration Files來設定Vault.
在開始前我們先新增三個目錄給Vault使用,分別是conf, logs, data.
conf: 放置設定檔,ACL,Policy,Service register,Configuration Entries等等。
logs: 放置Vault server logs.
data: 放置Vault啟動會存放的資料。Note: Vault storage 支援性廣泛,在1.4版之後開始支援Integrated Storage (Raft) Backend,所以今天會以這個來示範。
編輯我們的設定檔,命名為vault-server.hcl,設定檔支援json與Hashicorp的hcl兩種,這裡以hcl示範。
ui = true
log_level = "debug"
log_format = "standard"
api_addr      = "http://10.168.1.175:8200"
cluster_addr  = "http://10.168.1.175:8201"
disable_mlock = true

listener "tcp" {
  address         = "10.168.1.175:8200"
  cluster_address    = "10.168.1.175:8201"
  tls_disable     = true

}

storage "raft" {
  path = "/home/ec2-user/vault/data"
  node_id = "vault-node1"
}

service_registration "consul" {
  address         = "127.0.0.1:8500"
  service         = "vault"
  service_address = "10.168.1.175"
}
ui: 設定啟用web ui.
log_level: Supported log levels: Trace, Debug, Error, Warn, Info.
log_format: Supported log formats: "standard", "json".
api_addr: 設定要listen的address, 環境變數是VAULT_API_ADDR
cluster_addr: 設定要listen的address, 環境變數是VAULT_CLUSTER_ADDR
listener: 這裡也是設定要listen的address,與上面兩個不同的是,在HA架構下api_addr,cluster_addr一定要設定。Note: 使用raft storage規定要設定cluster address, 所以必須設定cluster_addr與listener裡的cluster_address
storage: 在Vault 1.4之前還沒有支援Integrated Storage (Raft) Backend,Vault 1.4才開始有,這裡使用raft來作為storage backend.
service_registration: 跟Consul做註冊。
disable_mlock: 官網建議除非運行Vault的系統僅使用encrypted swap或不使用swap,否則不建議禁用mloc(設為false),但是若是使用integrated storage(raft) backend是建議禁用(設為true),因為在memory mapped會存在一些問題。
設定檔都編寫完成後,可以使用參數”-config” 帶入設定檔:
vault server -config=/etc/vault.d/vault.hcl
這時候你會發現啟動不了,出現以下的錯誤,因為vault沒有權限去使用memory lock,如上面disable_mlock的說明已經不需要了,但還是會報錯,所以要給予capability,再去設定禁用。
This usually means that the mlock syscall is not available.
Vault uses mlock to prevent memory from being swapped to
disk. This requires root privileges as well as a machine
that supports mlock. Please enable mlock on your system or
disable Vault from using it. To disable Vault from using it,
set the `disable_mlock` configuration option in your configuration
file.
Error initializing core: Failed to lock memory: cannot allocate memory
給予capability後,再啟動一次。
sudo setcap cap_ipc_lock=+ep $(readlink -f $(which vault))
啟動後我們連線到 http://10.168.1.175:8200 ,因為第一次啟動,所以選擇新增raft cluster.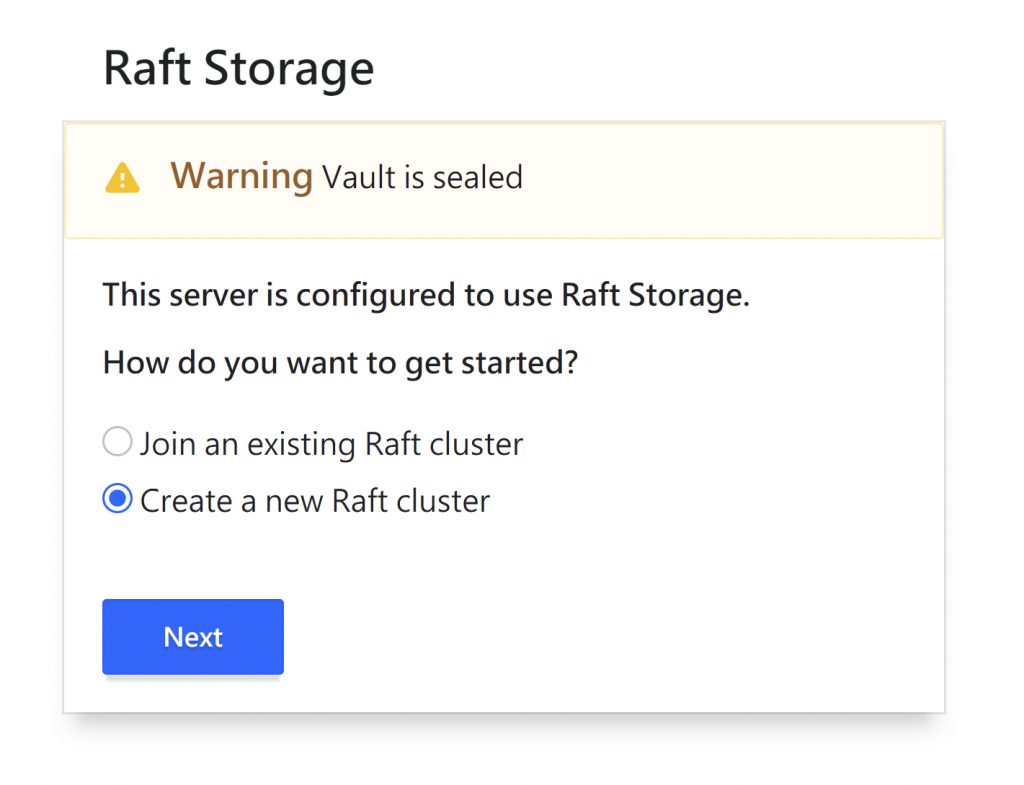
接下來會設定要unseal key,為了安全性production我設定total 5組key, threshold設定要3組才能unseal。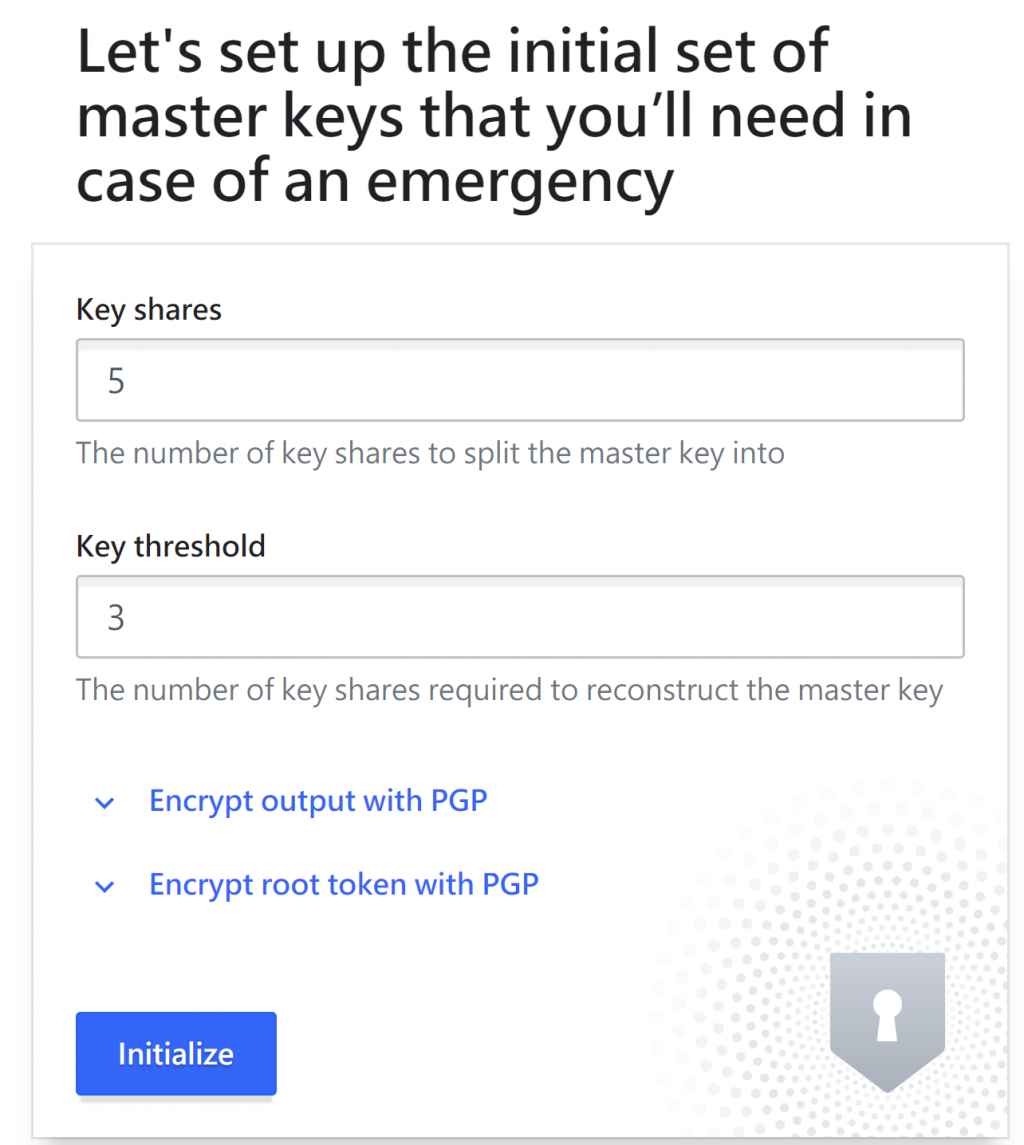
key要保存好,可以下載檔案保存,裡面除了有unseal key外還有root token作為登入使用。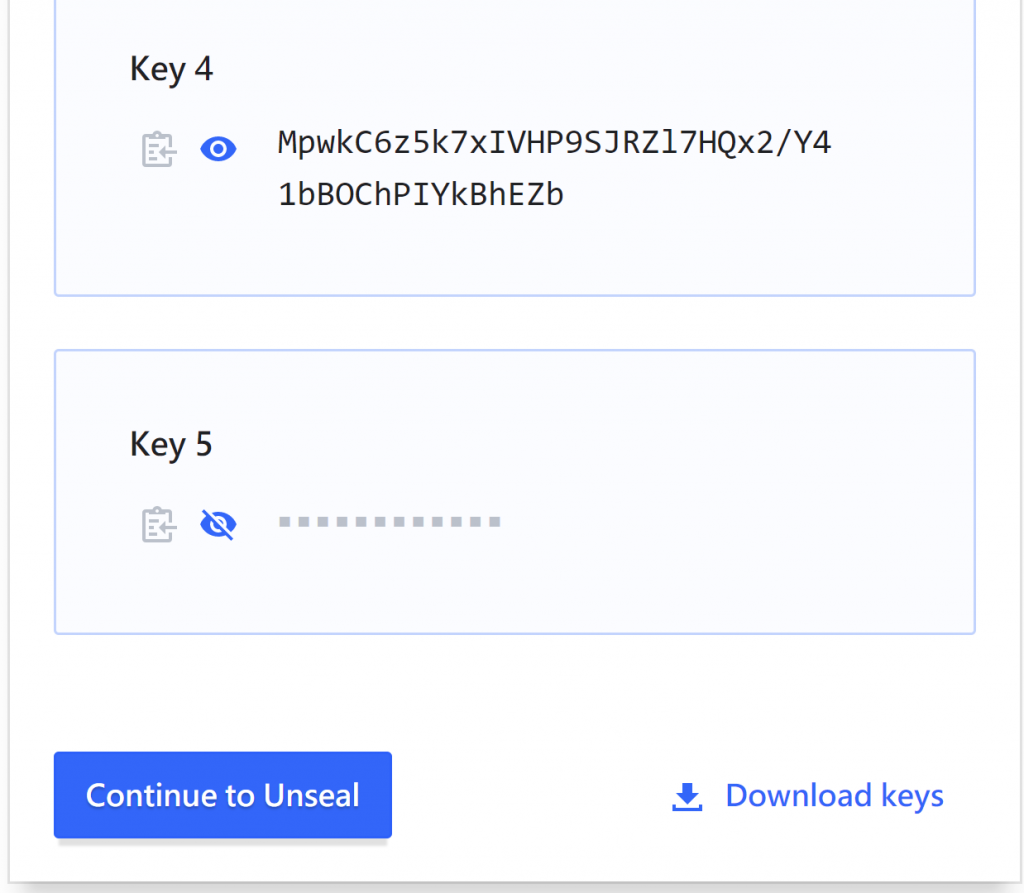
輸入任三組key來unseal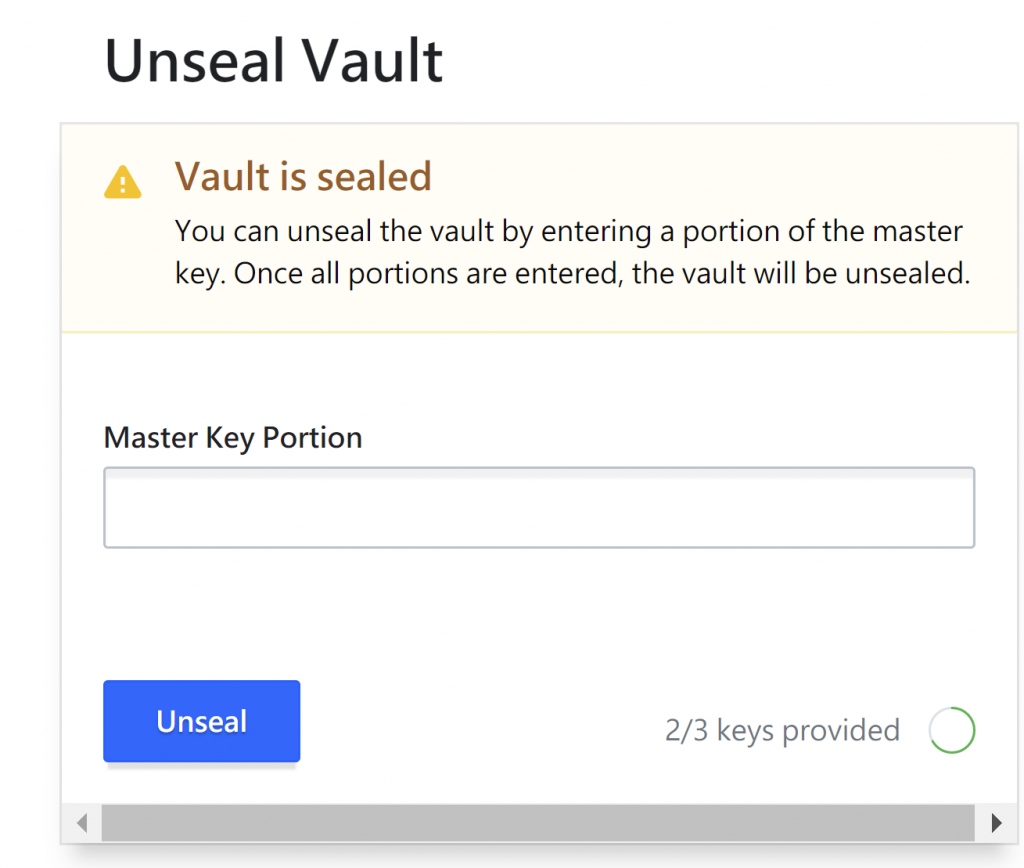
使用root token來登入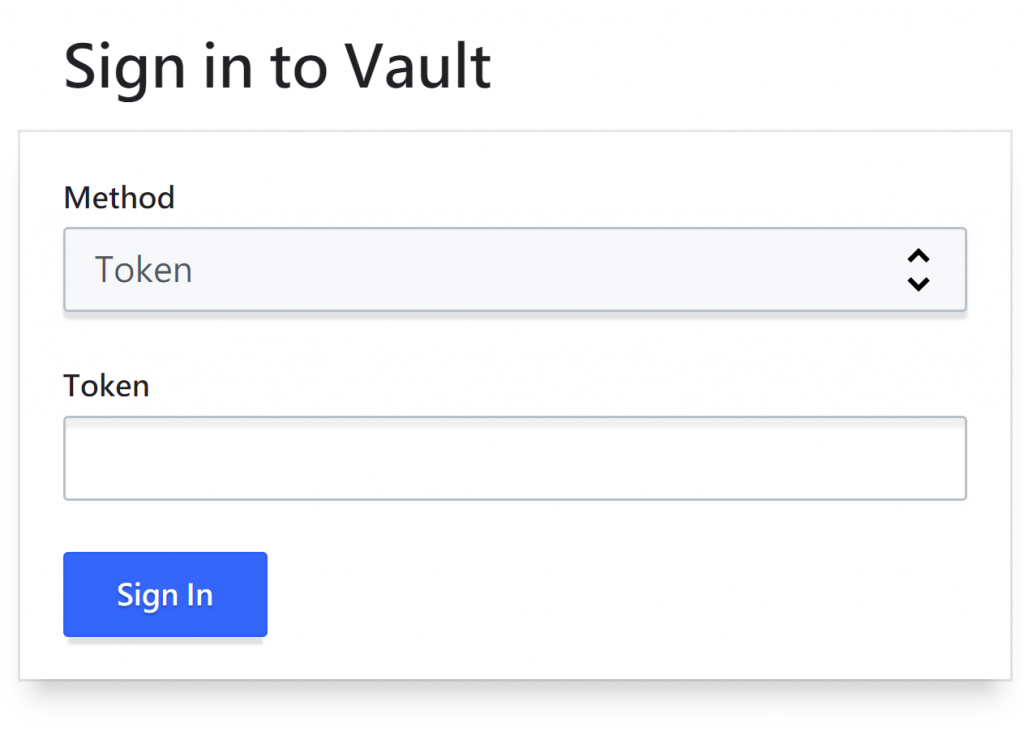
看到以下畫面就成功了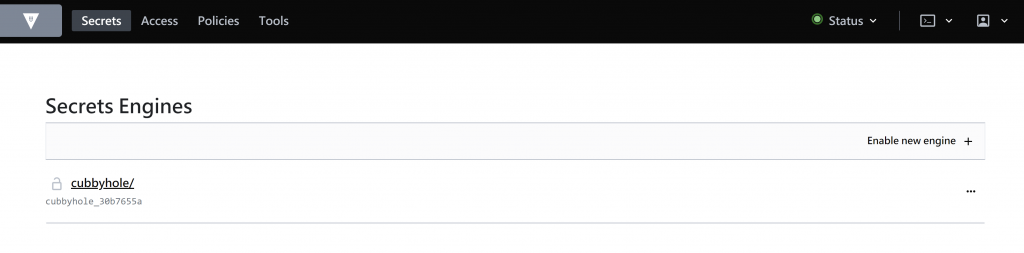
.如果沒有背景執行,你會看到log一直印出來,要停止按ctrl+c即可。
.有背景執行,先ps -ef |grep vault,再kill -9 PID即可。