這是一套開源軟路由服務,我是拿來架設 VPN 服務,剛好此 pfSense 剛好可以架設 VPN 服務,另外這一套是用 FreeBSD 底層服務所寫出來的,那很多服務都是在網頁上面就可以設定了
首先到官方網頁先下載映像檔,本次下載的版本是2.4.4-p3版
架設環境是在 VM 上面,以下是我所配置的規格
直接掛載映像檔後,開機所顯示畫面,這個畫面不需按任何鍵會直接跳過去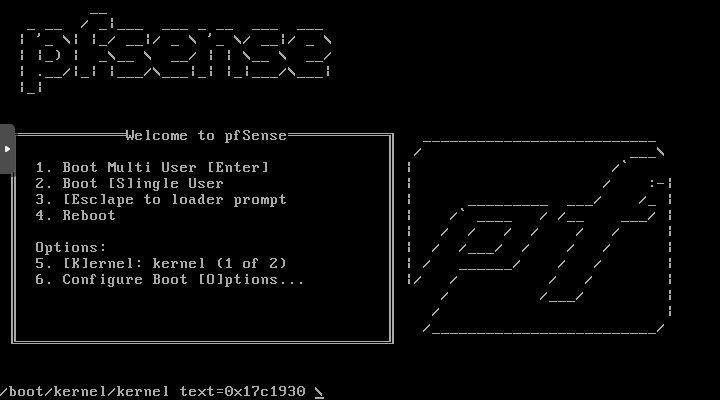
直接按「 Enter 」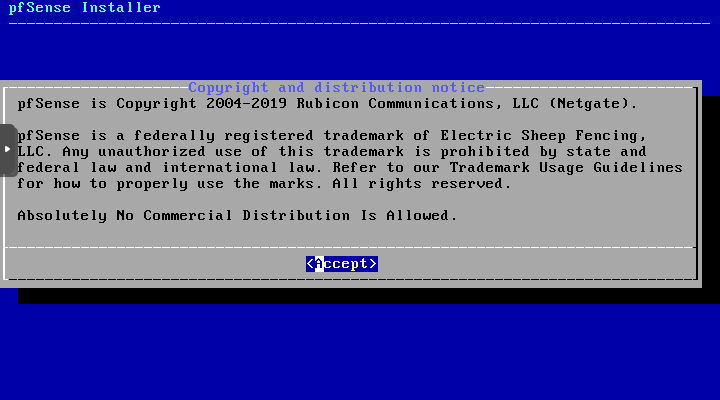
直接按「 Enter 」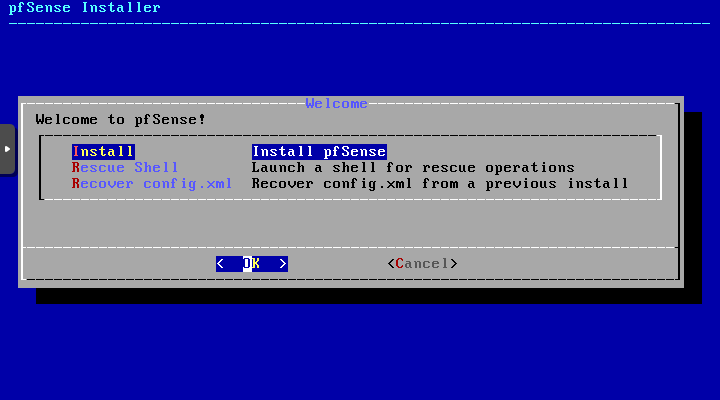
直接按「 Enter 」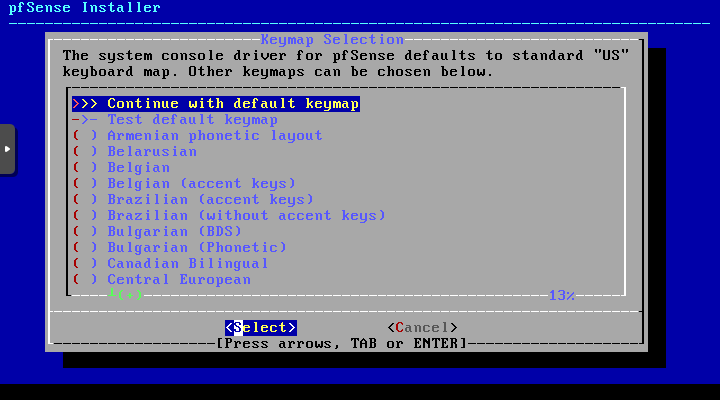
直接按「 Enter 」
顯示目前安裝過程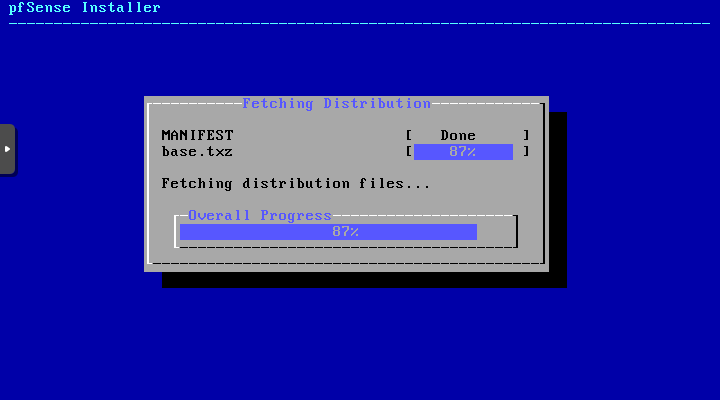
提示是否啟動shell界面,這裡選擇 No 不啟動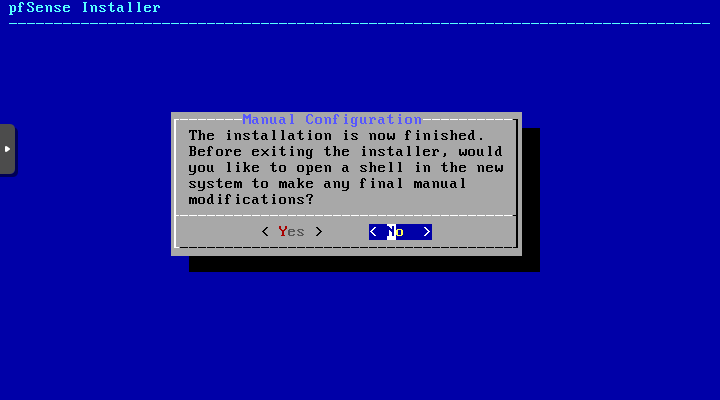
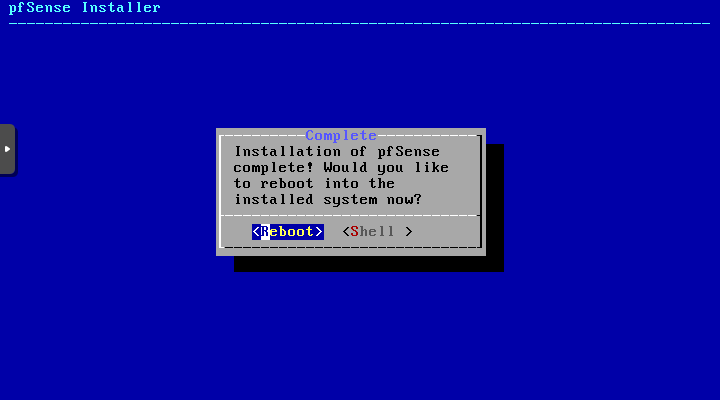
重新啟動
這裡是詢問是否有要切 VLAN 直接按 n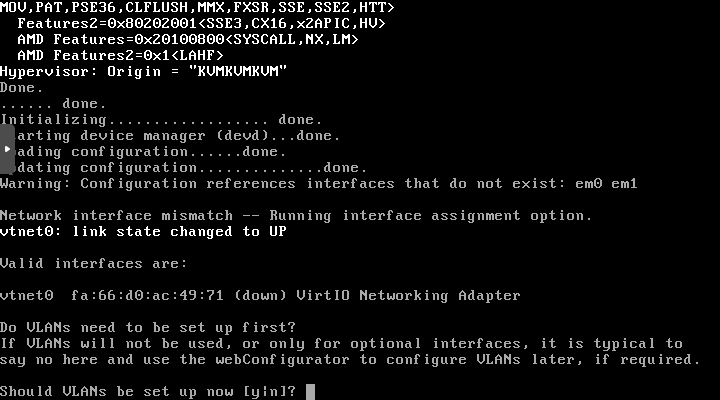
輸入 WAN 名稱,直接照著預設輸入 vtnet0 這樣子就可以了
這是詢問 LAN 那由於我沒有用第二張網卡就只是空白不輸入直接按 Enter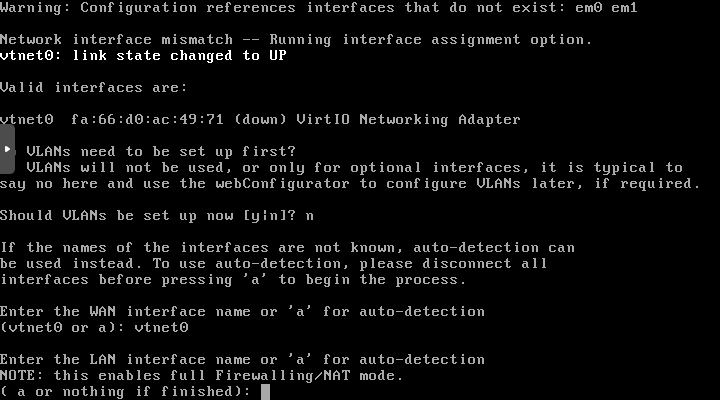
如果沒有要異動的話,直接輸入 y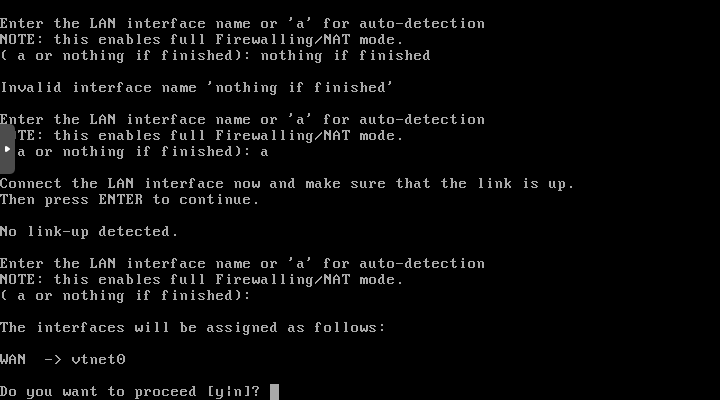
安裝完成會出現此畫面,並且會顯示此設備要在 WEB 上所要輸入的畫面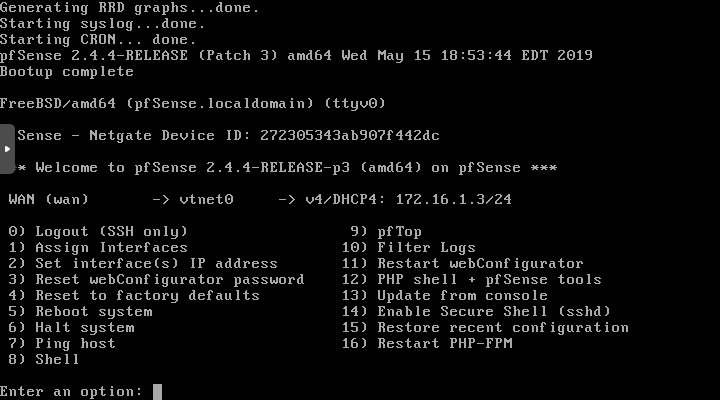
登入 WEB 畫面,這裡預設帳號是: admin 、密碼是:pfsense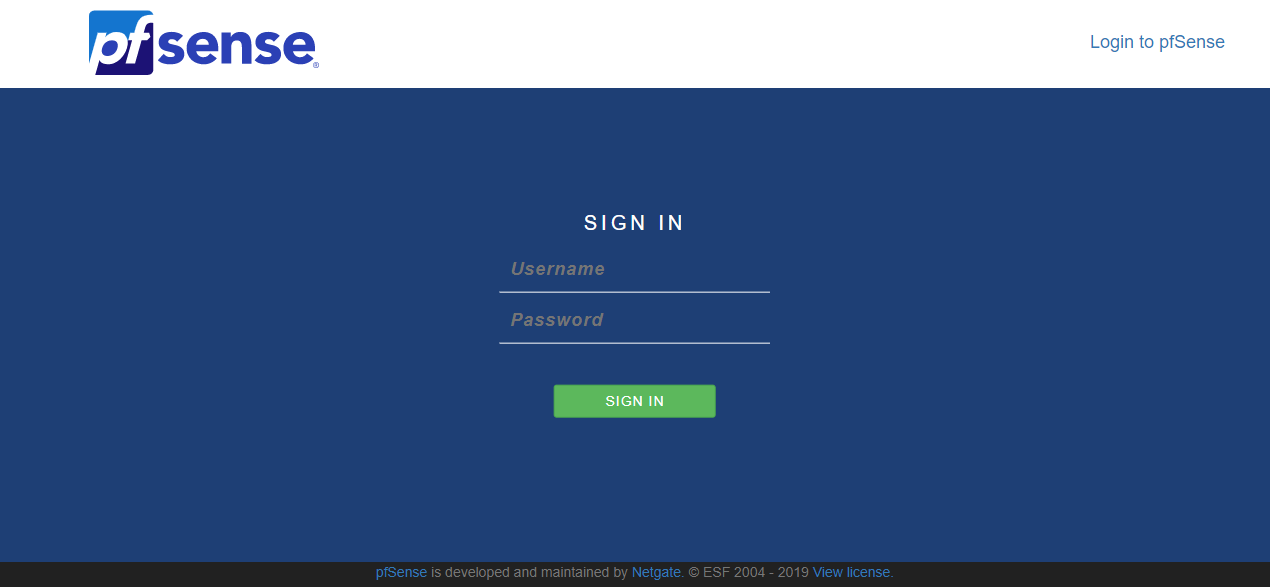
登入之後上面會有一行警告要求修改密碼,只要按上面的 「 Change the password in the User Manager 」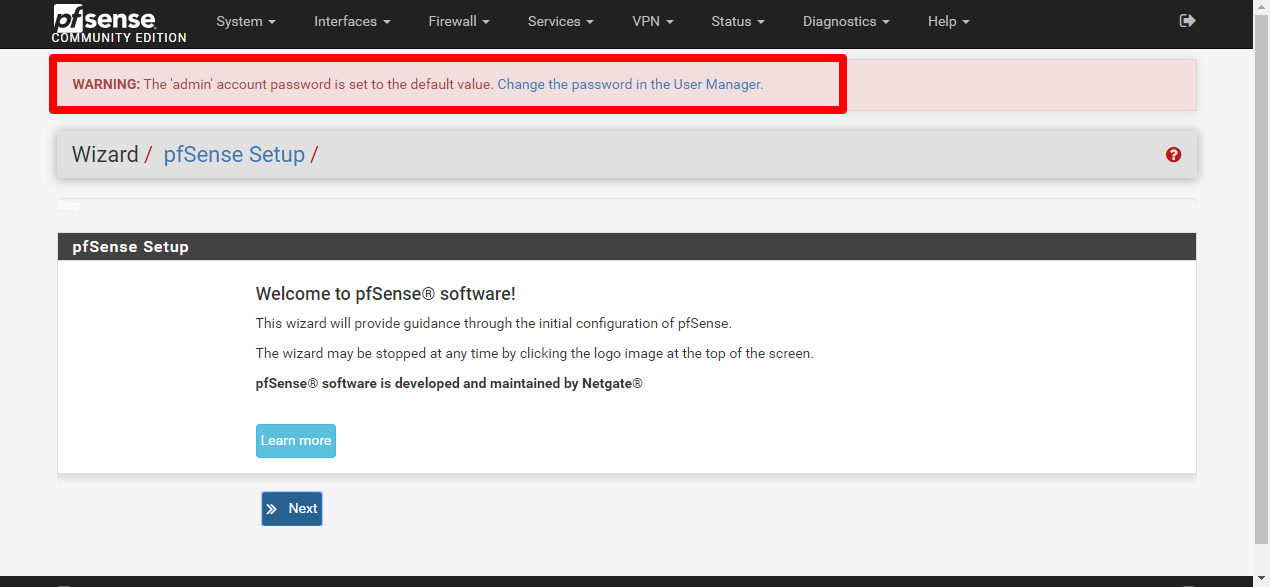
在這裡輸入所要修改管理者密碼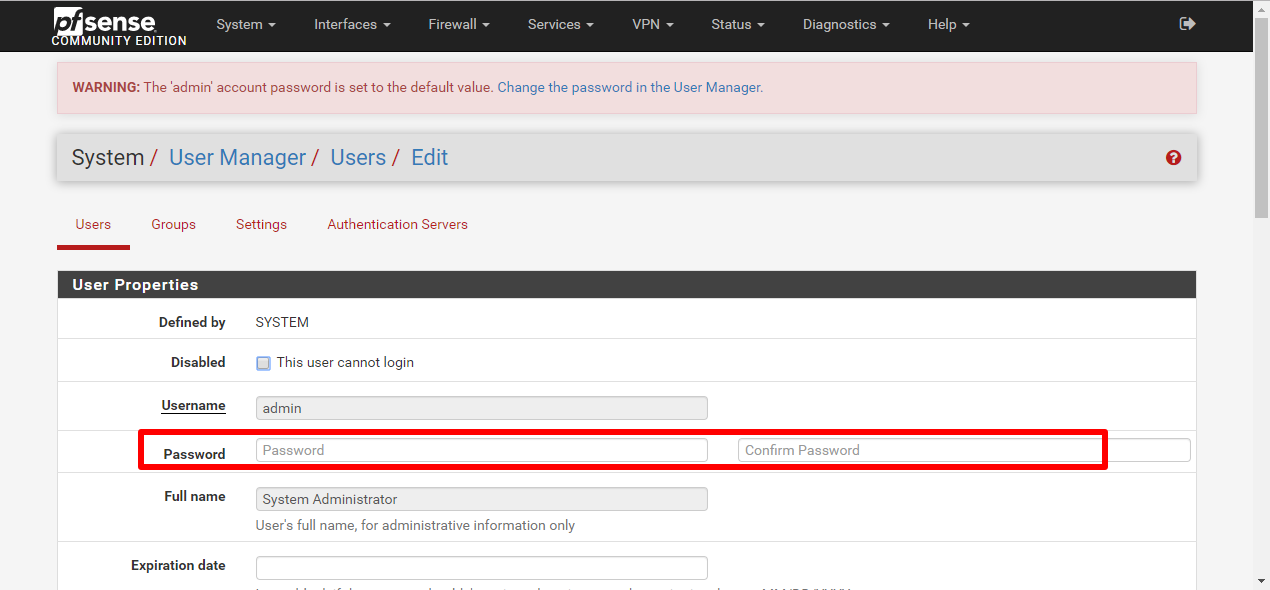
修改完之後拉到畫面最下面,儲存就可以了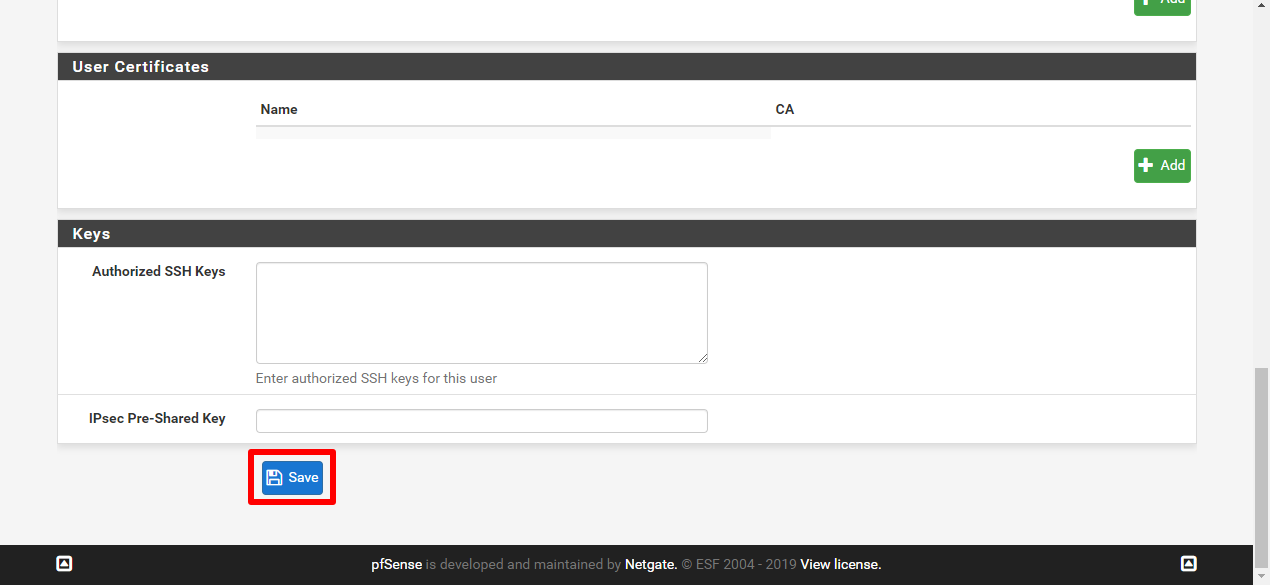
修改時區問題,選擇 「 General Setup 」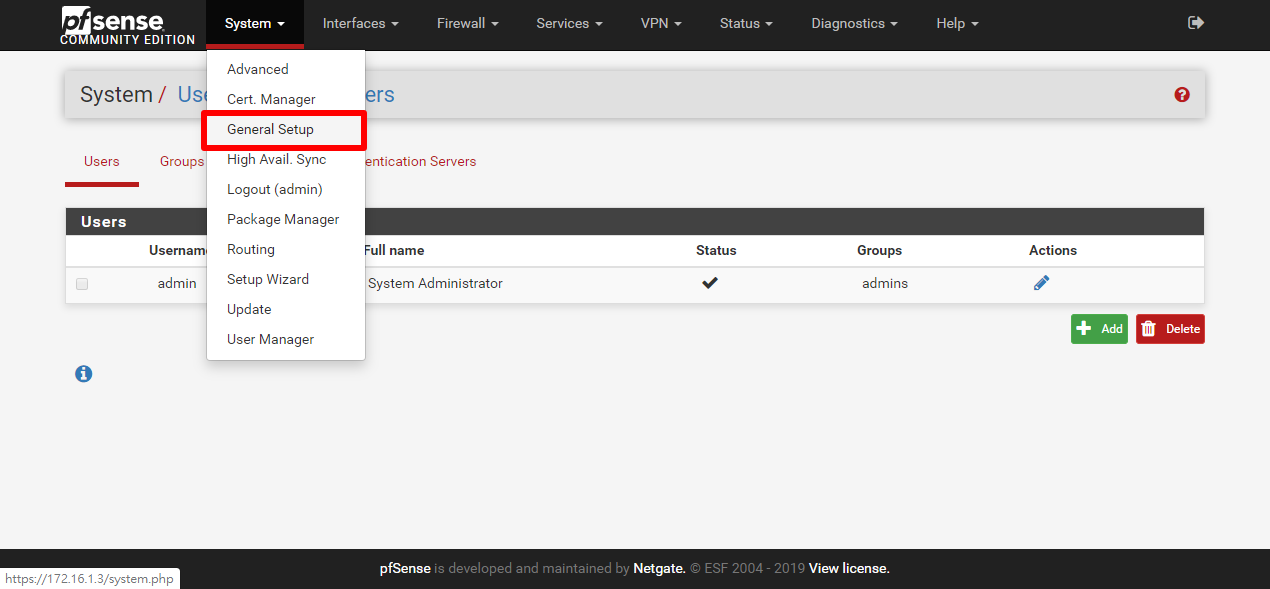
畫面拉到中間會有一個選項可以修改時區,選擇完之後存檔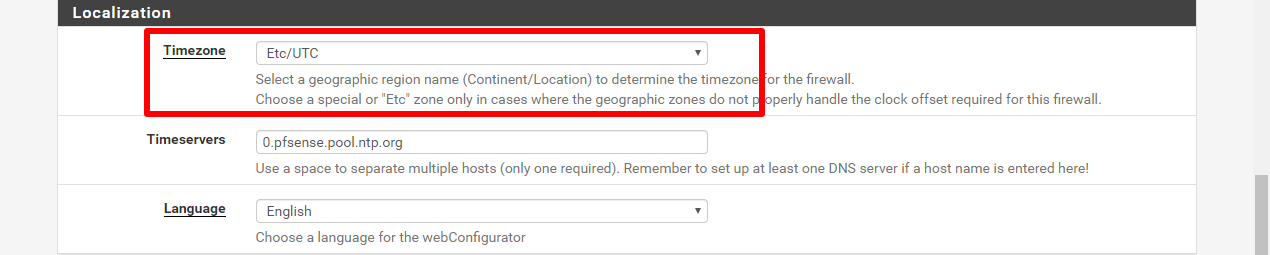
如何修改 WAN 的 IP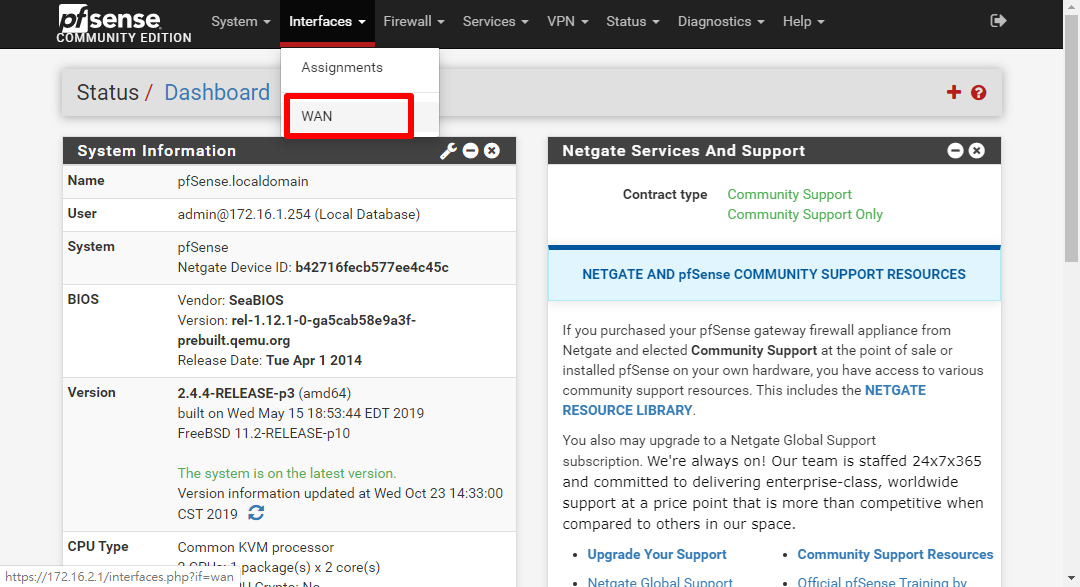
預設是 DHCP
修改成 「 Statice IPv4 」
輸入所要設定的 IP 後面 32 修改成 24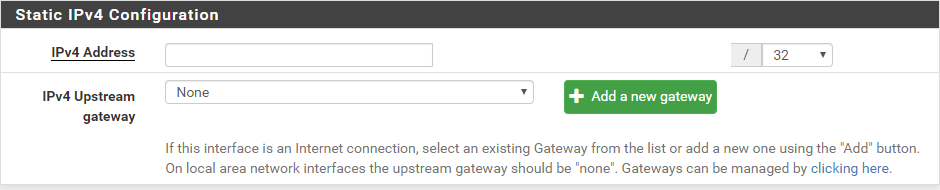
然後由於沒有預設的閘道,所以需要手動新增閘道,輸入您目前設備的閘道,例「 192.168.1.1 」,然後按下 「 Add 」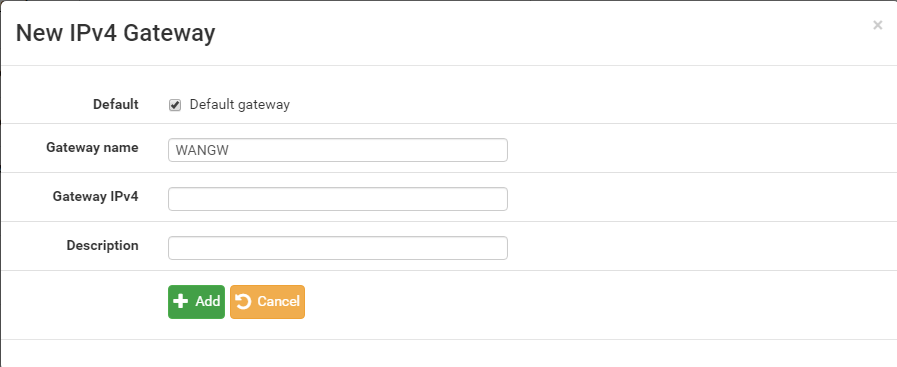
都輸入完之後確認沒有問題,接到畫面最下面有一個存檔鍵,這樣子可以輸入剛剛所設定的 IP