架設此服務是因為有時候為了在外面能夠方便連回家處理一些問題,以下內容是一步一步的教怎麼做設定
設定流程
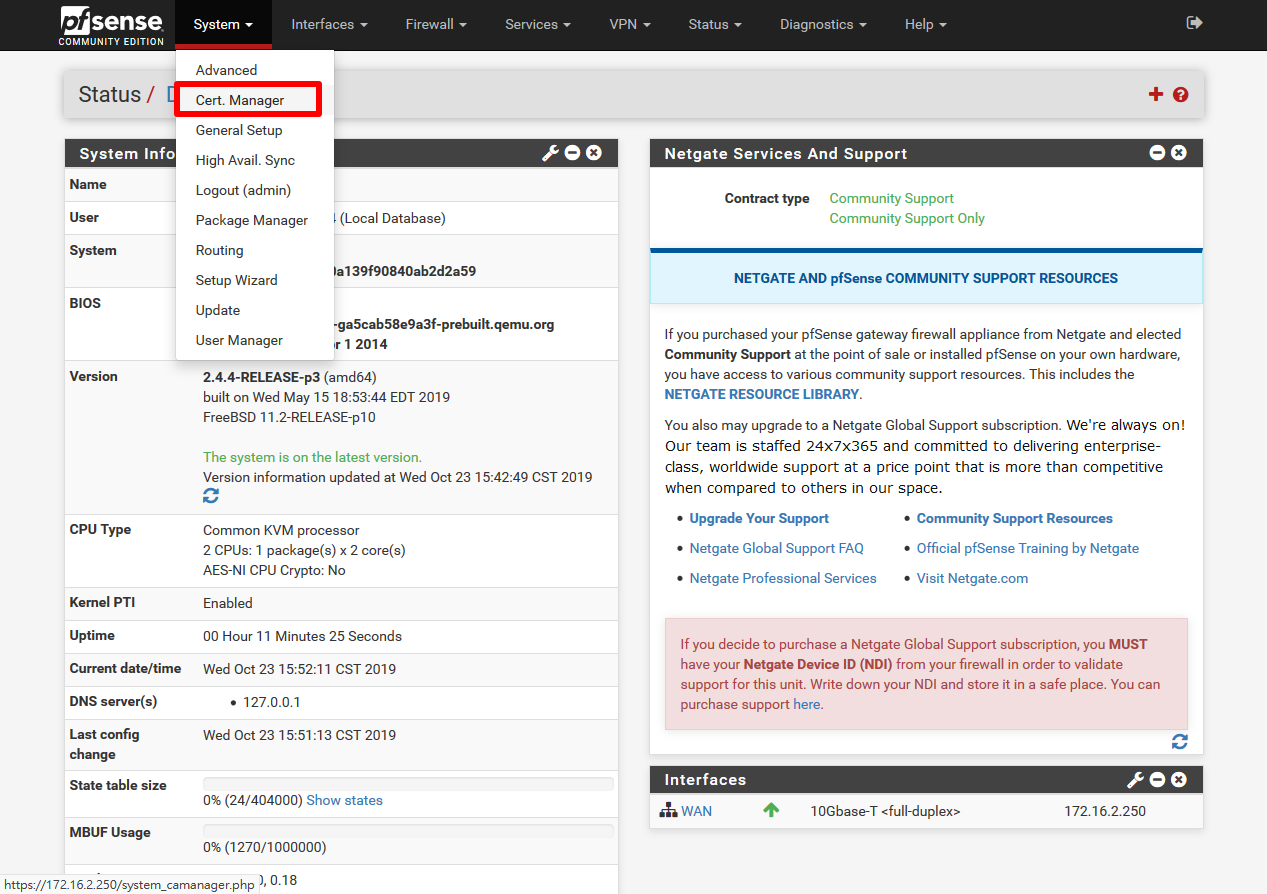
1、如何建立憑證,首先到 「 System 」--> 「 Cert. Manager 」
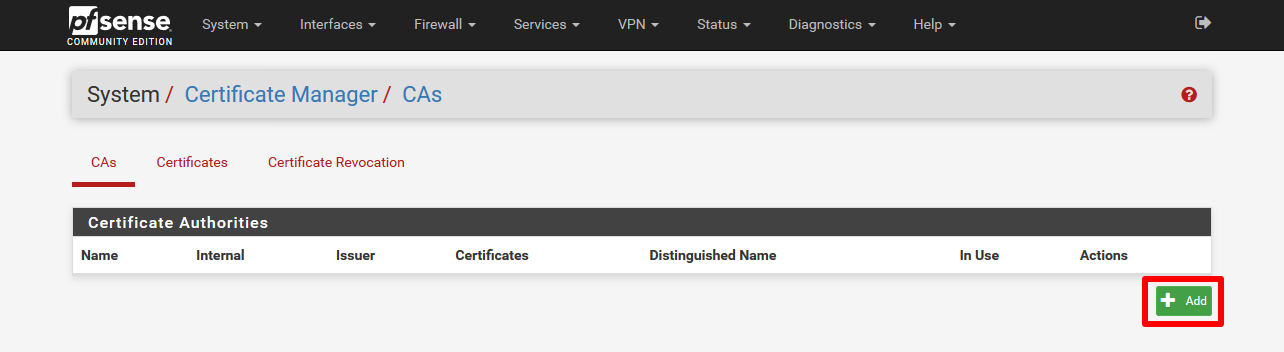
2、進入該畫面,選擇「 Add 」
3、進入設定的畫面
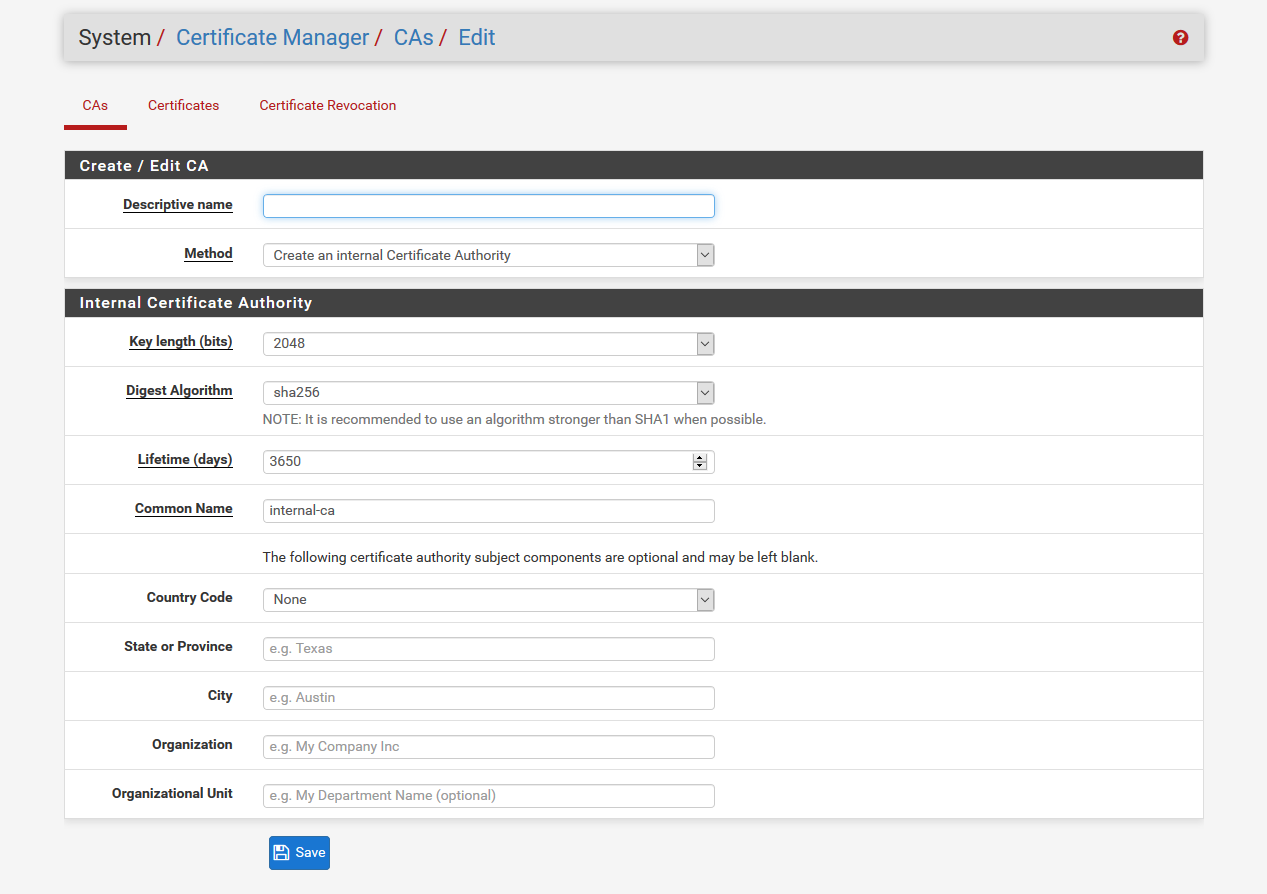
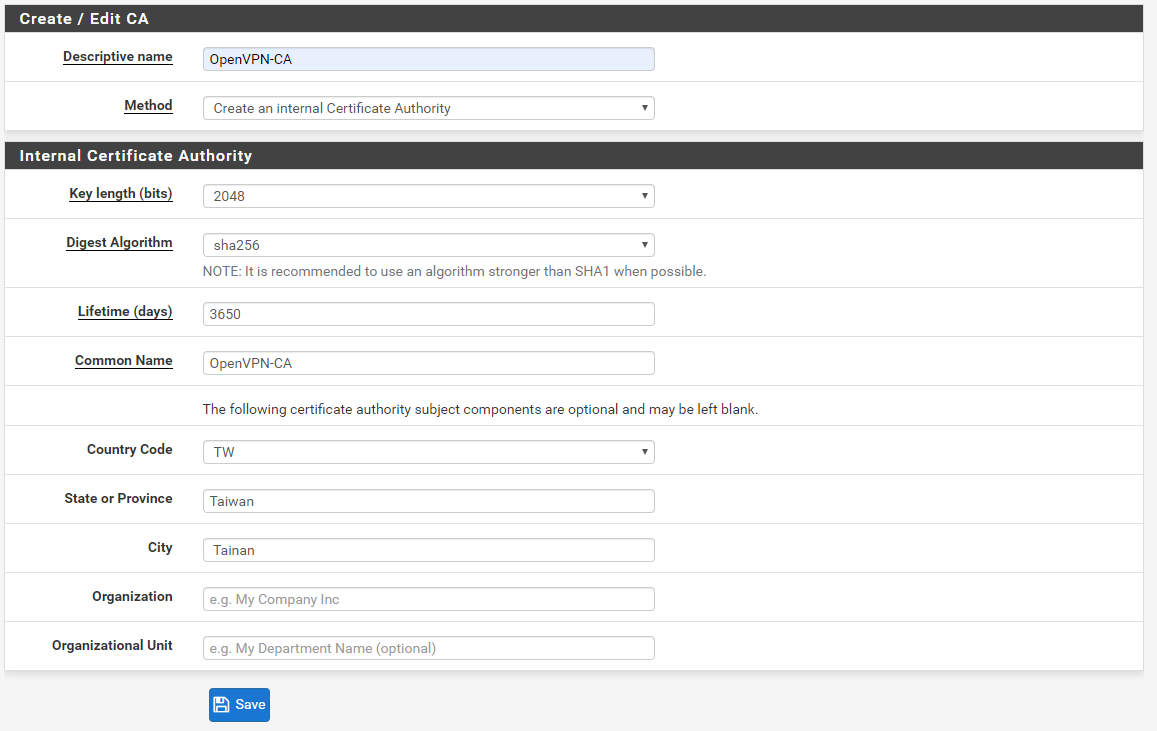
4、這是建立 CA 憑證,Descriptive name :自行命名,Common Name:自行命名會建議跟 Descriptive name 名稱一樣這樣子之後如果有建立多組憑證才不會亂掉,Country Code:選擇國碼,我是選擇 TW,state or Province:輸入國家,例:Taiwan,City:城名,例:Tainan,Organization:組織名稱,輸入完畢之後存檔
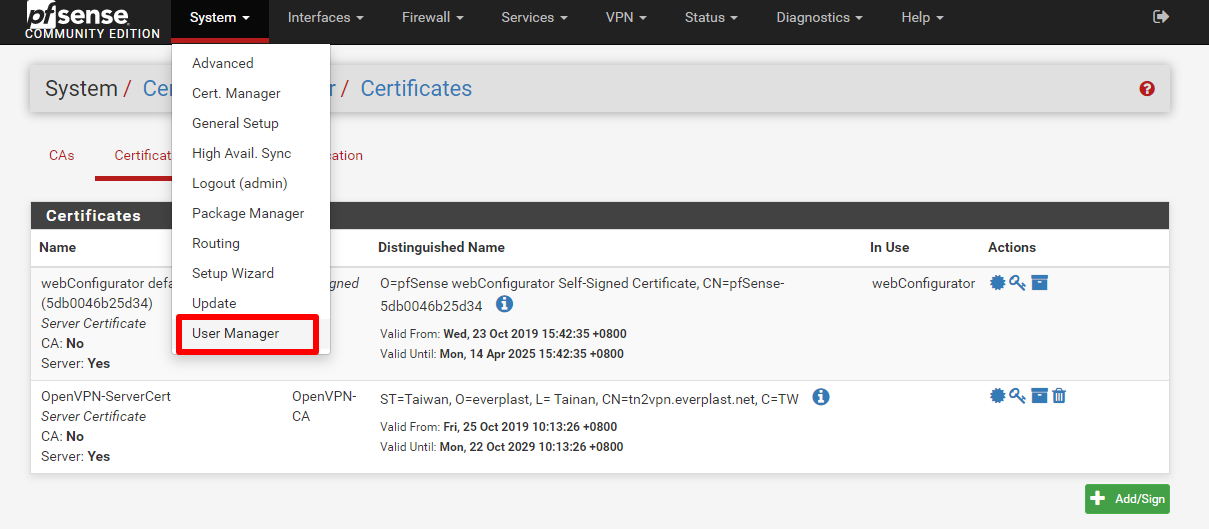
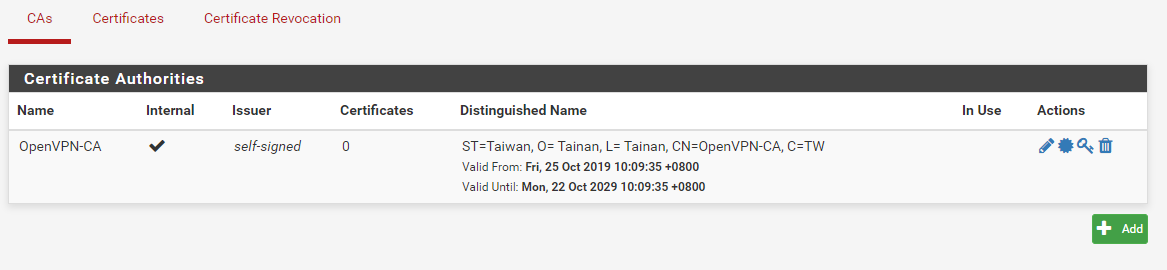
5、會回到憑證畫面看到剛剛新增的憑證
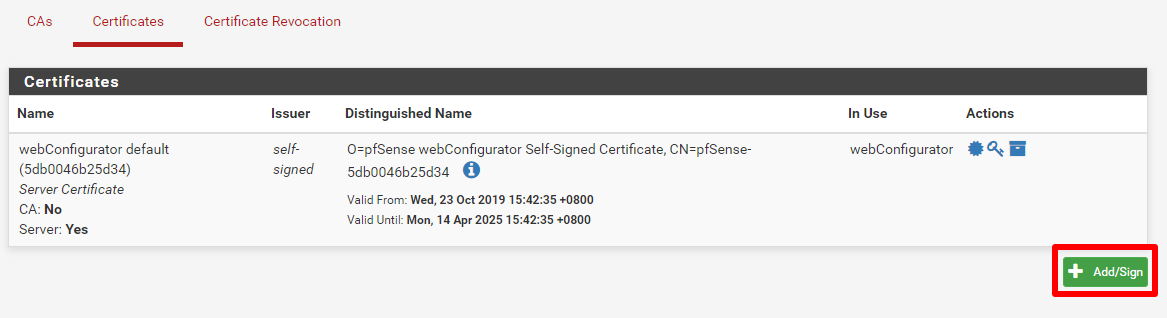
6、選擇 Certificates ,按下Add
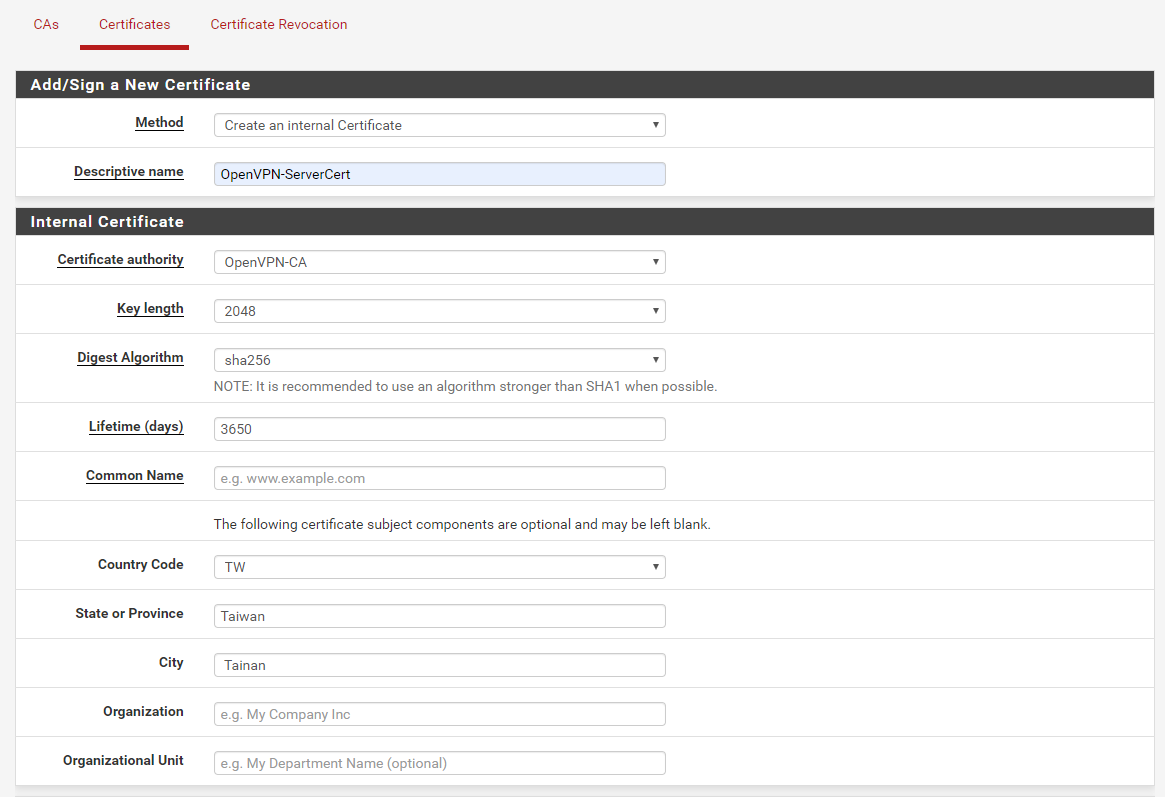
7、建立內部憑證,Descriptive name:自行命名,Common Name:輸入網址,Organization:組織名稱

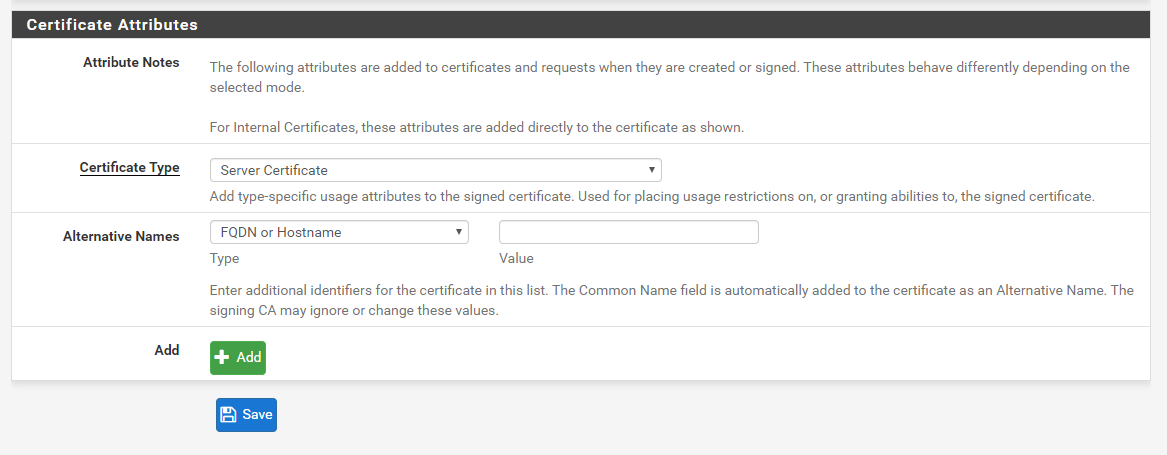
8、憑證屬性,請在 Certificate Type:下拉選擇 Server Certificate,設定完整後按下存檔

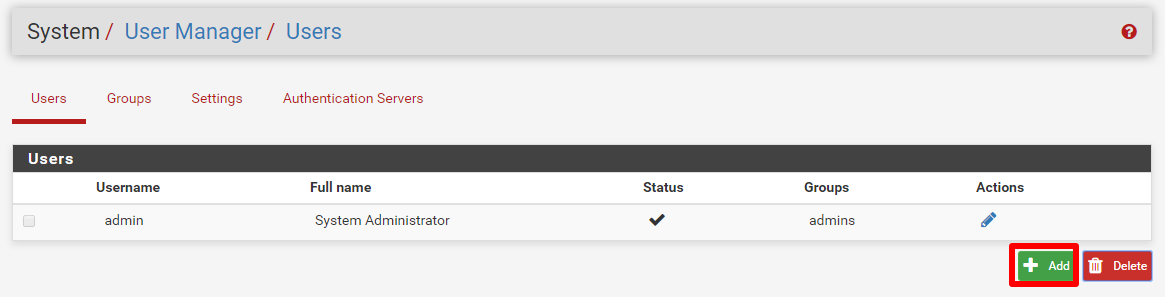
9、建立使用者 System --> User Manager

10、按下 「 Add 」
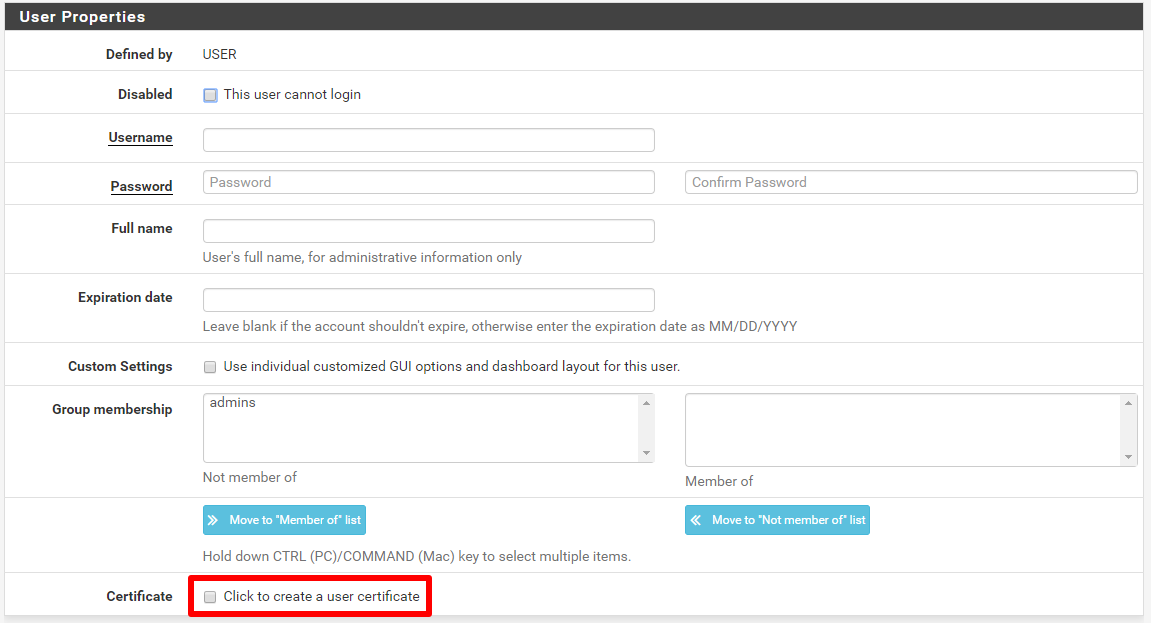
11、Username:使用者名稱,Password:使用者密碼,由於我們是要建立該使用者憑證,下面有一個 Certificate 這個選擇要打勾
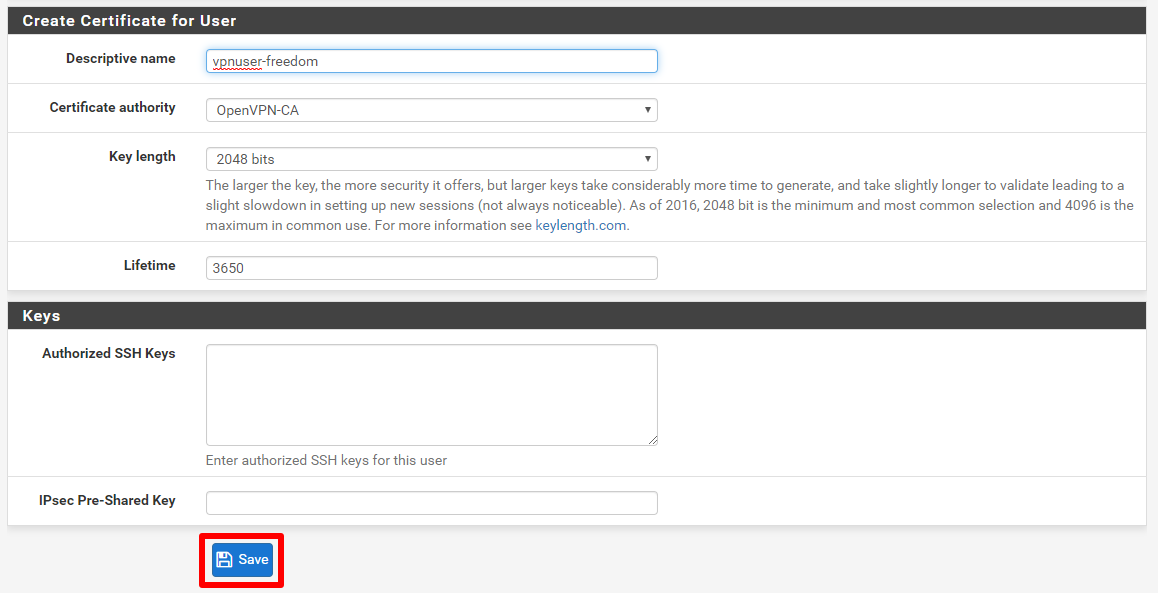
12、Descriptive name:自行命名,我是命是服務名稱加上使用者名稱,存檔
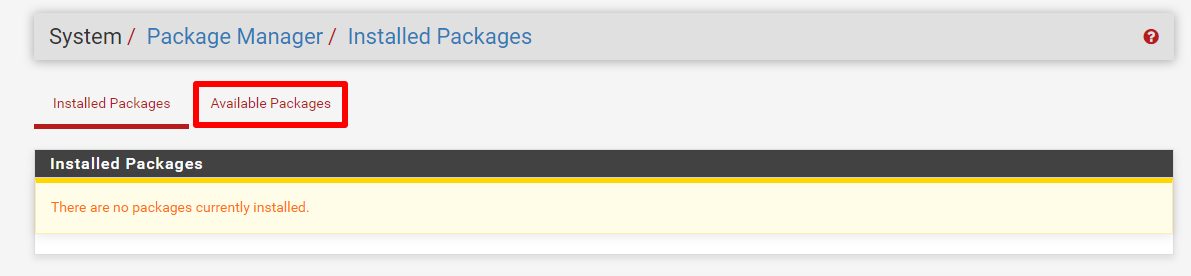
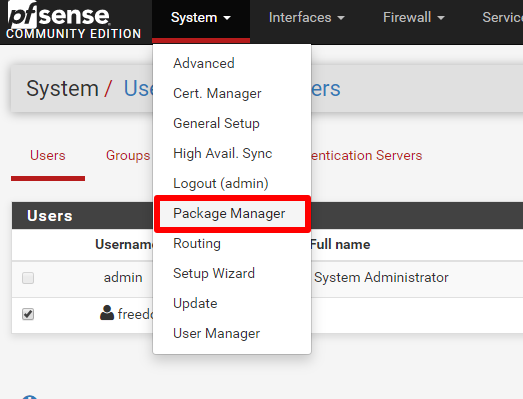
13、安裝 OpneVPN 套件,System --> Package Manager
14、選擇 Available Packager

15、用尋詢方式來找,找到之後安裝該套件
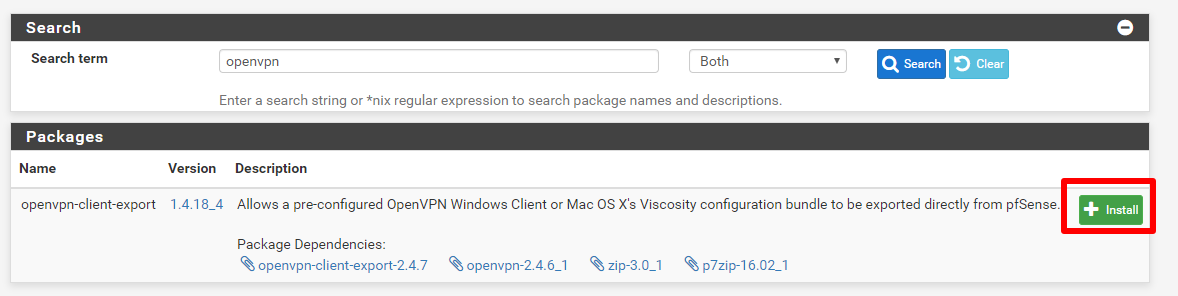
16、詢問是否要安裝,按下 Confifm

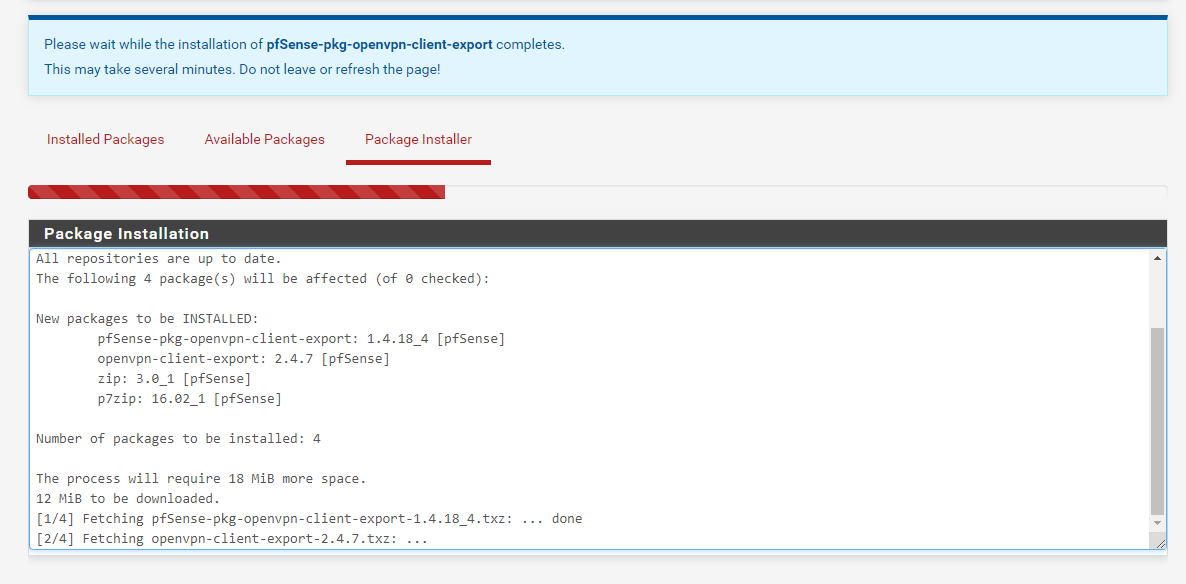
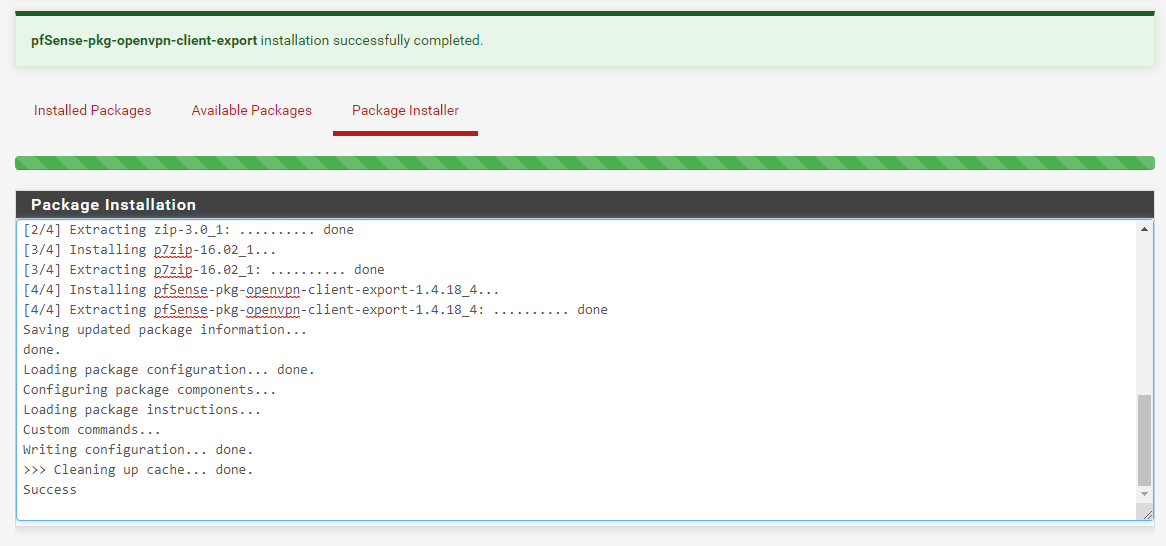
17、安裝套件過程

18、安裝完成
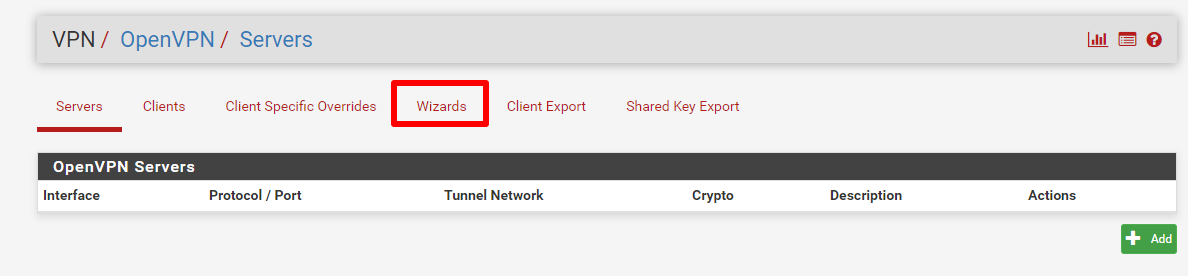
19、選擇 VPN --> OpenVPN

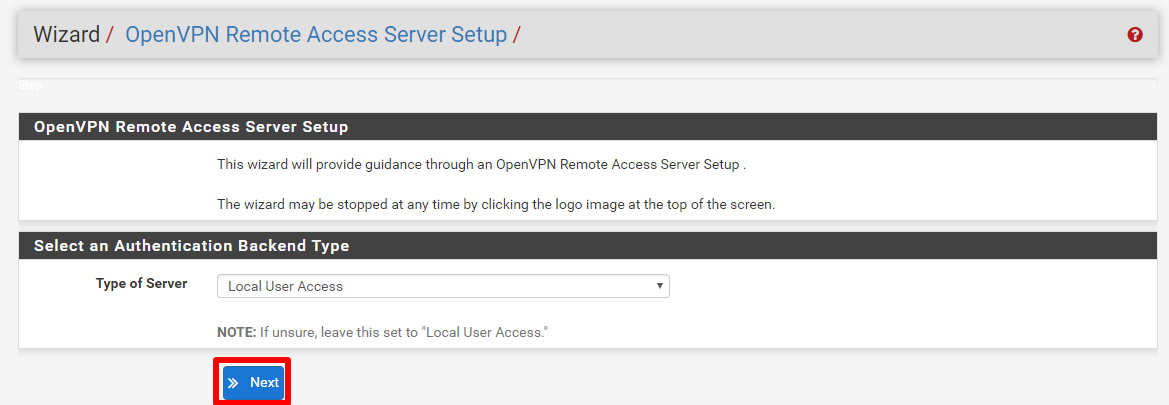
20、選擇 Wizards 這是設定精靈
21、不用選擇直接按下一步

22、這是選擇您所使用的 CA 憑證,如果您還有其他的憑證就要選擇,我目前只有一個,選擇完按下一步

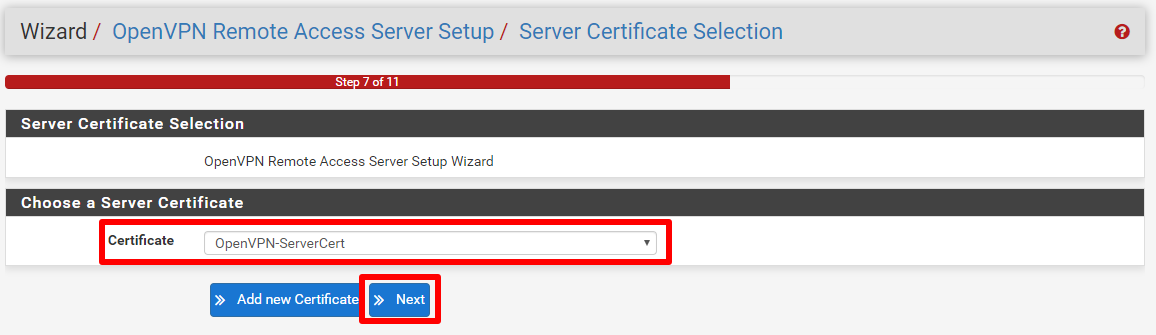
23、這是選擇您所使用的服務憑證,如果您還有其他的憑證就要選擇,我目前只有一個,選擇完按下一步
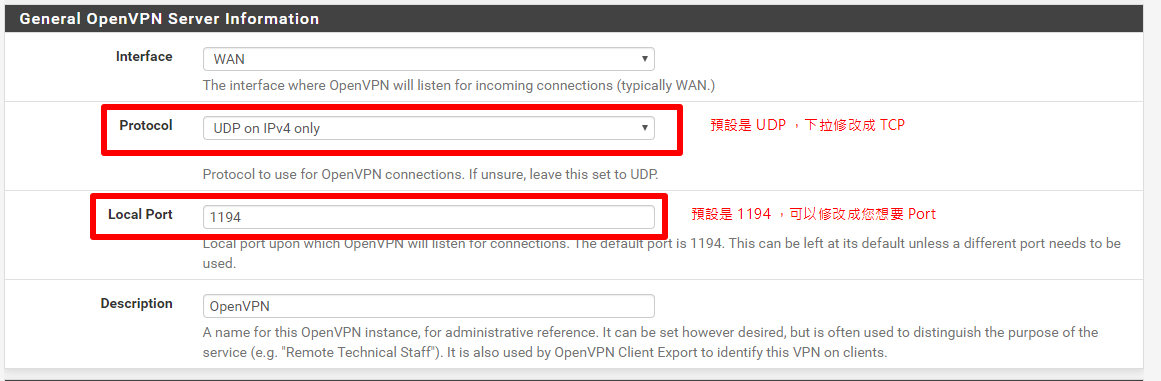
24、Protocol:預設是UDP,可以選擇使用TPC,Local Port:預設是1194,可以修改您想要的Port,BUBU是使用 TPC 方式來設定
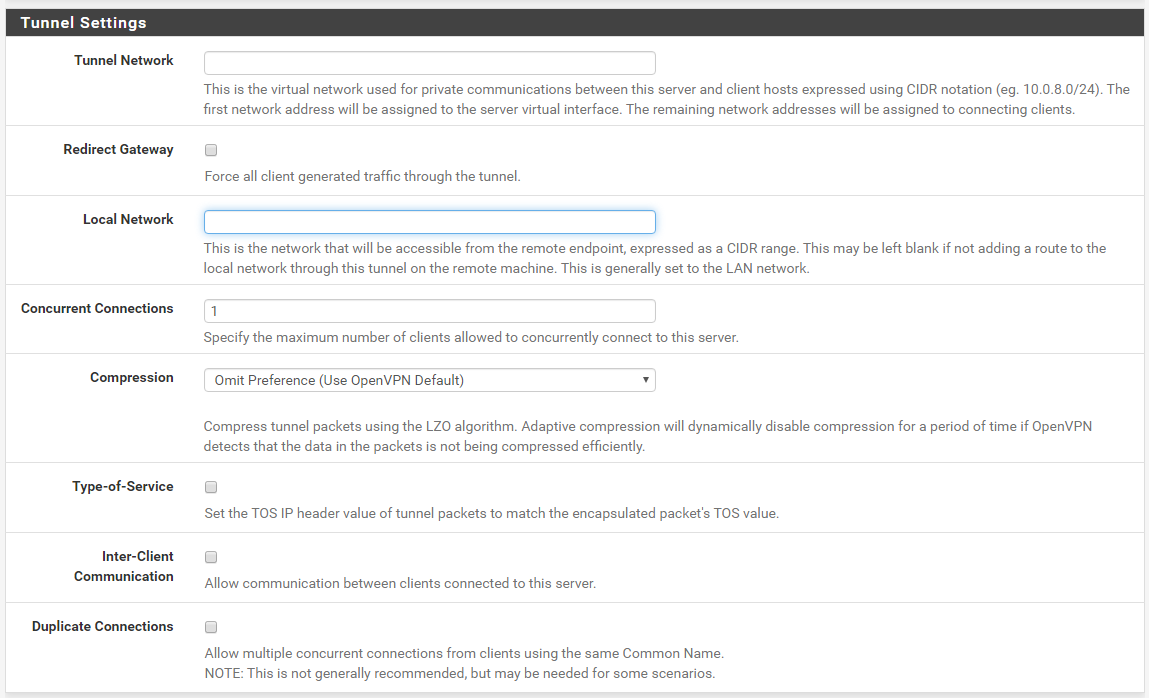
25、Tunnel Network:設定要配放的 IP,Local Network:設定您本地的網段 IP,Concurrent Connections:這是限制幾台設備連到VPN 主機,這可以選擇性填寫,Inter-Client Communication:打勾
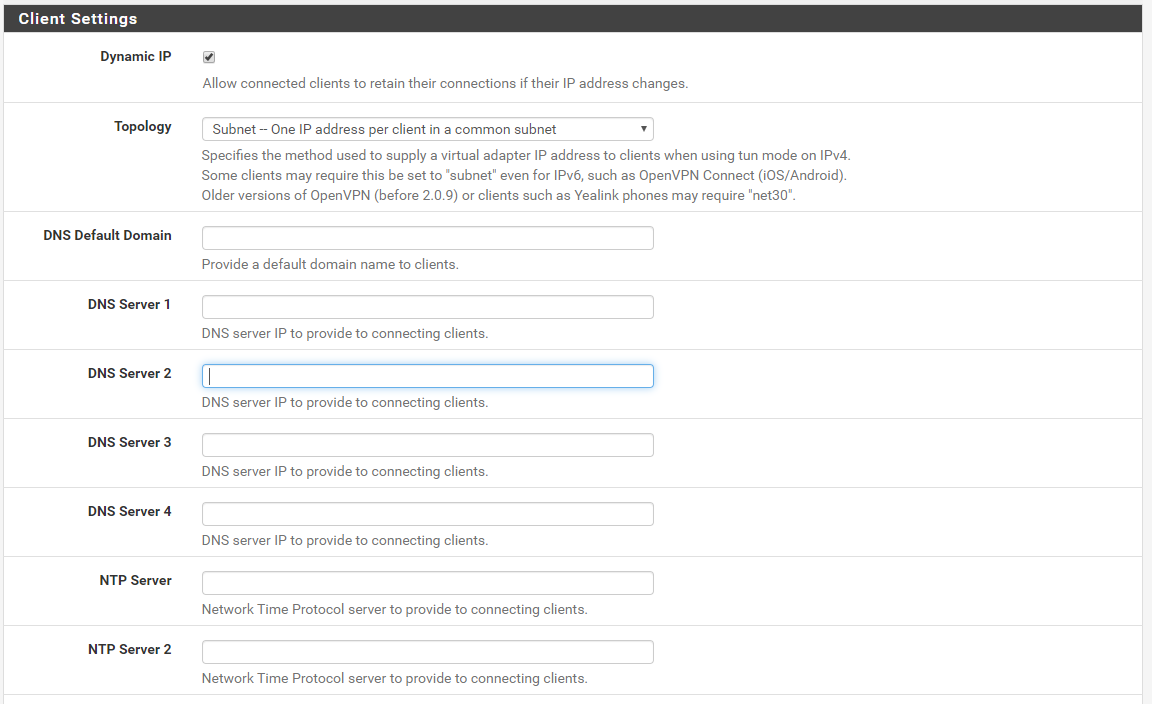
26、填入 DNS 服務,那通常都是 168.95.1.1、8.8.8.8 這兩組很常見,除非您有架設內部的 DNS 服務,可以在這裡輸入,設定好按下一步
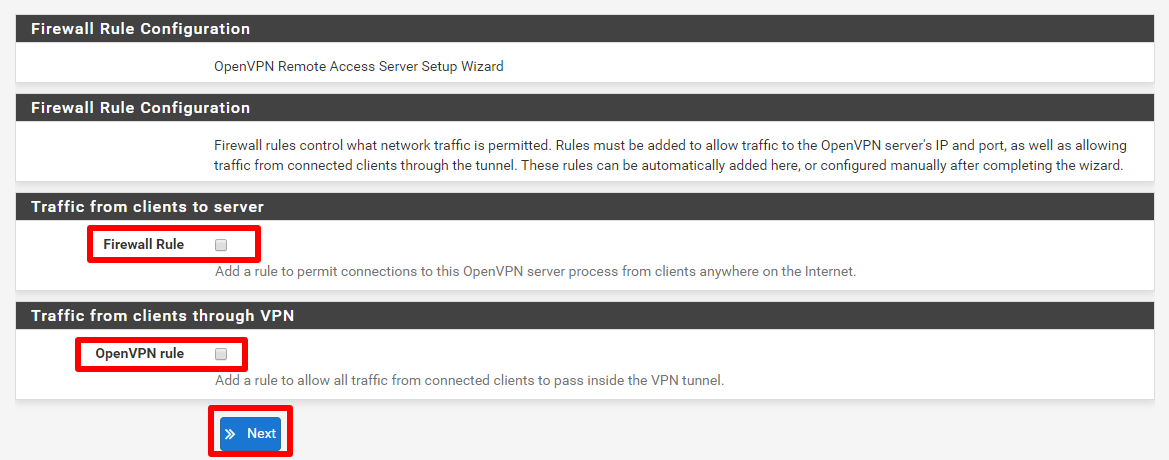
27、這裡會幫你設定好防火牆的規則,Firewall Rule、OpenVPN rule 這兩個都打勾,然後下一步

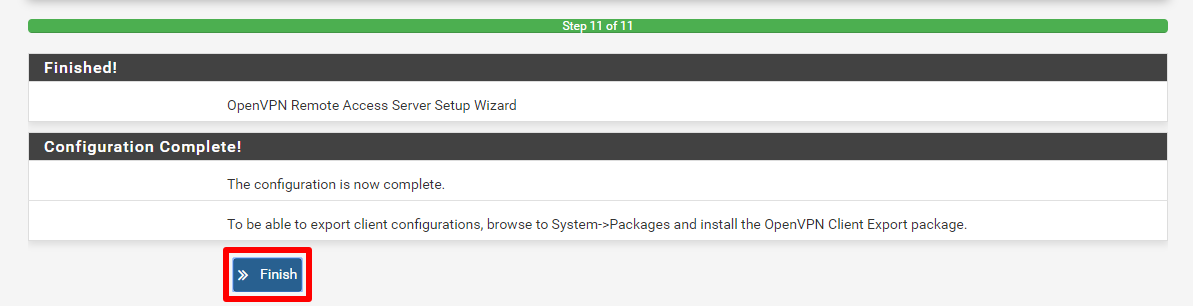
28、按下完成
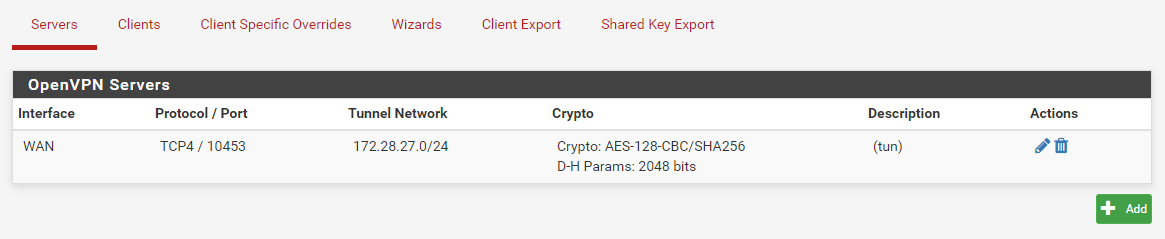
29、這是精靈建立好的設畫面

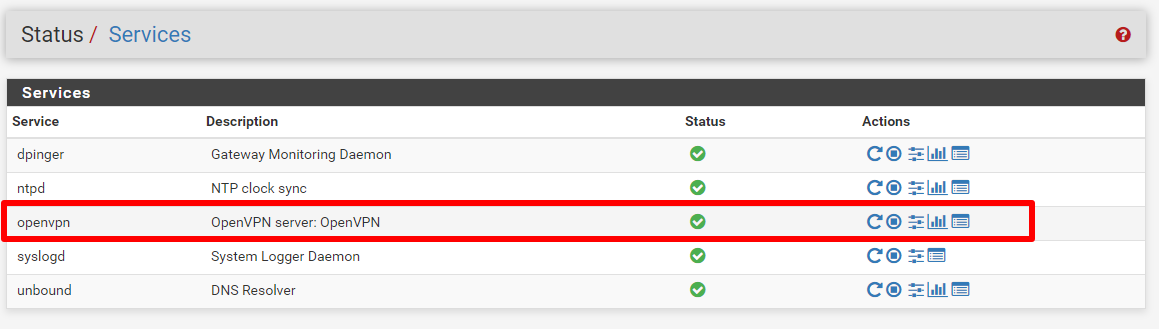
30、如何查看服務狀況,Status --> Services
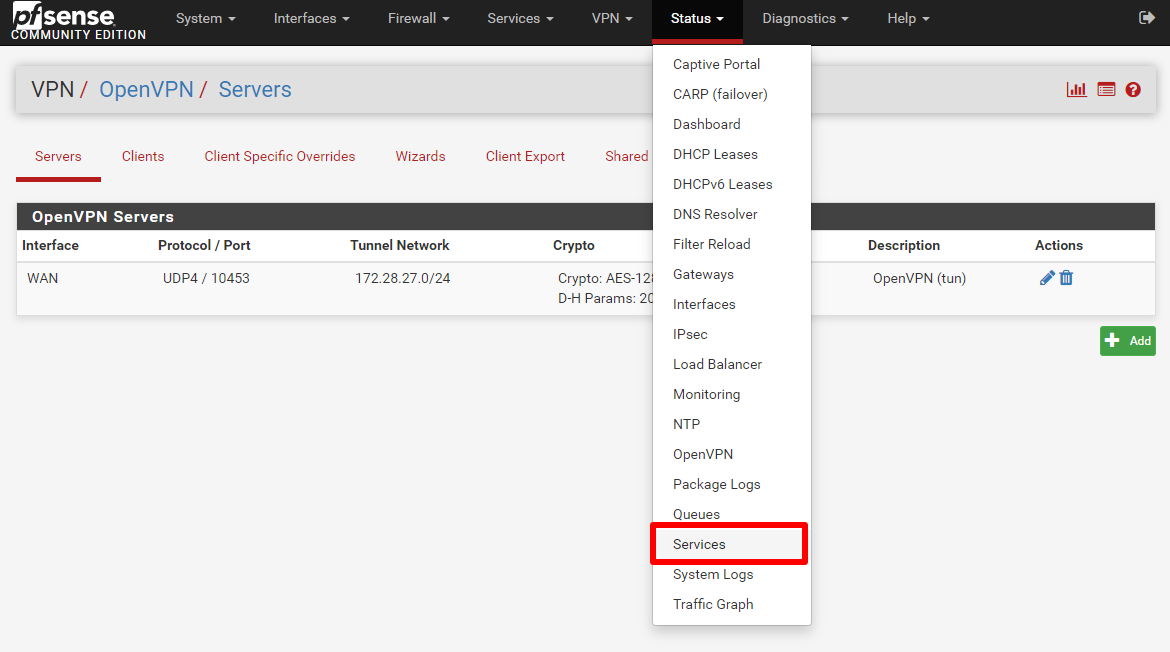
31、您會在畫面上看到 openvpn 目前狀態

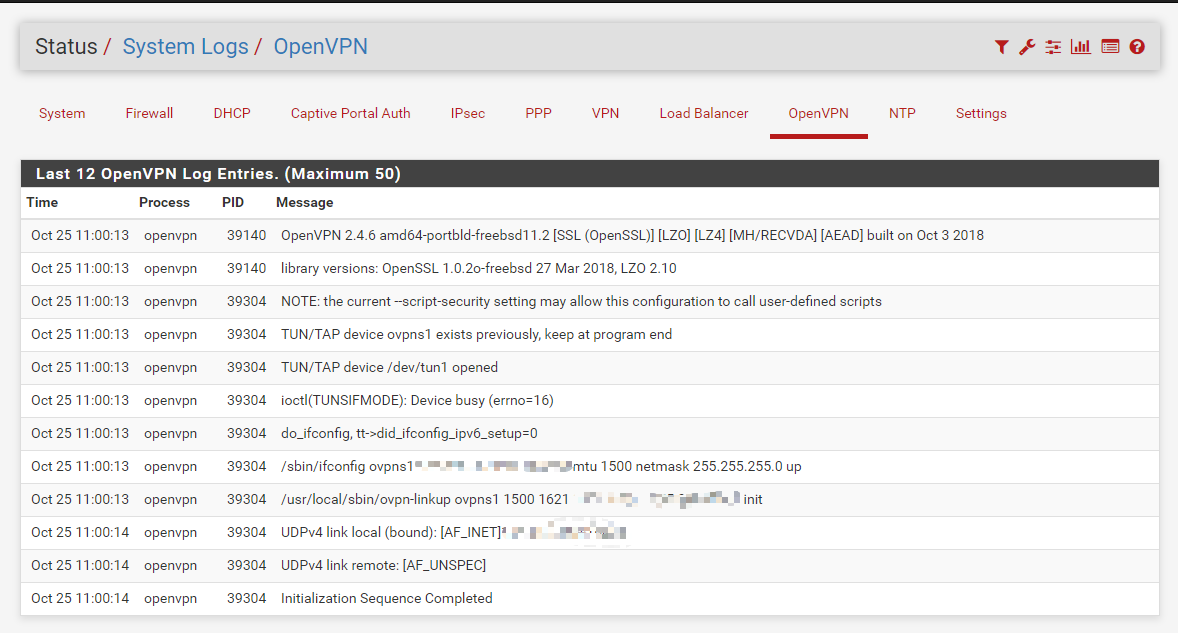
32、查看記錄檔,Status --> System Logs

33、再選擇我們想要查看那個服務的記錄,選擇看 OpenVPN

34、這是目前 OpenVPN 記錄

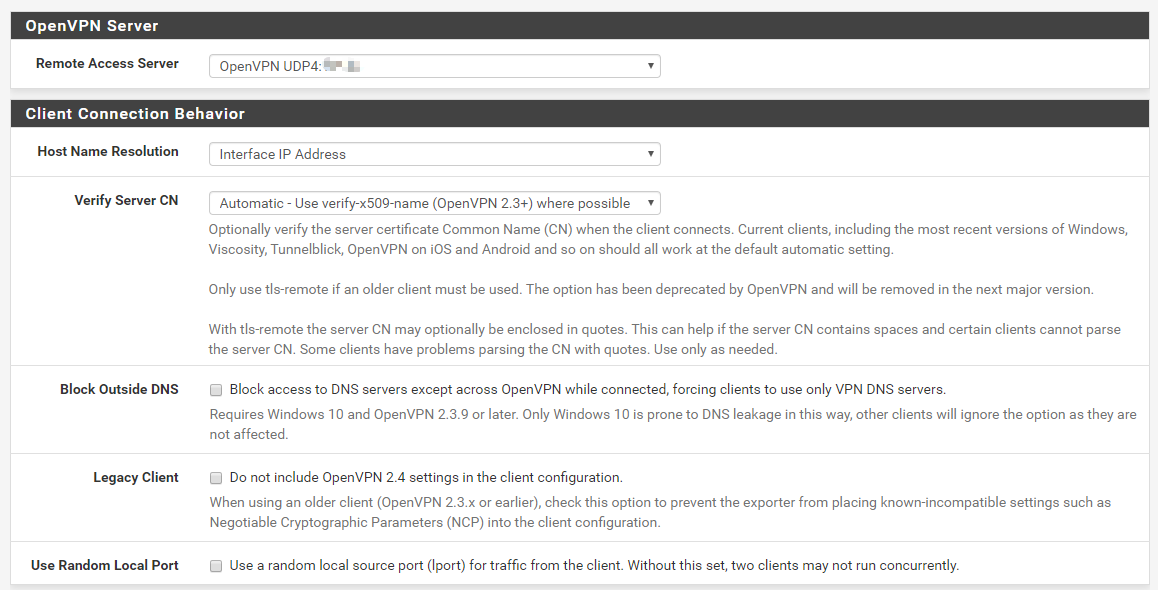
35、將使用者 VPN 設定檔匯出,在 OpenVPN 裡面有一個選擇 Client Export 這裡

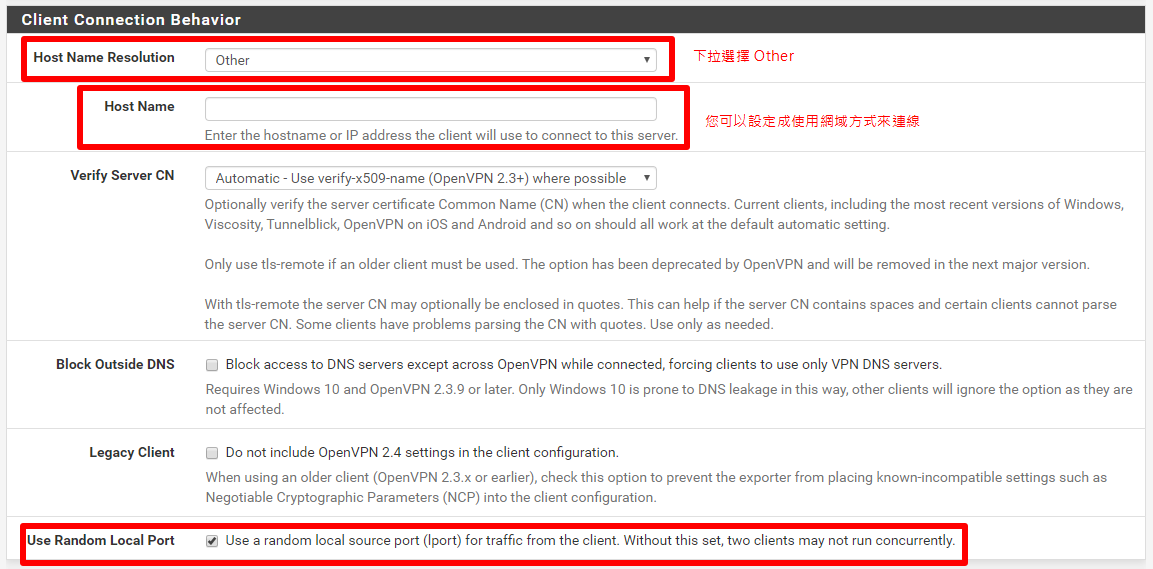
36、進來的畫面
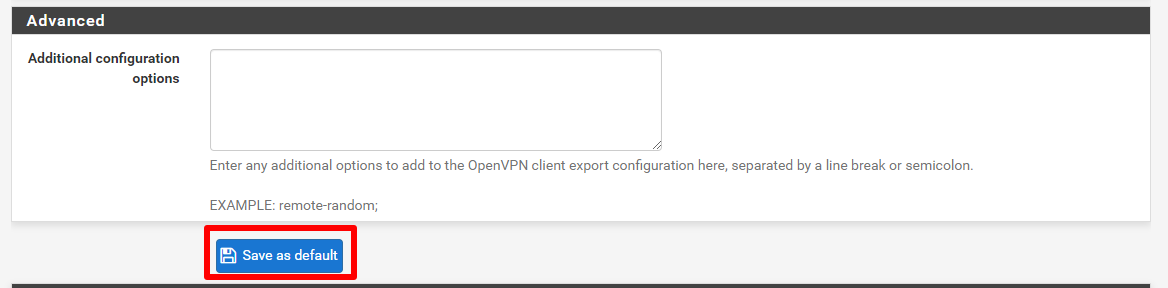
37、Host Name Resolution:下拉選擇 Other,會出現 Host Name:這裡可以使用網域方式來連線
38、填寫完之後按下存檔即可
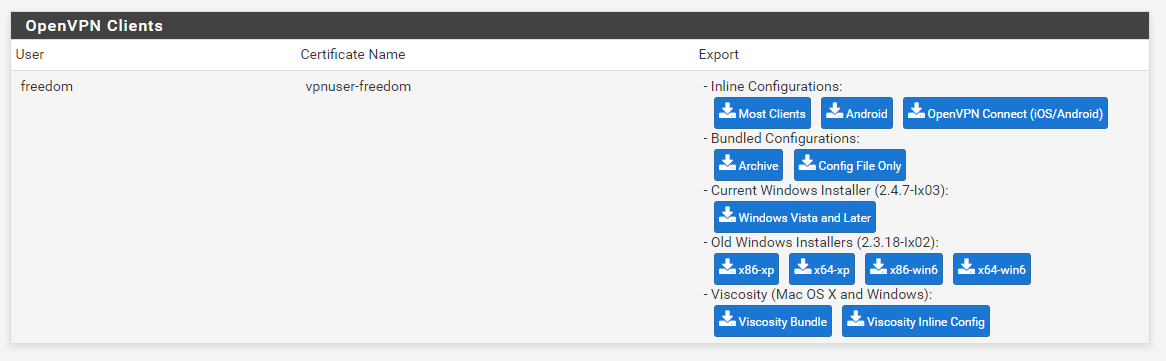
39、下面會有一個 OpenVPN Clients:這裡是讓您可以下載使用者 VPN 設定檔
補充說明
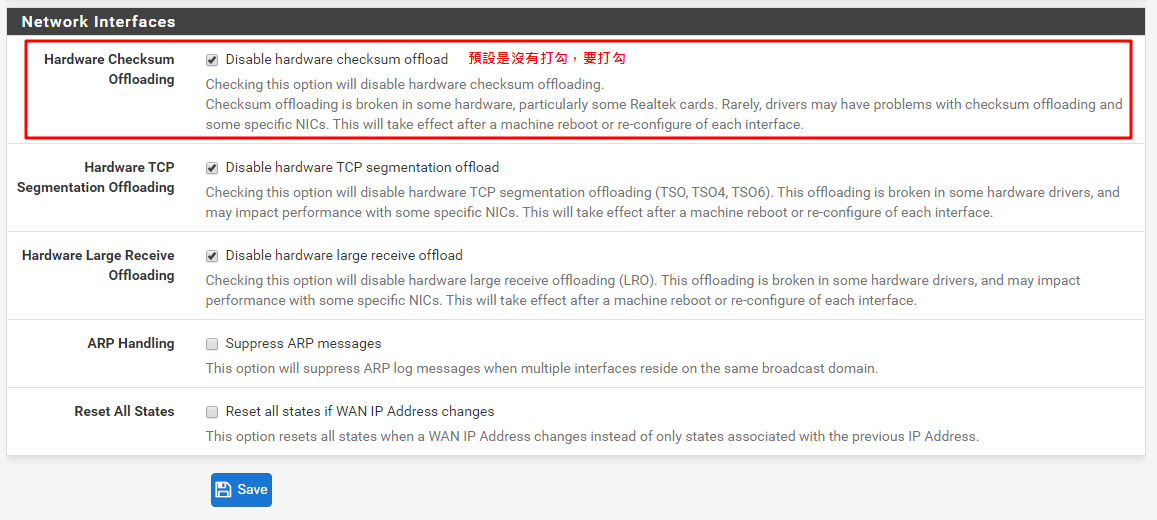
因 BUBU 在測試的發現到一個問題,就是無法正常連線內部主機的網頁及 ssh 服務,但是可以正常連線網路芳臨,問題出在 Hardware Checksum Offloading 這個項目要打勾才會正常,官方是說明這個做硬體的校驗及卸載用。
- System -> Advanced -> Networking 在系統設定裡的進階選擇網卡

- 進入之後找尋圖示上面的項目並且打勾,存檔就可以正常連線了
參考相關網頁
參考線上影片