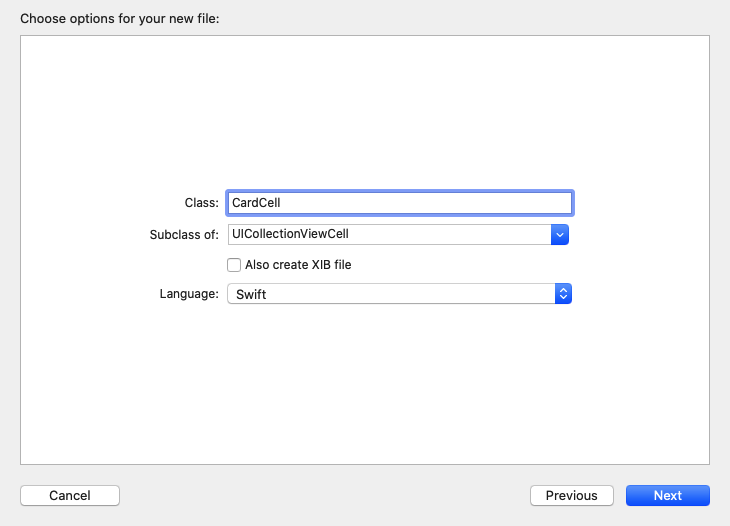
延續上一篇,首先建立一個新類別:點選專案資料夾->右鍵點擊並且新增檔案->選Cocoa Touch Class->我命名為CardCell->繼承UICollectionViewCell:
現在我們可以對這個Cell為所欲為啦!! 我要讓上一篇新增的dataNumber顯示在Cell內,所以我新增一個UILabel元件,先宣告就好,之後再對這個標籤進行其他的屬性設置。
let titleLabel = UILabel()
並且新增一個func來對這個titleLabel上下其手,並且設置這個標籤的大小、寬度、字體顏色、背景顏色、字體對齊方向、字型、字體大小以及是否隨著寬度而自適應字體大小。
     fileprivate func setupTitleLabel()
     {
        titleLabel.frame = CGRect(x: self.frame.width * 0.3, y: self.frame.height * 0.4, width: self.frame.width * 0.4, height: self.frame.height * 0.2)
        titleLabel.textColor = #colorLiteral(red: 0.5563425422, green: 0.9793455005, blue: 0, alpha: 1)
        titleLabel.backgroundColor = #colorLiteral(red: 1, green: 0.5409764051, blue: 0.8473142982, alpha: 1)
        titleLabel.textAlignment = .center
        titleLabel.adjustsFontSizeToFitWidth = true
        titleLabel.font = UIFont.systemFont(ofSize: 30)
        self.addSubview(titleLabel)
    }
fileprivate這個前綴詞,是Access Control內的一種,用意是只有這個Source File內才可以取用,為什麼會出現這個,因為我將這些設置的東西寫在init(frame:)內,然後選取這些代碼後點擊右鍵->Refactor->Extract to Method,會將這些代碼包裝成一個func,滿方便的。
另外定義一個 func setupFirst(data:indexPath:),用來接收ViewController傳過來的資料並且顯示出這些資料的內容。
 func setupFirst(data: [Int], indexPath: IndexPath)
    {
        titleLabel.text = String(data[indexPath.row])
    }
最後再在類別初始化的地方加入下列程式碼,這個類別就寫得差不多了:
override init(frame: CGRect)
    {
        super.init(frame: frame)
        setupTitleLabel()
        self.backgroundColor = #colorLiteral(red: 0.4513868093, green: 0.9930960536, blue: 1, alpha: 1)
    }

    required init?(coder: NSCoder)
    {
        fatalError("init(coder:) has not been implemented")
    }
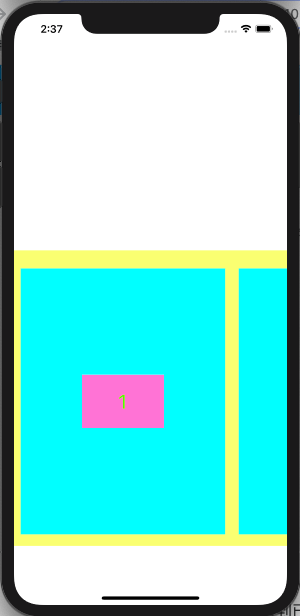
現在執行代碼,可以看到已經有firstCollectionView了,並且每個Cell也顯示不同的資料。
另外一個UICollectionView也是一樣的設置,明天來講要如何實作第二個UICollectionView。
