op.20 融入妳的時空
學習妳在的時空的任何點滴
希望可以更加地貼近妳的生活!
今天是連假後第一天,好累喔不想起床XD
今天就來寫一篇安裝過程的筆記吧,雖然官網上已經有教學了,但有一些設定環境還是想整理出來,絕對不是甚麼為了湊篇幅啦(其實根本在偷懶吧,好了,廢話不多說,就開始今天的過程吧!
備註:今天圖片特多喔XD
將下載下來的檔案解壓縮至任何地方,只要記得解壓縮在哪裡即可,對於後面環境安裝很重要。
這裡解壓縮至 C:\src。
//pic
也可以使用指令進行安裝,兩者選擇一個操作即可。
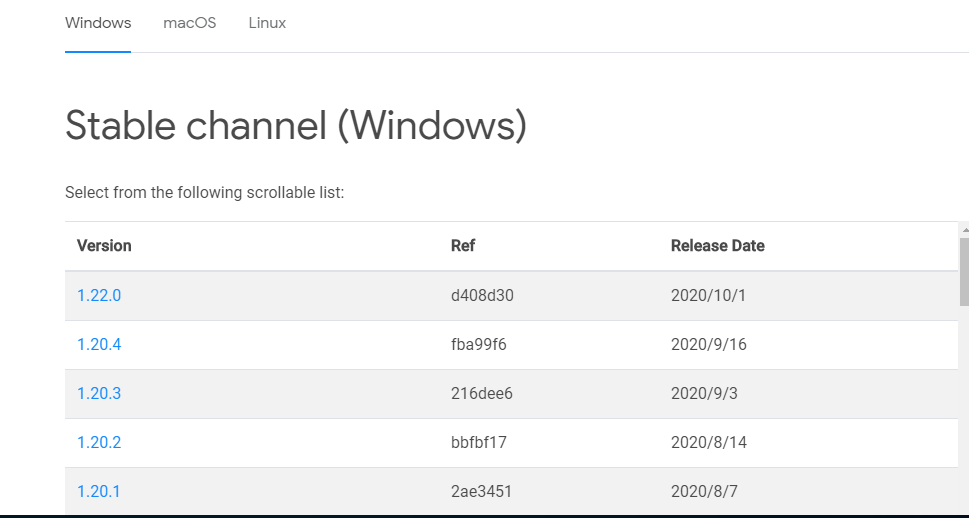
首先妳會需要能夠執行 git 的環境,可以至這裡下載 (載點)
//pic
到這裡我們就完成安裝的部分了,接下來就可以進行環境設定的部分。
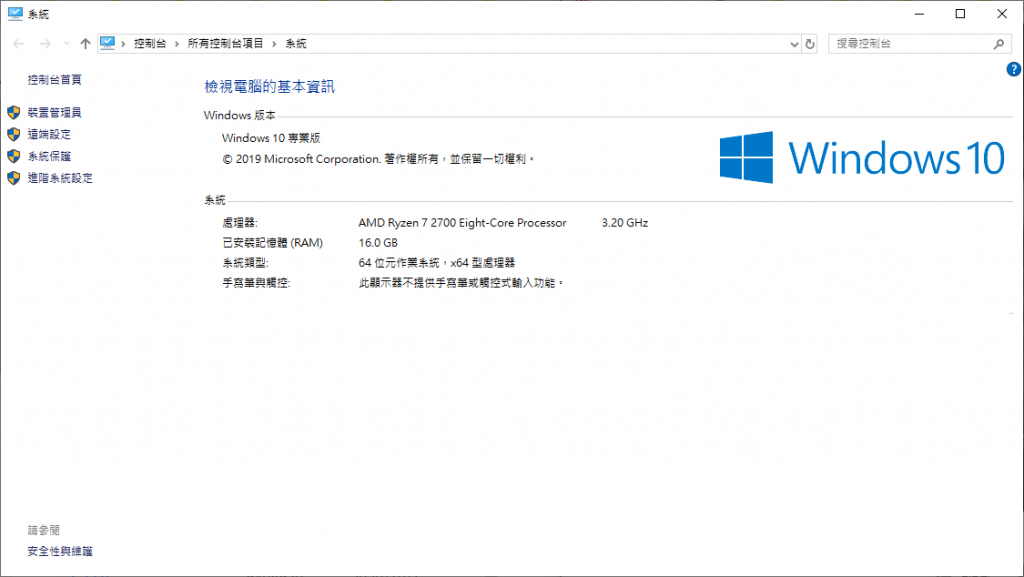
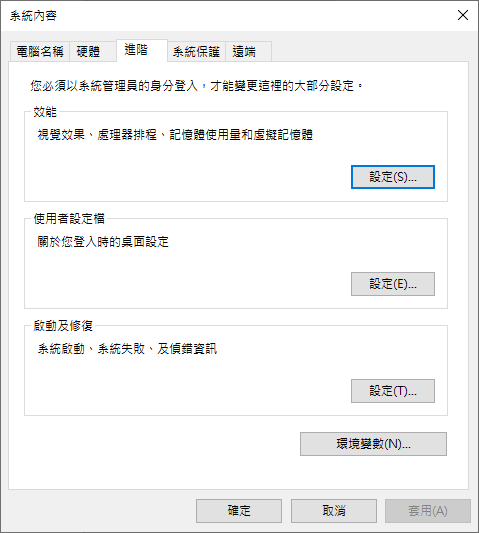
環境變數設定頁面 本機 > 內容 (右鍵) > 進階系統設定 > 進階 > 環境變數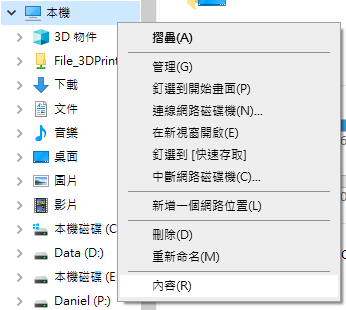
在使用者變數中找到 Path ,加入剛剛裝的 flutter 的 bin 資料夾路徑,如果沒有則自己新增 Path 變數。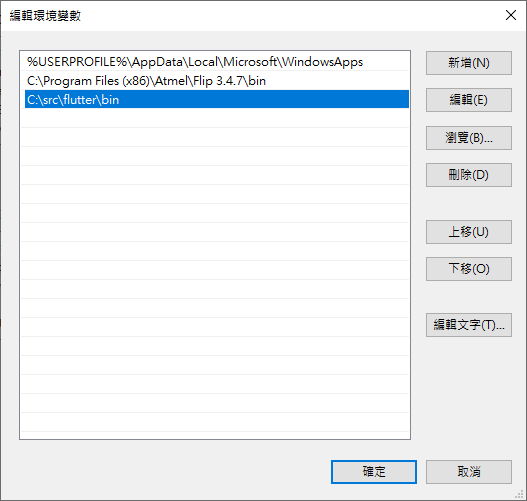
然後打開工作管理員,輸入指令,會檢視目前還缺少甚麼環境,出現紅色的 [x] 代表為必須, 黃色的 [!] 則是有問題,綠色的 [v] 代表已完成,每當完成一件事情可以利用這指令來檢查是否正確地安裝。
flutter doctor
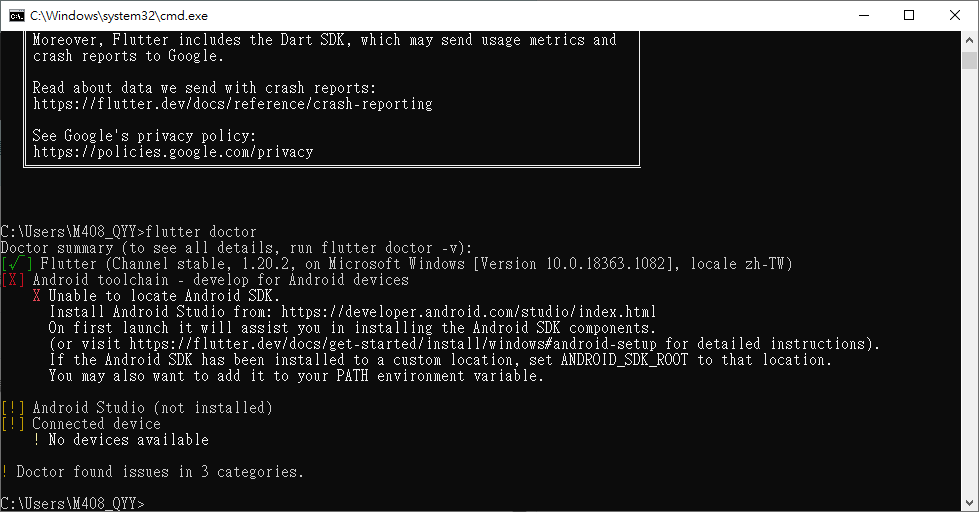
此時顯示缺少 Android 的環境,所以最快的方法就是安裝 Android Studio。
建置一個 Android 的環境,可以透過安裝 Android Studio 來幫忙建置 可以到這裡進行下載 (載點)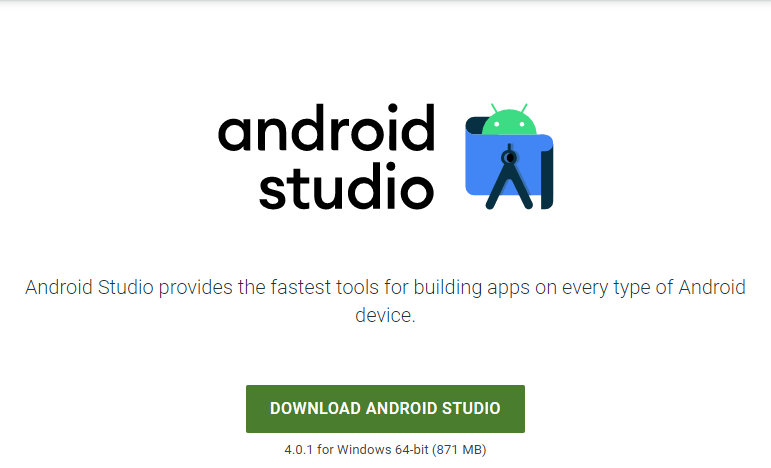
執行安裝程式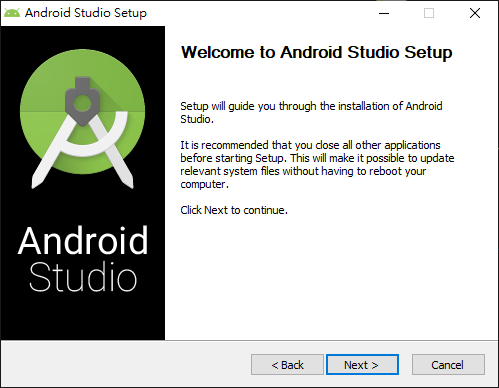
點選 Next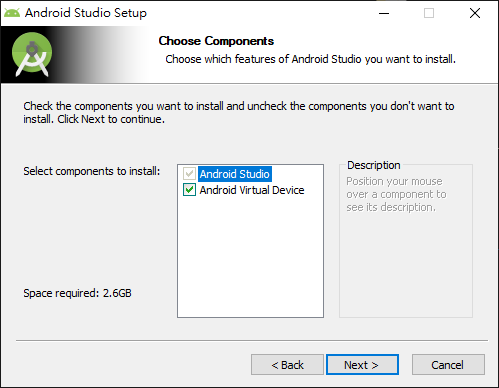
可以選擇安裝的位置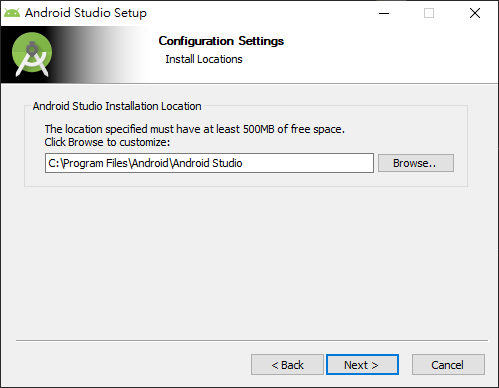
按下 Install 開始安裝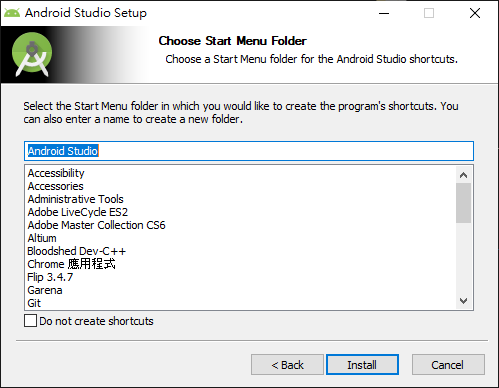
等待過程跑完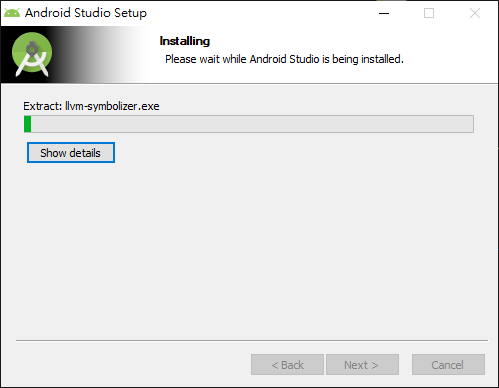
安裝完成後即可按下 Finish ,準備進入第一次的環境設定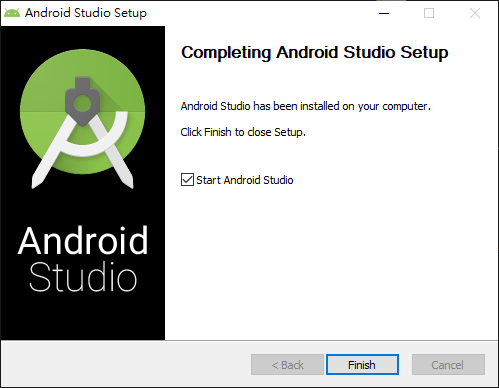
此時會跳出小視窗,直接 OK 即可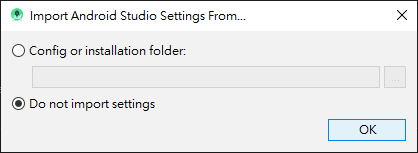
這裡按下 Next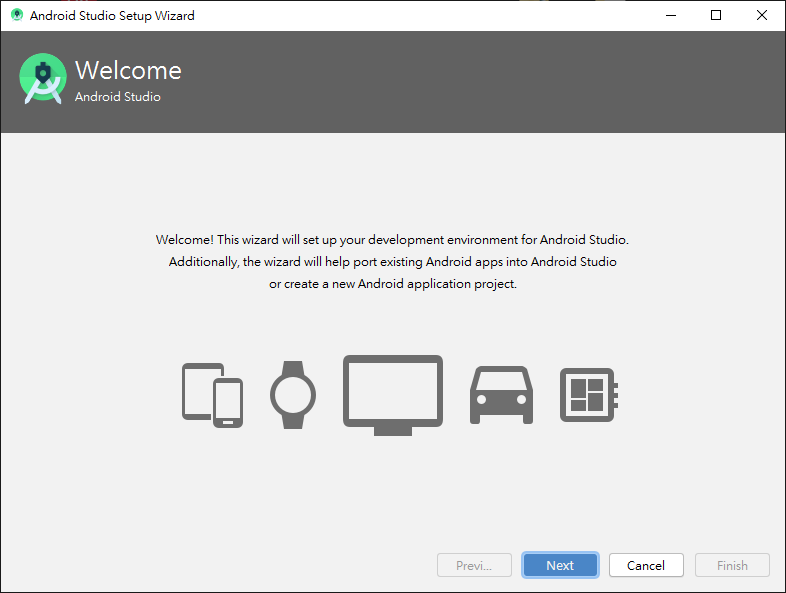
這裡選擇 Standard 後按下 Next
這裡可以依照自己喜好選擇顏色風格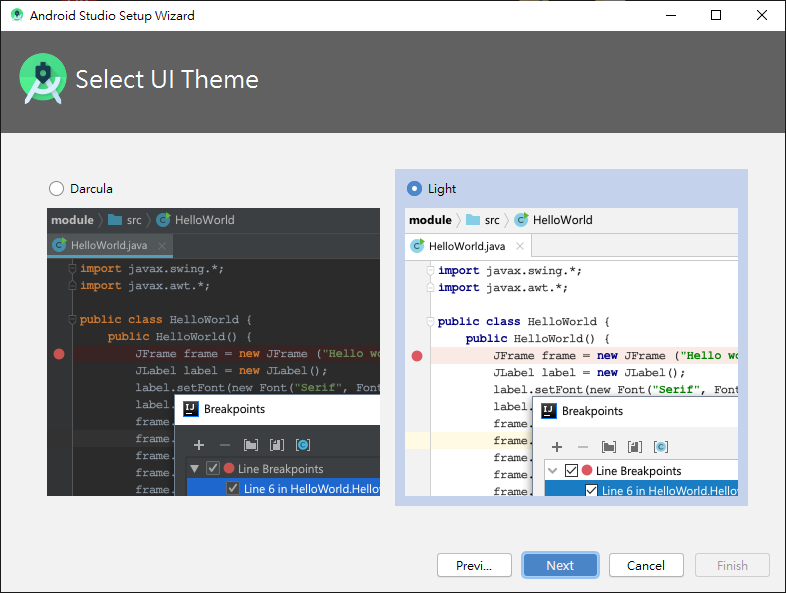
最後按下 Finish 完成設定,準備等程式自己設定完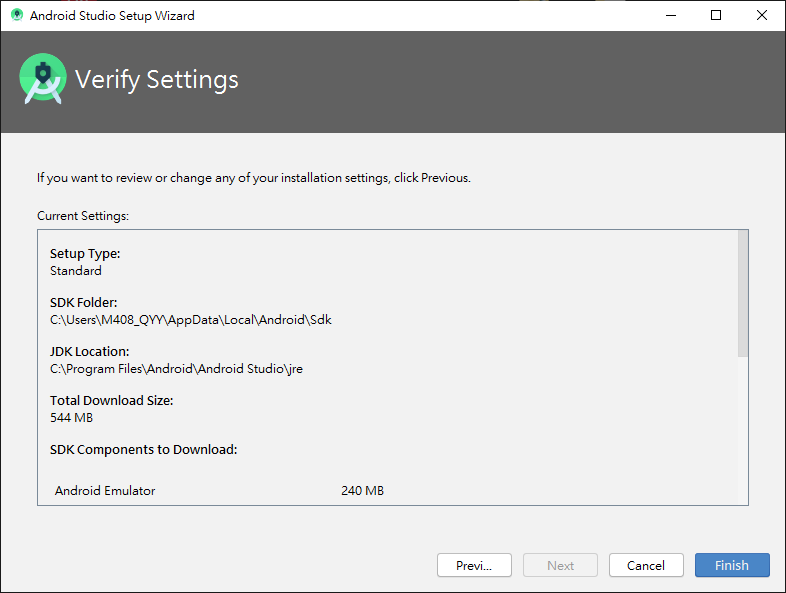
等待 ing......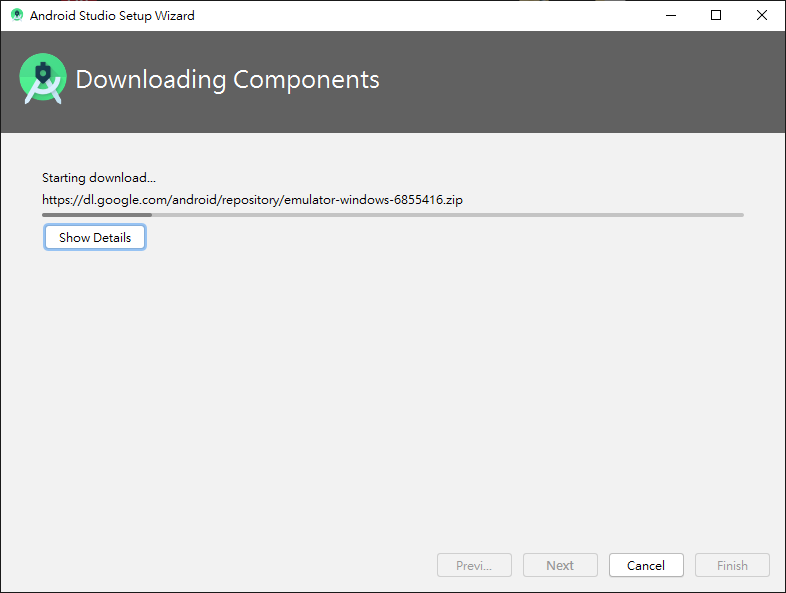
最後按下 Finish 完成所有步驟啦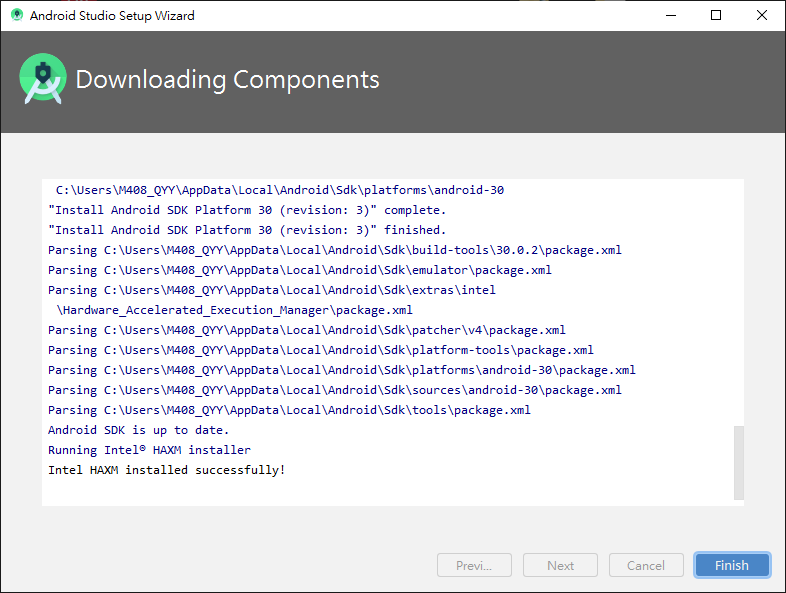
接下來打開命令提示字元,執行這個指令
flutter doctor --android-licenses
然後無止境的確認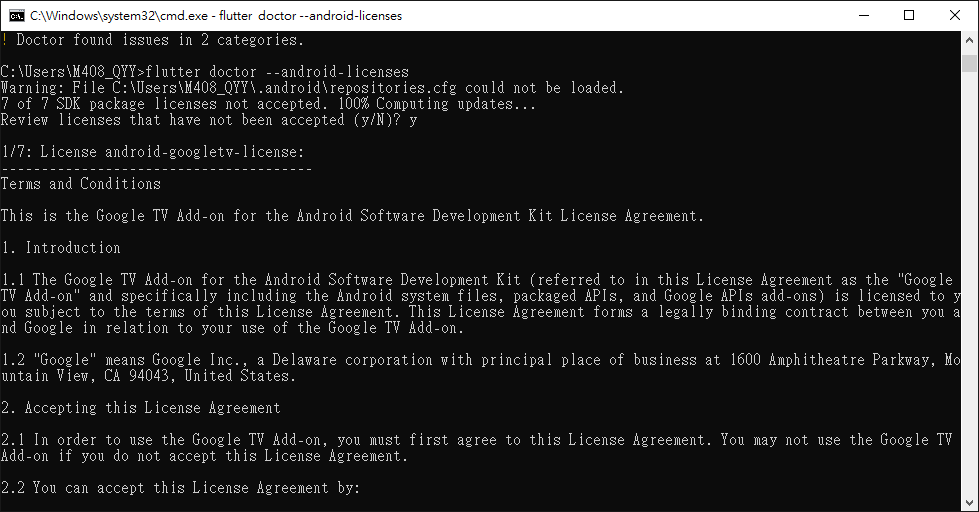
都確認完畢後,再執行一次 flutter doctor,此時都會出現綠色勾勾代表完成啦!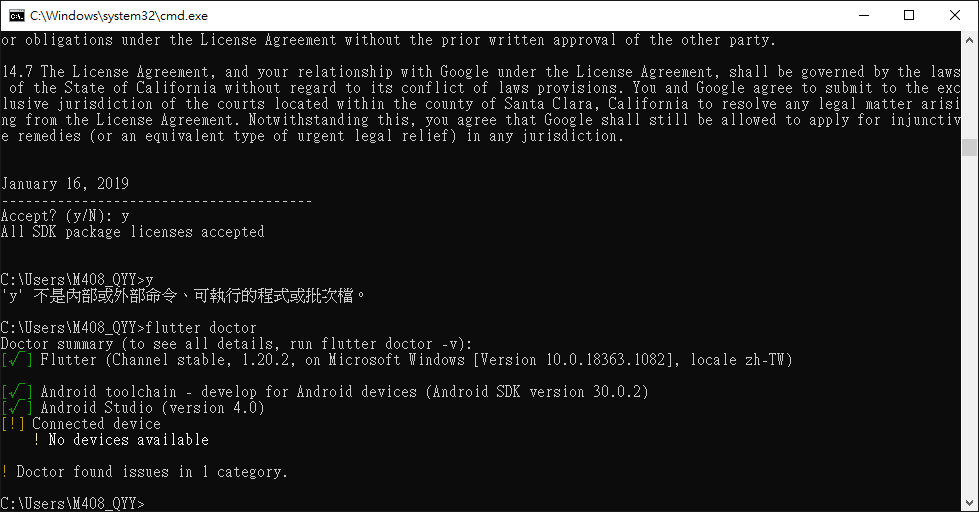
安裝完成後,啟動 Android Studio ,下發有個齒輪,按下它選取 Plugins
在搜尋處打上 Flutter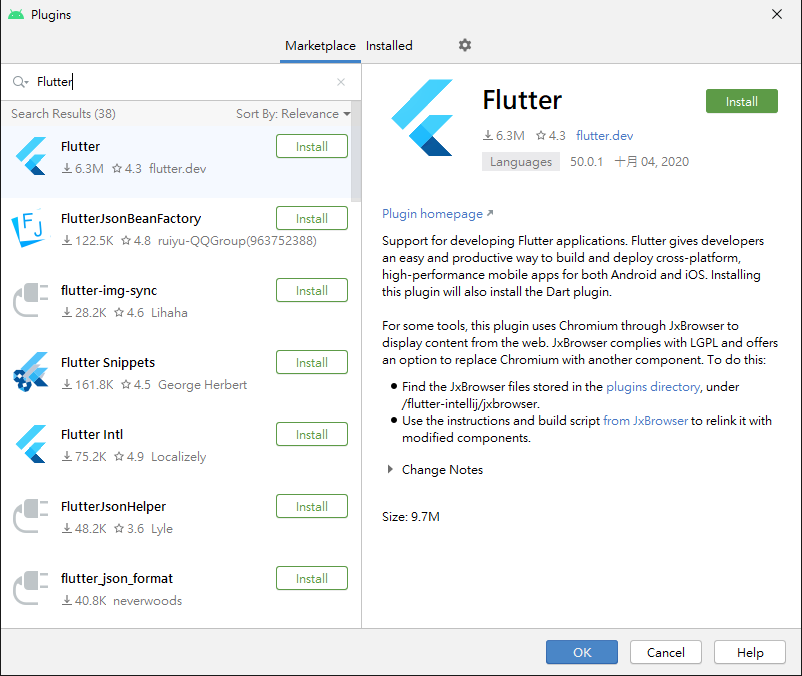
安裝完成後會提示重新啟動 IDE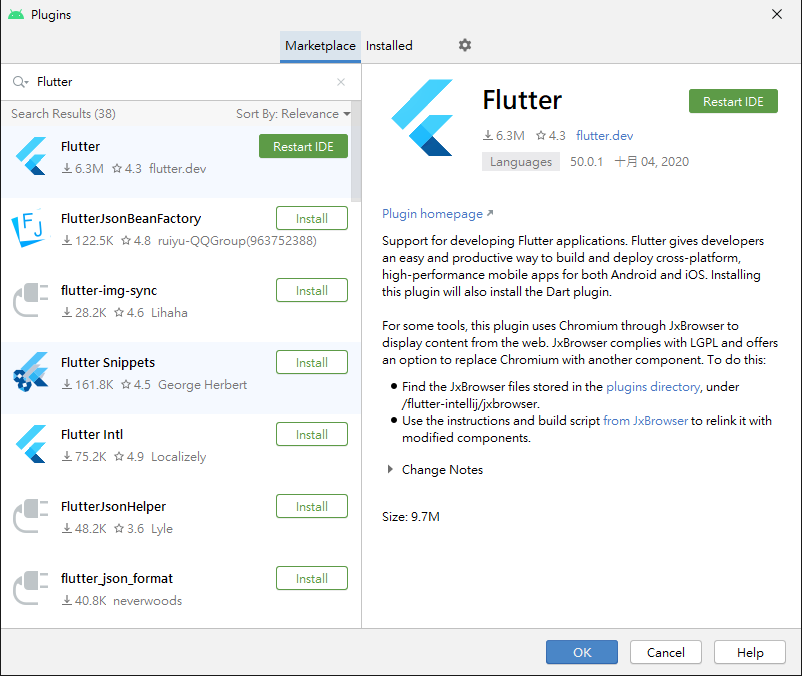
重新啟動後,便會發現多了可以新增 Flutter 專案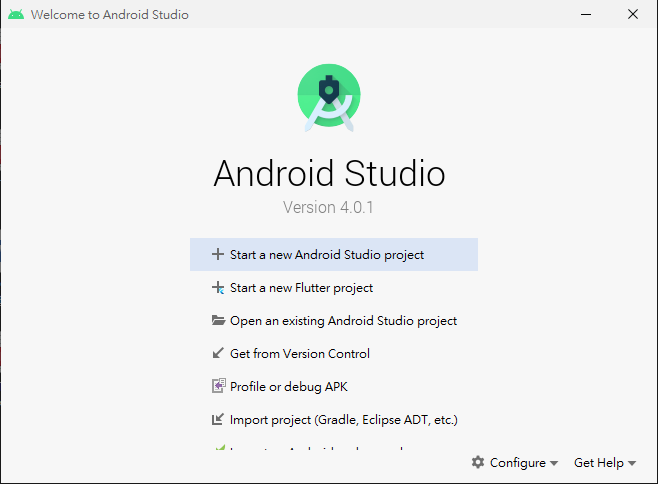
最後都完成後即可新增一個專案來試看看囉,這裡可以選取專案的類型,正常為選第一個即可。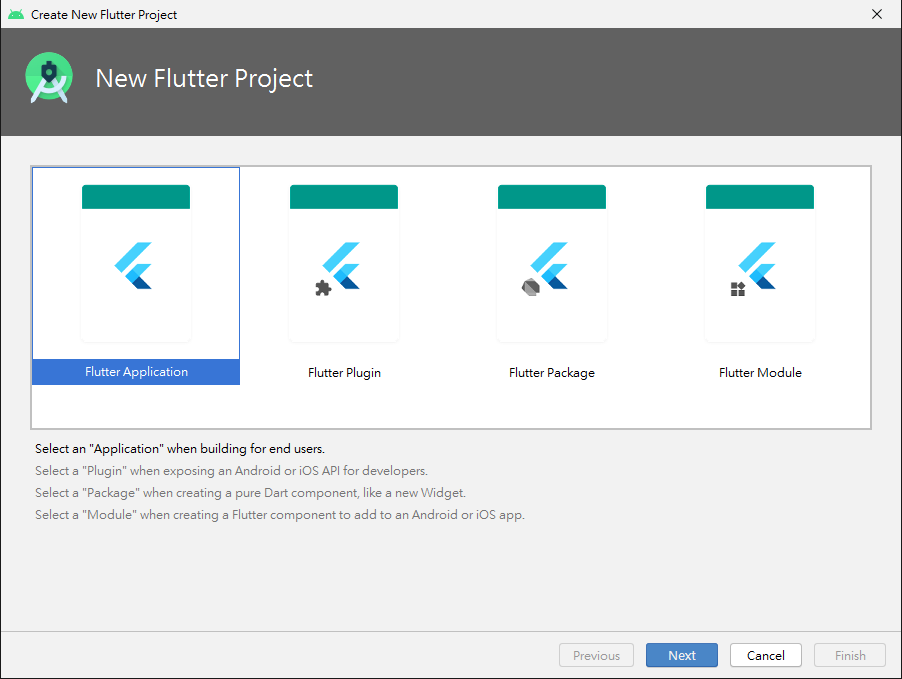
第一次使用要將SDK對應到安裝的 Flutter 位置,這裡也是對專案進行命名的地方。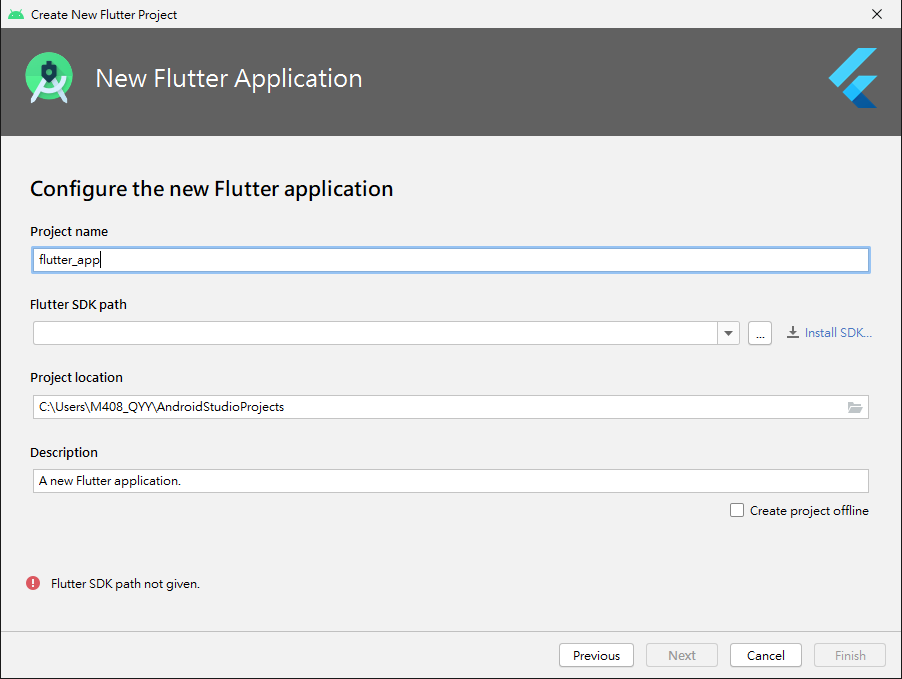
這裡可以設定 package name,基本上是不用設定啦,目前都沒有上架的需求XD,也可以事後設定。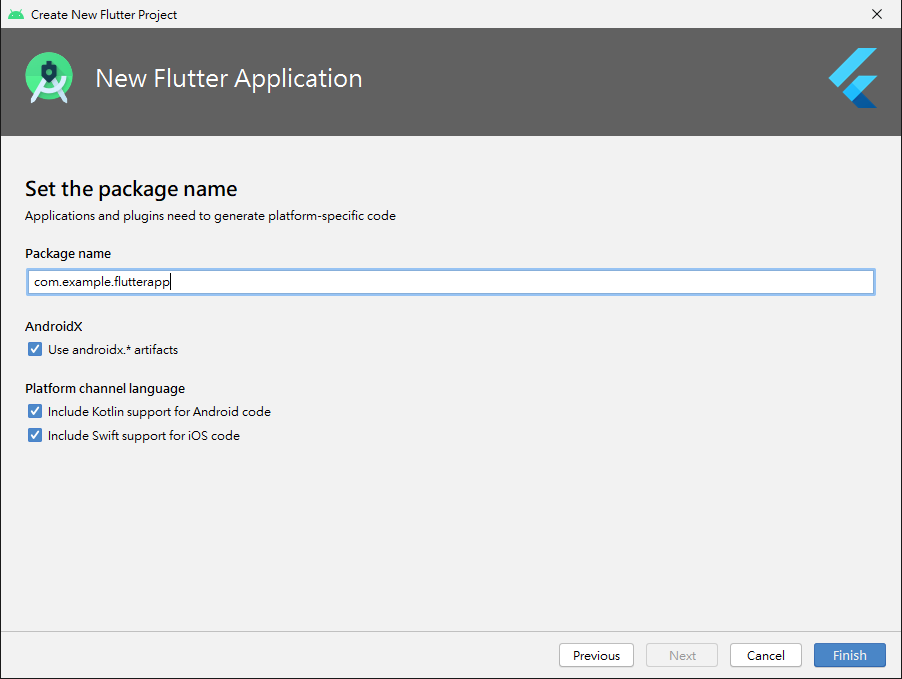
進到這裡就完成啦,接著就可以等明天我們來看看這到底是甚麼啦!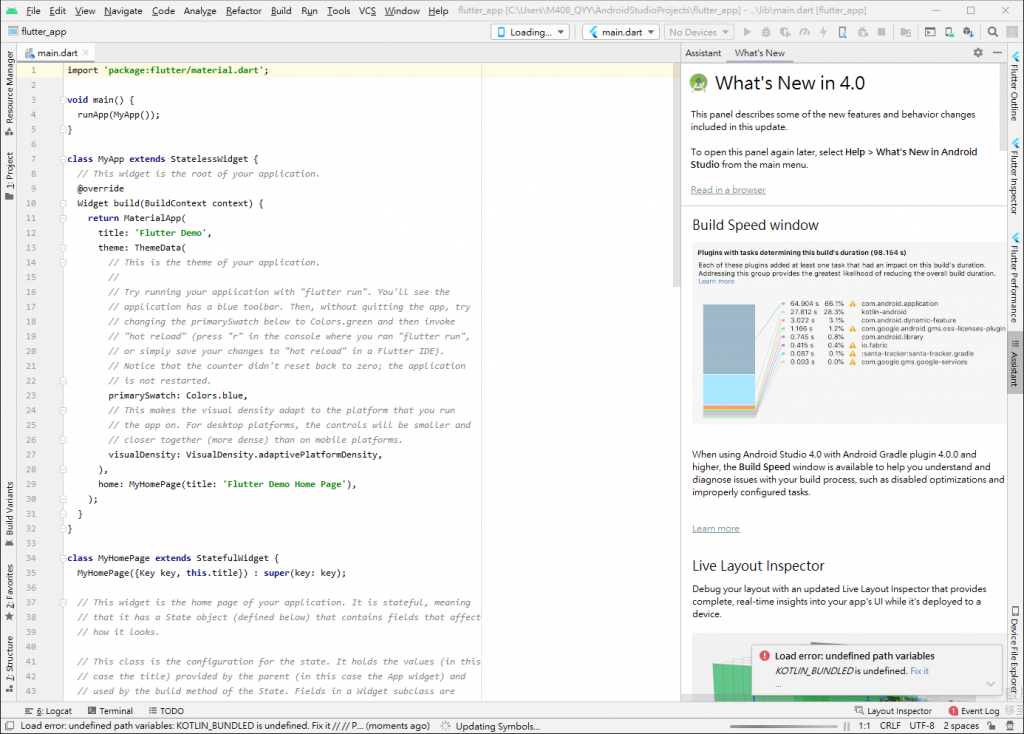
好的,今天終於完成這麻煩的安裝過程,明天我們再進到 Flutter 裡面吧XD