大家好,我是毛毛。
今天是Day 29
今天主要來看tensorflow-gpu怎麼安裝 & 如何切換GPU和CPU~ ヽ(✿゚▽゚)ノ
要使用GPU就得先安裝些東西
在去NVIDIA的官網下載驅動前要先來看看自己的顯卡是哪個~
可以在裝置管理員中看到,如下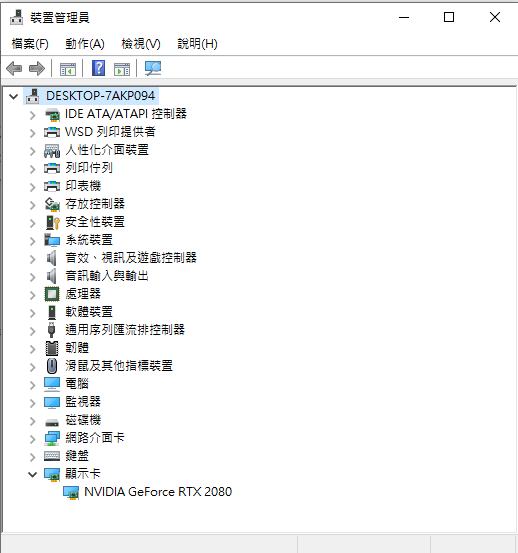
這邊我的顯卡是NVIDIA GeForce RTX 2080,接著我們就到官網去載驅動程式啦~
填入顯卡資訊與作業系統等,在按下SEARCH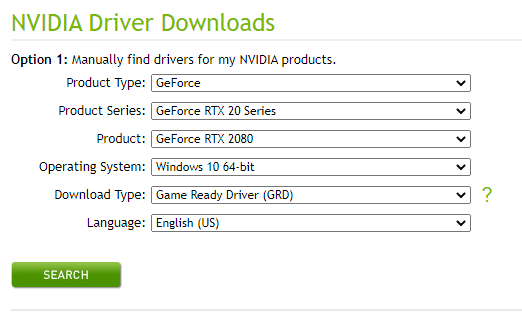
按下DOWNLOAD,安裝完就好啦~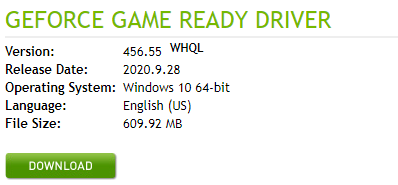
這個部分會比較麻煩一些,因為需要註冊會員才能下載
話不多說,就先去NVIDIA cuDNN吧~
進來會看到這個畫面,選擇Download cuDNN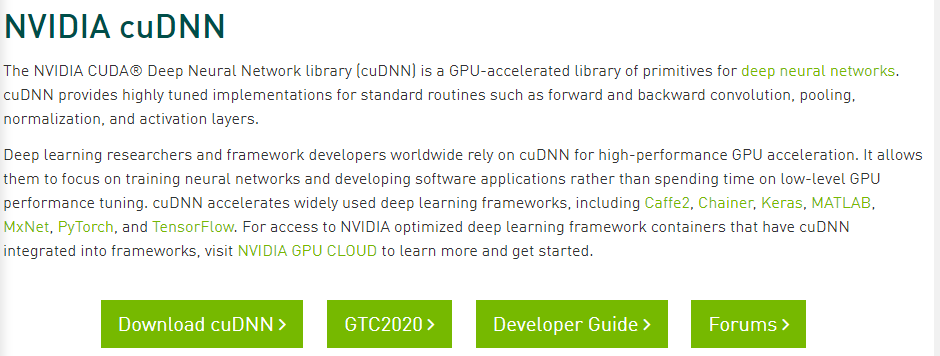
接著就會需要加入會員,填一些資料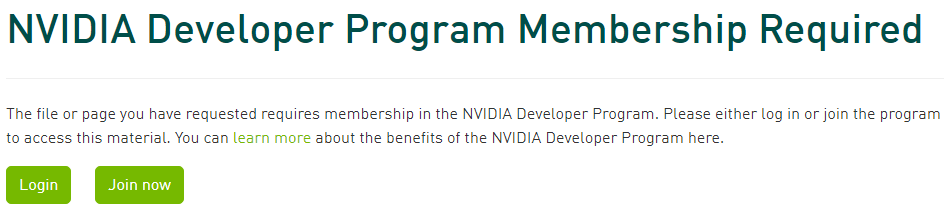
Login後,勾選I Agree...會看到底下畫面,這邊我是載下面這個版本
Download cuDNN v8.0.4 (September 28th, 2020), for CUDA 11.1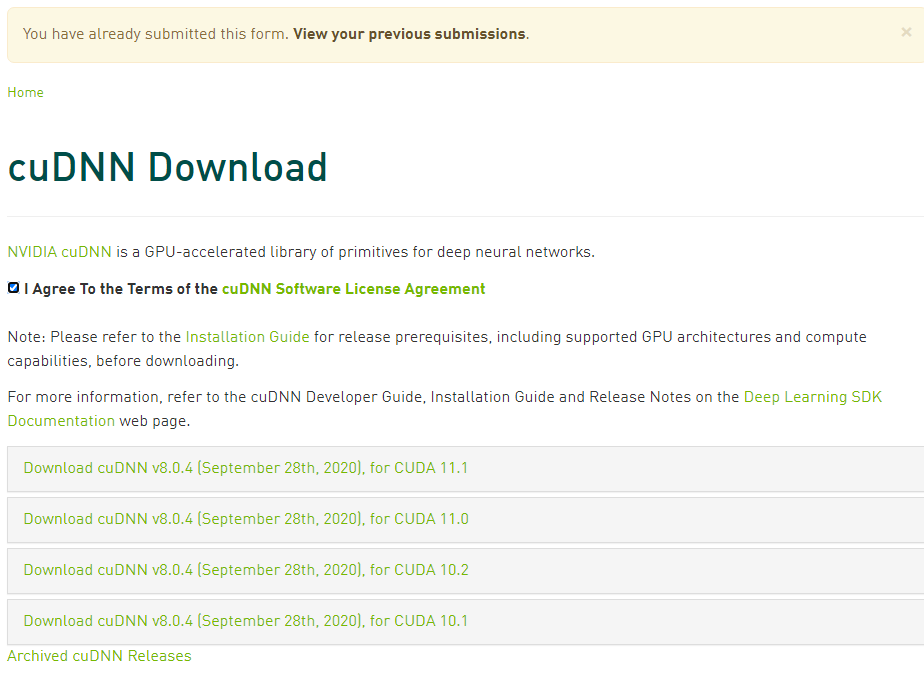
載下來之後,它是一個壓縮檔裏頭有三個資料夾,分別是bin、include、lib
(補)時隔多年,換電腦要重灌tensorflow-gpu才發現自己好像少打一個步驟XD
要將cuDNN的bin、include、lib複製到C:\Program Files\NVIDIA GPU Computing Toolkit\CUDA\v11.1中
在安裝CUDA前,要先到CUDA GPUs確認一下GPU符不符合資格(Compute Capability > 3),進去之後點選CUDA-Enable GeForce and TITAN Products,會看到下圖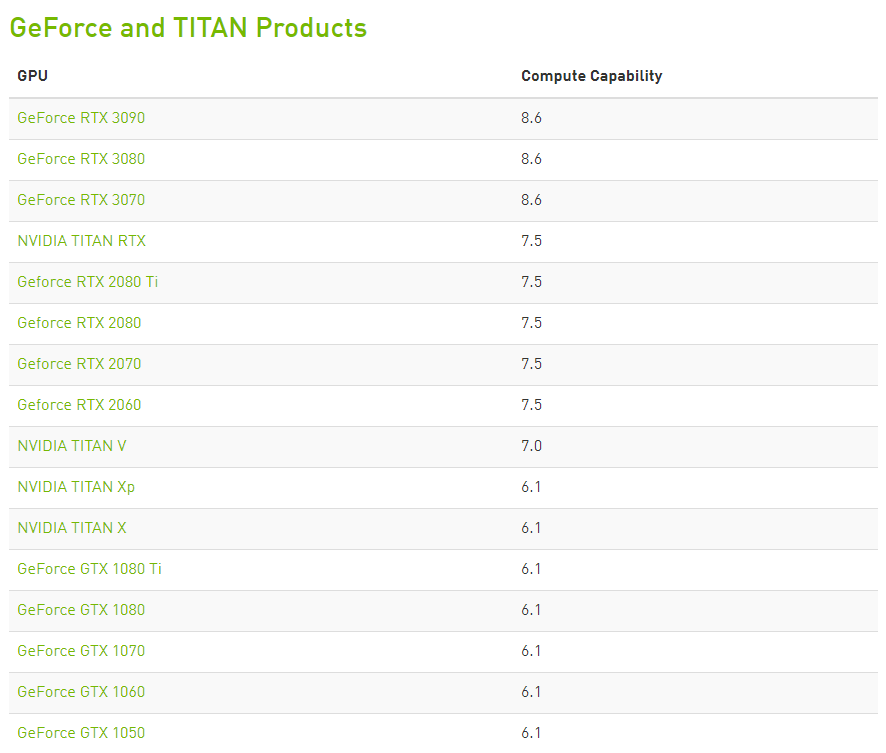
接下來要來下載CUDA啦~
這邊我是下載最新的版本
CUDA Toolkit 11.1 (Sept 2020),按了之後會進到底下頁面,要選一下作業系統與版本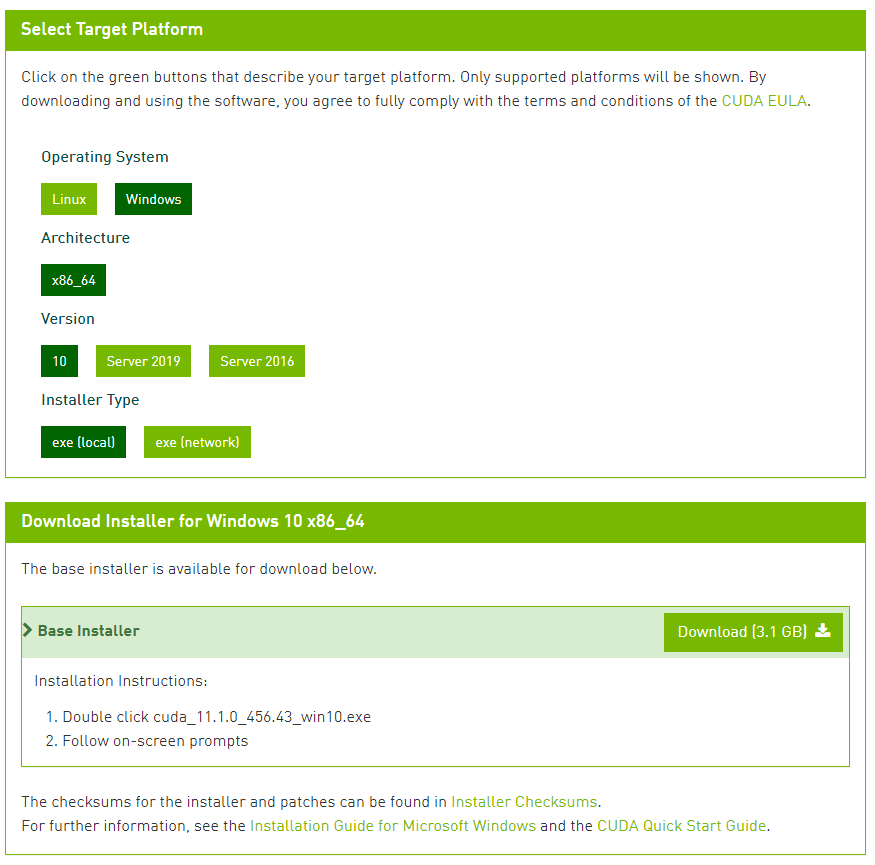
將底下兩個資料夾的路徑加到環境變數中,安裝完通常會自動加入,沒有的話在自己加入
/bin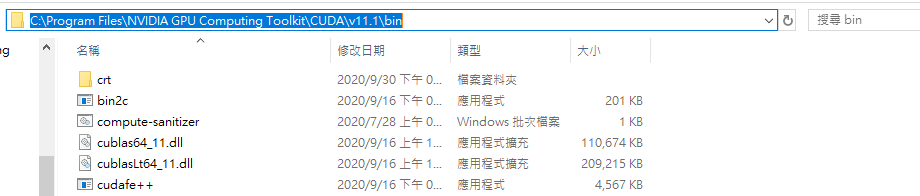
/libnvvp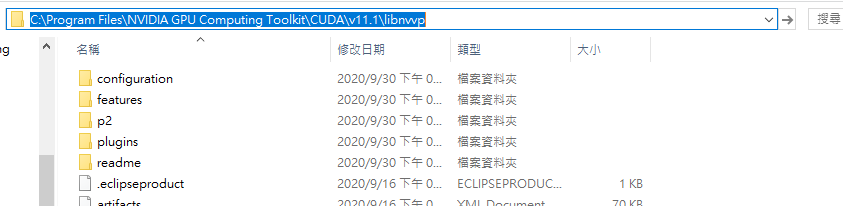
這邊是使用Anaconda的termial
安裝tensorflow-gpuconda install tensorflow-gpu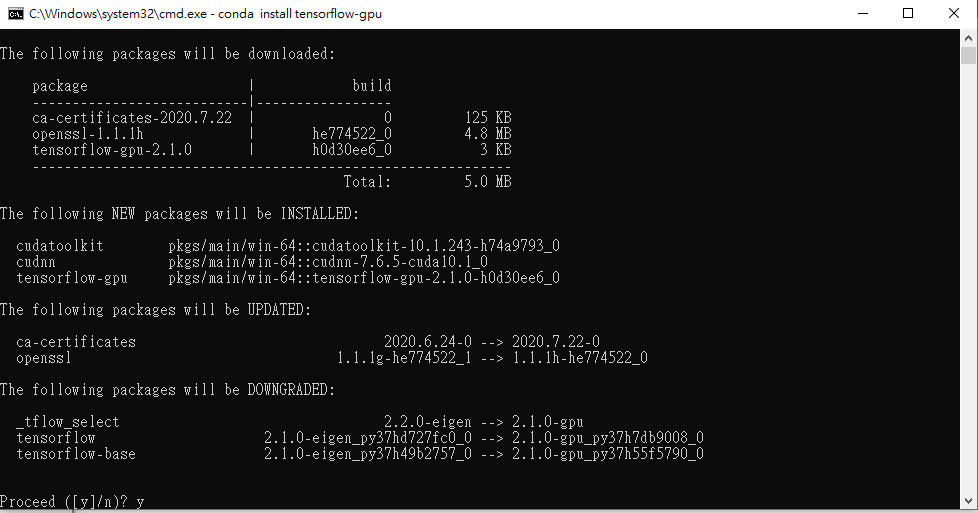
進行更新conda create -n tensorflow python=3.7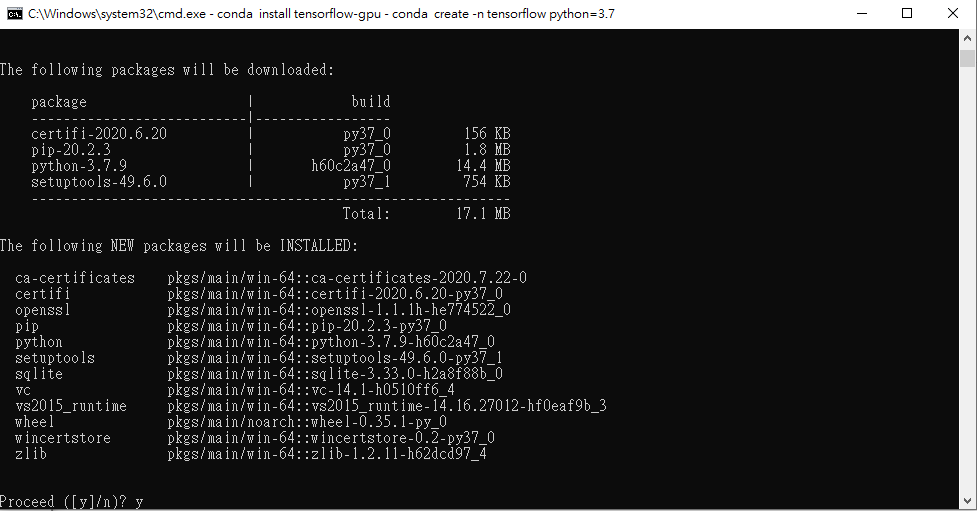
activate tensorflow
可以看到前面變成了tensorflow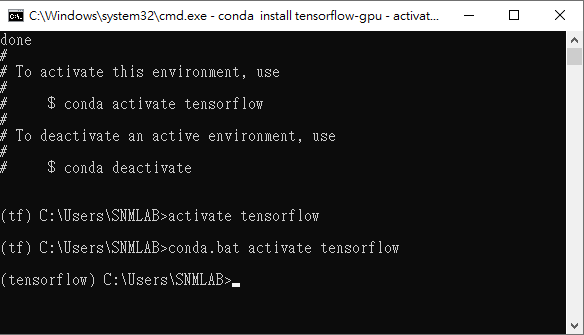
再輸入底下pip install --ignore-installed --upgrade tensorflow-gpu
在Anaconda的terminal輸入pythonimport tensorflow
成功啦~
Spyder這個編譯器會自動選用GPU,所以如果要改用CPU模式,只要在程式碼一開始加入底下程式碼即可
import os
os.environ["CUDA_VISIBLE_DEVICES"]='-1'
可以看到會顯示目前使用的顯示卡:GeForce RTX 2080
加入上述程式碼後,會看到目前是使用的CPU
本來今天是想看看前面的3個實作用GPU和CPU跑時間會差多少
但發生了點意外只好明天再放了 0(:3 )~ ('、3_ヽ)_
今天就到這啦~
大家明天見


 iThome鐵人賽