
新手入門,如有錯誤,歡迎指正~~~
系列文章同步更新於部落格
嘗試利用express加上socket.io來建構 Signaling Server
先附上完整程式碼- github
build project
mkdir project-name
cd ./project-name
首先,先安裝主要作為這次Server所需的套件。
npm i express socket.io -y
// app.js

// Setup basic express server
const express = require('express');
const path = require('path');
const http = require('http')
const port = process.env.PORT || 3000; // default port: 3000

const app = express();
const server = http.createServer(app) // use express to handle http server

// Routing
app.use(express.static(path.join(__dirname, 'public'))); // load static resource

server.listen(port, () => {
  console.log('Server listening at port %d', port);
});
接著試試看,啟動Server:
node app.js
建立用來顯示前台畫面的靜態HTML。
// ./public/index.html

<!DOCTYPE html>
<html>

<head>
  <meta charset="UTF-8">
  <meta name="viewport" content="width=device-width, initial-scale=1.0">

  <title>Video Chat With WebRTC</title>
  <link rel="stylesheet" href="css/main.css" />

</head>

<body>

  <h1>Video Chat With WebRTC</h1>


</body>

</html>
這邊會放在public底下,是因為express``routing設定會從這個資料夾底下找靜態資源。
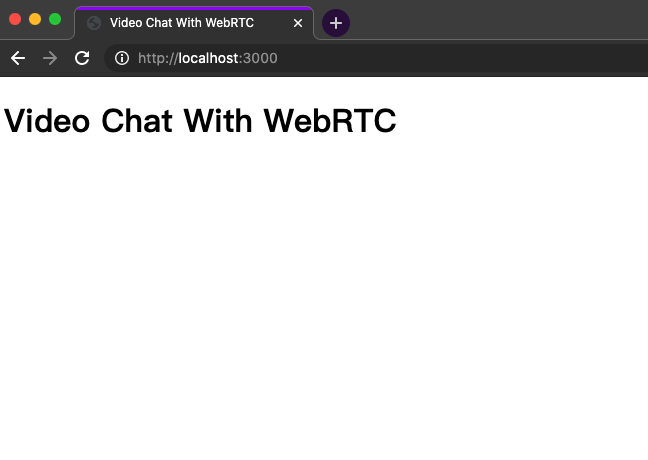
建立好後,可以打開http://localhost:3000重新reload畫面,確保畫面正確。
接下來開始設定socket,
本次使用Socket.io,已經封裝好websocket且很好用的套件。
如上操作,我們已經安裝好了,接下來將其載入Server:
// app.js

// ....
const socket = require('socket.io')

const app = express();
const server = http.createServer(app) // use express to handle http server
const io = socket(server);

// ....
並註冊connection事件,來接收socket以便進行後續設定。
const onConnection = (socket) => {
  console.log('Socket.io init success')
};

io.on("connection", onConnection);
設定前台:
// ./public/index.html

<body>
  // ...略
  <script src="/socket.io/socket.io.js"></script>
  <script src="js/main.js"></script>
</body>
// /public/js/main.js
const socket = io.connect();
都是依照官方說明設定。
That’s all it takes to load the socket.io-client, which exposes an io global (and the endpoint GET /socket.io/socket.io.js), and then connect.
If you would like to use the local version of the client-side JS file, you can find it at node_modules/socket.io-client/dist/socket.io.js.
Notice that I’m not specifying any URL when I call io(), since it defaults to trying to connect to the host that serves the page.
所以io.connect() 沒有設定URL時預設會去找代理這頁面的server,詳細可以參考官方文件 - get started。
完成以上設定後,重新啟動Server。
node app.js

> node app.js

Socket.io init success
Server listening at port 3000
Boom!
打開http://localhost:3000/看看畫面,
並確認server console的資訊是否正確。
本章學習到:
接下來就來嘗試利用 socket 來當WebRTC的 Signaling server使用~
