如題,
登入了,那之後呢?
我們做完了註冊/登入,
對資料庫的操作是新增、查詢。
還記得前幾天的資料庫操作嗎?
除了新增、查詢之外,還有刪除,以及之前沒有提到的更新。
今天,我們從資料庫的更新談起。
使用者在註冊的時候,除了帳號密碼之外,還附帶了其他的個人資訊。
例如:名字、自我介紹、性別......族繁不及備載
而這些資訊,像是自我介紹、興趣、年齡等等可能會隨著時間而演變、更改。
那麼我們的資料庫當然也要提供給使用者一個可以renew自己的機會。
我們先從最簡單的更改密碼開始~
為了實現更新資料庫,我們在登入後設計一個簡單的介面,讓使用者可以更新個人資料。
在view/pages資料夾中新增update.php作為頁面並鍵入:
<!DOCTYPE html>
<html>
    <head>
        <meta charset="utf-8">
        <title>Home</title>
    </head>
    <body>
        <form action="update" method="post">
            <fieldset >
                <legend>Hi, <?php echo $username; ?></legend>
                    <label>新密碼:<input type="password" name="password" placeholder="新密碼"><br></label>
                    <label>再次輸入新密碼:<input type="password" name="checkpassword" placeholder="再次輸入新密碼"><br></label>
                    <input type="hidden" name="username" value= <?php echo $username; ?>>
            </fieldset>
            <button type="submit">送出</button>
        </form>
    </body>
</html>
簡單的做一個表單讓使用者可以更改密碼
然後,將這個頁面顯示在登入之後
更改controller/user.php/login()讓使用者登入成功後可以到更改密碼的頁面:
            if($check_data->password == $this->input->post('password')){
    			echo "Login Success!";
    			$data['username'] = $check_data->username;
    			$this->load->view('pages/update.php',$data);
    		}
接著,到controller/user.php新增相對應的updata()函式:
    public function update()
    {
    	$username = $this->input->post('username');
    	$new_psw = $this->input->post('password');

    	$this->user_model->update($username,$new_psw);

    	echo "Password Has changed.";
    }
最後,我們到User_model.php新增相對應的update($username, $new_psw)函式:
public function update($username,$new_psw)
        {
                $this->db->where('username',$username)
                        ->set('password',$new_psw)
                        ->update('user');
        }
用set()做更動,然後再update資料表。
現在打開 http://localhost/ci/index.php/
點選登入,打上昨天的test/test帳密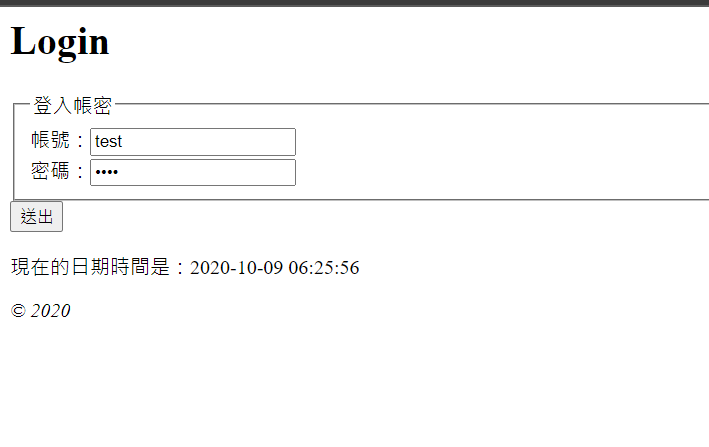
按下送出之後,就會看到login success和更改密碼的地方。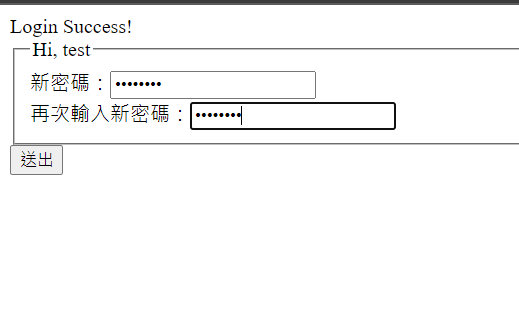
打上新的密碼(12345678)按下送出:
成功更改密碼的訊息出現了。
接著到資料庫查看是不是真的更改密碼了。
成功了!!