昨天我們將更改密碼的動作實現了
然而,除了密碼之外,我們也要提供其他可以更動的設定。
將前幾天的pages/update.php更改,加入textarea
<form action="update" method="post">
            <fieldset >
                <legend>Hi, <?php echo $username; ?></legend>
                    <label>新密碼:<input type="password" name="password" placeholder="新密碼"><br></label>
                    <label>再次輸入新密碼:<input type="password" name="checkpassword" placeholder="再次輸入新密碼"><br></label>
                    自我介紹<br><label><textarea type="textarea" rows="5" cols="30" name="about"><?php echo $about;?></textarea></label><br>
                    <input type="hidden" name="username"  value= <?php echo $username; ?>>
            </fieldset>
            <button type="submit">儲存更改</button><br>
        </form>
到user.php將傳入model的參數改為陣列形式。
public function update()
    {
    	$data = array(
    		'username' => $this->input->post('username'),
    		'password' => $this->input->post('password'),
    		'about' => $this->input->post('about'),
    	);

    	$this->user_model->update($data);
    	echo "更改成功";
    }
user_model.php也是
public function update($data)
        {
                $this->db->where('username',$data['username'])
                        ->update('user',$data);
        }
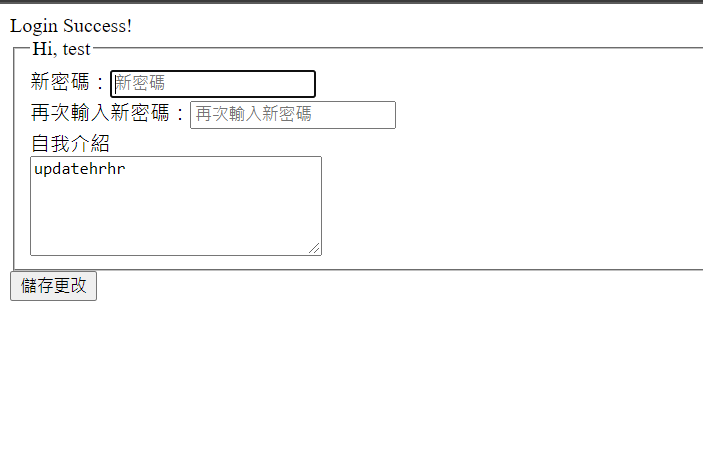
接著登入後
可以看到原本的自我介紹
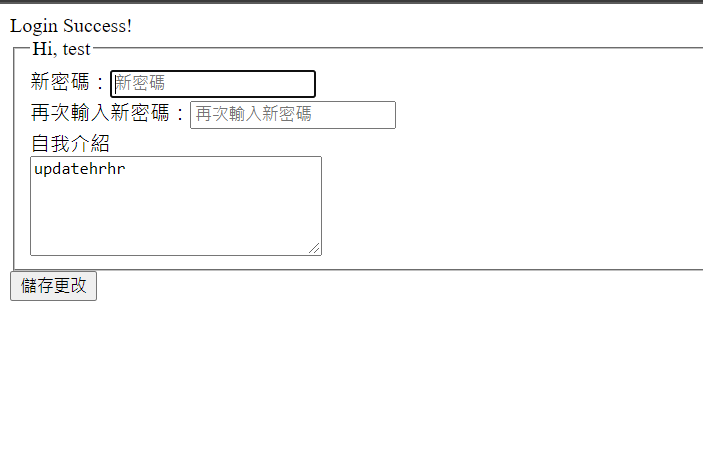
輸入新密碼、更改自我介紹
按下儲存更改。
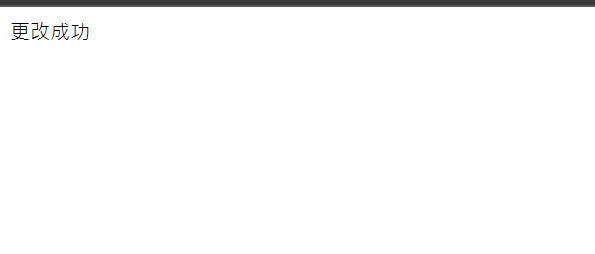
看到了成功更改的訊息。
到資料庫查看:
成功了!
今天學習的重點其實是怎麼用陣列的方式做參數的傳遞,所以內容上大致和昨天類似,
要特別注意昨天今天參數是怎麼傳遞的~
