接下來將會介紹另一款 CI,也就是 GitHub Actions。

我相信也有一些人會希望私密儲存庫也可以自動部署,畢竟有些文章可能不是那麼早公開,因為可能還在撰寫中等等,但又不想拋棄自動部屬,雖然我自己是沒有在使用自動部屬,因為我修改文章頻率很高,每次都會先做一點然後就 commit 上去做版本控制,依照我這種操作行為應該很快就炸了 XD?
回歸正題,上一篇雖然介紹了許多開源專案在使用的 Travis CI,但礙於它只接受開源專案免費使用,私密專案你就必須使用企業版,對於一個小部落客來講實在太傷荷包,因此好在 微軟爸爸收購了 GitHub(哎?)是 GitHub 本身有提供一個 CI 服務叫做 GitHub Actions,這個服務剛剛好可以符合我們需求,因此這邊只需要注意幾件事情,GitHub Actions 本身是有限制的
但 GitHub Actions 就如我所說,好在 微軟爸爸收購了 GitHub(哎?)GitHub 佛心,約每 15 天就會重置一次,因此對於一個小部落客以及執行時間只要幾秒的專案來講,其實很足夠了。
因此接下來就會直接跳入主題,建立私密儲存庫的部分就不會教學了,畢竟跟公開儲存庫建立方式一樣,只是變成私密而已
首先我們要使用 GitHub Actions 之前你必須先生成 ssh Key,你只需要在你的電腦終端機輸入以下指令就可以生成一組私鑰(actions-deploy-key)和公鑰(actions-deploy-key.pub)
ssh-keygen -f actions-deploy-key
(如果出現要你輸入密碼「Enter passphrase (empty for no passphrase): 」請不要輸入,直接按下 Enter 就好。)
基本上這段指令會基於你目前終端機位置來生成檔案。
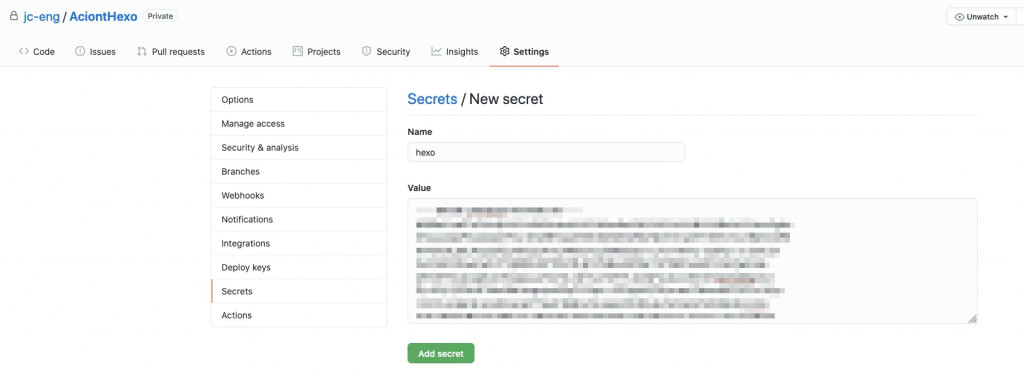
接下來將 「actions-deploy-key」私藥新增到私密儲存庫的 Settings -> Secrets -> Add a new secret 即可
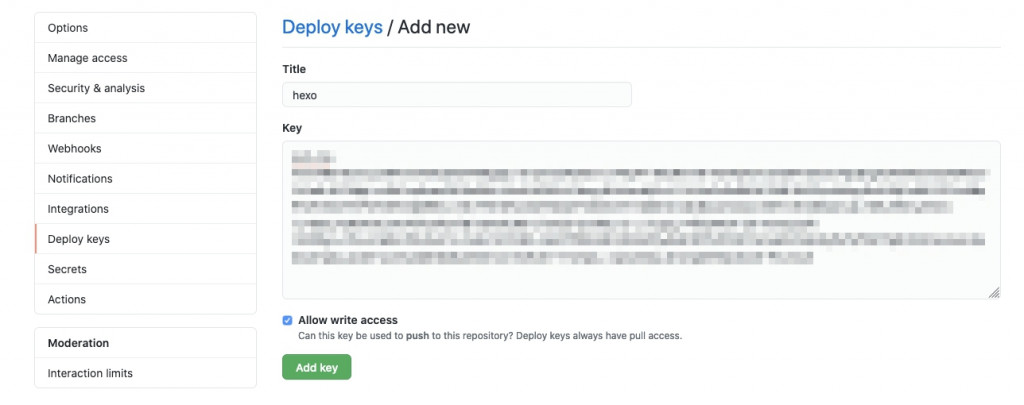
新增完私密之後,接下來要將「actions-deploy-key.pub」新增到部落格的儲存庫「xxxx.github.io」將公鑰增加到公開儲存庫的 Setting -> Deploy Keys -> Add deploy key 即可。
記得這邊要勾選一下「Allow write access Can this key be used to push to this repository? Deploy keys always have pull access.」否則會無法推進去。
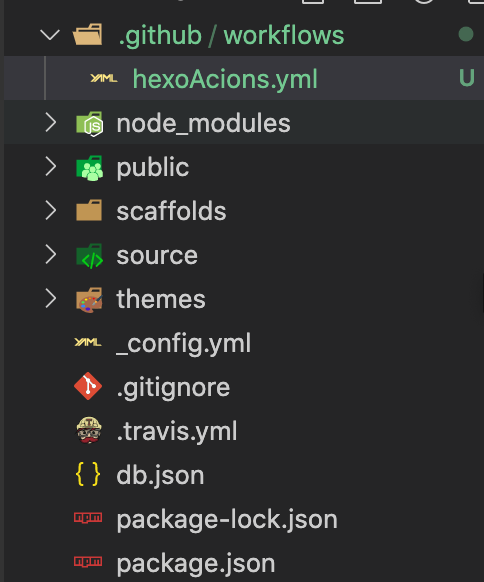
首先要在 Hexo 專案資料夾建立一個 .github 資料夾並且在新增一個資料夾叫做 workflows,因此這邊會有兩層資料夾,最後在建立一個檔案叫做 hexoAcions.yml
至於內容的部分我直接貼上
再次請務必注意 git config --global user.name "xxxx" 與 git config --global user.email "xxxx@gmail.com" 記得修改成自己 GitHub 名稱與 Email,若沒有填寫正確是無法正常運作的唷~
name: 'hexo deploy'

## 監聽 master 分支若有 push 行為就執行
on:
  push:
    branches:
    - master
jobs:
  build:
    runs-on: ubuntu-latest
    steps:
    - name: Checkout
      uses: actions/checkout@v1
    - name: Use Node.js 12.x
      uses: actions/setup-node@v1
      with:
        node-version: "12.x"
    - name: init)init ssh
      run: |
          mkdir -p ~/.ssh/
          echo "${{secrets.HEXO}}" > ~/.ssh/id_rsa
          chmod 600 ~/.ssh/id_rsa
          ssh-keyscan github.com >> ~/.ssh/known_hosts
          git config --global user.name "xxxx"
          git config --global user.email "xxxx@gmail.com"
    - name: A)npm install
      run: |
        npm install
    - name: B)npm install -g hexo-cli
      run: |
        npm install -g hexo-cli
    - name: C) hexo d -g
      run: |
        hexo d -g
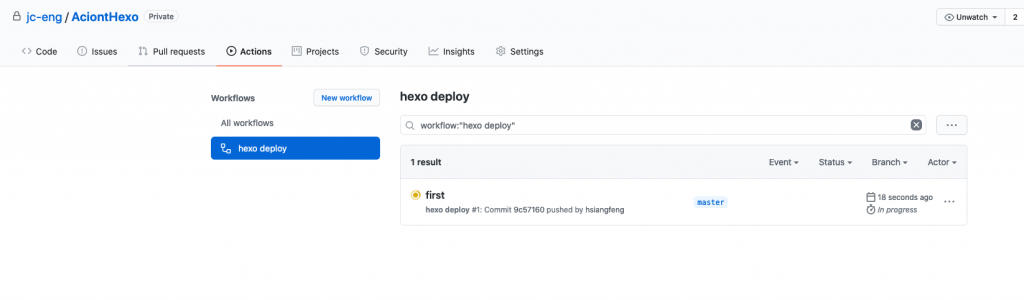
接下來當你執行 push 時,就會被自動部屬,然後可以在 GitHub 的 Acionts 看到執行流程唷~
最後如果你發現無法自動部屬,那麼原因可能是出在 hexo/_config.yml 以下這一段
deploy:
  type: git
  repo: https://github.com/jc-eng/jc-eng.github.io.git # https://github.com/[你的 GitHub 帳號]/[你的 GitHub 帳號].github.io.git
  branch: master # 在這邊我是使用 mster 當作主要分支
  message: 'ithelpt'
這一段必須從 https 模式改成走 ssh 模式唷~
因為 GitHub Actions 是使用 ssh 的模式在運作
deploy:
  type: git
  repo: git@github.com:jc-eng/jc-eng.github.io.git
  branch: master # 在這邊我是使用 mster 當作主要分支
  message: 'ithelpt'
這下真的是公開與私密都教學了,真的是得償所望


 iThome鐵人賽