首先 CentOS 7 做 mini install
putty ssh 登入安裝 LogAnalyzer
1./ 安裝必要元件:
[root@loganalyzer ~]# yum install httpd php php-mysql wget
– 啟動 Httpd
[root@loganalyzer ~]# systemctl enable httpd && systemctl start httpd
– Install mariadb server and rsyslog-mysql package:
[root@loganalyzer ~]# yum install mariadb-server -y rsyslog-mysql
– Enable at boot and start mariadb server:
[root@loganalyzer ~]# systemctl enable mariadb && systemctl start mariadb
2./ 設定 RSYSLOG Database
– Import the default database scheme offered by RSYSLOG using the below command:
[root@loganalyzer ~]# mysql -u root -p < /usr/share/doc/rsyslog-8.24.0/mysql-createDB.sql
– Create a user to access the Syslog database:mysql -u root -p
MariaDB [(none)]> GRANT ALL ON Syslog.* TO 'rsyslog'@'localhost' IDENTIFIED BY 'Password';
MariaDB [(none)]> FLUSH PRIVILEGES;
MariaDB [(none)]> exitcp /etc/rsyslog.conf /etc/rsyslog.conf.orgvi /etc/rsyslog.conf
– Find and uncomment the following lines to make your server to listen on the udp and tcp ports.
[...]$ModLoad imudp -去掉前面的 # 字號$UDPServerRun 514 -去掉前面的 # 字號
[...]$ModLoad imtcp -去掉前面的 # 字號$InputTCPServerRun 514 -去掉前面的 # 字號
[...]
– 在 RULE 底下新增 Add the following lines to create a new forwarding rule and a load the mysql module:
[...]# Load the MySQL Modulemodule(load="ommysql")
[...]#*.* :ommysql:127.0.0.1,Syslog_Database,syslog_user,password*.* :ommysql:127.0.0.1,Syslog,rsyslog,Password
– Save and restart the rsyslog service
[root@loganalyzer ~]# systemctl restart rsyslog
3./ Install LogAnalyzer
– Download LogAnalyzer
[root@loganalyzer ~]# cd /tmp
[root@loganalyzer ~]# wget http://download.adiscon.com/loganalyzer/loganalyzer-4.1.10.tar.gz
[root@loganalyzer ~]# tar -xzvf loganalyzer-4.1.10.tar.gz
– Create the LogAnalyzer Directory under the apache web directory:
[root@loganalyzer ~]# mkdir /var/www/html/loganalyzer
– Copy the installation files into loganalyzer directory using the following commands:
[root@loganalyzer ~]# cp -r /tmp/loganalyzer-4.1.10/src/* /var/www/html/loganalyzer
[root@loganalyzer ~]# cp -r /tmp/loganalyzer-4.1.10/contrib/* /var/www/html/loganalyzer
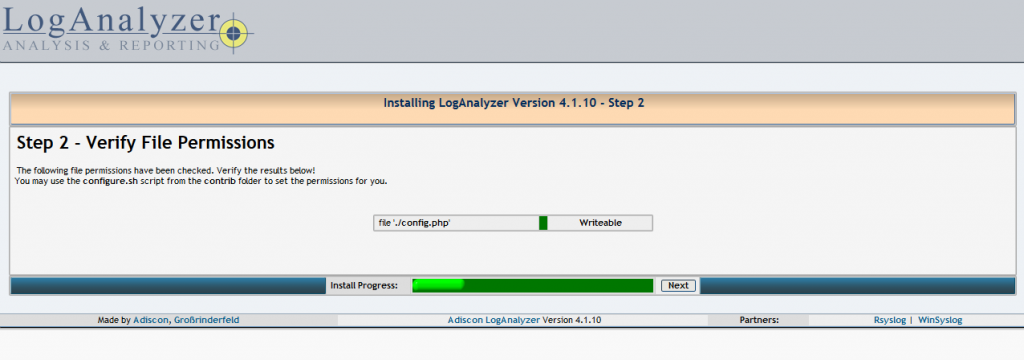
– Create a blank configuration file named config.php in loganalyzer directory and setup write permission to apache user using the following commands:
產生 config.php
[root@loganalyzer ~]# cd /var/www/html/loganalyzer
[root@loganalyzer ~]# touch config.php
[root@loganalyzer ~]# chown apache:apache config.php
[root@loganalyzer ~]# chmod 777 config.php
[root@loganalyzer ~]# chcon -h -t httpd_sys_script_rw_t /var/www/html/loganalyzer/config.php
Ps:關掉 Firewall <--多出來的動作systemctl disable firewalldsystemctl stop firewalld
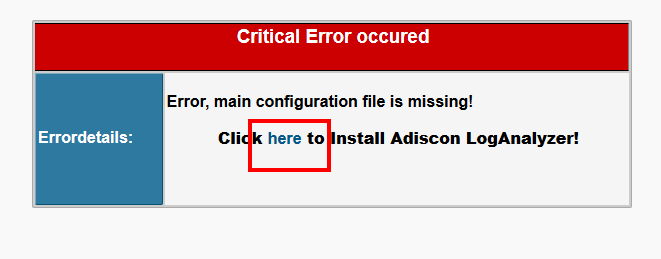
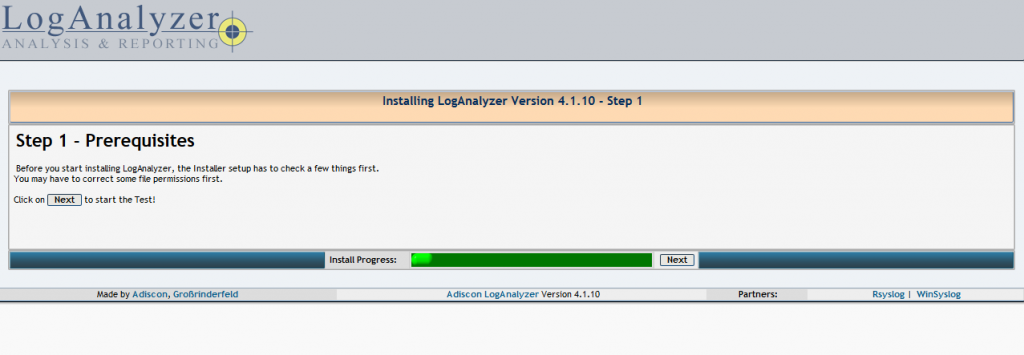
4./ start LogAnalyzer web installer
After completing above steps op
en following url in your favorite web browser to start LogAnalyzer web installer.
http://localhost/loganalyzer
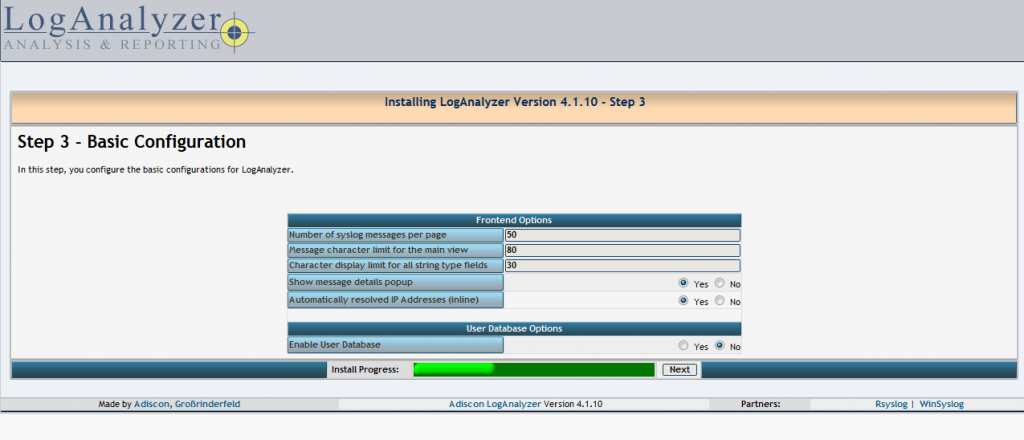
這邊有修改動作
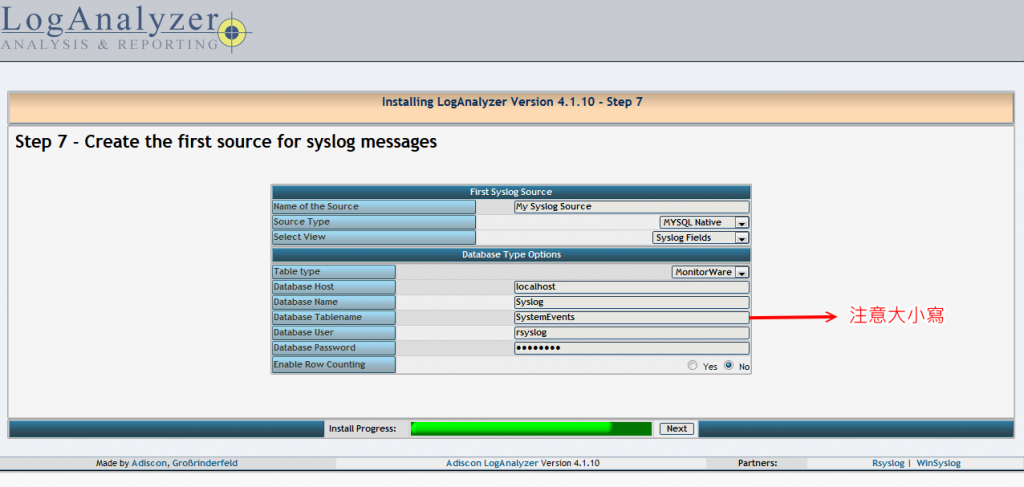


Could not find the configured table.maybe misspelled or the tablenames are case sensitive
出現這錯誤時就是因為 SystemEvents 大小寫錯誤
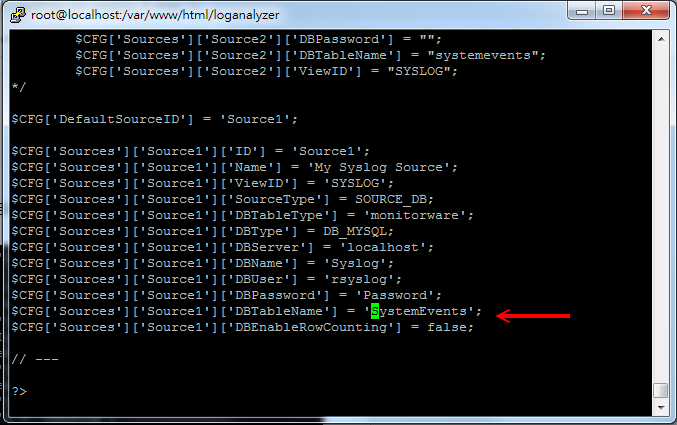
你可以直接 vi config.php
修正 SystemEvent 大小寫
也可以 rm config.php 之後重新步驟 "產生 config.php"
再回到 Web install
就會成功
然後將設備的 syslog 指向 安裝的 LogAnalyzer Server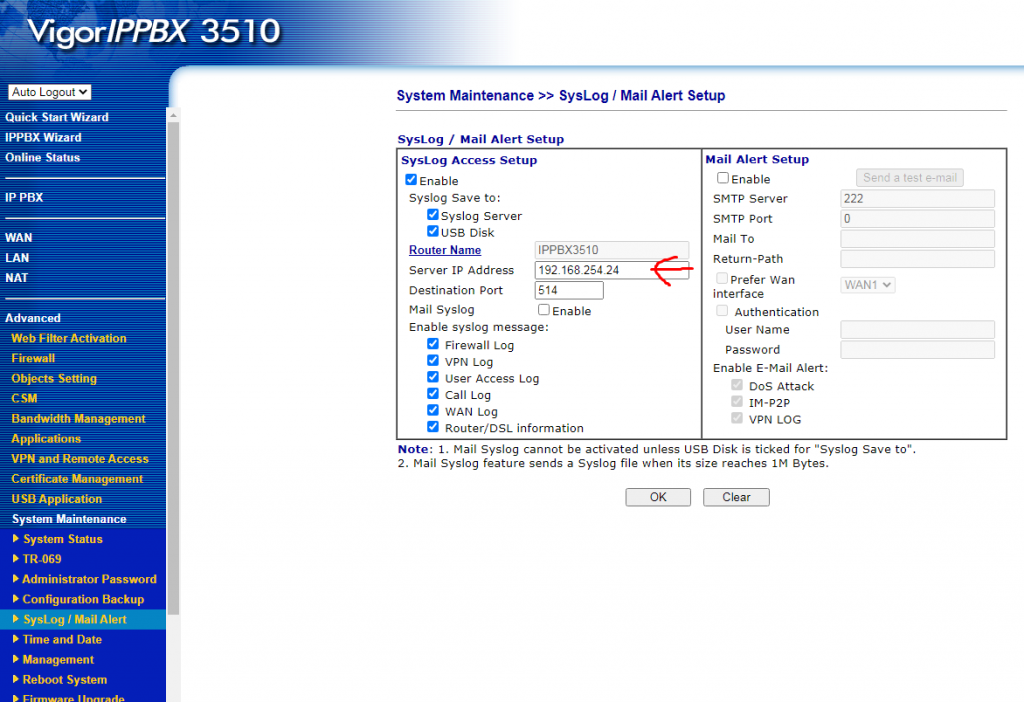
Vigor

NUSOFT MHG / NFW / UTM
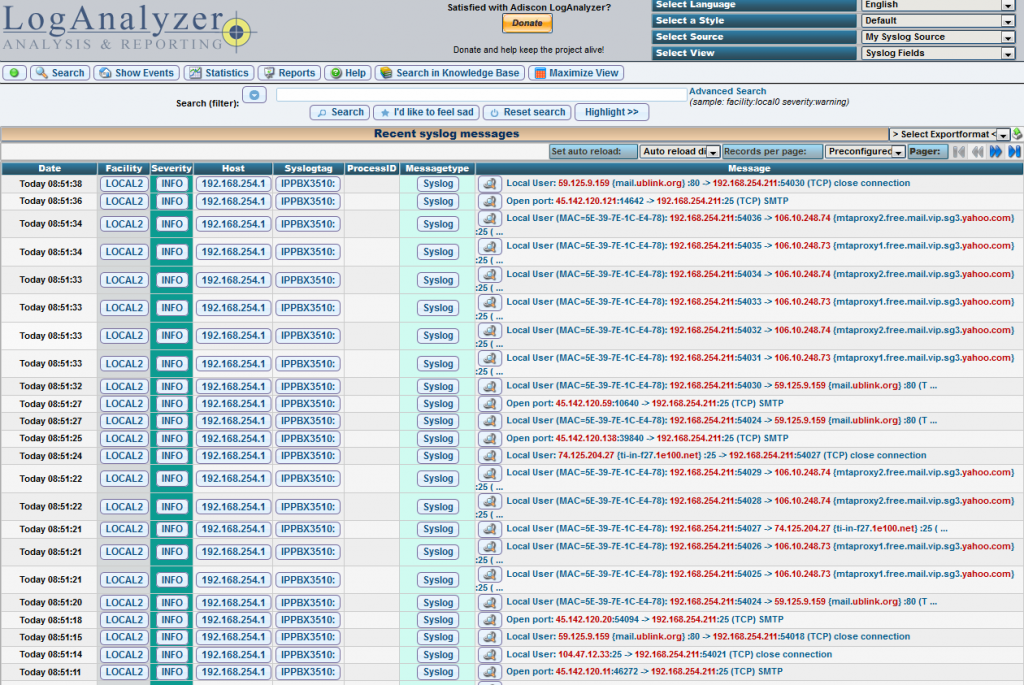
就完成了
參考文章
https://wdmbr.wordpress.com/2020/03/31/how-to-setup-loganalyzer-with-rsyslog-on-centos-7-rhel-7/

門神大好:
請問我所有設定都完成,也能正常運行,
但卻不需要Login就能進去,不曉得是漏了什麼東西?
可以指導一下嗎?
謝謝您
點 login
門神好:
很奇妙的是,上面一排完全看不到Login的選項
一登入網址就直接進入首頁,蒐集Log的頁面.
2020有點忘了,我很久沒用他了,重裝試試
4.1.10
4.1.11
4.1.13
可能是版本的關係
非常謝謝您,我再來測試看看~~~
請教一下門神 我依照步驟去做 也進入config 設定畫面成功 不過進入web後出現以下訊息 還請門神解豁一下
1,searc->No syslog records found
2,Statistics>JpGraph Error: 25001This PHP installation is not configured with the GD library. Please recompile PHP with GD support to run JpGraph. (Neither function imagetypes() nor imagecreatefromstring() does exist)
我沒碰過
你要自己 Google
正在google中 有找到問題點要另外裝一個php不過裝完有出現另一個問題
Dataquery failed to execute Extra Error Details:
Invalid SQL: SELECT fromhost, count(fromhost) as totalcount FROM SystemEvent GROUP BY fromhost ORDER BY totalcount DESC LIMIT 10
Detail error: Table 'Syslog.SystemEvent' doesn't exist
Error Code: 1146
我有丟阿 只是NAS不好查