在正文之前要說一下,
其實我覺得在留言板用文字編輯器不是個好主意,
反而應該放在心情隨筆的地方,
(但也不是不行, 譬如像Facebook這樣, 有點像結合了留言板跟心情隨筆功能)
不過因為之前有過失敗的經驗,
所以把最困難的放在最後面,
這兩天研究很久終於研究出來了...
今天要解決的是圖片上傳,
用之前的程式雖然可以成功完成文字編輯器的編輯,
但是缺少了圖片上傳的部分,感覺好像少了什麼?
所以今天要來做圖片上傳的部分,
收集了各種各樣的資料,
剪剪貼貼修修補補之後,
終於完成了其中一種方式,
(有提供好幾種, 但有的沒想嘗試, 有的嘗試失敗)
我把參考資料放在最後面,
有興趣可以自己研究其他方式.
順帶一提,
我使用的是CKEditor 5,
跟以往的版本可能會有些許的不同.
首先js的部分加入一個自定義的物件
class MyUploadAdapter {
	constructor(loader) {
		// The file loader instance to use during the upload.
		this.loader = loader;
	}

	// Starts the upload process.
	upload() {
		return this.loader.file.then(
			file =>
				new Promise((resolve, reject) => {
					this._initRequest();
					this._initListeners(resolve, reject, file);
					this._sendRequest(file);
				})
		);
	}

	// Aborts the upload process.
	abort() {
		if (this.xhr) {
			this.xhr.abort();
		}
	}

	// Initializes the XMLHttpRequest object using the URL passed to the constructor.
	_initRequest() {
		const xhr = (this.xhr = new XMLHttpRequest());

		// Note that your request may look different. It is up to you and your editor
		// integration to choose the right communication channel. This example uses
		// a POST request with JSON as a data structure but your configuration
		// could be different.
        xhr.open("POST", "/image", true);
        xhr.setRequestHeader('X-CSRF-TOKEN', '<?PHP echo csrf_token() ?>');
		xhr.responseType = "json";
	}

	// Initializes XMLHttpRequest listeners.
	_initListeners(resolve, reject, file) {
		const xhr = this.xhr;
		const loader = this.loader;
		const genericErrorText = `無法上傳檔案: ${file.name}.`;

		xhr.addEventListener("error", () => reject(genericErrorText));
		xhr.addEventListener("abort", () => reject());
		xhr.addEventListener("load", () => {
            const response = xhr.response;

            console.log('response', response);

			// This example assumes the XHR server's "response" object will come with
			// an "error" which has its own "message" that can be passed to reject()
			// in the upload promise.
			//
			// Your integration may handle upload errors in a different way so make sure
			// it is done properly. The reject() function must be called when the upload fails.
			if (!response || response.error) {
				return reject(response && response.error ? response.error.message : genericErrorText);
			}

			// If the upload is successful, resolve the upload promise with an object containing
			// at least the "default" URL, pointing to the image on the server.
			// This URL will be used to display the image in the content. Learn more in the
			// UploadAdapter#upload documentation.
			resolve({
				default: response.url,
			});
		});

		// Upload progress when it is supported. The file loader has the #uploadTotal and #uploaded
		// properties which are used e.g. to display the upload progress bar in the editor
		// user interface.
		if (xhr.upload) {
			xhr.upload.addEventListener("progress", evt => {
				if (evt.lengthComputable) {
					loader.uploadTotal = evt.total;
					loader.uploaded = evt.loaded;
				}
			});
		}
	}

	// Prepares the data and sends the request.
	_sendRequest(file) {
		// Prepare the form data.
		const data = new FormData();

        data.append("upload", file);

        console.log('file:', file);

		// Important note: This is the right place to implement security mechanisms
		// like authentication and CSRF protection. For instance, you can use
		// XMLHttpRequest.setRequestHeader() to set the request headers containing
		// the CSRF token generated earlier by your application.

		// Send the request.
		this.xhr.send(data);
	}
}

// ...

function MyCustomUploadAdapterPlugin(editor) {
	editor.plugins.get("FileRepository").createUploadAdapter = loader => {
		// Configure the URL to the upload script in your back-end here!
		return new MyUploadAdapter(loader);
	};
}
其中
xhr.open("POST", "/image", true);
裡面的路徑要寫後端上傳檔案的路徑
xhr.setRequestHeader('X-CSRF-TOKEN', '<?PHP echo csrf_token() ?>');
這是Laravel需要的SCRF的驗證
另外也可以自己修改錯誤訊息(但是除非是500 Server Error, 如果傳送成功, 錯誤訊息是從後端過來)
const genericErrorText = `無法上傳檔案: ${file.name}.`;
並且JavaScript要加入CKEditor的宣告
ClassicEditor
   .create(document.querySelector("#editor"), {
        extraPlugins: [MyCustomUploadAdapterPlugin],
        toolbar: ["heading", "|", "alignment:left", "alignment:center", "alignment:right", "alignment:adjust", "|", "bold", "italic", "blockQuote", "link", "|", "bulletedList", "numberedList", "imageUpload", "|", "undo", "redo"],
   })
   .then(editor => {
       myEditor = editor;
   })
   .catch(error => {
       console.error(error);
   });
然後要寫後端接收的部分,
首先是web.php的部分
Route::group(['prefix' => '/'], function(){
    //上傳圖片
    Route::any('/image', 'HomeController@imageProcess');
});
然後是圖片接收的函式
app/Http/Controllers/HomeController.php
//接收檔案上傳
public function imageProcess()
{
    header('Content-Type: application/pdf');

    Log::notice('接收圖片資料');
    //接收輸入資料
    $input = request()->all();
    $result = array();

    Log::notice('接收圖片'.print_r($input, true));

    if(isset($input['upload']))
    {
        $upload = $input['upload'];

        //檔案副檔名
        $extension = $upload->getClientOriginalExtension();
        //產生隨機檔案名稱
        $filename = uniqid().'.'.$extension;
        //相對路徑
        $relative_path = 'images/upload/'.$filename;
        //取得public目錄下的完整位置
        $fullpath = base_path('public_html/'.$relative_path);

        //允許的檔案格式
        switch($upload->getMimeType())
        {
            case 'image/jpeg':
            case 'image/png':
                break;
            default:
                $result['error'] = array(
                    'message' => '很抱歉,只接受JPG和PNG檔案',
                );
                echo json_encode($result);
                exit;
        }

        //移動檔案位置並改名稱
        move_uploaded_file($upload->getRealPath(),$relative_path);

        $result['url'] = '/'.$relative_path;
        echo json_encode($result);
    }
    else
    {
        $result['error'] = array(
            'message' => '很抱歉,上傳檔案失敗了',
        );
        echo json_encode($result);
    }
}
最後再附上成果圖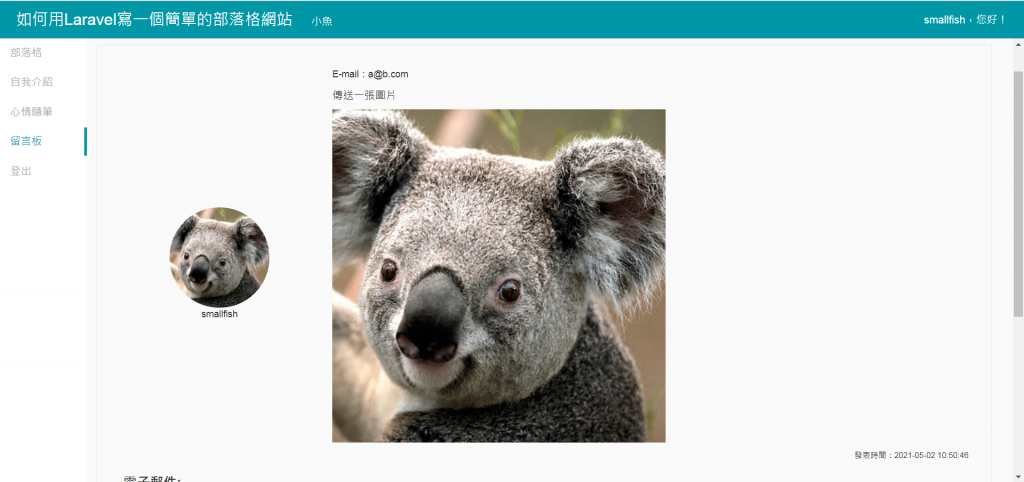
到這裡這個系列的文章差不多結束了,
雖然還有些東西想寫,
不過就等年底再說了.
參考資料:
Simple upload adapter(官方文件)
[筆記]CKEditor加上CKFinder上傳圖檔更方便
如何套用 CKEditor5 上傳圖片
CKEditor 5圖片的上傳方式
CKEditor 5 教學(三),上傳圖片至 Amazon S3
 小魚
小魚

 iThome鐵人賽