左框
(1)文字工具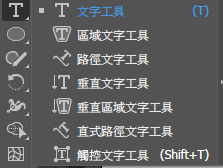
(1)文字:
a.段落文字:拉框,拉大增加內容,不會改變字體大小(自動斷行)
b.一般文字:直接點擊輸入字,
(2)區域文字:畫圖形>區域文字(似段落文字)
(3)路徑文字:畫圖形or鋼筆>路徑文字(繞框)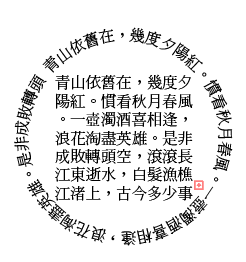
(4)觸控文字:使文字改變大小
1.用途:原本要讓文字改變需要先轉成路徑(讓他有框)才能改變
2.直接使用觸控文字,就可以保留底圖,保持可以改的彈性(PS沒有)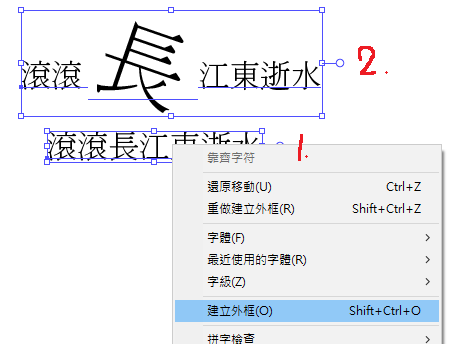
物件>圖表
左邊工具列 or 物件>圖表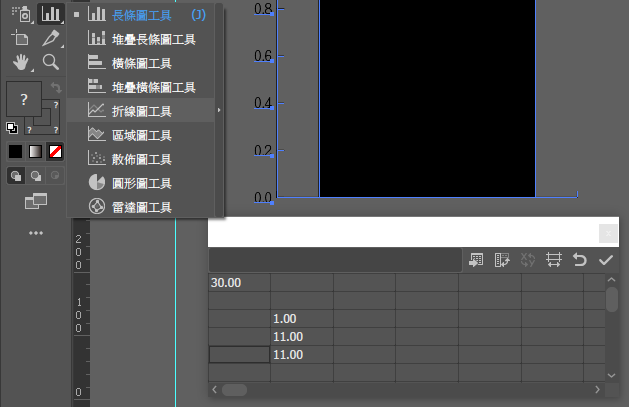
a更改圖表外表:選取>內容
b.更改圖表內容:選取>內容>圖表類型/圖表資料
c.圖表縮放:縮放工具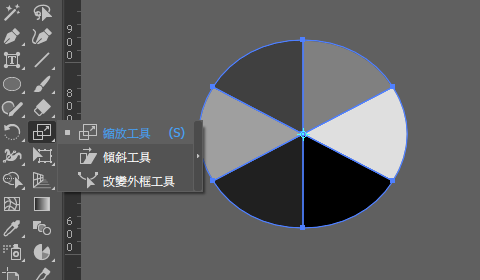
視窗>工作區域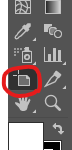
完整拷貝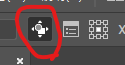
改變工作區域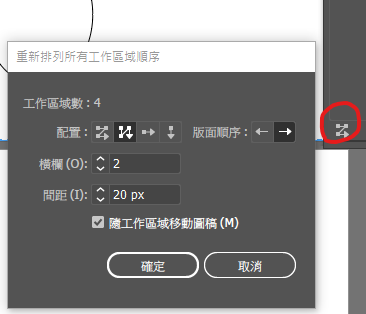
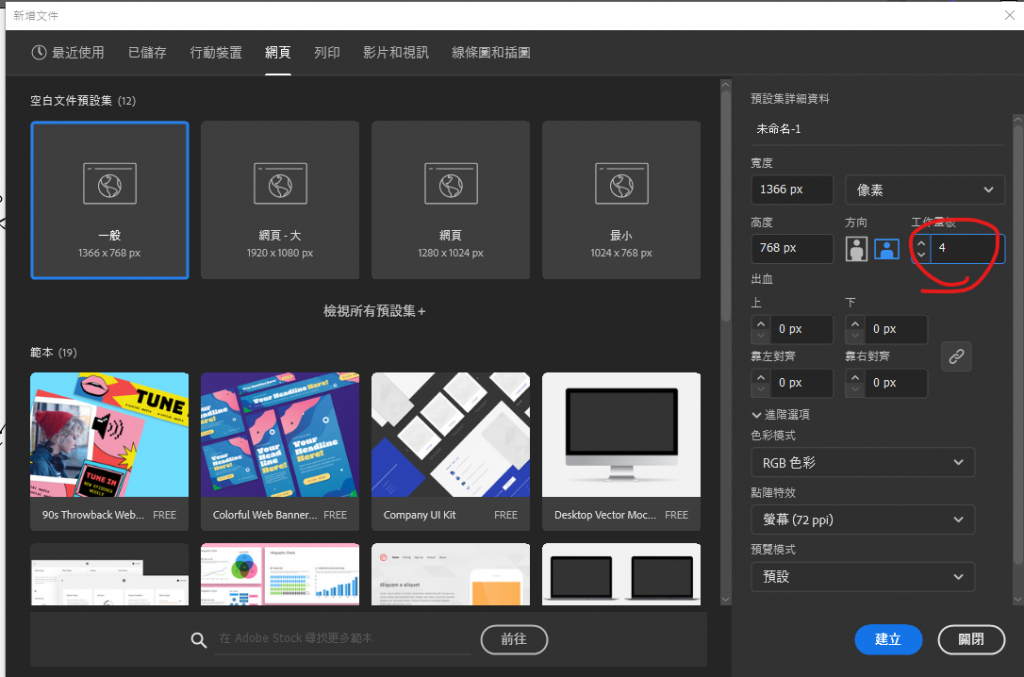
檔案>轉存>轉存為
a.選工作區域只會輸出工作區域的範圍
b.不選取就會把所有元件放進去(含工作去域外)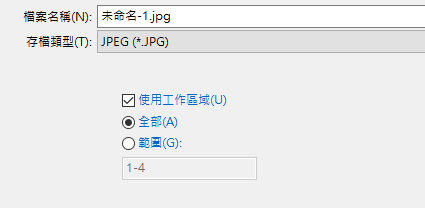
若要給螢幕看選72,輸出印刷選最高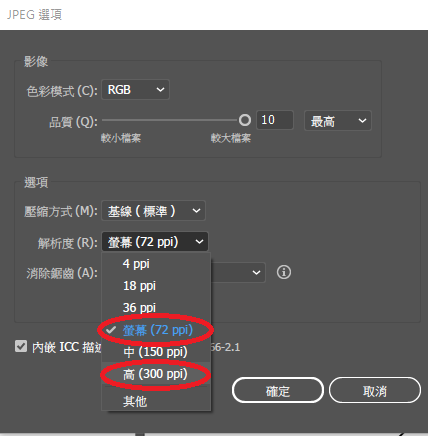
視窗>資產轉存
(1)群組物件(ctrl+G)
(2)把要轉存的物件 框選 起來
(3)右鍵>蒐集以供轉存>多個資產(可以一次轉很多個物件)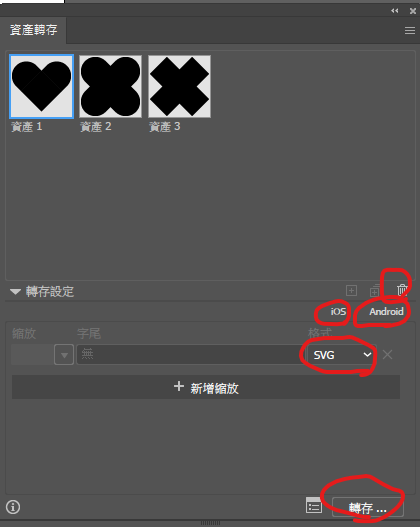
a.品質:JPG 100 80 50 20...越高越好
b.可以選擇ios,安卓的檔案(X刪除)
c.SVG>向量檔>拉大小不會失真
d.JPG,PNG>點陣圖
e.PNG可以存透明
檔案>另存新檔
如果輸出時廠商的版本比較舊,可能打不開新版的檔案
此時就要降階存檔,但記得一定要"另存新檔",否則會破壞到檔案
請保留原檔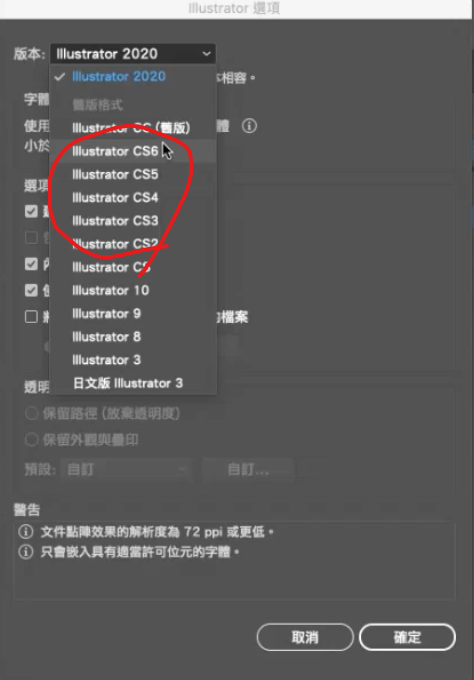
降階:記得另存,不要破壞
3D不要用黑色填充,因為陰影是黑色,不要再疊黑色(用淺色系)
(1)效果>3D>迴轉
(2)修改3D:視窗>外觀(不要再選一次效果,會3D+3D)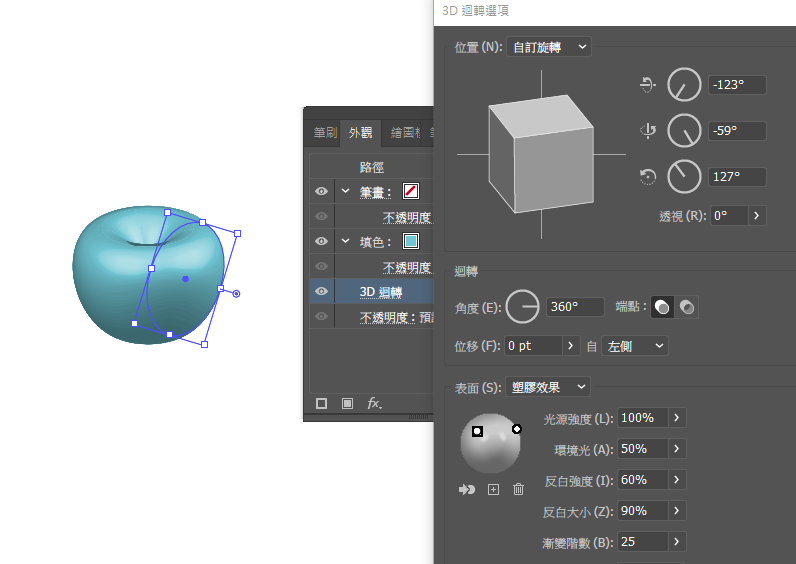
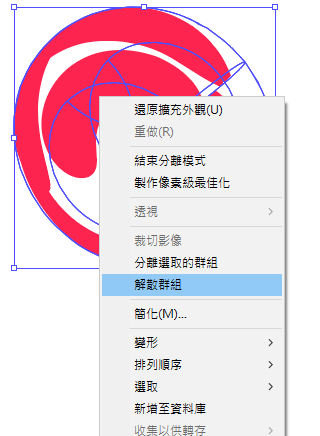
(3)變更顏色:
選物件>擴充外觀>路徑管理員>解散群組
a.可個別變更
b.把想要變更的面"群組">一起變更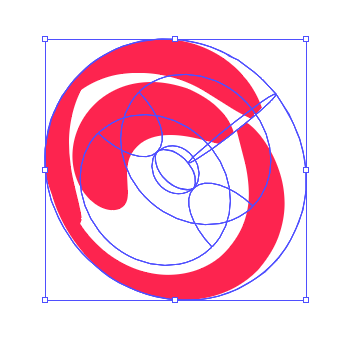
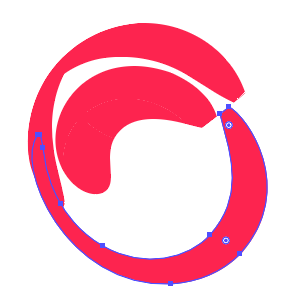
(4)貼圖:(甜甜圈斑紋)
4-1畫好3D物件
4-2新增>符號
4-3選要黏合的3D物件>對應線條圖>符號>隱藏幾何>縮放以符合(F)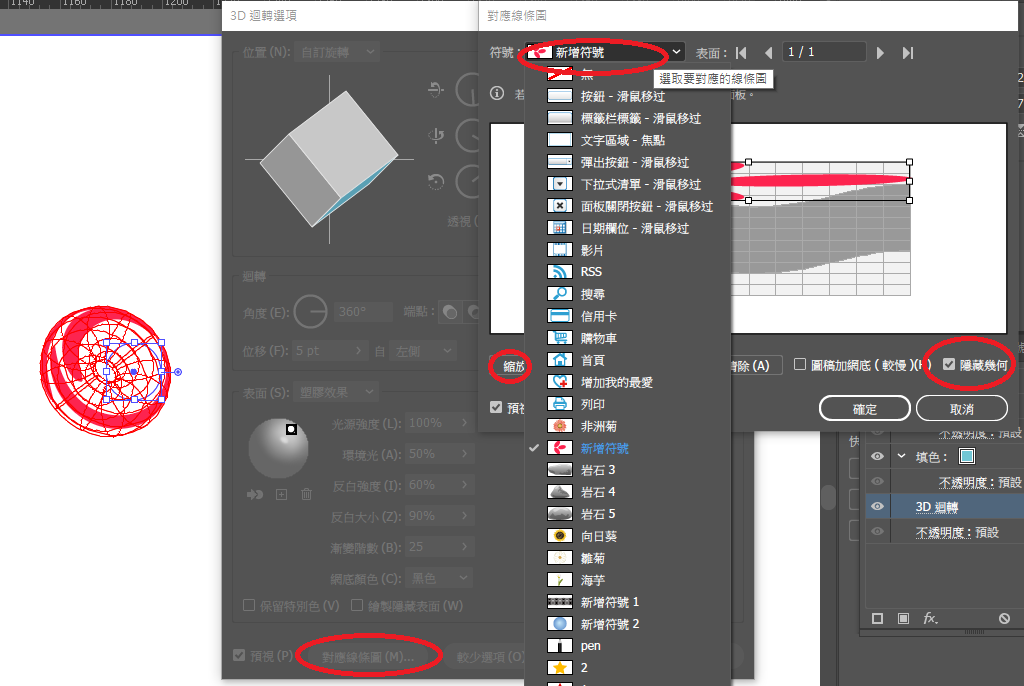
(1)寫文字
(2)效果>3D>選轉>上方等角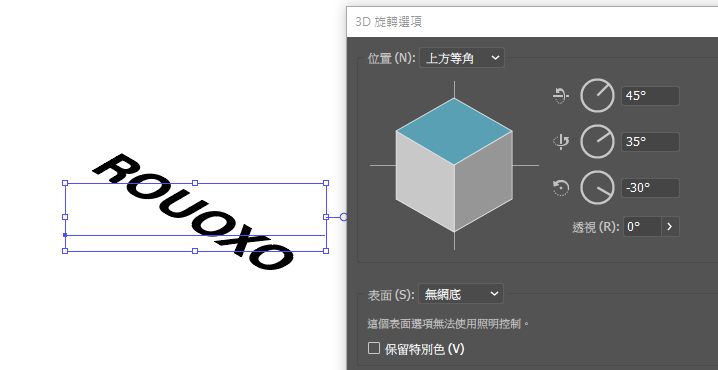
(2)讓文字不要有任何填色,否則之後無法上色(重要)
(4)從外觀面板"文字"下>新增填色
(5)筆畫+pt(讓鋸齒狀看不見即可)並 填色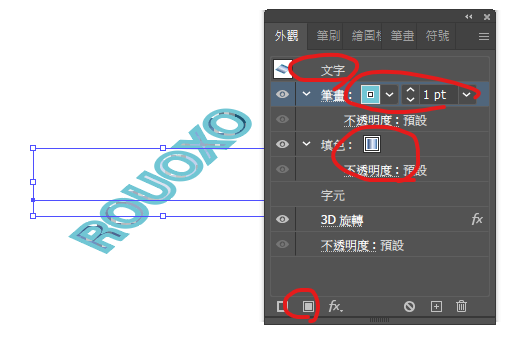
(6)效果>扭曲與變形>變形

ctrl+T 文字工具面板
 rouoxo

 iThome鐵人賽