工欲善其事必先利其器,來~先裝個mysql(Mac電腦)
這邊要先了解一個觀念,mysql是由兩個部分組成(client端與server端)
裝完mysql server端起了服務之後
再透過mysql -u root -p指令連線到client端介面去操作(新增、刪除、修改資料)
(client端介面常見的有phpmyadmin、mysql workbench等,皆免費軟體,可自行下載)
在終端機執行以下命令
brew install mysql
由於我已安裝過,所以是升級版本到8.0.26
mysql 8.0.25_1 is installed but outdated
==> Upgrading mysql
  8.0.25_1 -> 8.0.26
啟動mysql
brew services start mysql
執行mysql_secure_installation設定
Securing the MySQL server deployment.

Enter password for user root:
The 'validate_password' component is installed on the server.
The subsequent steps will run with the existing configuration
of the component.
Using existing password for root.

Estimated strength of the password: 50
Change the password for root ? ((Press y|Y for Yes, any other key for No) : no

 ... skipping.
By default, a MySQL installation has an anonymous user,
allowing anyone to log into MySQL without having to have
a user account created for them. This is intended only for
testing, and to make the installation go a bit smoother.
You should remove them before moving into a production
environment.

Remove anonymous users? (Press y|Y for Yes, any other key for No) : no

 ... skipping.


Normally, root should only be allowed to connect from
'localhost'. This ensures that someone cannot guess at
the root password from the network.

Disallow root login remotely? (Press y|Y for Yes, any other key for No) : yes
Success.

By default, MySQL comes with a database named 'test' that
anyone can access. This is also intended only for testing,
and should be removed before moving into a production
environment.


Remove test database and access to it? (Press y|Y for Yes, any other key for No) : no

 ... skipping.
Reloading the privilege tables will ensure that all changes
made so far will take effect immediately.

Reload privilege tables now? (Press y|Y for Yes, any other key for No) : y
Success.

All done!

### Client端
執行mysql -u root -p 輸入剛才設定的密碼成功連進去
➜  bin mysql -u root -p

Enter password:
Welcome to the MySQL monitor.  Commands end with ; or \g.
Your MySQL connection id is 13
Server version: 8.0.25 Homebrew

Copyright (c) 2000, 2021, Oracle and/or its affiliates.

Oracle is a registered trademark of Oracle Corporation and/or its
affiliates. Other names may be trademarks of their respective
owners.

Type 'help;' or '\h' for help. Type '\c' to clear the current input statement.

mysql>
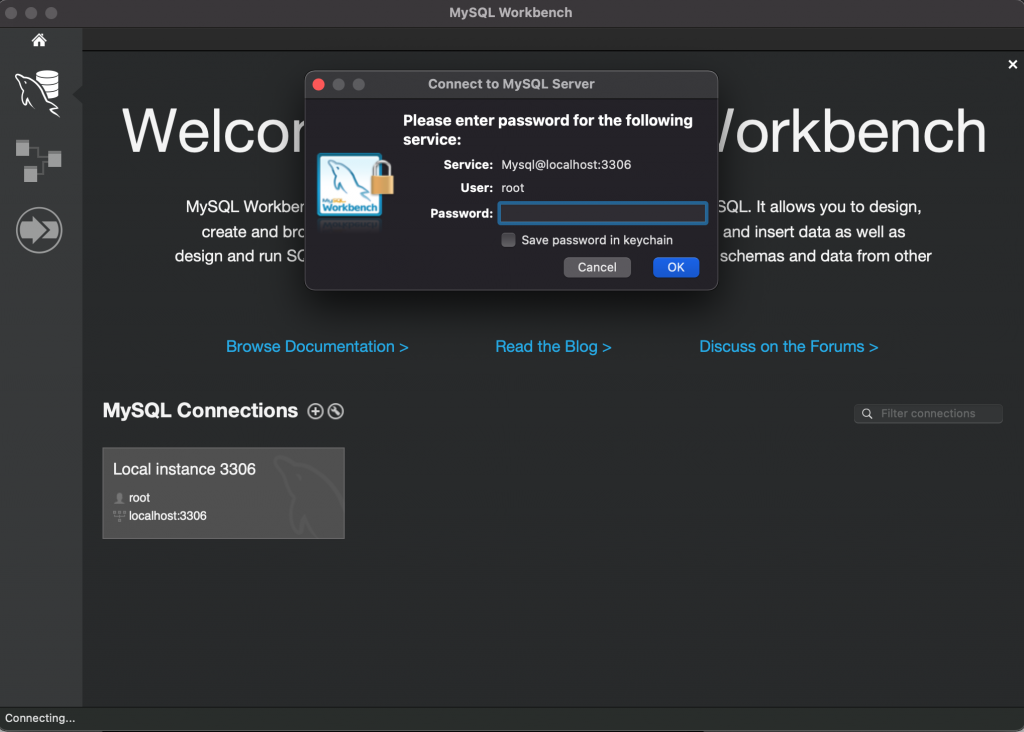
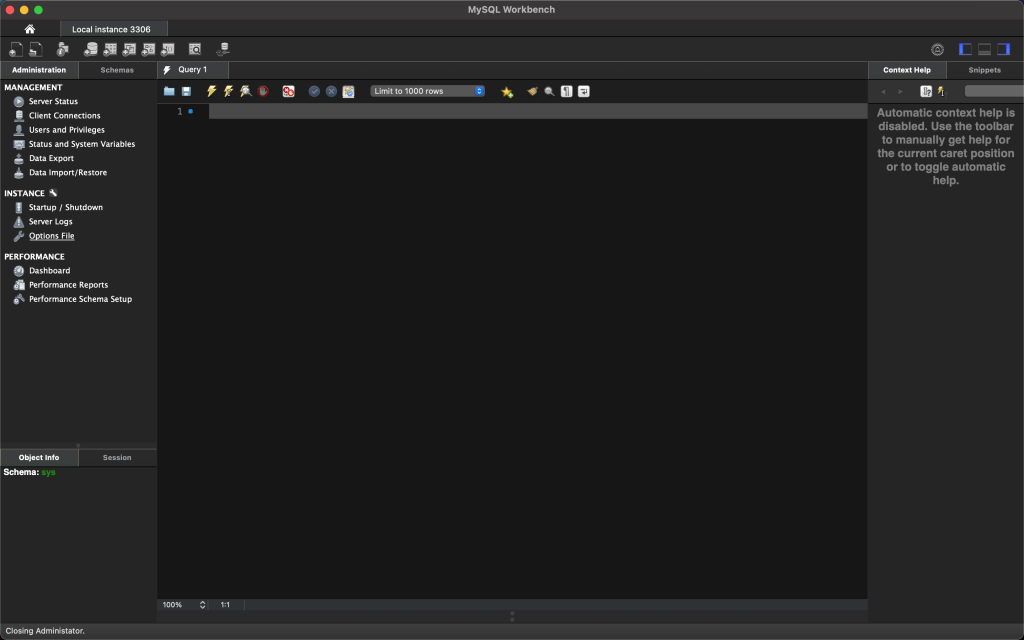
過去我較常用的是phpmyadmin,這次嘗試使用mysql workbench
登入後的樣子如下
take a break
接下來很重要
如果想更上一層樓
就要弄清楚client端連接到server端的具體細節到底做了什麼?
第一步 初始連接做了什麼?
在client端連接到server端的時候,server端都會配置一個執行緒給它使用,而在連線斷開的時候並不會直接釋放掉,而是快取起來讓下一個連線進來的人使用,是為了避免大量配置執行緒拖垮效能。
第二步 如何處理?
(1)查詢快取
先知道mysql很聰明,當查詢完全一樣(空格、註解、大小寫都列入判斷)的時候,它是會快取起來給所有的client端共用,進而增加效能,但為了維護這個快取也是會額外造成系統負擔,所以在mysql8.0後這個快取機制取消掉了。
所以變笨了?當然不是。而是官方希望我們透過Server端查詢重寫或ProxySQL機制來做快取。
(2)語法解析
當查詢沒有快取命中時,就進入正式查詢階段。
client傳送給server的請求實際上只是一段文字。server會判斷語法是否正確,然後將要查詢的表、各種查詢準則提取出來並儲存。
(3)查詢最佳化
此前server已獲得需要的資訊(查詢的表、各種查詢準則等等),但這樣還不夠,因其效率可能不是很好,所以會在做查詢最佳化(之後會進一步說明怎麼做)以增加效率
第三步 儲存引擎?
在查詢最佳化前都還沒有真實存取資料,一直執行到儲存引擎這才會真實的去存取資料。
我們知道表是由一筆一筆的資料構成的。而資料如何呈現、如何讀取表中的資料、如何將資料寫入物理記憶體皆由儲存引擎在負責。常見的儲存引擎有InnoDB、MyISAM、Memory,可以針對不同的表設定不同的儲存引擎(不同的儲存結構及存取方式)。
可以下show engines;看看現有的引擎
(額外說明:為何叫儲存引擎?
這只是個比較酷的名子,以前叫表處理器(太土了),叫這個好像比較高大上
)
人們通常會將處理請求的過程分成server層(第一步、第二步)及儲存引擎層(第三步)
儲存引擎層為server層提供一個統一呼叫的介面,讓前面兩個步驟完成後去呼叫底層介面取得資料丟回給使用者。
到這整個流程結束。喔耶去吃蒼蠅吧。
我們今天安裝了mysql並對整個請求流程具體步驟有了初步的了解
接下來會進一步說明mysql server的相關重要設定(像是client端的連線數量、預設的儲存引擎、快取的大小等)
敬請期待
