
我們來先簡單的使用參考專案打包的方式
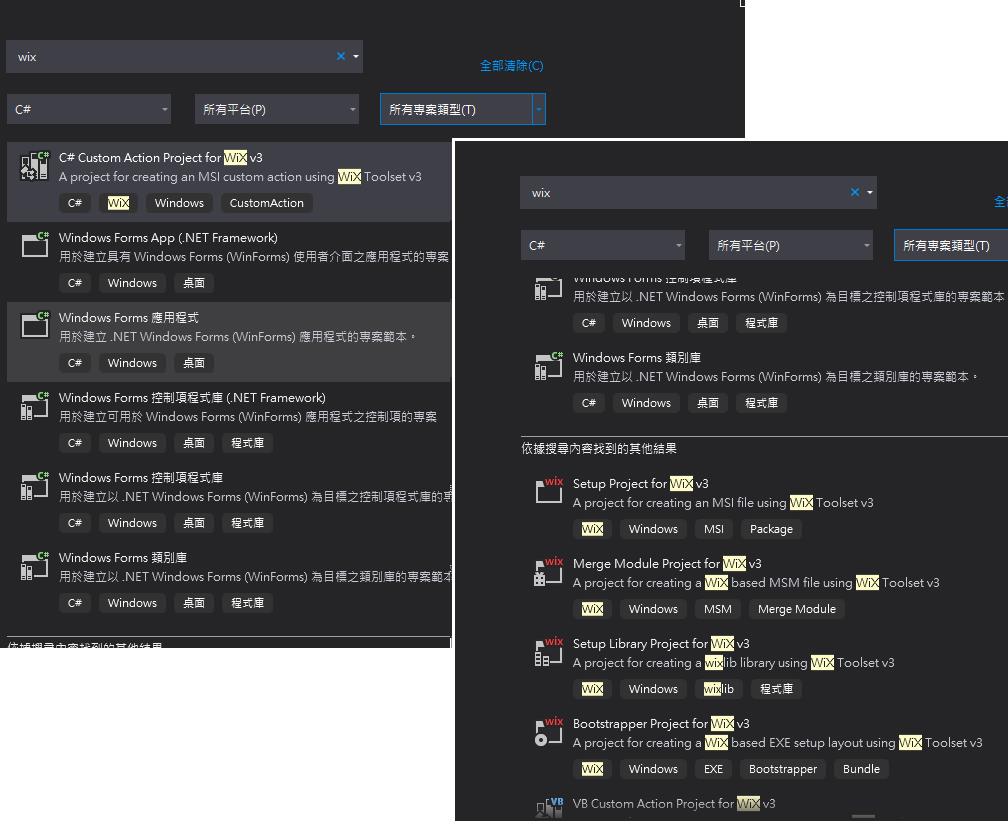
首先我們將要打包的程式方案上,增加一個Wix ToolSet 的專案,
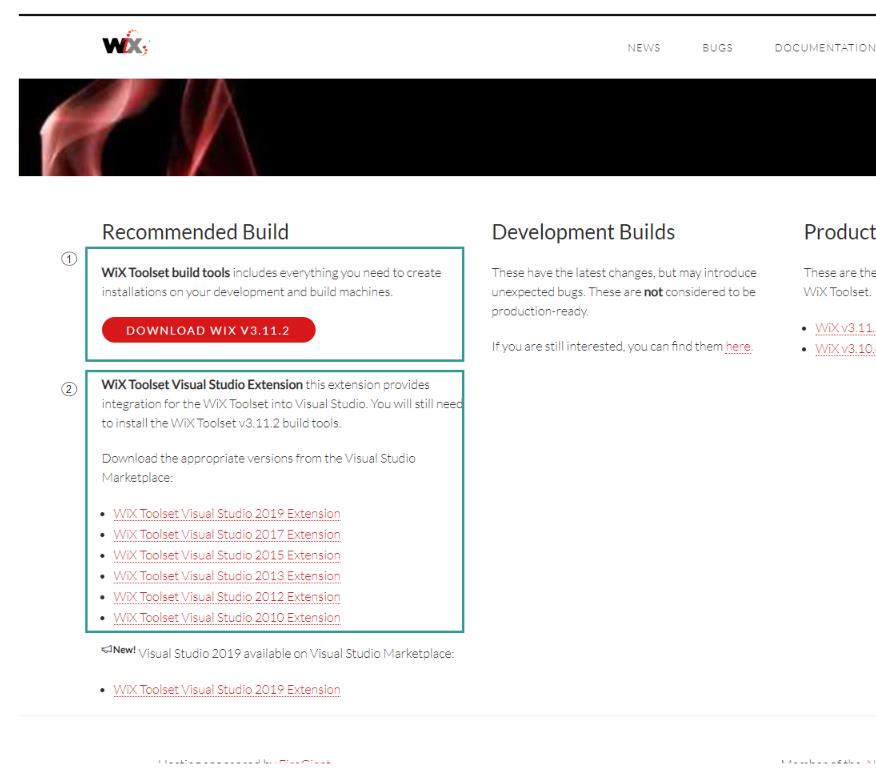
使用Setup Project for WiX v3 的專案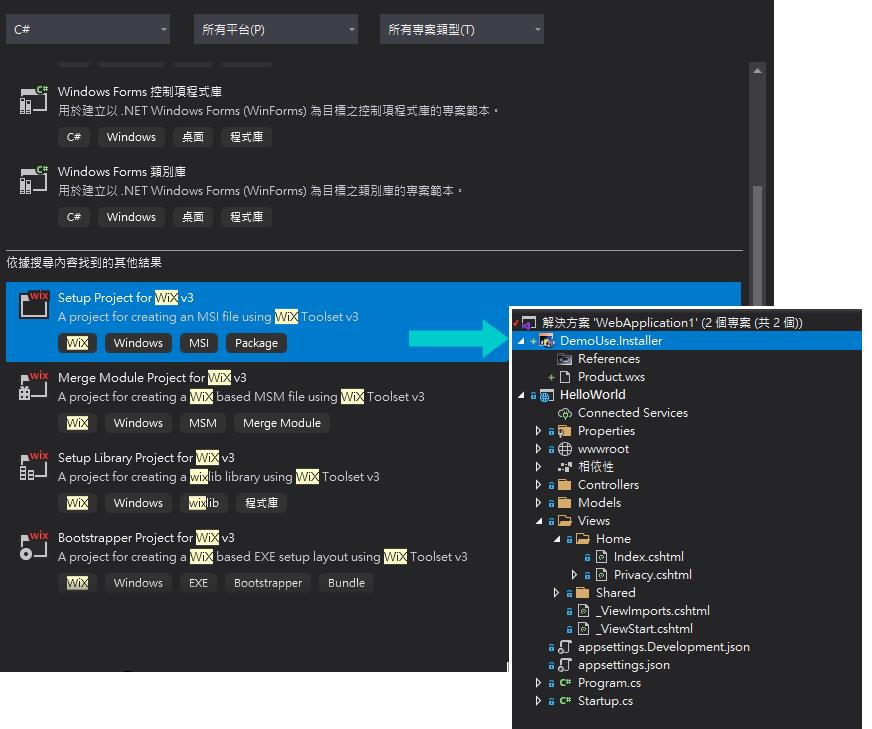
可以看得出新建的Wix 參考的資料夾(References)帶有自己的風格↗
我們在Wix ToolSet的引用參考部分加入要發佈的專案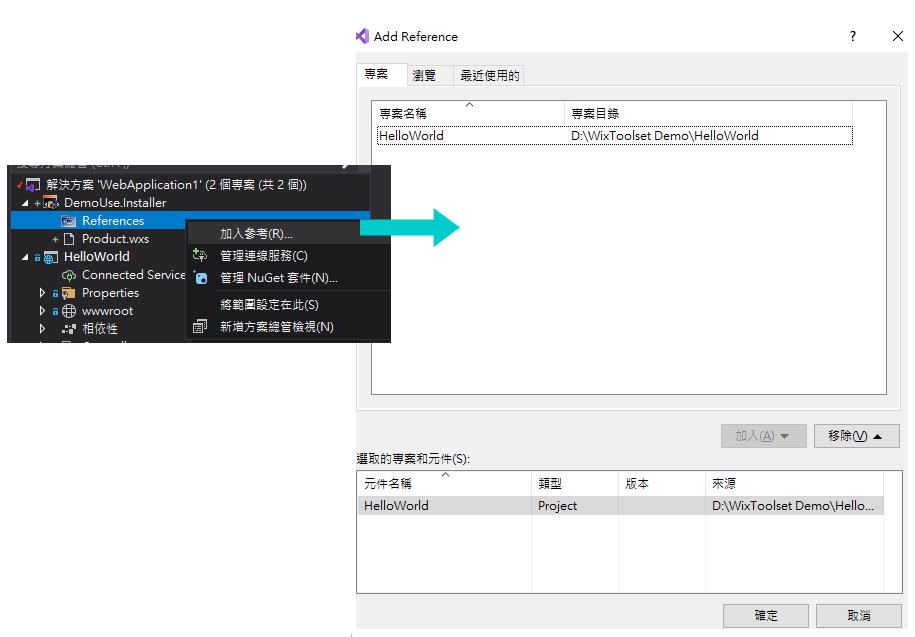
打開我們新建出來專案內的Product.wxs,長這樣↓↓↓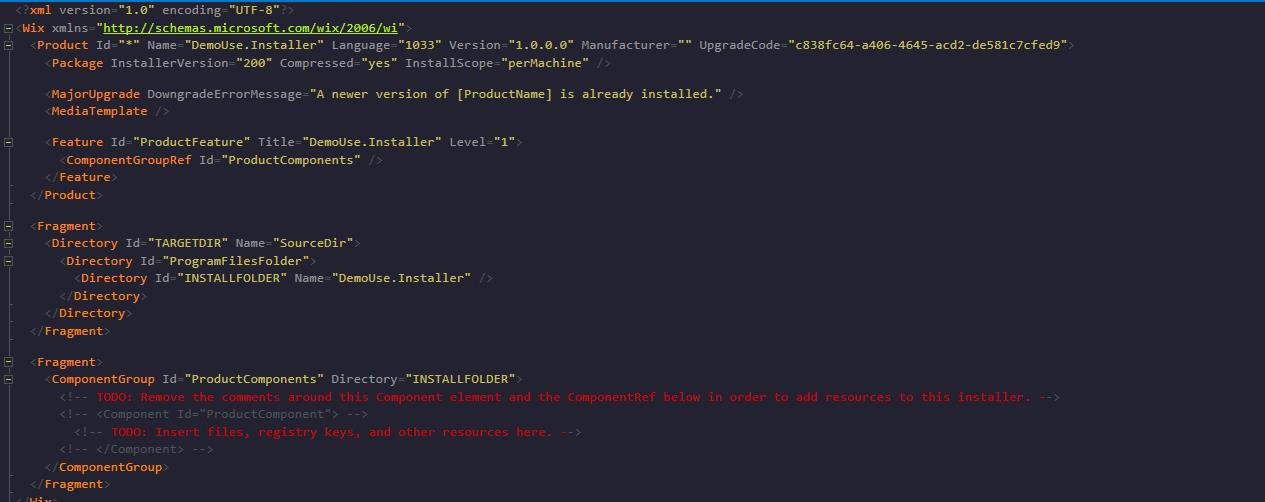
而WixToolset比較讓人覺得麻煩的部分是,
要發佈的Dll 或exe 之類的所有內容都必須寫在Product.wxs部分宣告出來,
這樣他的安裝包才會去抓取。
目前直接依照HelloWorld 內部,
我想讓他打包出目前有的檔案了話,
我們先用手動加入的方式加入每一個檔案,
寫法了話 一個檔案包一個Component,就像醬↓
<Component>
    <File Source="$(var.HelloWorld.TargetDir)\HelloWorld.deps.json" />
</Component>
然後寫在ComponentGroup內,
<?xml version="1.0" encoding="UTF-8"?>
<Wix xmlns="http://schemas.microsoft.com/wix/2006/wi">
  <Product Id="*" Name="DemoUse.Installer" Language="1033" Version="1.0.0.0" Manufacturer="Demo" UpgradeCode="a5d1057e-17be-46b0-b865-51d067292c7f">
    <Package InstallerVersion="200" Compressed="yes" InstallScope="perMachine" />

    <MajorUpgrade DowngradeErrorMessage="A newer version of [ProductName] is already installed." />
    <MediaTemplate />

    <Feature Id="ProductFeature" Title="DemoUse.Installer" Level="1">
      <ComponentGroupRef Id="ProductComponents" />
    </Feature>
  </Product>

  <Fragment>
    <Directory Id="TARGETDIR" Name="SourceDir">
      <Directory Id="ProgramFilesFolder">
        <Directory Id="INSTALLFOLDER" Name="DemoUse.Installer" />
      </Directory>
    </Directory>
  </Fragment>

  <Fragment>
    <ComponentGroup Id="ProductComponents" Directory="INSTALLFOLDER">
      <!-- TODO: Remove the comments around this Component element and the ComponentRef below in order to add resources to this installer. -->
      <Component>
        <File Source="$(var.HelloWorld.TargetDir)\HelloWorld.deps.json" />
      </Component>
      <Component>
        <File Source="$(var.HelloWorld.TargetDir)\appsettings.json" />
      </Component>
      <Component>
        <File Source="$(var.HelloWorld.TargetDir)\HelloWorld.dll" />
      </Component>
      <Component>
        <File Source="$(var.HelloWorld.TargetDir)\HelloWorld.exe" />
      </Component>
            <Component>
        <File Source="$(var.HelloWorld.TargetDir)\HelloWorld.pdb" />
      </Component>
            <Component>
        <File Source="$(var.HelloWorld.TargetDir)\HelloWorld.runtimeconfig.dev.json" />
      </Component>
            <Component>
        <File Source="$(var.HelloWorld.TargetDir)\HelloWorld.runtimeconfig.json" />
      </Component>
            <Component>
        <File Source="$(var.HelloWorld.TargetDir)\HelloWorld.Views.dll" />
      </Component>
            <Component>
        <File Source="$(var.HelloWorld.TargetDir)\HelloWorld.Views.pdb" />
      </Component>
    </ComponentGroup>
  </Fragment>
</Wix>
注意 這邊第三行內的 Manufacturer=""沒有指定了話,建置時會出現告警訊息

都搞定後,專案給他建置下去!!!
然後到我們的專案資料夾內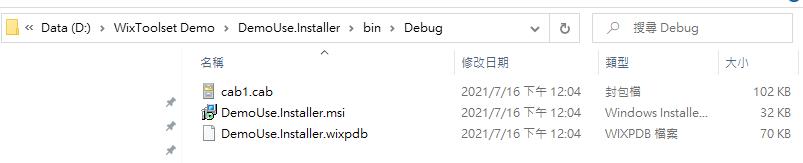
點DemoUse.Imstaller.msi之後,安裝程式會自顧自的安裝完畢…
別怕! 後面我們會談到選擇路徑UI以及如何自訂頁面。
那我們先來看他安裝到什麼地方??
一般會在C:\Program Files (x86) 裡面
那我們看能不能執行,開啟HelloWorld.exe檔TryTry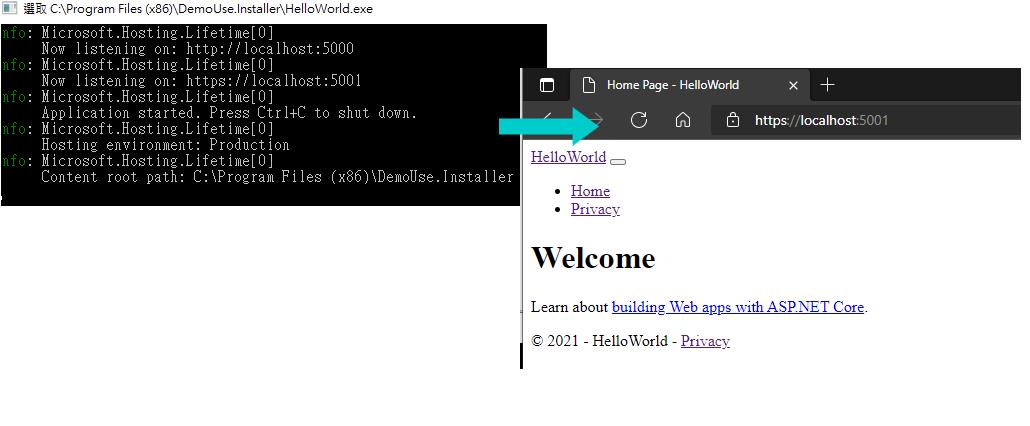
如果想解除安裝了話,
可以直接使用新增移除程式,
裡面就可以解除我們剛剛裝的程式。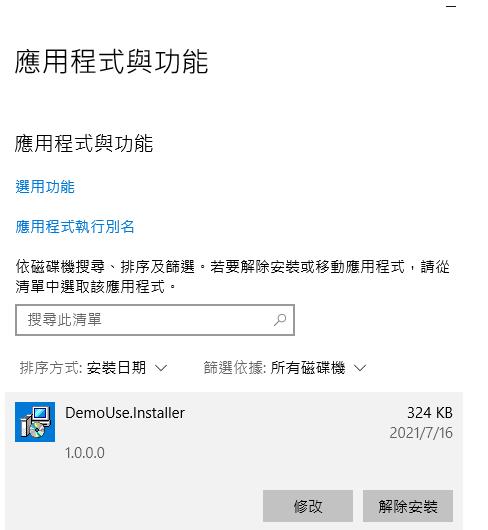
今天的Product.wxs我相信基本上沒接觸過的人都會怕怕的,裡面的欄位以及一些變數應用,
我在剛接觸時也是很怕我Delay這個專案,
最後我爬了很多文章,寫得最好的是左岸的 stoneniqiu
看他的東西收穫很多!
https://www.cnblogs.com/stoneniqiu/p/3355086.html
有些解釋的部分我會直接引用他的資料,畢竟我要寫了話也只會類似的解釋,
真的硬要講了話,我也只是站在巨人肩膀上紀錄碰到的問題。
而使用參考打包的方式,是我初學時別人使用WindowsFrom 簡單的教學,
但現在前後端分離的時代下,簡單教學的東西就沒那麼實用了!
所以你可以看到我們目前產出的沒有UI,這個要改為直接將發佈完後再將檔案參考的方式。
Day2程式碼
https://github.com/Aslan7826/defaultMVC/commits/Day02
