今天要來試著使用Firebase的機器學習套件,點擊左邊的Machine Learning
可以看到有一些套件是可以使用的,這裡小弟所選擇的是條碼掃描,然後點擊認識機器學習套件
點擊認識機器學習套件後,再點擊Android就好了
懶人包:不想跟著上面步驟的話,直接進來下面這個網址就行
https://developers.google.com/ml-kit/vision/barcode-scanning/android#java 
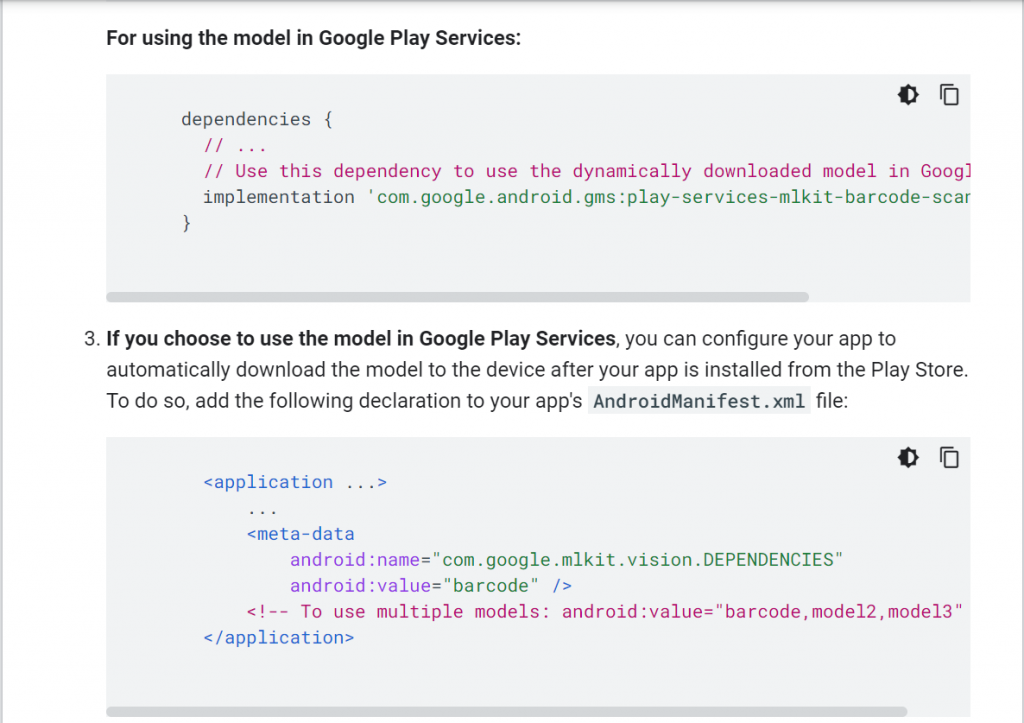
接著照網頁說的步驟,分別在build.gradle(Module)、AndroidManifest完成前置作業,完成後就開始輸入程式碼吧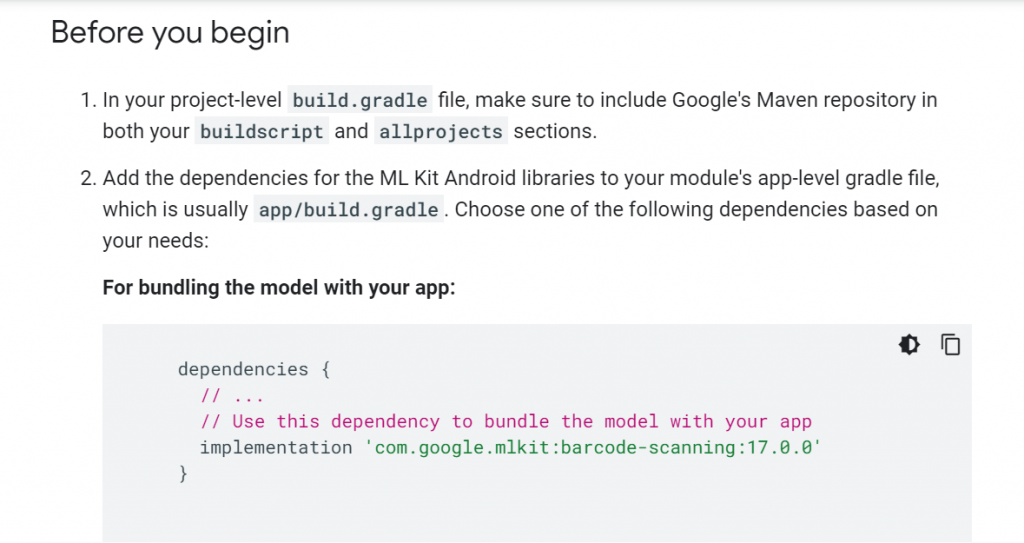
activity_main:
以LinearLayout排版,加入一個Button就好
<?xml version="1.0" encoding="utf-8"?>
<LinearLayout xmlns:android="http://schemas.android.com/apk/res/android"
    xmlns:app="http://schemas.android.com/apk/res-auto"
    xmlns:tools="http://schemas.android.com/tools"
    android:layout_width="match_parent"
    android:layout_height="match_parent"
    android:orientation="vertical"
    tools:context=".MainActivity">

   <Button
       android:layout_width="wrap_content"
       android:layout_height="wrap_content"
       android:text="QR-Code"
       android:id="@+id/btnQrcode"/>
</LinearLayout>
MainActivity:
跳頁用
public class MainActivity extends AppCompatActivity {
    private Button btnQrcode;

    @Override
    protected void onCreate(Bundle savedInstanceState) {
        super.onCreate(savedInstanceState);
        setContentView(R.layout.activity_main);
        findViews();
    }

    private void findViews(){
        btnQrcode = findViewById(R.id.btnQrcode);
        btnQrcode.setOnClickListener(v->{
            Intent intent = new Intent(MainActivity.this,QRCodeActivity.class);
            startActivity(intent);
        });
    }
}
activity_q_r_code:
以LinearLayout排版,加入一個TextView就好
<?xml version="1.0" encoding="utf-8"?>
<LinearLayout xmlns:android="http://schemas.android.com/apk/res/android"
    xmlns:app="http://schemas.android.com/apk/res-auto"
    xmlns:tools="http://schemas.android.com/tools"
    android:layout_width="match_parent"
    android:layout_height="match_parent"
    tools:context=".QRCodeActivity">

    <TextView
        android:id="@+id/urlText"
        android:layout_width="match_parent"
        android:layout_height="wrap_content"
        android:text=""
        android:textSize="20sp"/>
</LinearLayout>
將下列網址的圖片下載下來,命名為code,放在drawable裡面
https://www.google.com/search?q=%E5%8C%97%E5%8D%80%E7%9B%A3%E7%90%86%E7%AB%99QRCODE&source=lnms&tbm=isch&sa=X&ved=2ahUKEwi5h8K3j9vyAhUSC6YKHTfkDVQQ_AUoAnoECAEQBA&biw=1280&bih=609&dpr=1.5#imgrc=cShU0JE6ZqbTZM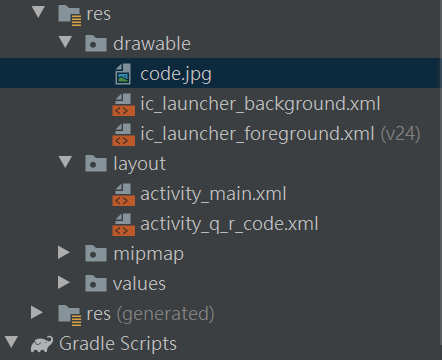
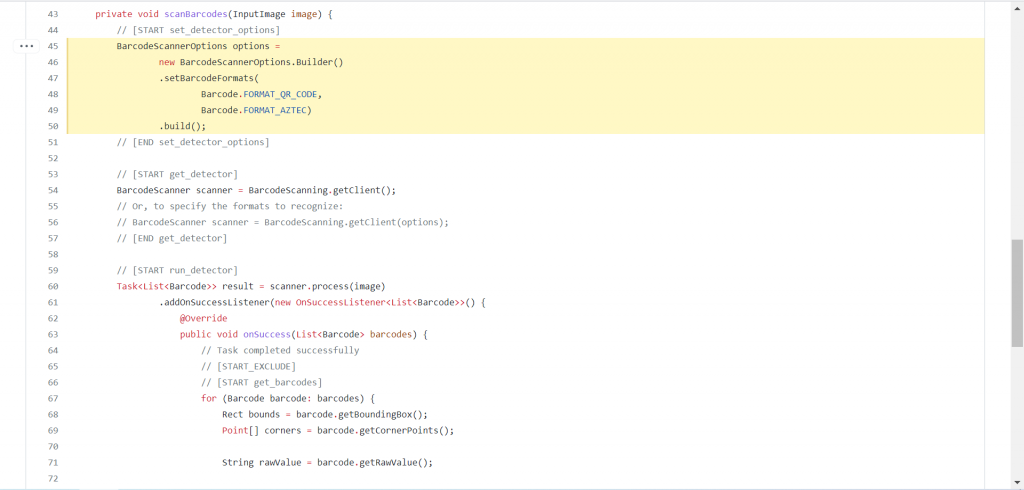
點擊右下的BarcodeScanningActivity.java,將裡面的43~99行的程式碼複製,貼上QRCodeActivity裡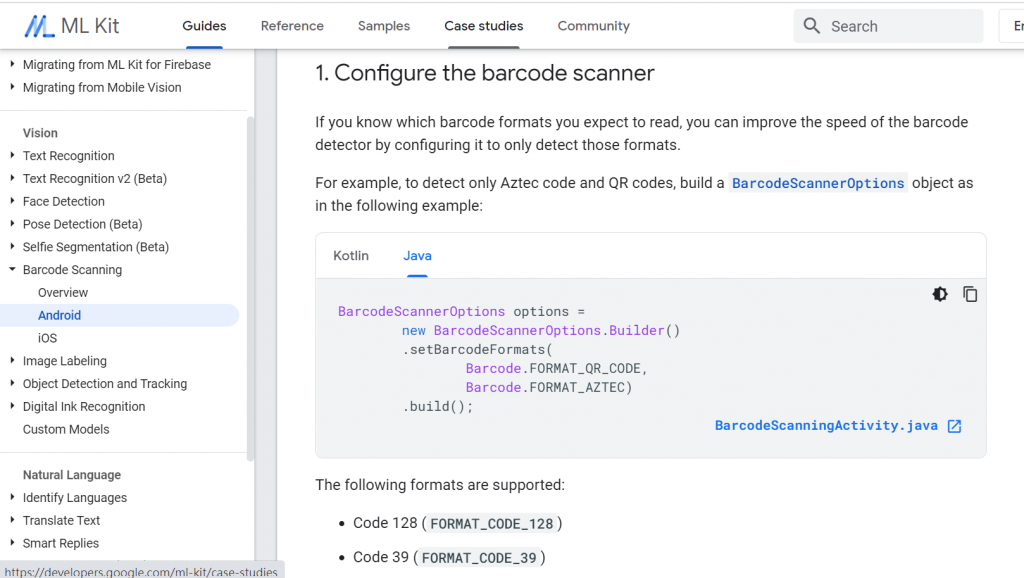
QRCodeActivity:
用TextView顯示網址
public class QRCodeActivity extends AppCompatActivity {
    private TextView urlText;

    @Override
    protected void onCreate(Bundle savedInstanceState) {
        super.onCreate(savedInstanceState);
        setContentView(R.layout.activity_q_r_code);

        urlText = findViewById(R.id.urlText);
        Bitmap bitmap = BitmapFactory.decodeResource(getResources(),R.drawable.code);
        InputImage image = InputImage.fromBitmap(bitmap,0);
        scanBarcodes(image);
    }

    private void scanBarcodes(InputImage image) {
        BarcodeScannerOptions options = new BarcodeScannerOptions.Builder()
                        .setBarcodeFormats(Barcode.FORMAT_QR_CODE, Barcode.FORMAT_AZTEC)
                        .build();

        BarcodeScanner scanner = BarcodeScanning.getClient();
        // Or, to specify the formats to recognize:
        // BarcodeScanner scanner = BarcodeScanning.getClient(options);

        Task<List<Barcode>> result = scanner.process(image)
                .addOnSuccessListener(new OnSuccessListener<List<Barcode>>() {
                    @Override
                    public void onSuccess(List<Barcode> barcodes) {
                        for (Barcode barcode: barcodes) {
                            Rect bounds = barcode.getBoundingBox();
                            Point[] corners = barcode.getCornerPoints();

                            String rawValue = barcode.getRawValue();

                            int valueType = barcode.getValueType();
                            // See API reference for complete list of supported types
                            switch (valueType) {
                                case Barcode.TYPE_WIFI:
                                    String ssid = barcode.getWifi().getSsid();
                                    String password = barcode.getWifi().getPassword();
                                    int type = barcode.getWifi().getEncryptionType();
                                    break;
                                case Barcode.TYPE_URL:
                                    String title = barcode.getUrl().getTitle();
                                    String url = barcode.getUrl().getUrl();
                                    urlText.setText(url);
                                    break;
                            }
                        }
                    }
                })
                .addOnFailureListener(new OnFailureListener() {
                    @Override
                    public void onFailure(@NonNull Exception e) {
                        // Task failed with an exception
                    }
                });
    }
}
謝謝大家願意花時間閱讀,小弟弟我在此鞠躬


 iThome鐵人賽