
我們了解了官方UI裡面的架構與流程以後,我們建立一個自訂頁面,
在github內Dlg結尾的,都可以當作範本,
這邊使用WelcomeDlg.wxs當作介紹,
https://github.com/wixtoolset/wix3/blob/develop/src/ext/UIExtension/wixlib/WelcomeDlg.wxs
這個當範本
在專案內額外新增一個SettingDlg頁面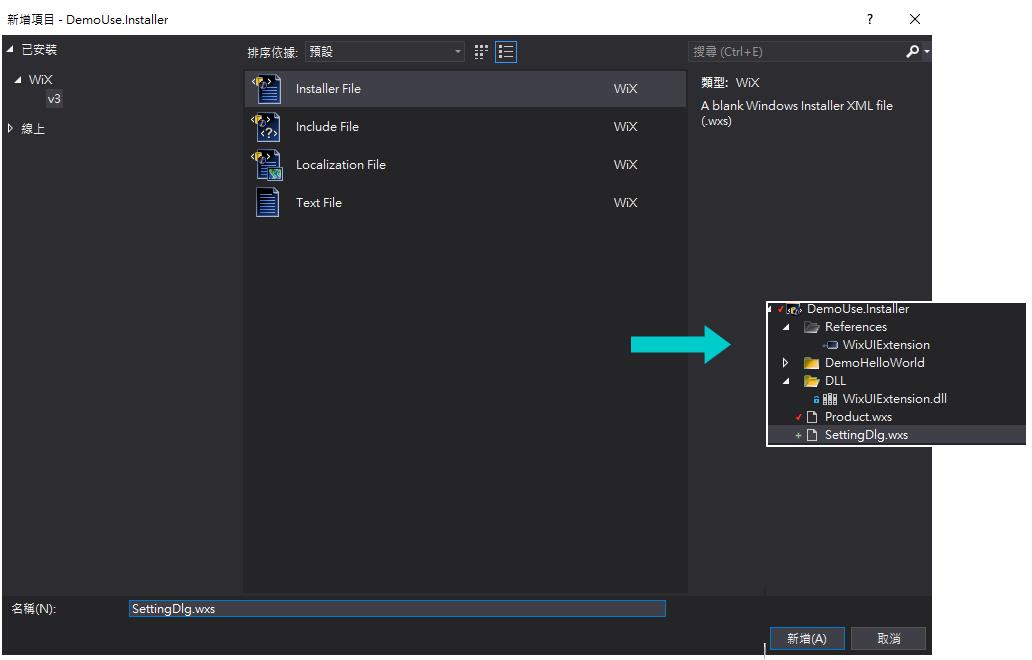
然後複製WelcomeDlg.wxs 進SettingDlg之後,
我們再大幅度的修改一下
 <Dialog Id="SettingDlg" Width="370" Height="270" Title="System Setting">
        <Control X="0"   Y="0"   Id="BannerBitmap" Type="Bitmap" Width="370" Height="44" TabSkip="no" Text="!(loc.WelcomeDlgBitmap)" />
        <Control X="0"   Y="44"  Id="BannerLine" Type="Line" Width="370" Height="0" />
        <Control X="15"  Y="6"   Id="Title" Type="Text"  Width="200" Height="15" Transparent="yes" NoPrefix="yes" Text="Set System URL" />
        <Control X="25"  Y="50"  Id="Description" Type="Text" Width="340" Height="15" Transparent="yes" NoPrefix="yes" Text="Input Your Setting" />

        <Control X="30"  Y="80"  Id="LabelWebURL" Width="70" Height="15" Type="Text" Text="System IP:" />
        <Control X="120" Y="80"  Id="EditWebURL" Width="180"  Height="15" Type="Edit" Property="SYSTEMIP" Text="{200}"  />
        <Control X="30"  Y="120" Id="LabelWebPort" Width="70" Height="15" Type="Text" Text="System Port:" />
        <Control X="120" Y="120" Id="EditWebPort" Width="180"  Height="15" Type="Edit" Property="WEBPORT" Text="{20}"  />

        <Control X="0"   Y="234" Id="BottomLine" Type="Line" Width="370" Height="0" />
        <Control X="180" Y="243" Id="Back" Type="PushButton"  Width="56" Height="17" Text="!(loc.WixUIBack)" />
        <Control X="236" Y="243" Id="Next" Type="PushButton" Width="56" Height="17" Default="yes" Text="!(loc.WixUINext)"/>
        <Control Id="Cancel" Type="PushButton" X="304" Y="243" Width="56" Height="17" Cancel="yes" Text="!(loc.WixUICancel)">
          <Publish Event="SpawnDialog" Value="CancelDlg">1</Publish>
        </Control>
      </Dialog>
      <Property Id="SYSTEMIP" Value="127.0.0.1"/>
      <Property Id="WEBPORT" Value="5000"/>
Control使用 Type="Edit" 的情況要在Property 指定一個Id
就跟我們使用路徑的UI 還要額外補上 "",不然會出錯的意思一樣
這邊我就直接寫在頁面上,帶有的參數的設定。
然後我們將昨天講到的官方UI架構
在註冊部分給填入 DialogRef Id="SettingDlg"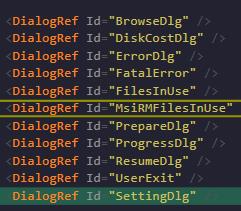
我們插入SettingDlg頁面在InstallDirDlg選擇資料夾路徑以後
這邊要改InstallDirDlg 的下一頁與 VerifyReadyDlg的上一頁
還有在這中間我們加入SettingDlg 的上下頁面對應。
最後我們建置執行看看!


要調這個位置大小,真的很麻煩,
沒有使用介面參考,一切憑感覺,
讓我有種在用文字檔撰寫程式一般XD
自訂頁面製作完畢後,
明天我們再來用專屬這個自訂頁面的自訂動作!
Day7程式碼
https://github.com/Aslan7826/defaultMVC/commits/Day07

 iThome鐵人賽