圖片來源github
Kind = Kubernetes in Docker,簡單說就是把k8s run在docker上面,少了安裝在本機上面的動作,
Kind也是個Kubernetes SIGs project,跟常用的minikube對比,把原本安裝在vm上面改到container上面
| 項目 | minikube | kind |
|---|---|---|
| runtime | VM | container |
| supported | AMD64 | AMD64, ARMv7, ARM64 |
| supported container runtimes | Docker,CRI-O,containerd,gvisor | Docker |
| memory requirements | 2GB | 8GB |
| multi-cluster support | yes | yes |
| multi-node support | no | yes |
| 資料來源 |
go與dockerGO111MODULE="on" go get sigs.k8s.io/kind@v0.11.1
執行結果
go: downloading sigs.k8s.io/kind v0.11.1
go: downloading github.com/spf13/cobra v1.1.1
go: downloading github.com/alessio/shellescape v1.4.1
go: downloading k8s.io/apimachinery v0.20.2
go: downloading golang.org/x/sys v0.0.0-20210124154548-22da62e12c0c
go: downloading sigs.k8s.io/yaml v1.2.0
go: downloading github.com/evanphx/json-patch v4.9.0+incompatible
go: downloading github.com/pelletier/go-toml v1.8.1
go: downloading github.com/inconshreveable/mousetrap v1.0.0
go: downloading github.com/evanphx/json-patch/v5 v5.2.0
kind create cluster
執行結果
Creating cluster "kind" ...
 ✓ Ensuring node image (kindest/node:v1.21.1) ?
 ✓ Preparing nodes ?
 ✓ Writing configuration ?
 ✓ Starting control-plane ?️
 ✓ Installing CNI ?
 ✓ Installing StorageClass ?
Set kubectl context to "kind-kind"
You can now use your cluster with:

kubectl cluster-info --context kind-kind

Thanks for using kind! ?
也是可以使用參數指定cluster的名稱
kind create cluster --name test-kind-cluster
需要指定node image版本,可以加上tag
kind create cluster --name tag-version-kind --image kindest/node:v1.21.1
kind不像minikube有自帶儀表版,所以需要自行安裝
1.安裝dashboard
kubectl apply -f https://raw.githubusercontent.com/kubernetes/dashboard/v2.0.0-beta8/aio/deploy/recommended.yaml
確認一下有沒有正常運作
kubectl get pod -n kubernetes-dashboard
執行結果
NAME                                         READY   STATUS    RESTARTS   AGE
dashboard-metrics-scraper-778b77d469-v85pw   1/1     Running   0          3m5s
kubernetes-dashboard-5cd89984f5-9vtsm        1/1     Running   0          3m5s
2.安裝ClusterRoleBinding,提供剛剛建的cluster管理權限存取
kubectl create clusterrolebinding default-admin --clusterrole cluster-admin --serviceaccount=default:default
3.因為儀表板是使用token登入,所以把token匯出
token=$(kubectl get secrets -o jsonpath="{.items[?(@.metadata.annotations['kubernetes\.io/service-account\.name']=='default')].data.token}"|base64 -d)
echo $token
4.使用kubectl proxy進入儀板表
kubectl proxy
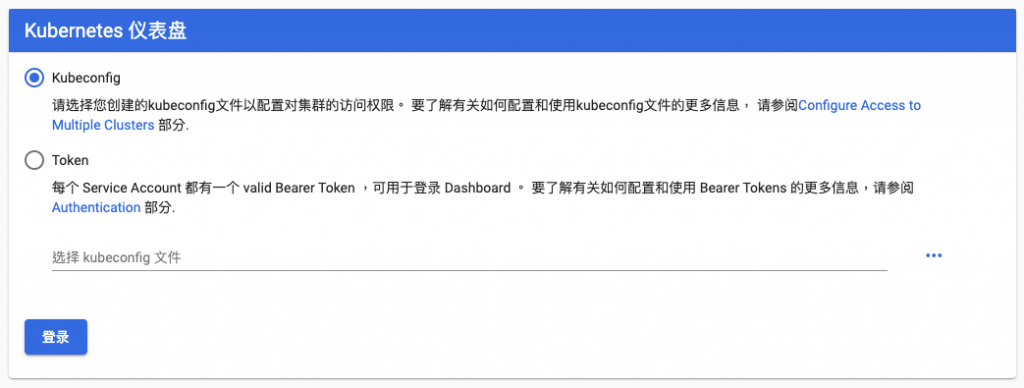
5.登入
http://localhost:8001/api/v1/namespaces/kubernetes-dashboard/services/https:kubernetes-dashboard:/proxy/#/login
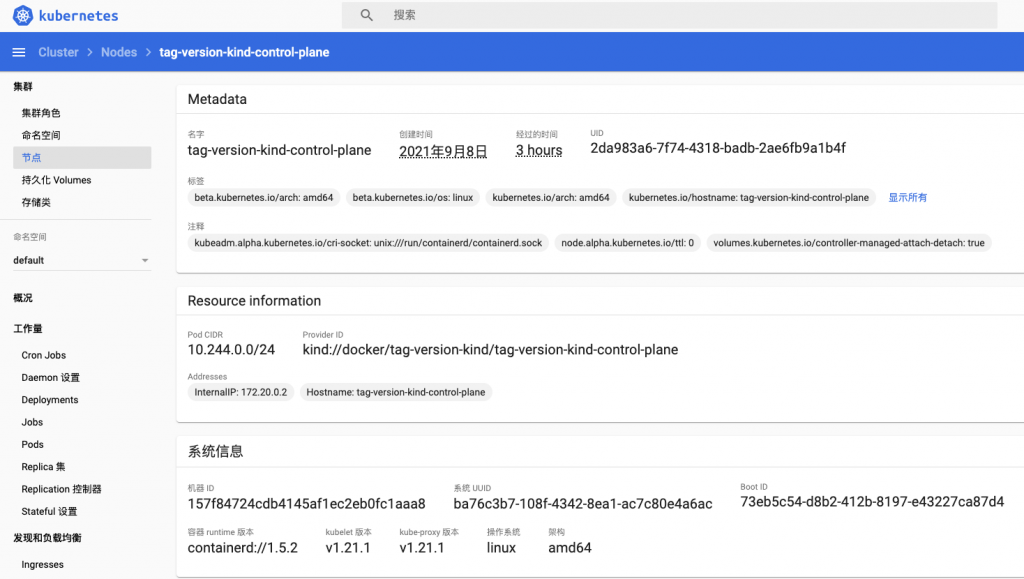
6.填入token就可以看到k8s資訊啦

kind的基礎安裝就到這邊了
