推播可是App最特殊的功能之一了,我剛學App程式的時候,最好奇最想學的就是推播的功能了,概念我們大概講一下,
推播分為本地推播和遠程推播,本地推播滿容易的,也可以在模擬器上測試,
但遠程推播就比較麻煩一點了,需要開發者帳號、需要真機測試,以下講解皆為遠程推播~
遠程推播主要的工具有推播平台、ios 裝置、APP、APNs憑證
推播平台,在推播的角色上屬於Provider,有些教學會說去下載應用程式來測試,例如APN Tester、Easy APNs Provider等等,但我最常用的就是Firebase(也會以此為主作說明)
iOS裝置,因為遠程推播需要以真機測試,且接收推播訊息的APP要記得打開隱私設定的推播允許
APP,需在APP設定中的Signing & Capabilities下加上”Push Notifications”啟用推播功能
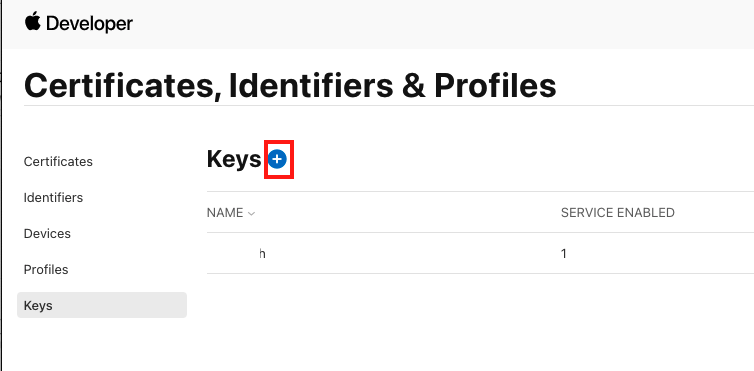
APNs憑證,這個憑證的存在是為了確保 iOS 裝置與伺服器之間的通訊安全,沒有這個憑證是沒辦法收到推播訊息的(嗯...對的 要有付費的開發者帳號才能產出憑證
下面會以firebase作為推播平台來說明,Firebase官方也有完整的客戶端設置文(https://firebase.google.com/docs/cloud-messaging/ios/client?authuser=2),
淺顯易懂,大家可以試試或是參考下面的圖文,若有疏漏請指教更正
啟用推播功能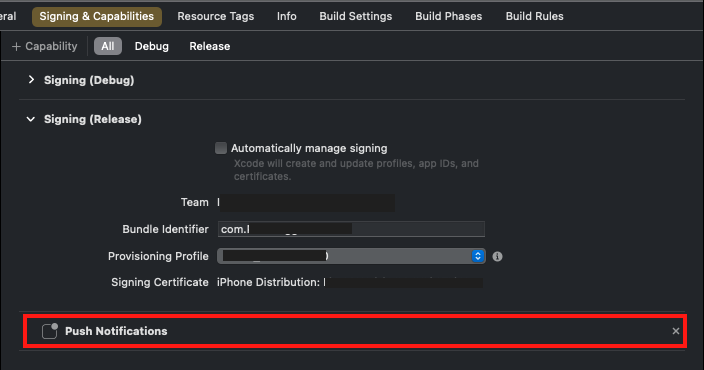
將Firebase推播專案註冊完產出的GoogleService-Info.plist放進專案中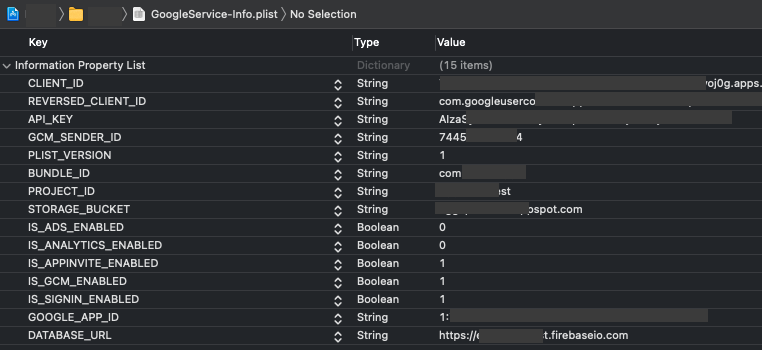
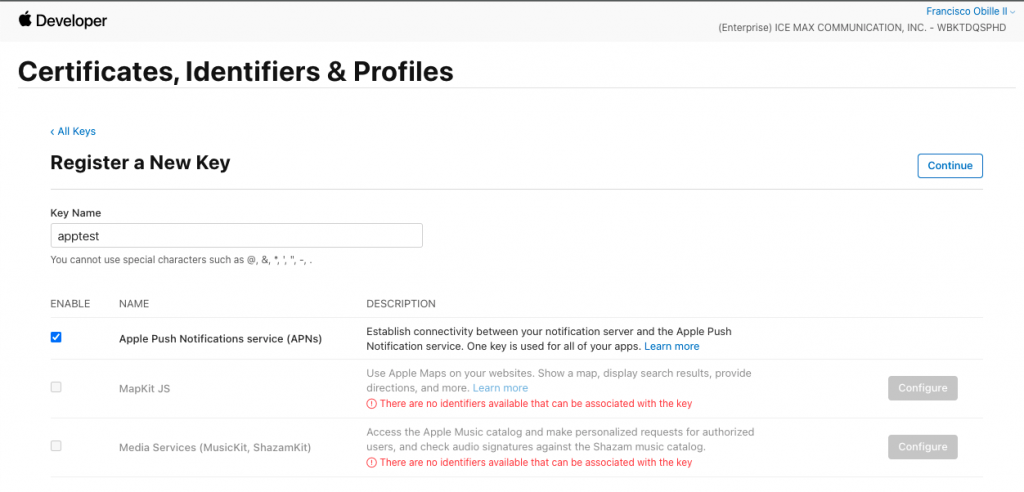
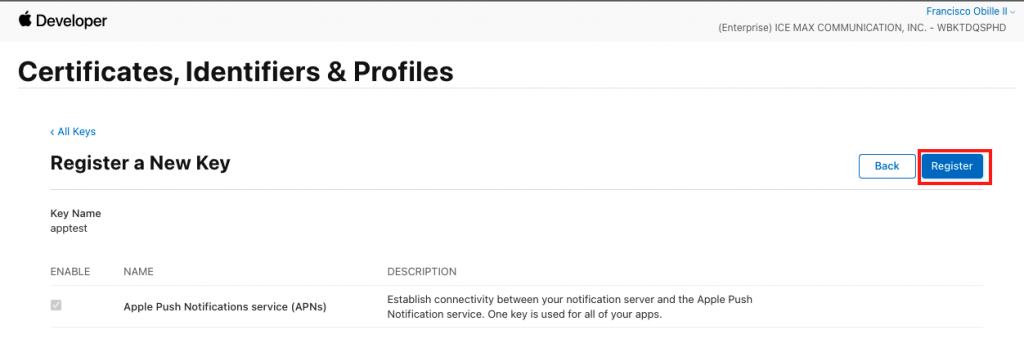
After downloading your key, it cannot be re-downloaded as the server copy is removed。
此憑證只能下載一次,若遺失只能再申請一個新的
創建專案
首先,登入google帳號後,創建一個專案,步驟如下:
1.新增專案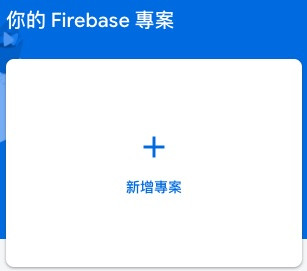
2.建立專案,專案名稱不重複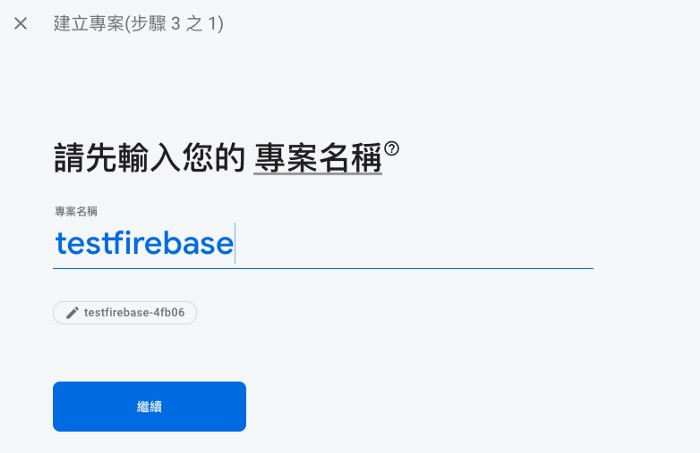
3.此專案啟用預設的分析功能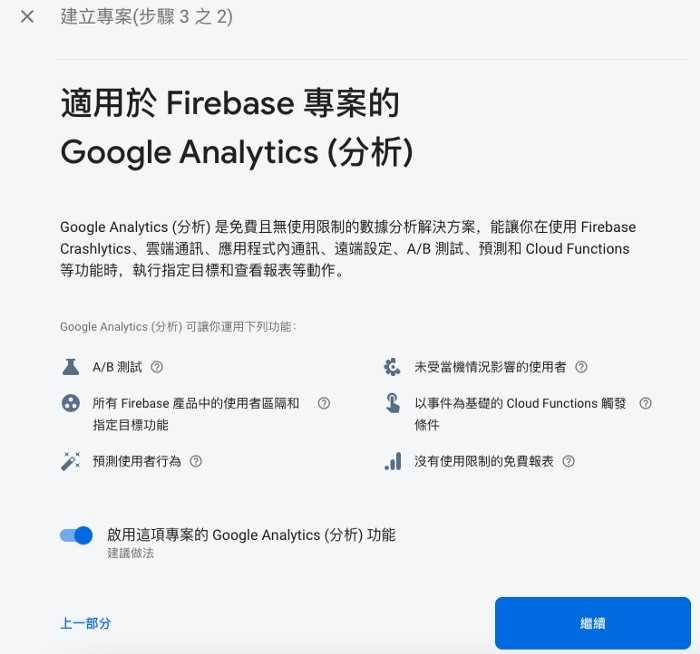
4.建立此專案的分析帳戶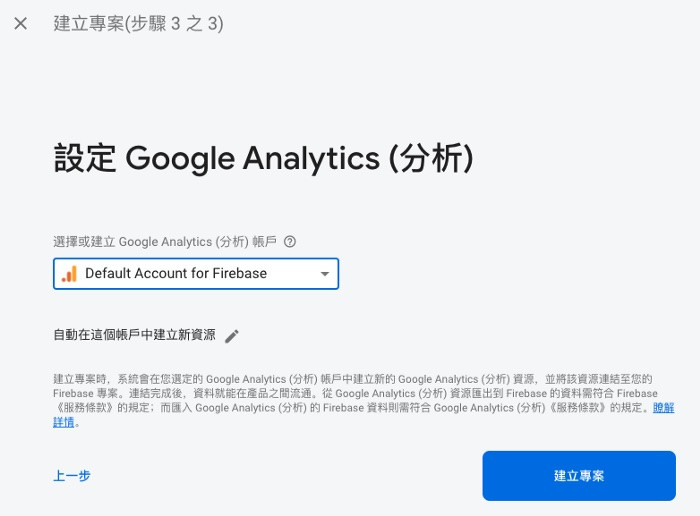
Firebase專案之APP連結設置
建立專案到目前為止已告一段落,接著是針對推播專案的基本設定:
1.選擇推播裝置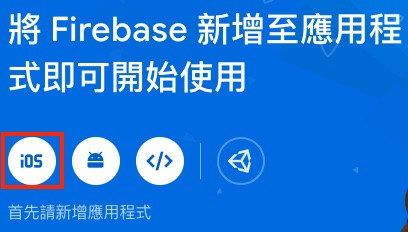
2.設定APP ID(以iOS為例)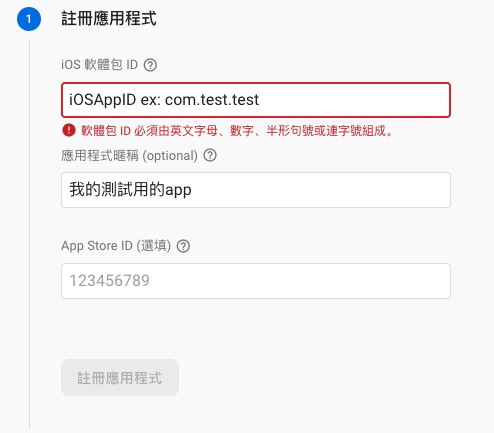
3.下載Google服務的plist檔匯入Xcode專案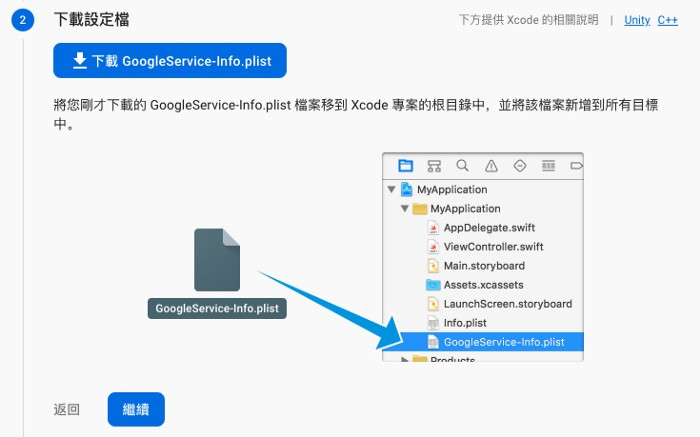
4.在Xcode專案中引入Firebase的第三方套件(需先安裝Cocoapods)
5.添加初始化代碼至Xcode專案裡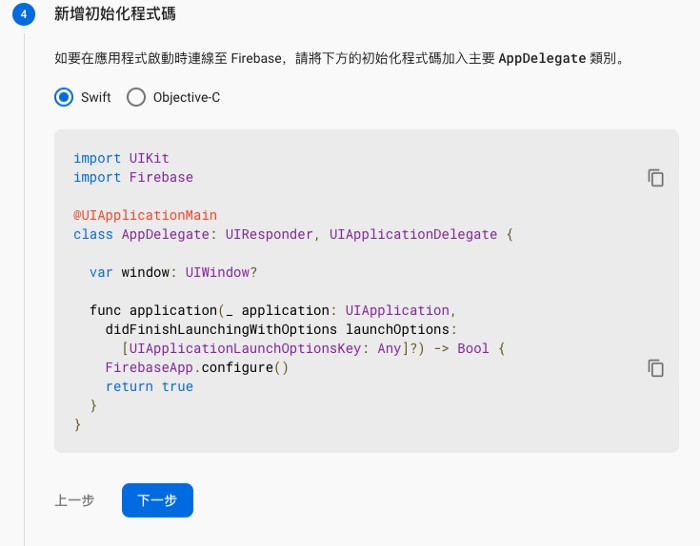
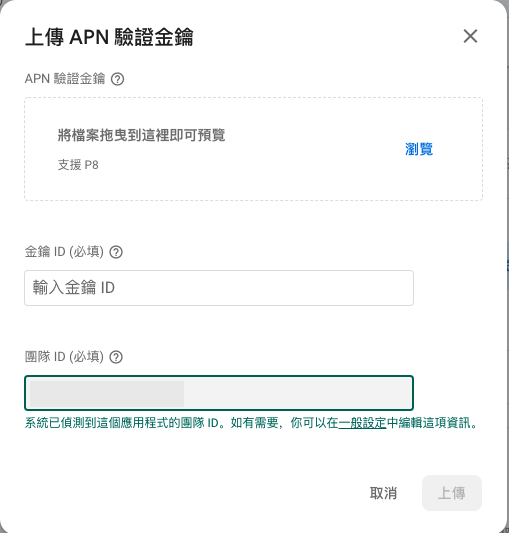
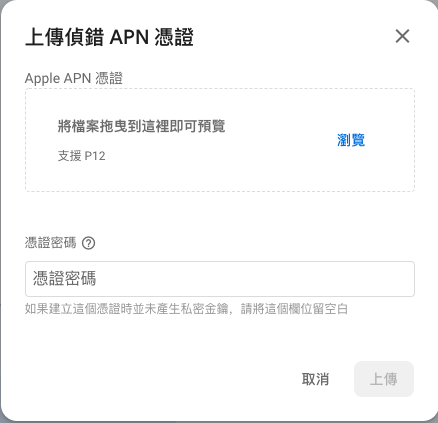
6.設定完成回到主控台,接著到APPLE 開發者帳號後臺申請P8或P12憑證,添加到Firebase指定專案的”專案設定”>”雲端通訊”中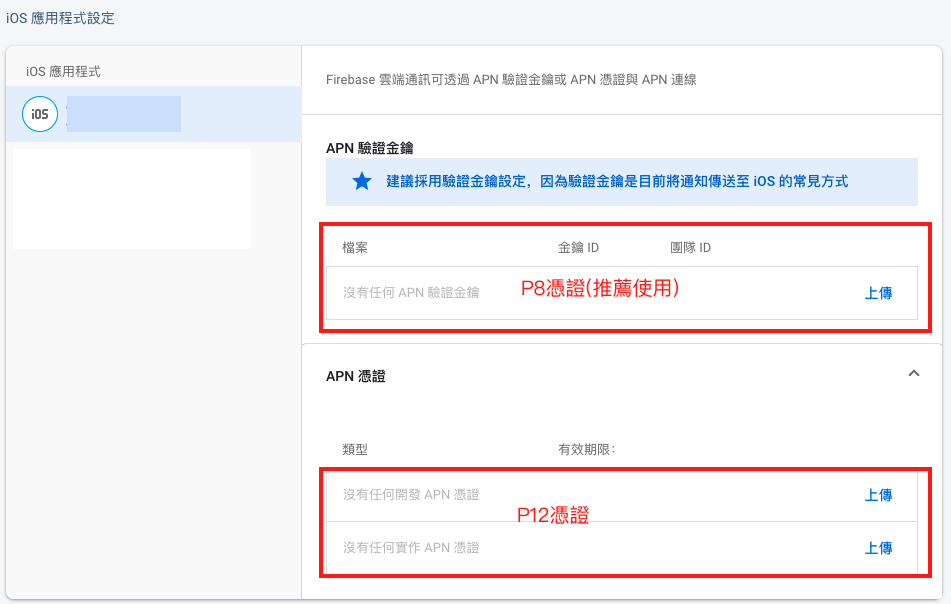
FCM推播內容設定
接著可以開始設定推播內容
1.主控台的側邊欄的”雲端通訊”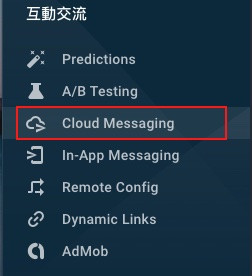
2.點擊”新增通知”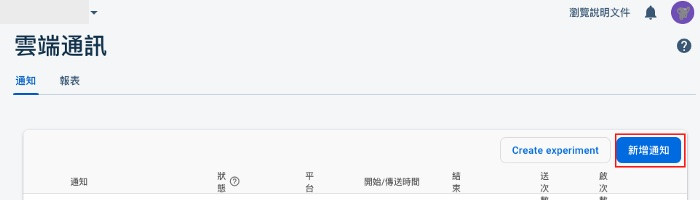
3.輸入要推播的內容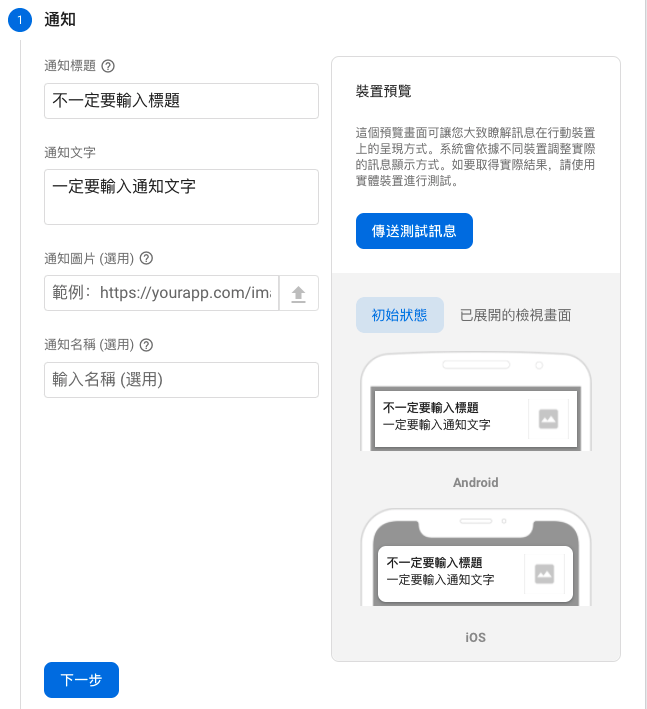
4.設定要推播的對象(App id、版號)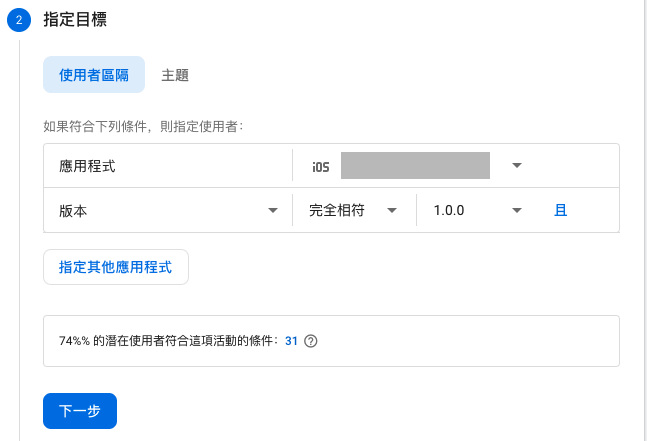
5.設定要推播的時間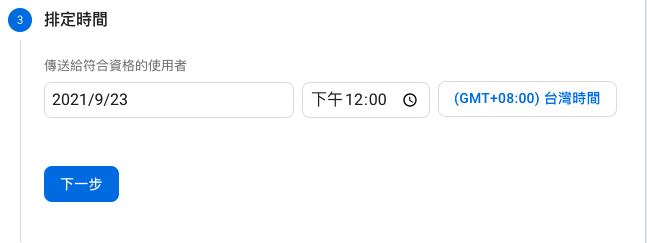
下方的進階選項可以自由選填,設定完畢就可以點擊”審查”,等候推播。
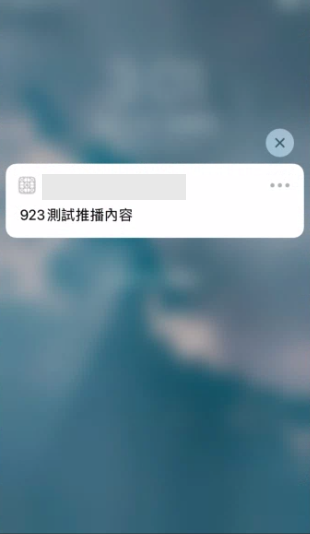
文字推播示意圖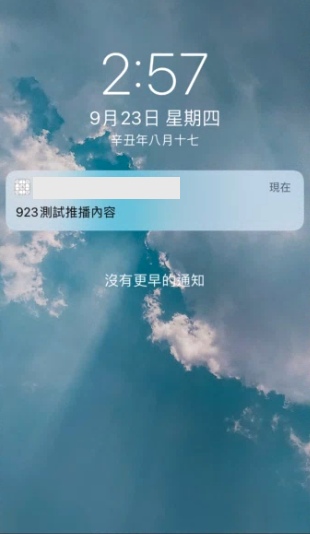


 iThome鐵人賽