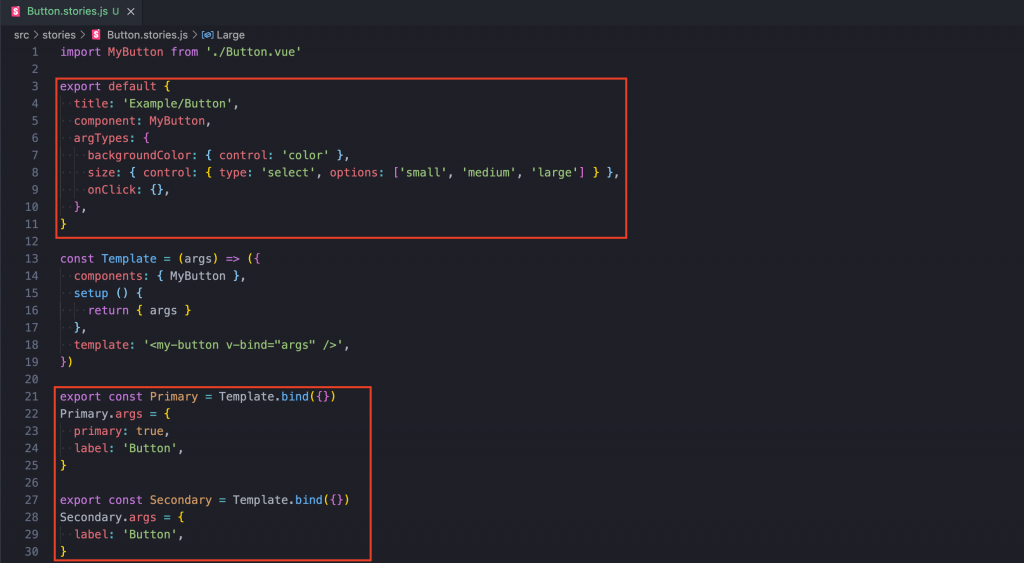
Story 是元件呈現狀態的描述,開發者可以為每個元件攥寫多個 Story,也就是說元件可能會因為不同的參數組合而有不同的樣貌,而我們可以透過定義 Story 來將幾個標誌性的用法呈現出來。
我們以 CLI 創建時自動產生的樣本範例 Button.stories.js 為例。
// src/stories/Button.stories.js
...

const Template = (args) => ({
  components: { MyButton },
  setup() {
    return { args };
  },
  template: '<my-button v-bind="args" />',
});

export const Primary = Template.bind({});
Primary.args = {
  primary: true,
  label: 'Button',
};

export const Secondary = Template.bind({});
Secondary.args = {
  label: 'Button',
};

export const Large = Template.bind({});
Large.args = {
  size: 'large',
  label: 'Button',
};

export const Small = Template.bind({});
Small.args = {
  size: 'small',
  label: 'Button',
};
在 Button.stories.js 中定義了 Primary, Secondary, Large 以及 Small,而這每一個都分別代表著 Button 元件的一個 Story,每個 Story 都有一個相應的側邊欄項目,單擊切換時,它會在 Canvas(一個獨立的預覽 iframe)中呈現相對應的 Story 內容。

目前官方推薦我們使用 Component Story Format (CSF) (一個基於 ES6 modules 的格式) 的方式攥寫 Story,每一個 CSF 會 default export 出一個元件的基本設定以及 named export 出一至多個元件的 Story 內容。
在 Storybook 支援的眾多框架之中,唯獨 React Native 無法使用 CSF ,所以如果是 React Native 的開發者,只能使用舊版的 storiesOf API來取代,storiesOf()的使用語法可以參考官方提供的 API 文件。

創建 Story 最簡單的方法就是直接定義多個具有不同參數的元件。
import MyButton from './Button.vue';

export default {
  component: MyButton,
  title: 'Example/Button',
}

export const Primary = () => ({
  components: { MyButton },
  template: '<my-button backgroundColor="#ff0" label="Button" />',
})
export const Secondary = () => ({
  components: { MyButton },
  template: '<my-button backgroundColor="#ff0" label="????" />',
})
這樣的寫法對於很少 Story 的元件來說可能沒什麼問題,但對於有許多 Story 可能就會重複很多程式碼。
為了減少重複的程式碼,我們可以定義一個帶有 args 參數的 Template 函式,該 args 參數會 bind 在元件上作為其 props ,接著再透過 Function.prototype.bind() 來讓每一個複製出來的函式可以互不干擾地設定自己的 args。
需注意的是,args 是關鍵字,不能由開發者自由更換參數名稱。
import MyButton from './Button.vue'

export default {
  title: 'Example/Button',
  component: MyButton
}

const Template = (args) => ({
  components: { MyButton },
  setup () {
    return { args }
  },
  template: '<my-button v-bind="args" />',
})

export const Primary = Template.bind({})
Primary.args = {
  primary: true,
  label: 'Button',
}

export const Secondary = Template.bind({})
Secondary.args = {
  label: 'Button',
}
...
此外你也可以運用展開運算符(Spread Operator) 來重複使用定義好的 Story。
export const PrimaryLongName = Template.bind({});

PrimaryLongName.args = {
  ...Primary.args,
  label: 'Primary with a really long name',
}
args 除了可以在各個 Story 中定義以外,也可以在元件的層級中定義,如此一來這些 args 就會在所有的 Story 起作用,除非被 Story 層級的 args 給覆蓋掉。
import MyButton from './Button.vue'

export default {
  title: 'Example/Button',
  component: MyButton,
	args: {
    primary; true
  }
}

export const Primary = Template.bind({})
Primary.args = {
  label: 'Button',
}

export const PrimaryLongName = Template.bind({});

PrimaryLongName.args = {
  label: 'Primary with a really long name',
}

export const Secondary = Template.bind({})
Secondary.args = {
  Primary: false,
  label: 'Button'
}
今天的分享就到這邊,如果大家對我分享的內容有興趣歡迎點擊追蹤 & 訂閱系列文章,如果對內容有任何疑問,或是文章內容有錯誤,都非常歡迎留言討論或指教的!
明天要來分享的是 Storybook 主題的第三篇 Configure story rendering,那我們明天見!

最後一個範例程式碼有些排版跑掉了:
export default {
  title: 'Example/Button',
  component: MyButton,
  args: {
    primary; true
  }
}
...
Secondary.args = {
  Primary: false,
  label: 'Button'
}
TD 修改了,感謝!