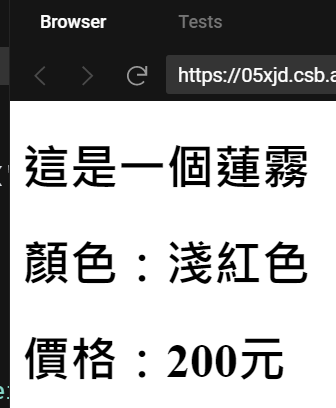
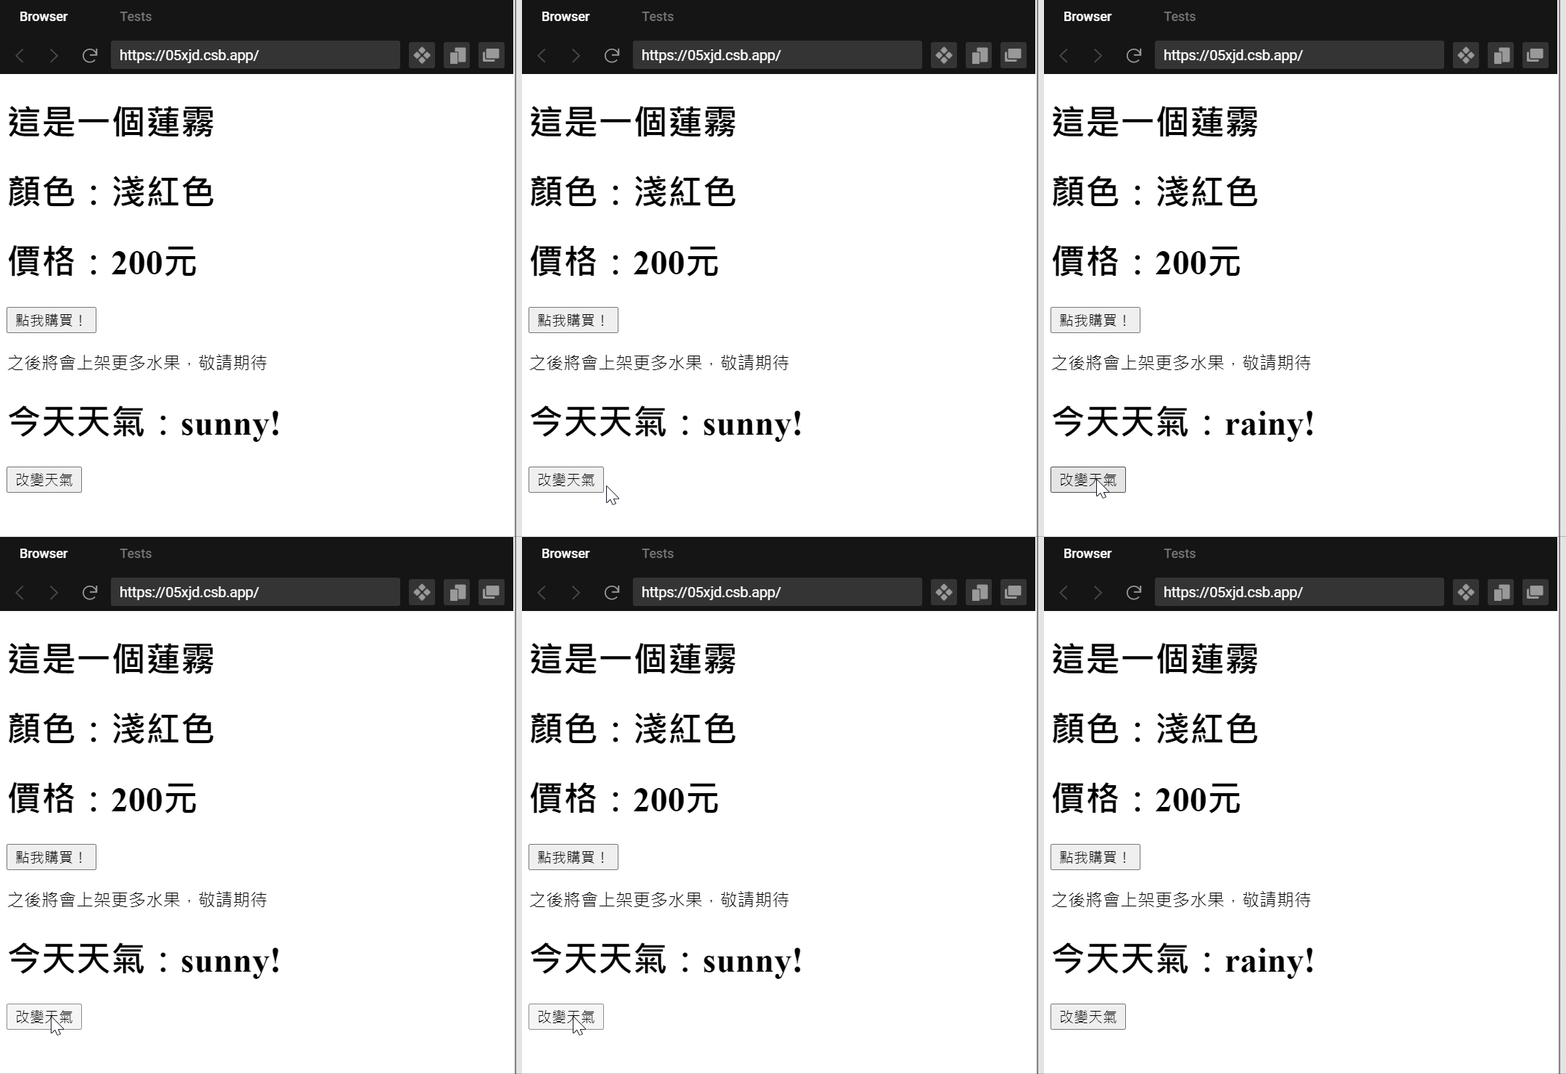
看到今天標題 useState,
你可能會說我前面不是講過了嗎XD
其實之前那樣算是直接跳過第一、二階段,
直接來到第三階段,
還記得前幾天的文章我一直在跟 this.props, this.state,還有 this.setState 奮鬥(?),
這算是第一階段的看山是山,
今天的文章一開始會講一點不用 this 的用法,這是第二階段的看山不是山,
再來就會進入本日重頭戲第三階段的看山又是山 - useState 囉~
而且在 Codecademy 上進入 useState 學習之前,
我也是天真的以為我都會了,
沒想到真的學了才發現有很多東西我還不會,
因此當作複習跟吸收新知,
大家就再跟著我的腳步來到 useState 的世界吧!
還記得我們之前如果要宣告一個 componenet 都要落落長寫這樣的程式:
class XXX extends React.Component {
	render() {
		return (
		)
	}
}
而且如果要在 class 裡面取用屬性的值,
必須要寫 this.props.屬性,
像這樣:
<div>
	<h1>這是一個{this.props.name}</h1>
	<h1>顏色:{this.props.color}</h1>
	<h1>價格:{this.props.price}元</h1>
</div>
有個好消息,Codecademy 教了一個寫法不用再寫這麼落落長的語法,
這邊把前幾天寫的範例再貼一次:
Fruit.js
export class Fruit extends React.Component {
  render() {
    return (
      <div>
        <h1>這是一個{this.props.name}</h1>
        <h1>顏色:{this.props.color}</h1>
        <h1>價格:{this.props.price}元</h1>
      </div>
    );
  }
}
現在我們只要寫成這樣就好囉!
export const Fruit = (props) => {
  return (
    <div>
      <h1>這是一個{props.name}</h1>
      <h1>顏色:{props.color}</h1>
      <h1>價格:{props.price}元</h1>
    </div>
  );
};
而且在 App.js 跟之前一樣使用 <Fruit>:<Fruit name="蓮霧" color="淺紅色" price="200" />
發現就可以達成一樣效果,這樣的寫法是不是簡單很多呢?
這就是第二階段的寫法,
接下來要進入第三階段囉XD
在 React 16.8+ 版本以後提供了 Hook 的方式,
讓宣告及使用 componenet 變得更加簡便,
常見的 Hook 有:useState(), useEffect(), useContext(), useReducer(), and useRef()
對完整的 Hook 有興趣的人可以參考這篇→ Hooks API Reference
在正式進入 useState 之前,
讓我們回憶一下,
之前在改變天氣的例子中,
還記得我們是怎麼寫的嗎?
export class Weather extends React.Component
constructor(props) {
    super(props);
    this.state = { weather: "sunny" };

  }
this.setState
changeWeather() {
    const newWeather = this.state.weather === "sunny" ? "rainy" : "sunny";
    this.setState({ weather: newWeather });
  }
this.changeWeather = this.changeWeather.bind(this);
this.changeWeather
  render() {
    return (
      <div>
        <h1>今天天氣:{this.state.weather}!</h1>
        <button onClick={this.changeWeather}>改變天氣</button>
      </div>
    );
  }
}
經過這 5 個步驟才能達到我們按按鈕切換天氣的功能,
可是你知道用 useState 改寫後變得多輕鬆寫意嗎?
讓我們來改寫看看吧!
import React, { useState } from "react";
export const Weather = () => {
};
const [weather, setWeather] = useState('sunny');
這句的意思是 有一個 weather 狀態,初始值用 useState 設為 sunny,
之後改變 weather 的 function 就是 setWeather。
Codecademy 對於 useState 的詳細說明如下,
useState 包含兩個值:current state(現在狀態的值)、以及 state setter (改變狀態的 function)
useState() is a JavaScript function defined in the React library. When we call this function, it returns an array with two values:
current state - the current value of this state
state setter - a function that we can use to update the value of this state
return (
    <div>
      <h1>今天天氣:{weather}!</h1>
      <button
        onClick={() =>
          weather === 'sunny' ? setWeather('rainy') : setWeather('sunny')
        }
      >
        改變天氣
      </button>
    </div>
  );

這邊說明一下 weather === 'sunny' ? setWeather('rainy') : setWeather('sunny')
這句意思是,判斷 weather 值是否為 'sunny',是的話就執行 setWeather 將 weather 值改為 'rainy',
不是的話就執行 setWeather 將 weather 值改為 'sunny'。
是不是簡單很多!
也不用在那邊寫落落長的 constructor, props, function,
還會三不五時忘記 bind orz
用更簡單的寫法卻能達成一樣的效果,
React 真是造福人群QQ
今日範例雖然是改寫之前的,
不過還是附上來→ Day24 - useState (Codecademy)
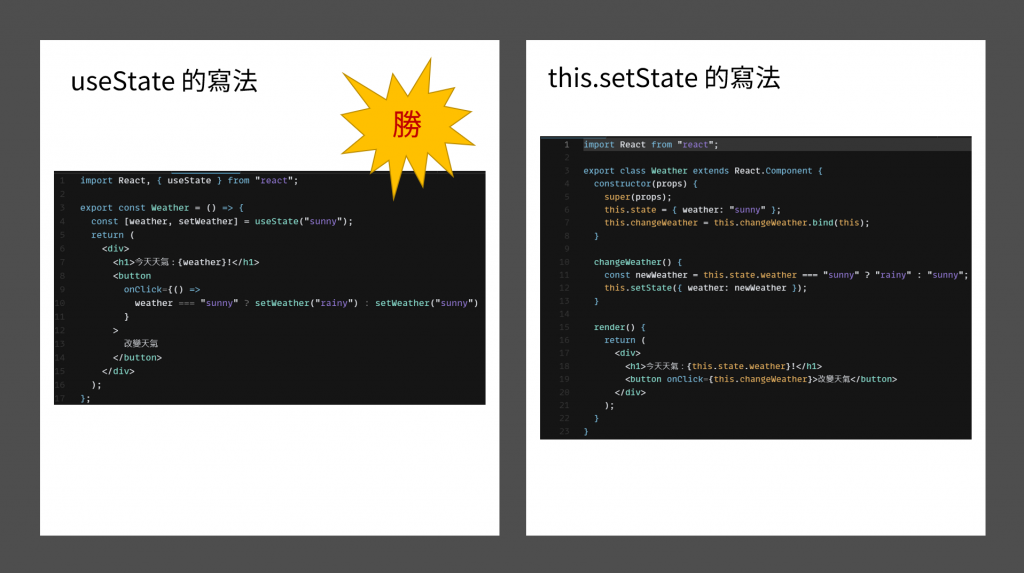
然後再附上兩種寫法的截圖,
大家應該一看就覺得哪種寫法比較簡單又方便又好懂了吧XD
其實這邊只是初步介紹 useState,
算是再讓大家感受一下從 this.state, this.setState 到 useState 的差別,
這樣大家可能也比較能了解為什麼對於一開始就學 useState 寫法的我來說,
要再跳回去寫那些落落長的寫法會有點適應不良了orz
Codecademy 對於 useState 的教學還有更進階的用法,
就讓我留到明天文章吧XD
