如果一個APP全部都只有文字
是不是看了會覺得很單調
這時候如果加了一個圖片
畫面是不是看幾來就豐富很多了呢
今天就來學習ImageView這個元件
圖片的圖形資源有:
1.Android本身內建的圖案
2.非Android內建圖形資源
非Android內建圖形資源會比較麻煩一點
所以我會分兩天寫
先來學1.Android本身內建的圖案
ImageView元件設計會比較難一點
activity_main.xml
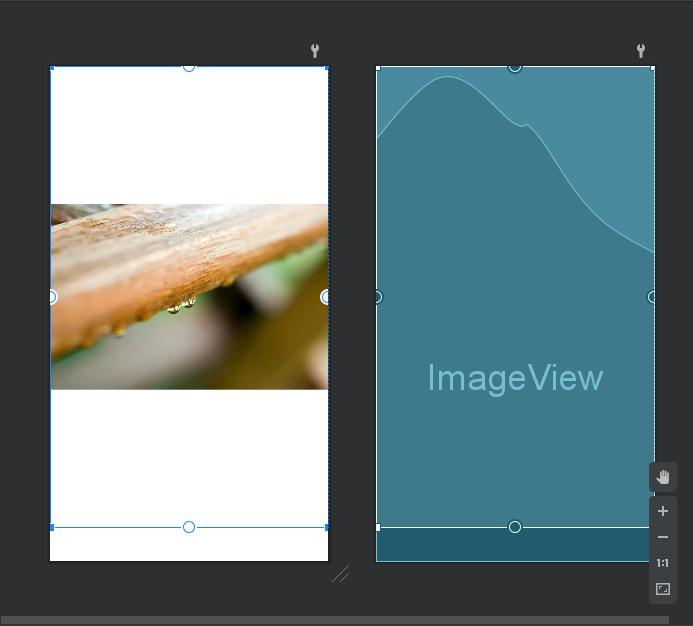
如果是直接在Design頁拉ImageView元件
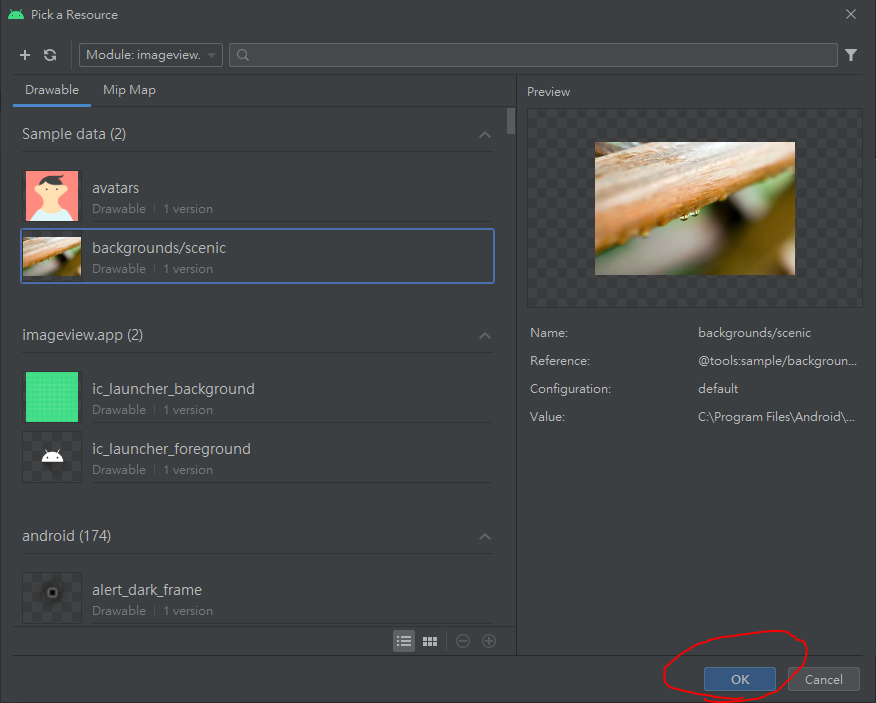
這裡要注意一定要選一張圖片按OK
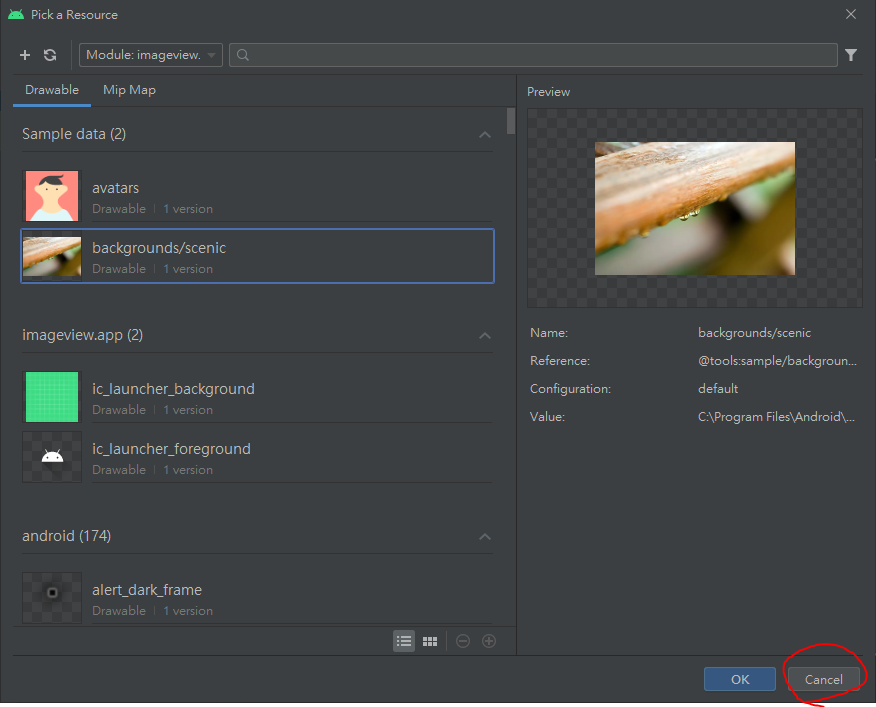
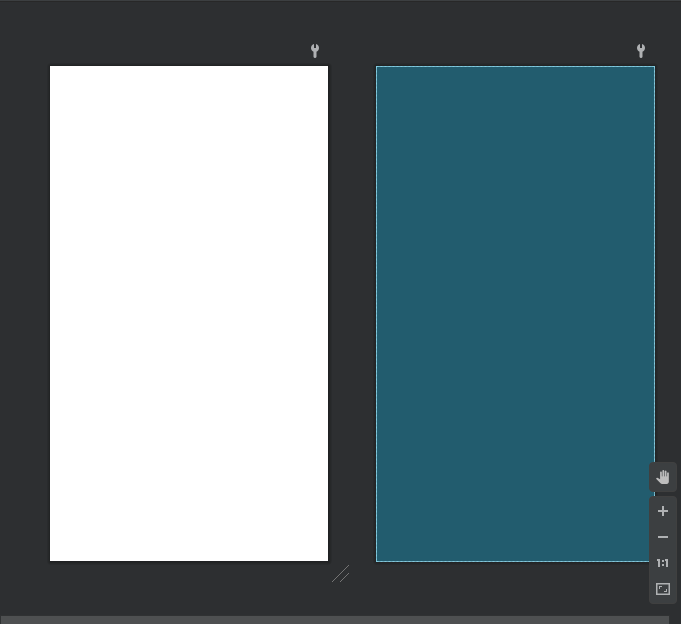
如果你點選Cancel,你拉的ImageView元件會消失不見
若是在Code頁設計就不會有這問題
若在Code設計
要加app:srcCompat="@android:drawable/btn_star_big_on"
如果習慣在Code頁設計的話,那就要記住@android:drawable/btn_star_big_on這個內建圖案的路徑
<?xml version="1.0" encoding="utf-8"?>
<androidx.constraintlayout.widget.ConstraintLayout xmlns:android="http://schemas.android.com/apk/res/android"
    xmlns:app="http://schemas.android.com/apk/res-auto"
    xmlns:tools="http://schemas.android.com/tools"
    android:layout_width="match_parent"
    android:layout_height="match_parent"
    tools:context=".MainActivity">


    <ImageView
        android:id="@+id/imageView"
        android:layout_width="60dp"
        android:layout_height="60dp"
        android:layout_marginTop="80dp"
        app:layout_constraintEnd_toEndOf="parent"
        app:layout_constraintStart_toStartOf="parent"
        app:layout_constraintTop_toTopOf="parent"
        app:srcCompat="@android:drawable/btn_star_big_on" />
</androidx.constraintlayout.widget.ConstraintLayout>
執行結果: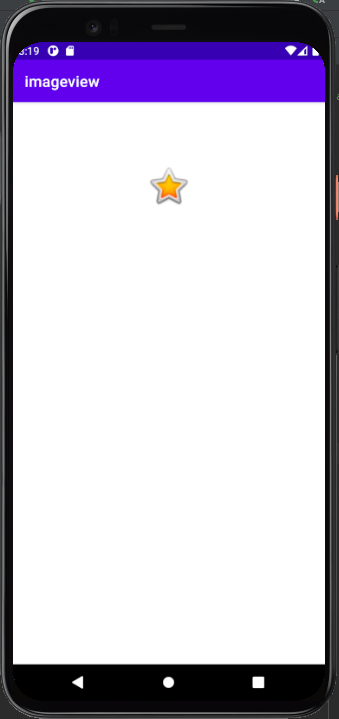
今天只有純粹拉一個ImageView出來而已
明天來學如何透過程式碼從原本的圖片改為其他圖片
那我們明天見
Bye~~
