今天的目標是:用NodeJS練習寫一個簡單的Web Server,所以會先介紹一下NodeJS中的http模組,然後再來看看要如何讓網頁在客戶端與伺服器端傳遞。
NodeJS的http模組的來源是名為http_parser的C語言函式庫,用於執行HTTP應用程式、處理請求(request)與回應(response),其中的createServer()方法用來建立Server,藉由回呼函式提供監聽事件,在收到請求時處理請求內容及送出回應,而NodeJS中開發的程式碼透過http模組,不僅可以回應HTTP請求,也可以用在提出HTTP請求。
Web Server意為網頁系統的伺服器,透過HTTP接收、處理及傳送網頁或其他檔案至客戶端(通常為瀏覽器),這邊會以NodeJS實作簡易的Web Server。
寫一個Server
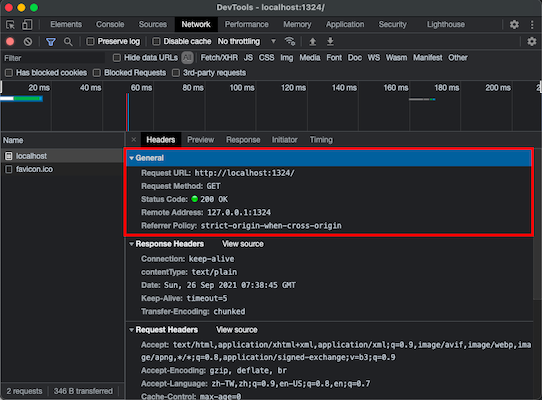
createServer()建立一個新的Server,createServer()參數為包含有請求req及回應res兩個參數的回呼函式,在建立Server時要加上listen()以監聽指定IP位址及埠,範例中IP位址127.0.0.1為本機localhost的IP,而埠可自行指定。let http = require("http");
http.createServer(function(req, res){
}).listen(1324, "127.0.0.1");
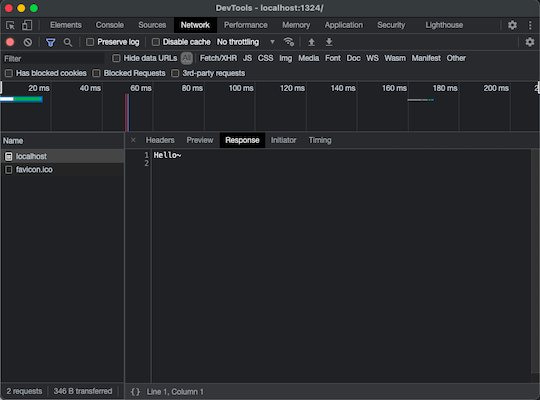
writeHead()定義回應的Status和Headers,再以sendData()或end()傳送內容,若以end()回傳內容則表示傳送完之後便結束這個工作程序。http.createServer(function(req, res){
res.writeHead(200, {"Content-Type": "text/plain"}); //回應狀態OK,資料類型MIME為純文字
res.end("Hello~\n");
}).listen(1324, "127.0.0.1");

輸出html
這部份提到的html輸出包含靜態的html頁面及以placeholder保留變數在後續更新內容的html樣板~
html
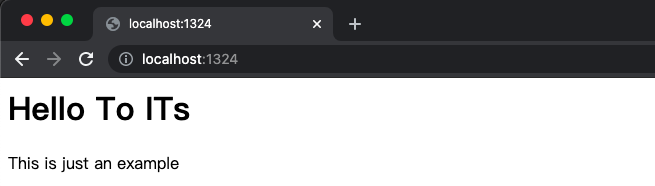
index.html的html檔案。<html>
<head></head>
<body>
<h1>Hello To ITs</h1>
<p>This is just an example</p>
</body>
</html>
http模組處理請求與回應,並引入fs模組以讀取檔案。let http = require("http");
let fs = require("fs");
fs模組的功能讀取為Buffer,再作為傳送的回應內容,在Header的部份要將contentType設定為text/html以讓執行引擎確認資料類型並轉換,若設定為text/plain會直接以純文字將html檔案內容傳送至瀏覽器。http.createServer(function(req,res){
let html = fs.readFileSync(`${__dirname}/index.html`);
res.writeHead(200, {"contentType":"text/html"});
res.end(html);
}).listen(1324,"127.0.0.1");
html樣板
{DateMsg}參數作為placeholder。<html>
<head></head>
<body>
<h1>Hello To ITs</h1>
<p>This is just an example</p>
<p>{DateMsg}</p> <!--加入placeholder-->
</body>
</html>
readFileSync()方法加入編碼參數,把html檔案改以串流的方式讀取,以便修改內容。http.createServer(function(req,res){
let html = fs.readFileSync(`${__dirname}/index.html`, "utf8"); //加入編碼參數,html為Stream
res.writeHead(200, {"contentType":"text/html"});
res.end(html);
}).listen(1324,"127.0.0.1");
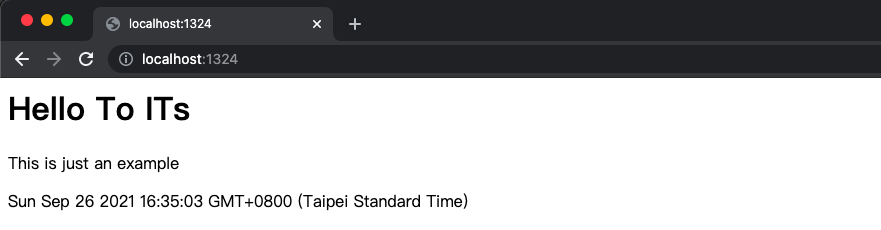
{DateMsg}的變數,更新html。http.createServer(function(req,res){
let html = fs.readFileSync(`${__dirname}/index.html`, "utf8"); //加入編碼參數,html為Stream
let date = new Date();
html = html.replace("{DateMsg}", date);
res.writeHead(200, {"contentType":"text/html"});
res.end(html);
}).listen(1324,"127.0.0.1");
過去在以C#為後端程式語言進行開發時,幾乎不需要了解伺服器執行的內容,因為微軟的IIS實在太方便囧 雖然NodeJS創建Server的功能看似很容易也很有趣,但已經可以想像如果系統複雜度比較高的情況下,可能需要更多的時間去規劃和維護,除了這些基礎以後還是要再多嘗試、探究。
https://github.com/nodejs/http-parser
https://zh.wikipedia.org/wiki/網頁伺服器
https://nodejs.org/dist/latest-v16.x/docs/api/http.html
https://github.com/nodejs/http-parser
Learn and Understand NodeJS [課程]


 iThome鐵人賽