前面介紹了如何用JSX語法建立React元素,接著這篇會記錄如何建立React元件,即前面提到的React的核心觀念-Component。
React Component 主要功能就是可把很多的React元素包起來,包裝成一個個組件,再透過這些元件/組件的名稱將內容顯示出來。
這裡我會用前面提到的CodeSandbox來實作React。
React元件有兩種建立方式,這篇會用Functional的方式來建立元件:
Class-based 類別元件
class Welcome extends React.Component {
  render() {
    return <h1>Hello, {this.props.name}</h1>;
  }
}

ReactDOM.render(<Welcome name="Judy" />, document.getElementById('root'));
Functional 函式元件 (在16.8版React新增了新功能hook後,即讓函式元件的功能更完整,幾乎可以做到類別元件可以做到的事)
function Welcome(props) {
  return <h1>Hello, {props.name}</h1>;
}
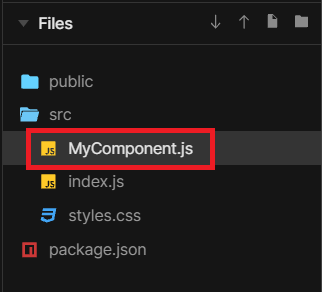
首先,建立一個元件檔案,元件檔名規定必須是大寫的駝峰式命名,也就是每個單字的第一個字母要大寫。(如: MyComponent.js)
接著我要使用箭頭函式建立一個函式元件,這邊要注意的是,函式名稱就是元件名稱,所以這裡的函式名稱就是MyComponent。
而return的內容即是這個元件要包含的內容,這裡則是使用JSX的語法直接產生一個React元素。
最後我們要把這個元件export出來,才能在其他檔案使用這個元件。
import React from "react";

const MyComponent = () => {
  return <input />;    //因input沒有子元素及結尾元素,所以要用Self-Closing Tag
};

export default MyComponent;
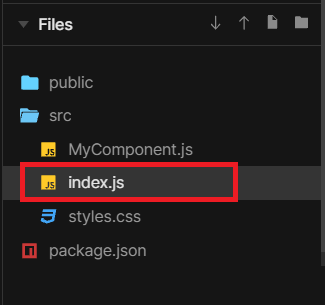
接著建立一個主要的檔案index.js,目標要讓剛剛建立的MyComponent元件render到DOM,並顯示在畫面。
除了import react & react-dom 外,也要引入剛剛建立的MyComponent.js元件
使用jsx語法render MyComponent.js元件,用<MyComponent />表示,因為沒有任何的子元素及結尾元素,所以要用Self-Closing Tag
import React from "react";
import ReactDOM from "react-dom";

import MyComponent from "./MyComponent";

ReactDOM.render(<MyComponent />, document.getElementById("root"));
