好的~ 首頁完成了,接下來就換主題推薦頁面啦
記取之前的教訓,這次先上UI圖!
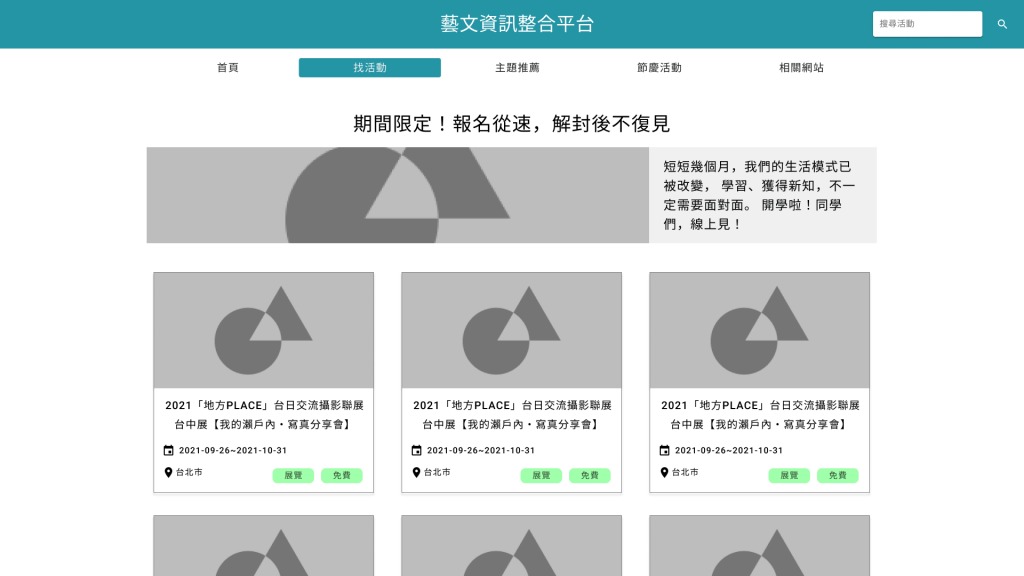
我有先參考了一下 主題推薦API 的內容,格式如下:
{
    "title": "期間限定!報名從速,解封後不復見"
    "note": "短短幾個月,我們的生活模式已被改變,\r\n學習、獲得新知,不一定需要面對面。\r\n開學啦!同學們,線上見!",
    "issue": [...],
}
參數說明
Title : 主題
Note : 主題說明
issue : 符合主題的所有活動
所以最上方會放Title,大圖片右側放 note,下方的活動列表就是issue裡的資料
ok 開工啦!
在 /src/components 裡新增 TopicPage.vue
WebStorm其實有個建立特定檔案的功能
在資料夾右鍵 > New > 可以看到有多個檔案類型可以選,這邊選擇 Vue Component
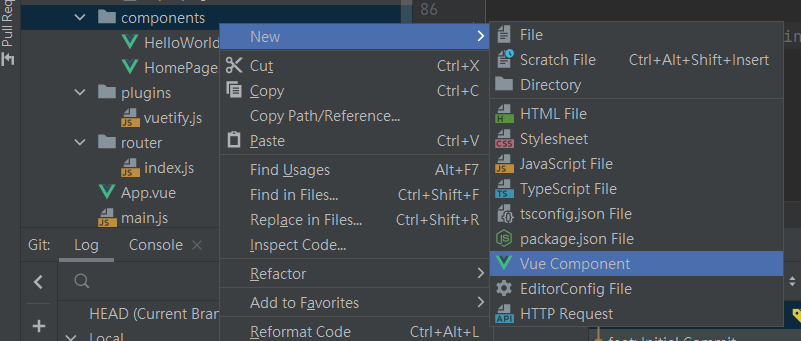
輸入檔案名稱,不用加 .vue

建好一個Vue標準格式+帶好預設名字的component啦~
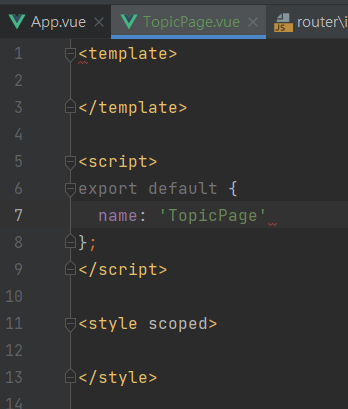
回到 /router/index.js
在上方import TopicPage頁面,然後在routes裡加上TopicPage的路徑
import Vue from 'vue';
import Router from 'vue-router';
import HelloWorld from '@/components/HelloWorld';
import HomePage from '@/components/HomePage';
import TopicPage from '@/components/TopicPage'; //加這個

Vue.use(Router);

export default new Router({
  routes: [
    {
      path: '/',
      name: 'HelloWorld',
      component: HelloWorld,
    },
    {
      path: '/home',
      name: 'home',
      component: HomePage,
    },
    //加入路徑
    {
      path: '/topic',
      name: 'topic',
      component: TopicPage,
    },
  ],
});
有需要原始資料可到 主題推薦API 獲取,這邊因為篇幅關係,僅保留一筆 issue
TopicPage.vue
<script>
export default {
  name: 'TopicPage',
  data() {
    return {
      title: '期間限定!報名從速,解封後不復見',
      note: '短短幾個月,我們的生活模式已被改變,\r\n學習、獲得新知,不一定需要面對面。\r\n開學啦!同學們,線上見!',
      issue:
      [
        {
          version: '1.4',
          UID: '6139d19eaaa3cf0fc41b991f',
          title: '達人講座x蘇瀅無所畏敢輸才會贏',
          category: '7',
          showInfo: [
            {
              time: '2021/09/28 19:00:00',
              location: '臺中市線上zoom平台',
              locationName: '線上zoom平台',
              onSales: 'N',
              price: '',
              latitude: null,
              longitude: null,
              endTime: '2021/09/28 20:00:00',
            },
          ],
          showUnit: '歌倫比亞美語顧問',
          discountInfo: '免費',
          descriptionFilterHtml: '在你的小小心中也有個大大的夢想,但是卻覺得很遙遠嗎?\r\n或是你正在前往夢想目標的過程中,快要被現實打敗了?\r\n來吧~ 蘇瀅有些話想要跟你分享!\r\n\r\n在成為網紅KOL之前的蘇瀅,\r\n曾經是個在夢想與現實之間掙扎的舞台劇演員。\r\n除了將過去打拼的歷程寫進新書「蘇瀅無所畏 敢輸才會贏」以外,\r\n也誠摯地邀請您一同來和蘇瀅線上面對面聊聊如何擁有面對失敗的勇氣。',
          imageUrl: 'https://cloud.culture.tw/e_new_upload/cms/image/A0/B0/C0/D9/E171/F926/54220f2d-f0f3-47f3-8ceb-a18359f2ecff.jpg',
          masterUnit: [
            '歌倫比亞美語顧問',
          ],
          subUnit: [
            'https://www.facebook.com/%E8%98%87%E7%80%85-Suri-771188916397653',
          ],
          supportUnit: [],
          otherUnit: [],
          webSales: 'https://www.clue.com.tw/webinars/LandingPage/Get/NmLH6',
          sourceWebPromote: 'https://www.clue.com.tw/webinars/LandingPage/Get/NmLH6',
          comment: '',
          editModifyDate: '',
          sourceWebName: '王怡蘋',
          startDate: '2021/09/28',
          endDate: '2021/09/28',
          hitRate: 13,
        },
				... 這邊有約17筆資料,篇幅關係只保留一筆,其他先省略
      ],
    };
  },
};
</script>
TopicPage.vue
<template>
  <v-container>
    <h1>{{title}}</h1> <!-- 渲染title字段 -->
    <v-row>
      <v-col sm="8"> <!-- 插入圖片 -->
        <v-img
          :src="require('../assets/topic_img.png')"
        ></v-img>
      </v-col>
      <v-col sm="4"> <!-- 渲染note字段 -->
        <div class="align-center text-left note">
          <h2>{{note}}</h2>
        </div>
      </v-col>
    </v-row>
  </v-container>
</template>
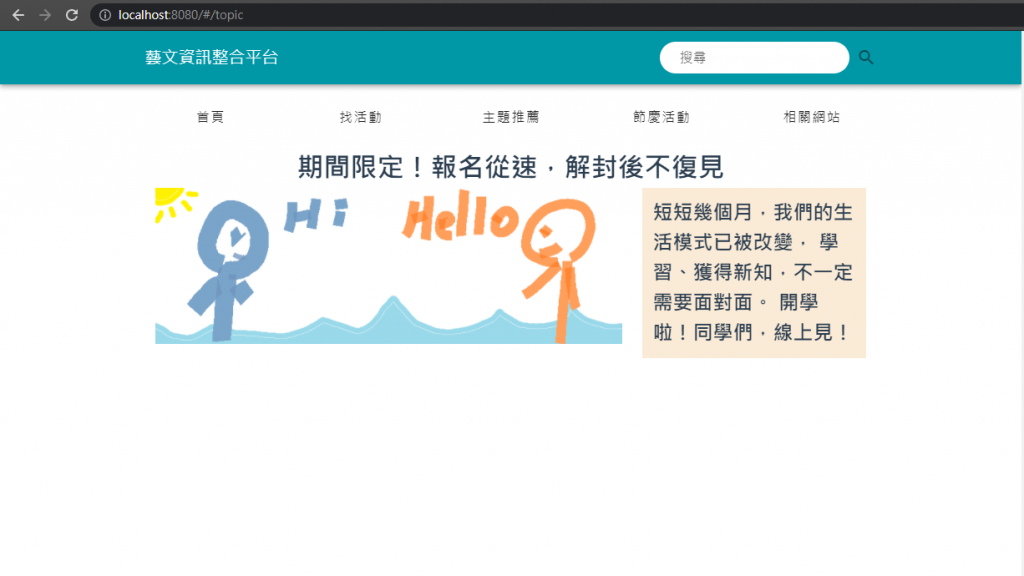
接下來就是重頭戲啦~
活動清單裡有多筆資料,如果我們每一筆都寫一次程式,會產生大量的重複code
這時候就可以把這種會重複使用的東西做成Component,
只要傳不同的資料進去,就會依照格式渲染出畫面
話不多說,做看看就知道了!
組件的基本概念可參考官方文件
首先照上面的步驟新增一個 Topic.vue
然後要把這個子組件放到在TopicPage.vue裡
<template>
...
	<v-row>
		...
		<v-col sm="4">
		     <Topic></Topic>  <!-- Topic子組件 -->
		</v-col>
	</v-row>
...
</template>

<script>
import Topic from './Topic'; // 記得要先import
export default {
  name: 'TopicPage',
  components: { Topic }, // 有使用到那些子component
...
}
...
</script>
一樣先找一個Vuetify的範例來改
這次用這個v-card的 範例
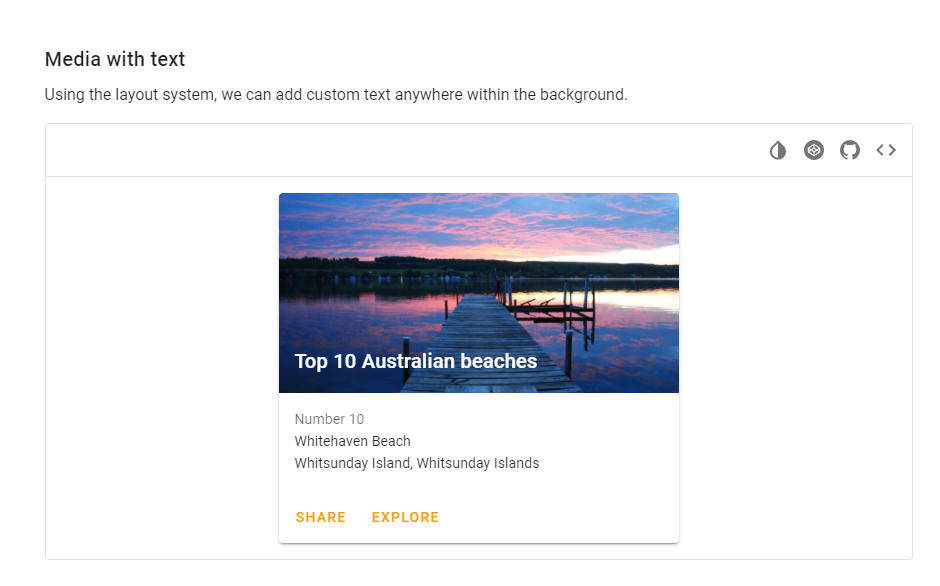
把它放到Topic.vue裡
<template>
  <v-card
    class="mx-auto"
    max-width="400"
  >
    <v-img
      class="white--text align-end"
      height="200px"
      src="https://cdn.vuetifyjs.com/images/cards/docks.jpg"
    >
      <v-card-title>Top 10 Australian beaches</v-card-title>
    </v-img>

    <v-card-subtitle class="pb-0">
      Number 10
    </v-card-subtitle>

    <v-card-text class="text--primary">
      <div>Whitehaven Beach</div>

      <div>Whitsunday Island, Whitsunday Islands</div>
    </v-card-text>

    <v-card-actions>
      <v-btn
        color="orange"
        text
      >
        Share
      </v-btn>

      <v-btn
        color="orange"
        text
      >
        Explore
      </v-btn>
    </v-card-actions>
  </v-card>
</template>
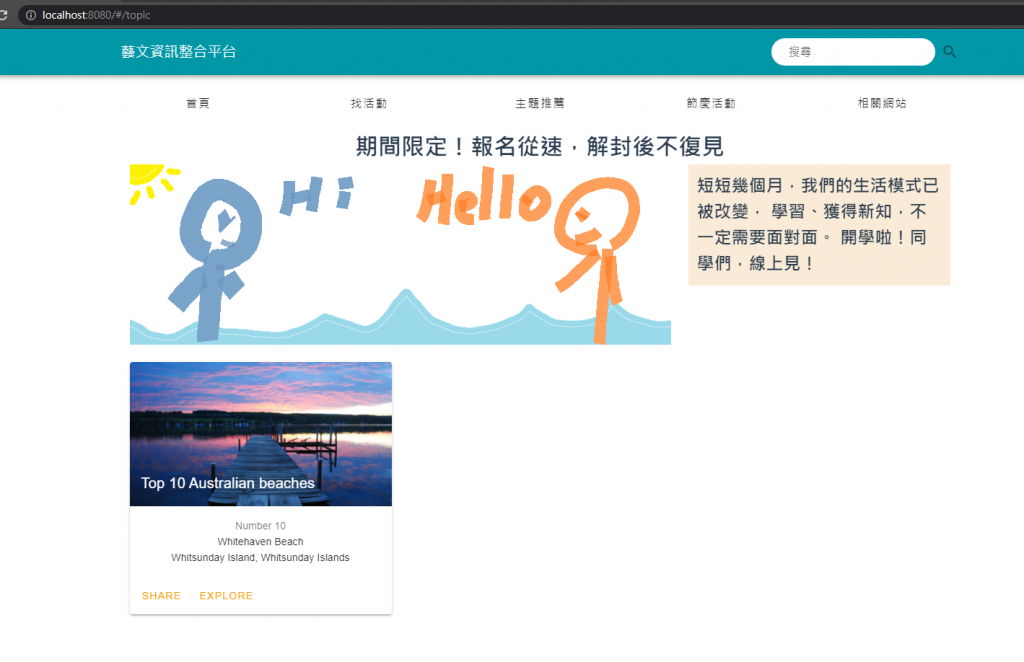
好像有點樣子了喔~
我們原始資料放在TopicPage.vue裡,但是渲染是在Topic.vue,這樣要怎麼拿到資料呢?
Vue都幫你想好了!
最簡單的單向綁定就是在父層把資料綁定給組件,在子層用props把資料接過來
那接過來的props是不能做修改的
直接實做看看,因為我們的 issue 是一個 List 格式,而我們每次只需要傳遞List的其中一筆資料就好
我們先利用 v-for 逐筆取出List,再一個一個塞到Topic組件裡
TopicPage.vue
<v-col
	sm="4"
  v-for="item in issue"
  :key="item.UID"
>
     <Topic :topic="item"></Topic>
</v-col>
Topic.vue
<template>
...
	<v-img
      class="white--text align-end"
      height="200px"
      src="https://cdn.vuetifyjs.com/images/cards/docks.jpg"
    >
      <v-card-title>{{topic.title}}</v-card-title> <!-- 把本來的card title 改成渲染 topic的title -->
    </v-img>
...
</template>

<script>
export default {
  name: 'Topic',
  props: ['topic'], //接收父組件傳來的值
}
</script>
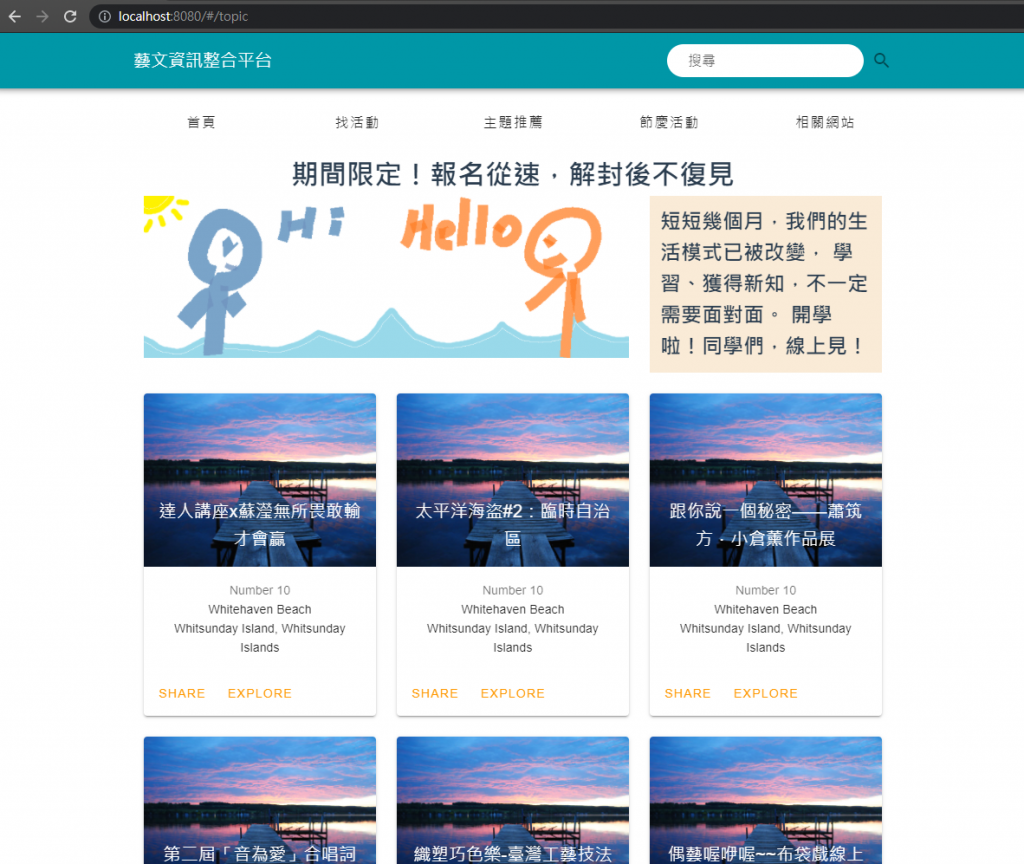
成功~ 這樣子組件就有接收到資料了!
明天再來改造一下子組件,讓他符合我的需求
