iT邦幫忙

0

OpenPose 安裝筆記

  • 分享至 

  • xImage
  •  

Environment

  • python 3.7
  • cuda 11.5
  • cudnn 8.3.2.44
  • cmake 3.12 or newer
  • OS Windows10
  • GPU nVidia GTX1060
  • Install opencv-python
python -m pip install --upgrade pip
python -m pip install opencv-python

ref. https://github.com/CMU-Perceptual-Computing-Lab/openpose/blob/master/doc/installation/1_prerequisites.md#windows-prerequisites

Download

git clone https://github.com/CMU-Perceptual-Computing-Lab/openpose
cd openpose/
git submodule update --init --recursive --remote
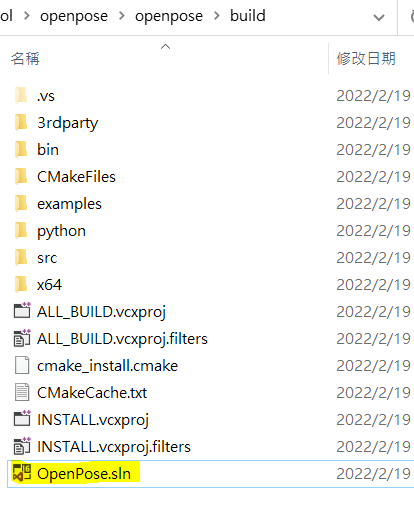
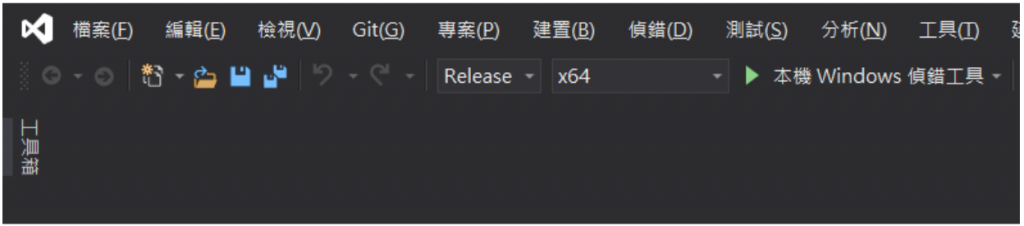
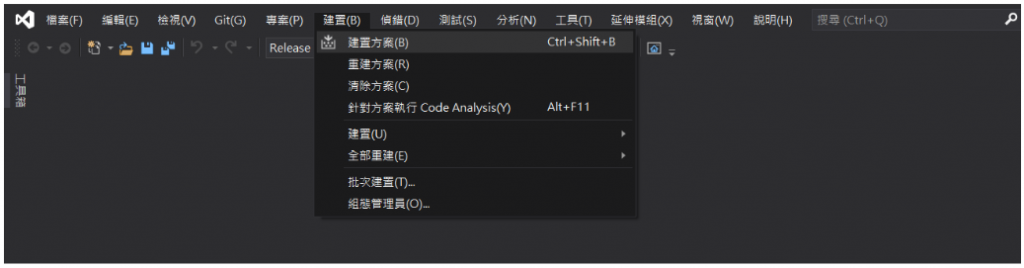
Build

  1. 在openpose下建立新的資料夾,名稱為 build
  2. 開啟CMake-gui
  • 設定路徑參數,如下圖
    https://ithelp.ithome.com.tw/upload/images/20220220/20146747rgy5dQkvIH.png

  • 選取BUILD_PYTHON, DOWNLOAD_BODY_COCO_MODE and DOWNLOAD_BODY_MPI_MODEL
    https://ithelp.ithome.com.tw/upload/images/20220220/20146747QKzWWrRlWf.png

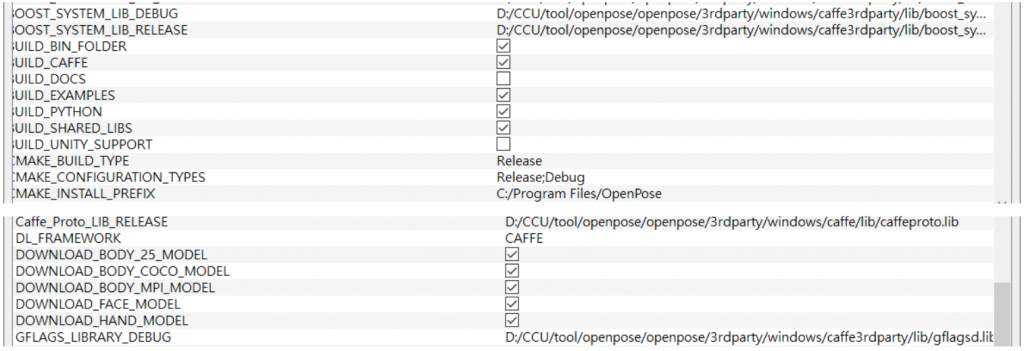
  • 點擊Configure,接著點擊Generate
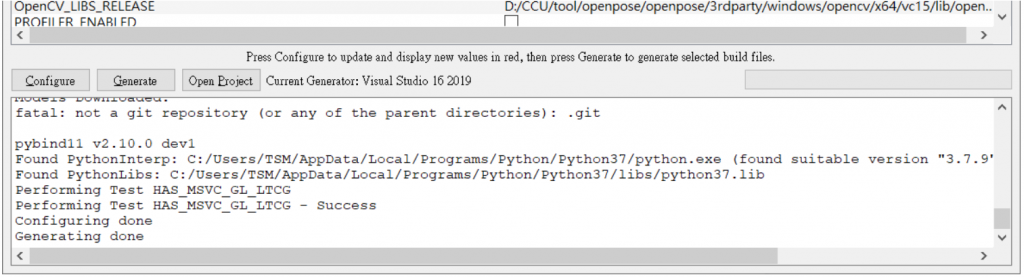
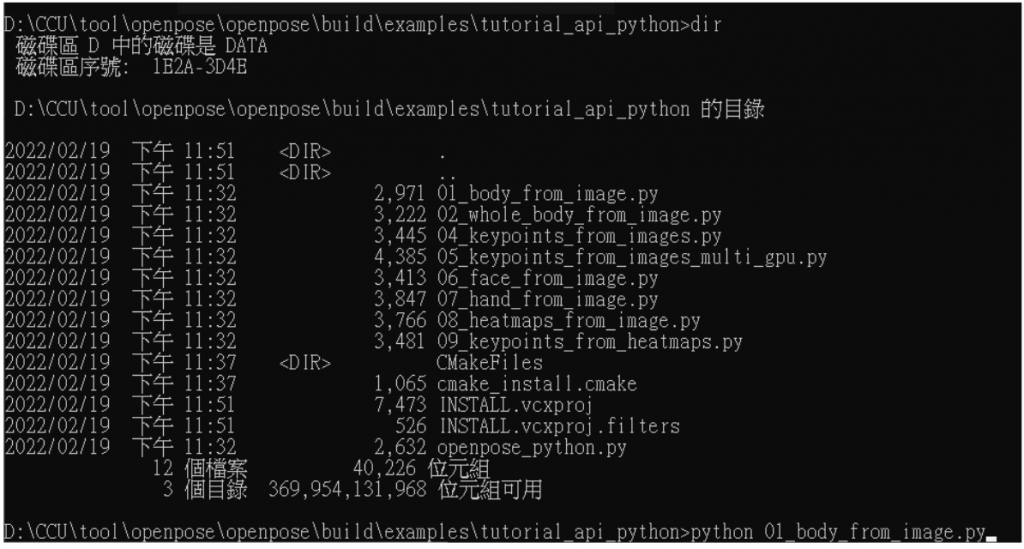
    https://ithelp.ithome.com.tw/upload/images/20220220/20146747CVg5zRHsnV.png

  1. 透過openpose/build/OpenPose.sln打開Visual Studio 2019
    https://ithelp.ithome.com.tw/upload/images/20220220/20146747SbnBKO3PQ4.png
  • 選取方案組態 “Release”
    https://ithelp.ithome.com.tw/upload/images/20220220/20146747qTlccU0GQo.png
  • 開始Build,點擊建置方案
    https://ithelp.ithome.com.tw/upload/images/20220220/20146747QAVIxoFvnc.png

Execution

  • 打開命令提示元
    https://ithelp.ithome.com.tw/upload/images/20220220/2014674742AV6rtcl2.png
  • 進入openpose/build/examaples/tutorial_api_python
    https://ithelp.ithome.com.tw/upload/images/20220220/20146747gkyoKdKdkR.png
  • 執行01_body_from_image.py
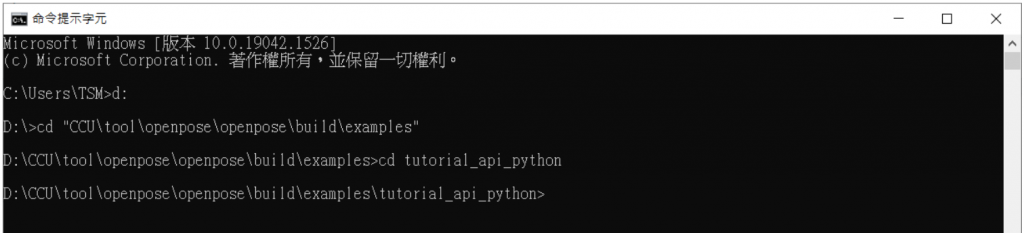
python 01_body_from_image.py

https://ithelp.ithome.com.tw/upload/images/20220220/201467471q7ZzvDPng.png

https://ithelp.ithome.com.tw/upload/images/20220220/20146747gCeKGUoANq.png


圖片
  直播研討會
圖片
{{ item.channelVendor }} {{ item.webinarstarted }} |
{{ formatDate(item.duration) }}
直播中

1 則留言

0
b71715975
iT邦新手 5 級 ‧ 2022-07-02 00:37:03

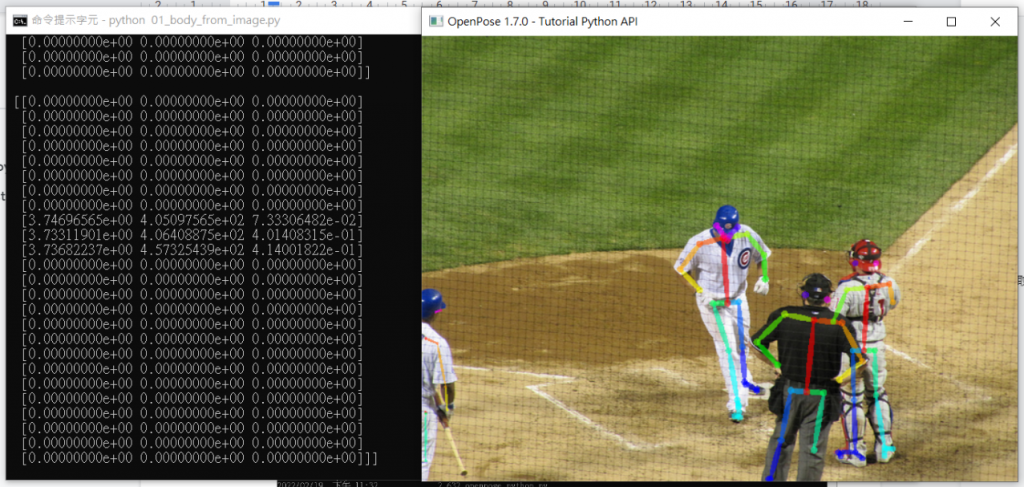
想請問大大有沒有遇過下面的情形,上網爬文上說可能是cuda版本的問題,但換了版本也無法解決,還麻煩解惑,感恩。
https://ithelp.ithome.com.tw/upload/images/20220702/2015025107es5alYN0.png

我要留言

立即登入留言