我們在前面已經建了一個PolarDB,剛好就直接以他為範例來連接吧,請先回去完成PolarDB那個章節,這篇會有一些需要輸入的簡單SQL,會寫成備註放在最後面方便大家複製貼上操作。
實作:
在PolarDB那個章節建完資料庫之後,點右上角的登入資料庫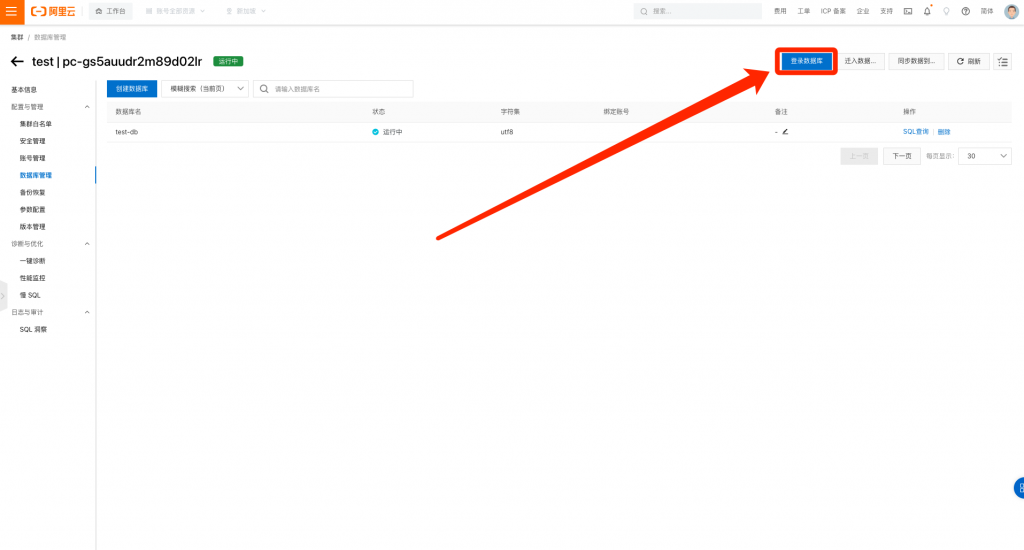
輸入前面建立的高權限帳號,然後點選登入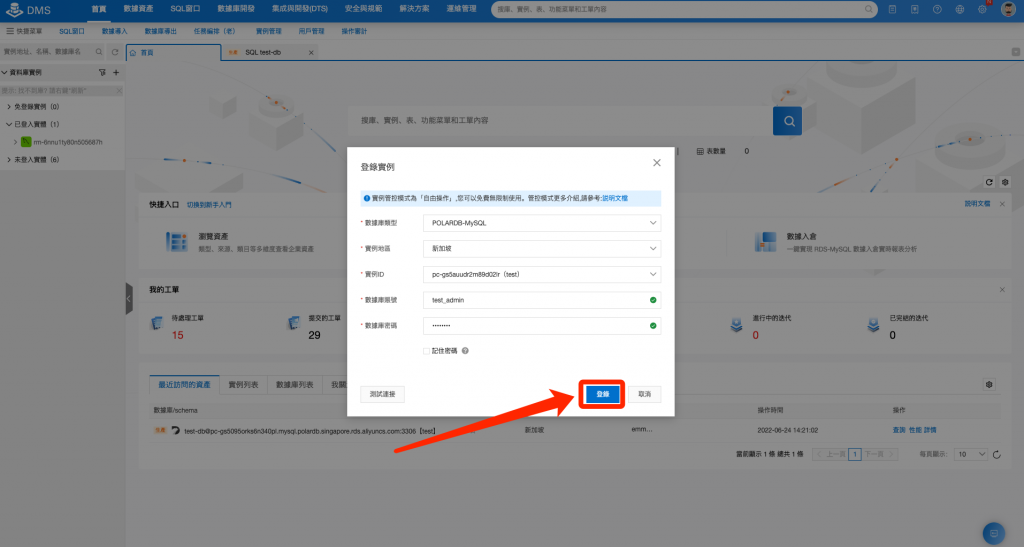
這樣就可以進來我們的那個集群了,點選一樣是前面建的DB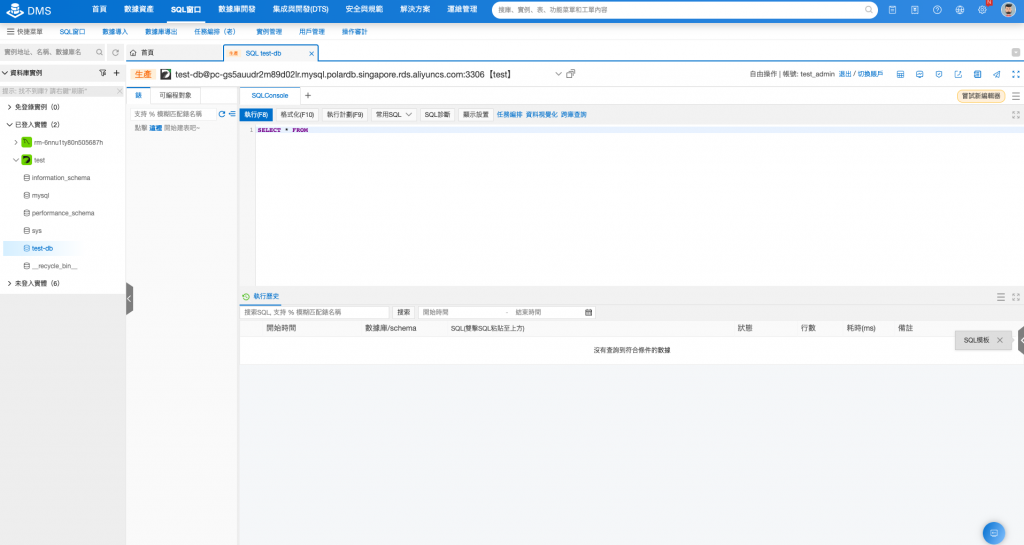
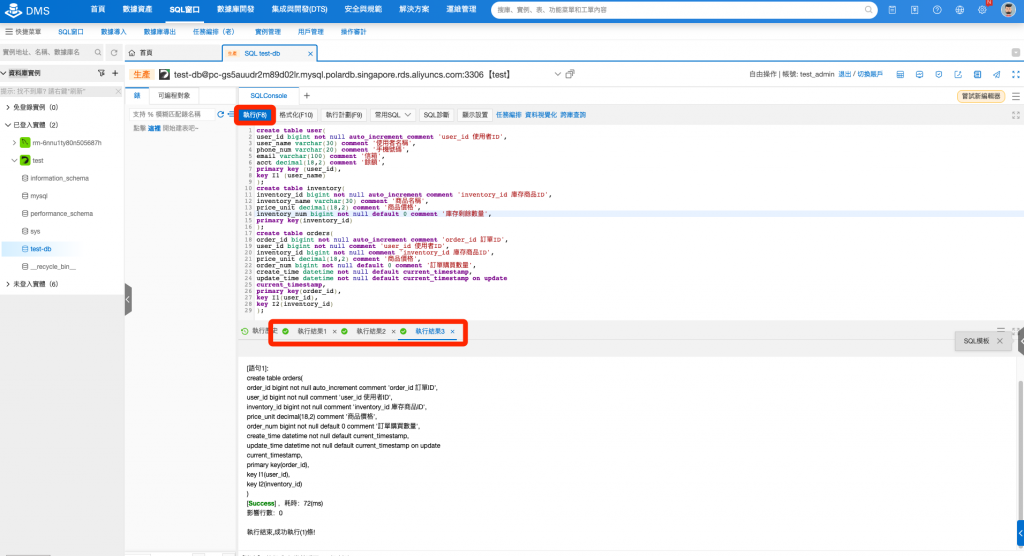
這邊的話我們模擬一下一般購物網站的表,分別是使用者、訂單、庫存,簡單配置一下這三個表(備註一),輸入在中間,點選執行,可以看到成功執行的結果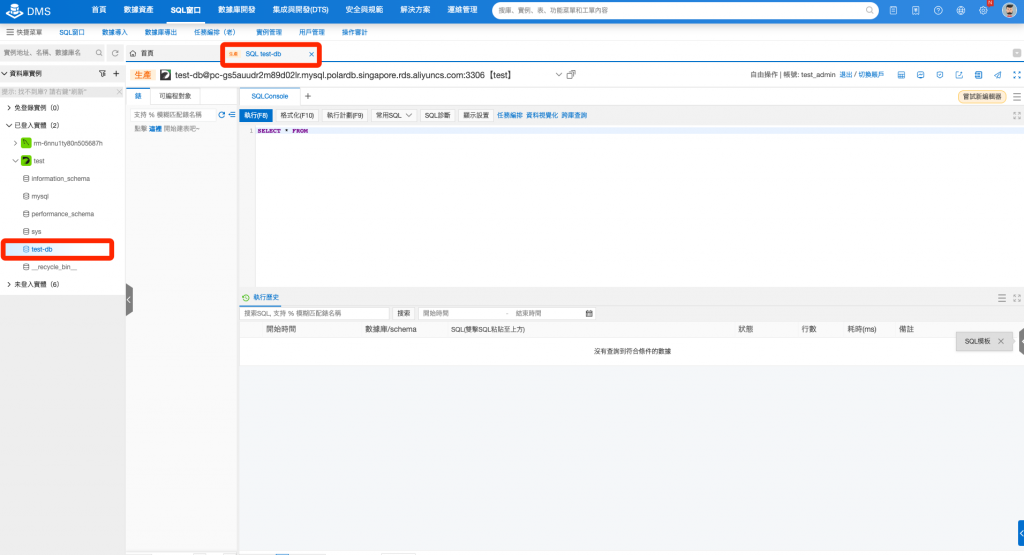
執行成功之後點選左邊有一個重新整理的小按鈕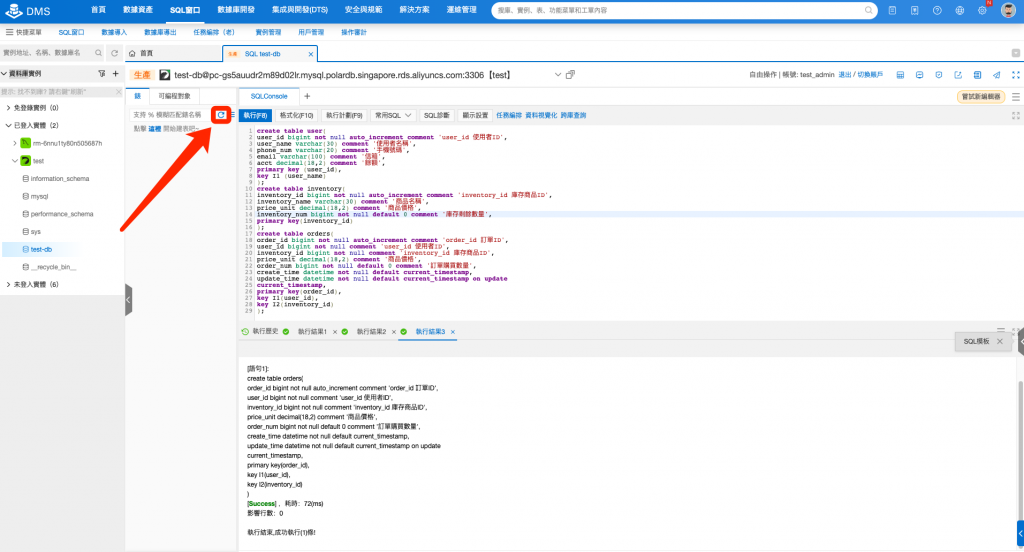
這樣就可以看到我們三個表建立好了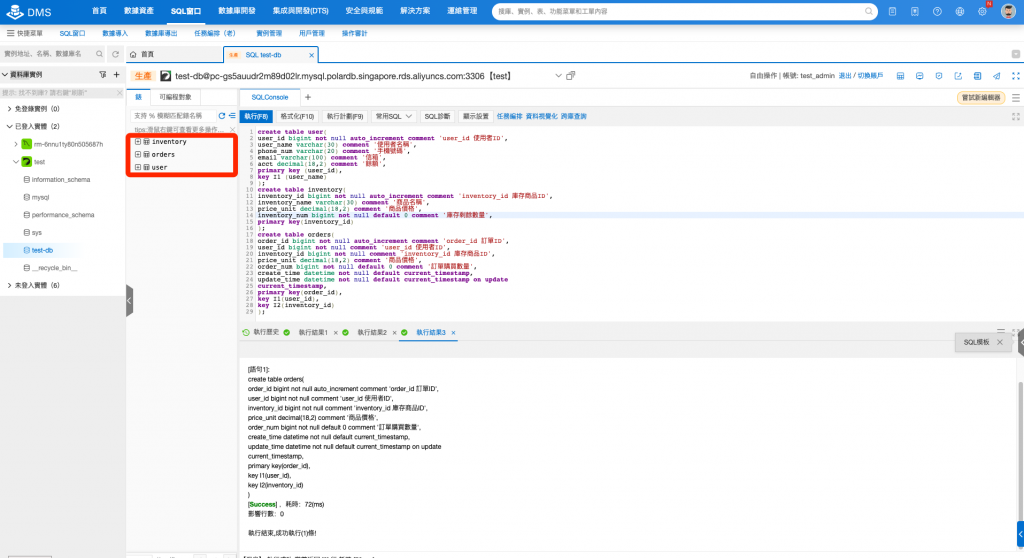
現在我們來建立一些簡單的數據,可以對你的表點右鍵,數據方案,測試數據構建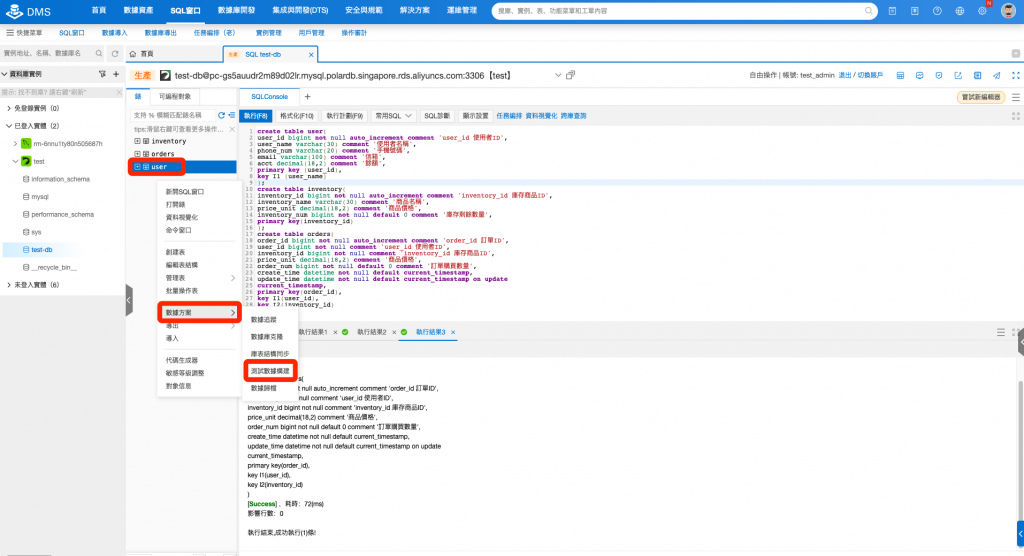
直接生成十萬行不用怕,然後提交申請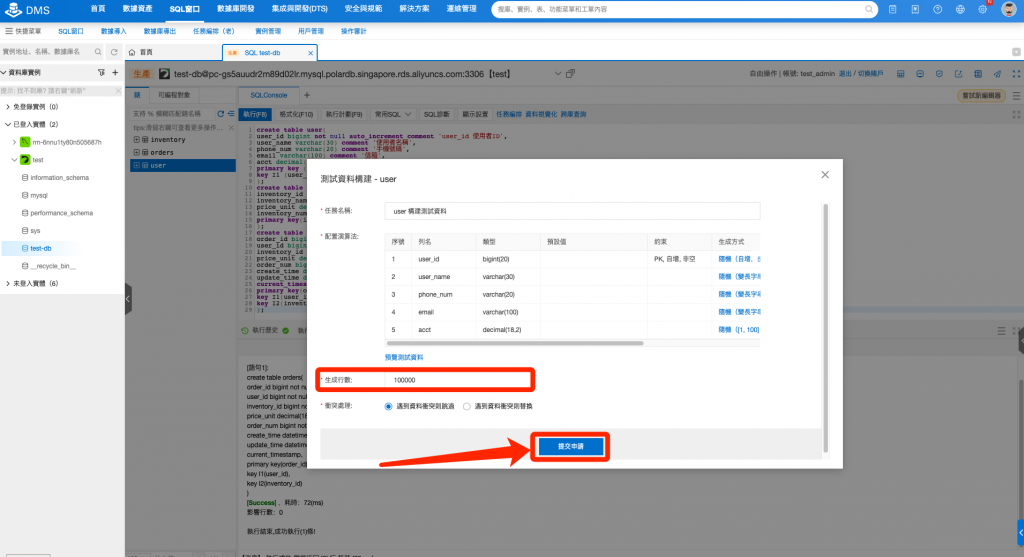
你可以在這邊看到你的任務執行狀態,還有測試數據他幫你填了哪些資料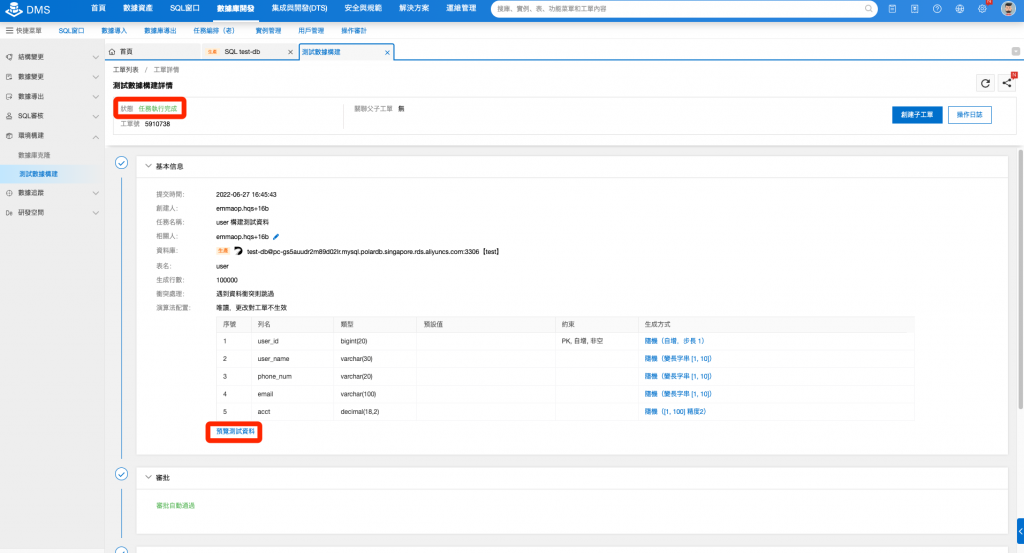
往下拉可以看到執行的時間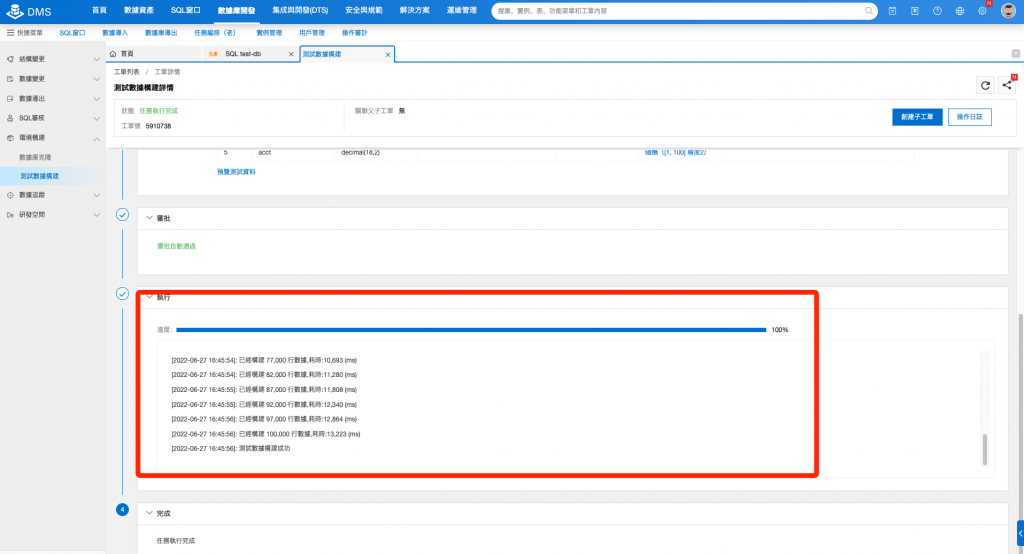
再來我們回到表這邊,輸入(備註二),看一下user表是否真的有創建了十萬行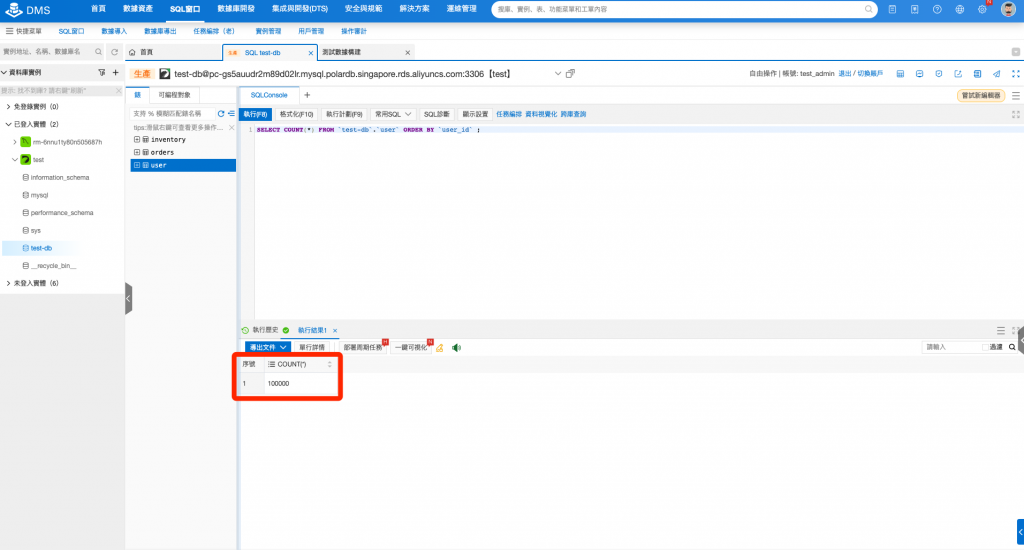
每個表我們都做一次一樣的動作,都幫他生成十萬行,可以看一下建立時間的速度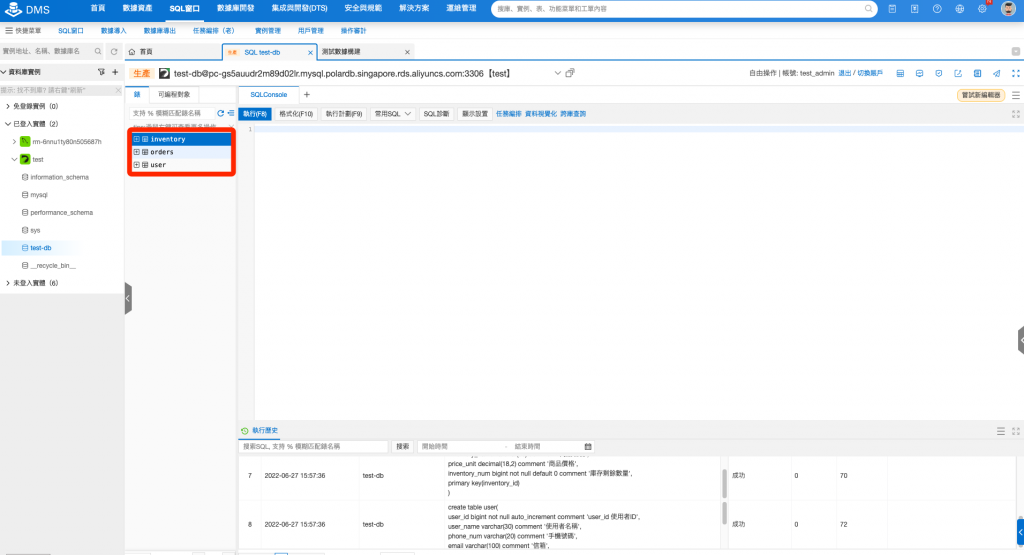
確認一下,輸入(備註三),看一下orders表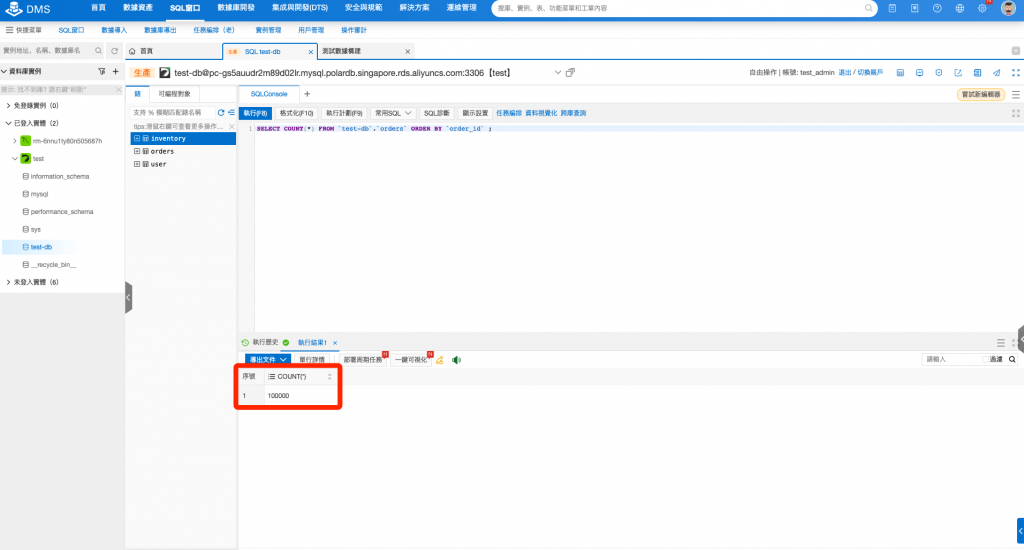
最後確認inventory表,輸入(備註四)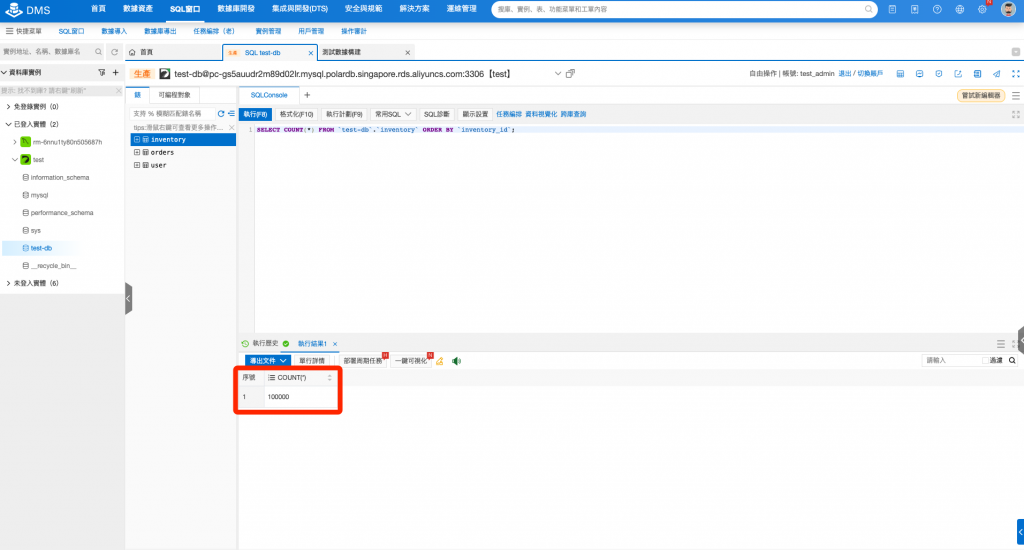
修正一下orders的數據,輸入(備註六)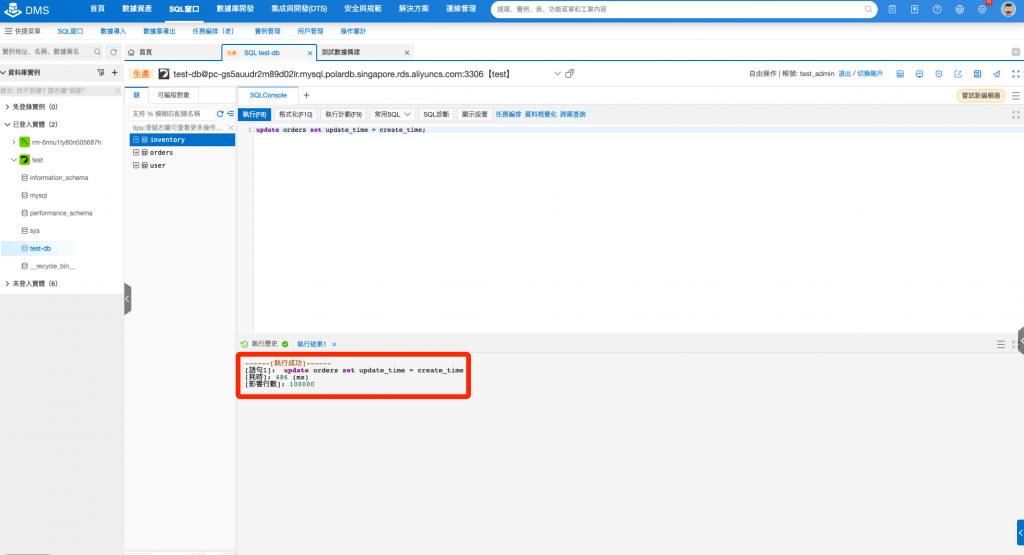
到這邊就簡單創建了一些表,是不是非常方便又簡單使用呢
再來我們看到這邊的運維管理,可以新增其他的帳號能使用,也可以同步子帳號來使用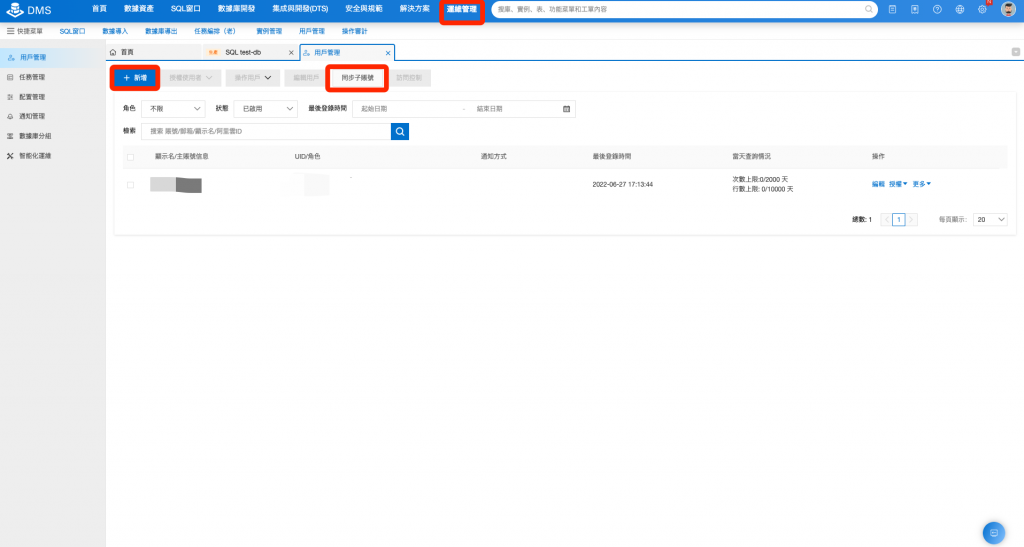
從任務管理也可以看到這些之前的各項執行任務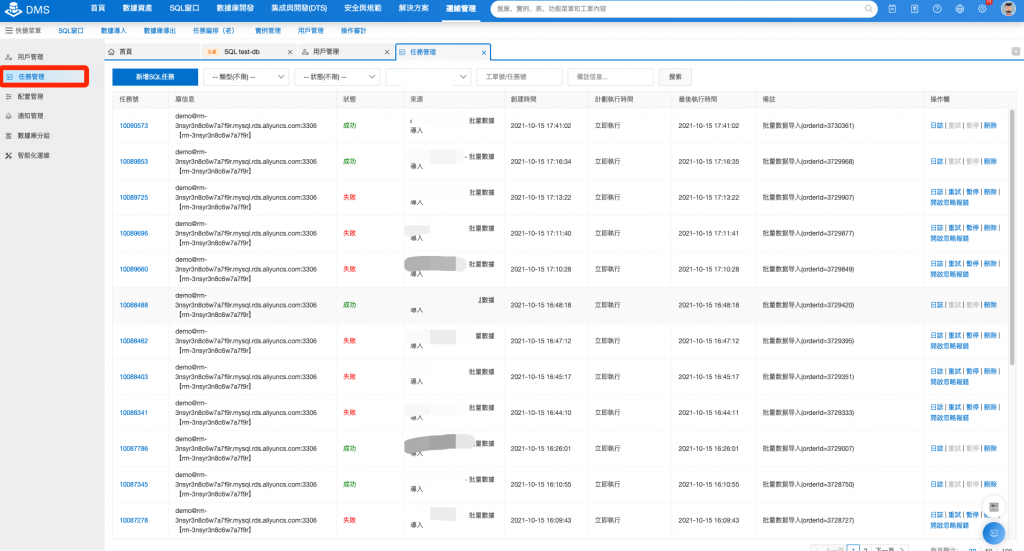
配置管理這邊也有很多非常細微的設定可以針對你的使用來調整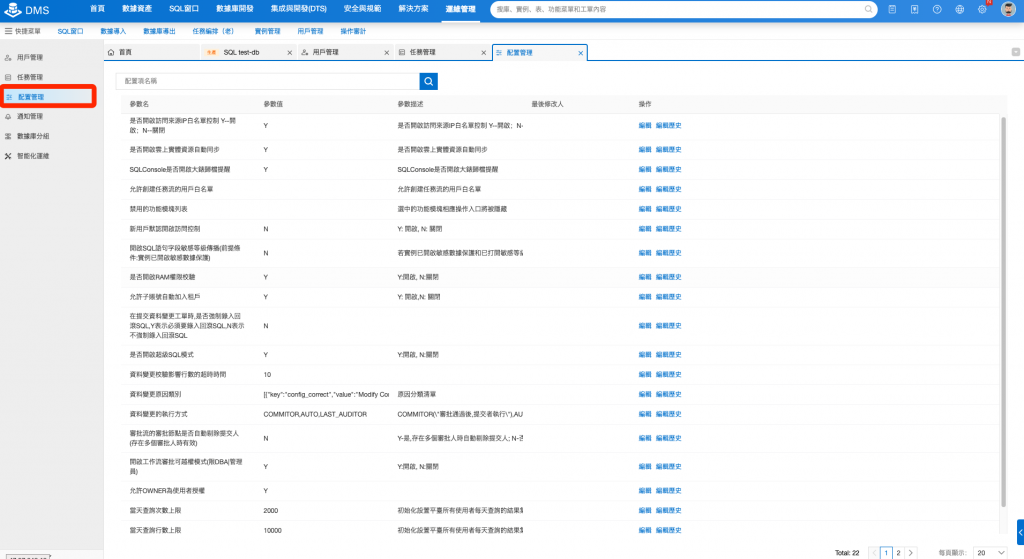
最後通知管理這邊,我們可以設定需要通知的對象,通知你資料庫發生了什麼事情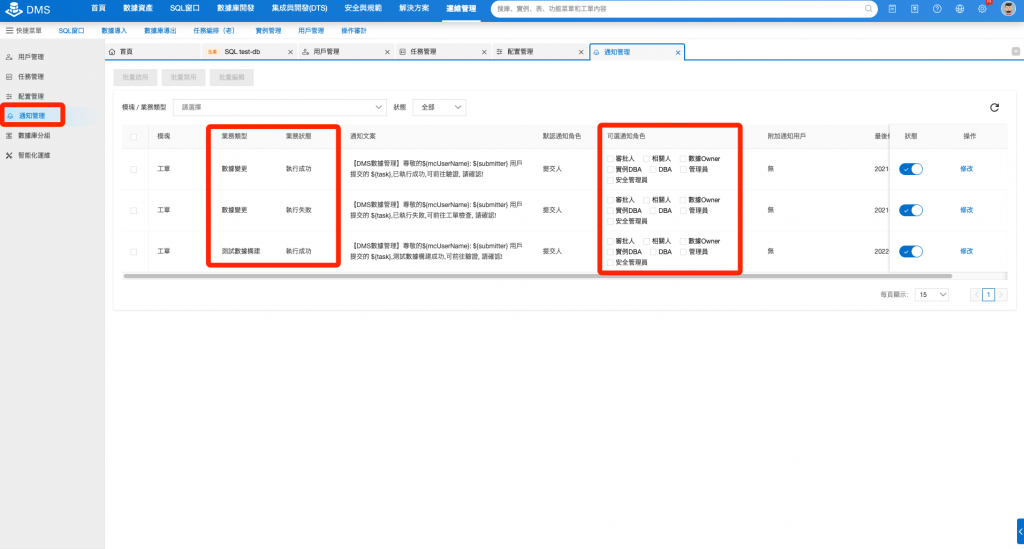
這樣我們就簡單的操作了一下一般最常用的功能展示,剩下那些語法都會放在後面的備註裡面供大家參考囉!
接下來我們就往下一天邁進吧!
備註一
create table user(
user_id bigint not null auto_increment comment 'user_id 使用者ID',
user_name varchar(30) comment '使用者名稱',
phone_num varchar(20) comment '手機號碼',
email varchar(100) comment '信箱',
acct decimal(18,2) comment '餘額',
primary key (user_id),
key I1 (user_name)
);
create table inventory(
inventory_id bigint not null auto_increment comment 'inventory_id 庫存商品ID',
inventory_name varchar(30) comment '商品名稱',
price_unit decimal(18,2) comment '商品價格',
inventory_num bigint not null default 0 comment '庫存剩餘數量',
primary key(inventory_id)
);
create table orders(
order_id bigint not null auto_increment comment 'order_id 訂單ID',
user_id bigint not null comment 'user_id 使用者ID',
inventory_id bigint not null comment 'inventory_id 庫存商品ID',
price_unit decimal(18,2) comment '商品價格',
order_num bigint not null default 0 comment '訂單購買數量',
create_time datetime not null default current_timestamp,
update_time datetime not null default current_timestamp on update
current_timestamp,
primary key(order_id),
key I1(user_id),
key I2(inventory_id)
);
備註二
SELECT COUNT(*) FROM test-db.user ORDER BY user_id ;
備註三
SELECT COUNT(*) FROM test-db.orders ORDER BY order_id ;
備註四
SELECT COUNT(*) FROM test-db.inventory ORDER BY inventory_id;
備註五
update orders set update_time = create_time;
