AWS DynamoDB 提供 Java 及 .NET 的官方套件供開發者使用,這次使用 .NET6 WebAPI 專案搭配 NuGet 套件進行開發。
不是使用 Java 或 .NET 的開發者也可以直接透過 API 進行開發,請見官方文件。
建立 WebAPI 專案,版本為 .NET6,命名為 IronmanDynamoDbDemo。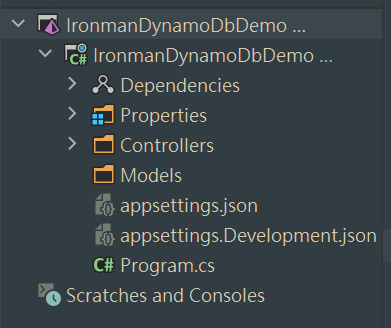
專案加入對 AWSSDK.DynamoDBv2 NuGet 套件的參考。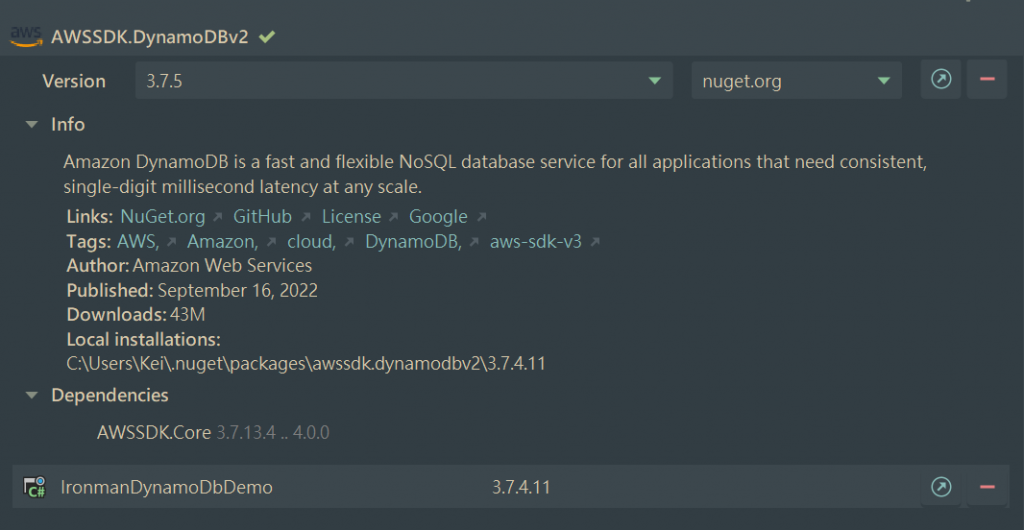
把接下來會需要用到的常數都先放在 Consts.cs 中。
public static class Consts
{
    public const string EndpointUrl = "http://localhost:1234";
    public const string TableName = "NotificationSettings";
    public const string PartitionKey = "UserId";
    public const string SortKey = "NotificationMethod";
}
在 Program.cs 中注入 AmazonDynamoDBClient 並設定 AmazonDynamoDBConfig,接著注入 IDynamoDBContext。
// Add services to the container.
builder.Services.AddSingleton(
    new AmazonDynamoDBClient(
        new AmazonDynamoDBConfig
        {
            ServiceURL = Consts.EndpointUrl
        }));
builder.Services.AddSingleton<IDynamoDBContext>(p => new DynamoDBContext(p.GetRequiredService<AmazonDynamoDBClient>()));
因為是練習所以偷個懶,在 Program.cs 中設定如果 Table 不存在就建立。
// Create table if not exist
var client = app.Services.GetRequiredService<AmazonDynamoDBClient>();
var currentTables = client.ListTablesAsync().Result.TableNames;
if (!currentTables.Contains(Consts.TableName))
    client.CreateTableAsync(new CreateTableRequest
    {
        TableName = Consts.TableName,
        KeySchema = new List<KeySchemaElement>
        {
            new(Consts.PartitionKey, KeyType.HASH),
            new(Consts.SortKey, KeyType.RANGE)
        },
        ProvisionedThroughput = new ProvisionedThroughput(5, 5),
        AttributeDefinitions = new List<AttributeDefinition>
        {
            new(Consts.PartitionKey, ScalarAttributeType.S),
            new(Consts.SortKey, ScalarAttributeType.S)
        }
    }).Wait();
建立 NotificationSettingsController.cs ,並在建構子取得剛剛注入的 IDynamoDBContext。
[ApiController]
[Route("[Controller]/[Action]")]
public class NotificationSettingsController : ControllerBase
{
    private readonly IDynamoDBContext _dbContext;

    public NotificationSettingsController(IDynamoDBContext dbContext)
    {
        _dbContext = dbContext;
    }
}
使用套件後可以直接透過 Attribute 設定對應到 DynamoDB,相當方便。
在 class 上使用 [DynamoDBTable(Consts.TableName)] 指定 Table,PK 中的 Partition Key 可在 Property 上標記 [DynamoDBHashKey],Sort Key 使用 [DynamoDBRangeKey],其餘欄位則是 [DynamoDBProperty],若有想忽略不進資料庫的可以使用 [DynamoDBIgnore]。這些 Attribute 也有提供一些參數可以設定,像是 [DynamoDBProperty(AttributeName = "OtherName")] 可以讓程式碼和資料庫中的名稱不一樣;或是使用 [DynamoDBProperty(Converter=typeof(CustomerConverter))] 並實作 Converter 就可以自行處理複雜結構在應用程式和資料庫間的對應。
以下程式碼建立 EmailSettingDataEntity 和 AndroidAppSettingDataEntity 兩種不同類型的通知設定,並擁有共同的基底型別 BaseSettingDataEntity。
[DynamoDBTable(Consts.TableName)]
public abstract class BaseSettingDataEntity
{
    [DynamoDBHashKey]
    public string UserId { get; set; }

    [DynamoDBRangeKey]
    public abstract string NotificationMethod { get; set; }
}
public class EmailSettingDataEntity : BaseSettingDataEntity
{
    [DynamoDBProperty]
    public string Address { get; set; }

    public override string NotificationMethod { get; set; } = "Email";
}
public class AndroidAppSettingDataEntity : BaseSettingDataEntity
{
    [DynamoDBProperty]
    public string RegistrationId { get; set; }

    public override string NotificationMethod { get; set; } = "AndroidApp";
}
接下來就可以建立各功能的 endpoint 及功能了,包含:
一樣,因為是練習且東西不複雜,就偷懶不再特別做額外的分層。
首先是建立和修改的功能,使用 SaveAsync(yourEntity) 方法進行資料增修,如果該 PK 不存在表示建立,若已存在則表示修改內容。
    [HttpPost]
    public async Task<IActionResult> UpsertEmailSettings([FromBody] UpsertEmailSettingRequest requestPayload)
    {
        var dbEntity = requestPayload.ToDataEntity();
        await _dbContext.SaveAsync(dbEntity);
        return NoContent();
    }

    [HttpPost]
    public async Task<IActionResult> UpsertAndroidAppSettings([FromBody] UpsertAndroidAppSettingRequest requestPayload)
    {
        var dbEntity = requestPayload.ToDataEntity();
        await _dbContext.SaveAsync(dbEntity);
        return NoContent();
    }
其中 RequestPayload 如下:
public class UpsertEmailSettingRequest
{
    public string UserId { get; set; }
    public string Address { get; set; }

    public EmailSettingDataEntity ToDataEntity()
    {
        return new EmailSettingDataEntity
        {
            UserId = UserId,
            Address = Address
        };
    }
}

public class UpsertAndroidAppSettingRequest
{
    public string UserId { get; set; }
    public string RegistrationId { get; set; }

    public AndroidAppSettingDataEntity ToDataEntity()
    {
        return new AndroidAppSettingDataEntity
        {
            UserId = UserId,
            RegistrationId = RegistrationId
        };
    }
}
接著是取得資料,使用 LoadAsync<T>(partitionKey, sortKey) 可以取得該 PK 對應的資料,如果沒有這筆資料會得到 null。
    [HttpGet]
    public async Task<IActionResult> GetSettings([Required] string name, [Required] string notificationMethod)
    {
        dynamic? item;
        switch (notificationMethod)
        {
            case "Email":
                item = await _dbContext.LoadAsync<EmailSettingDataEntity>(name, notificationMethod);
                break;
            case "AndroidApp":
                item = await _dbContext.LoadAsync<AndroidAppSettingDataEntity>(name, notificationMethod);
                break;
            default:
                return BadRequest();
        }

        if (item is null) return NotFound();

        return Ok(item);
    }
這樣基本的 API 就開發完成了!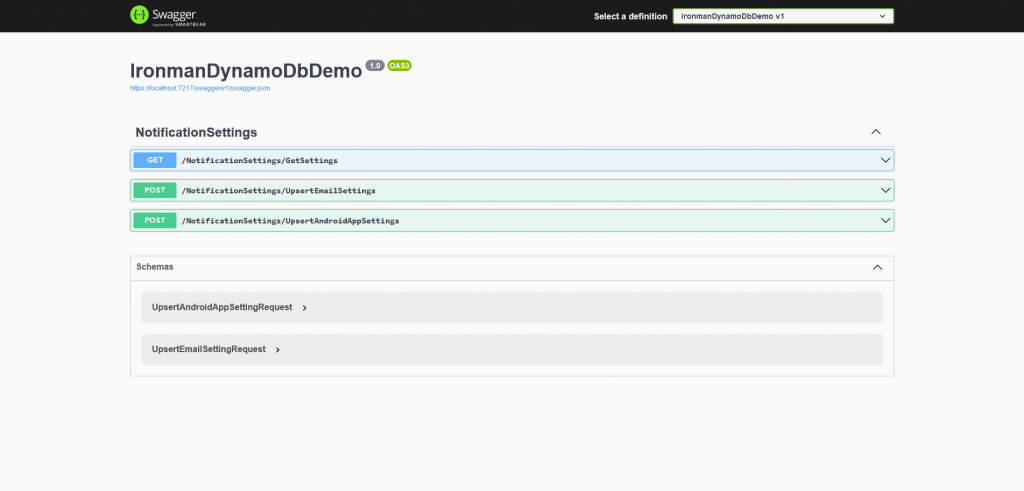
更多的功能及使用範例請見官方文件。