安裝好VMware ESXi後接著我們進行基本環境設置
包括指派 IP、DNS、DNS尾碼、hostname等。
Step1.使用F2進入自訂IP、DNS..等連線環境設定。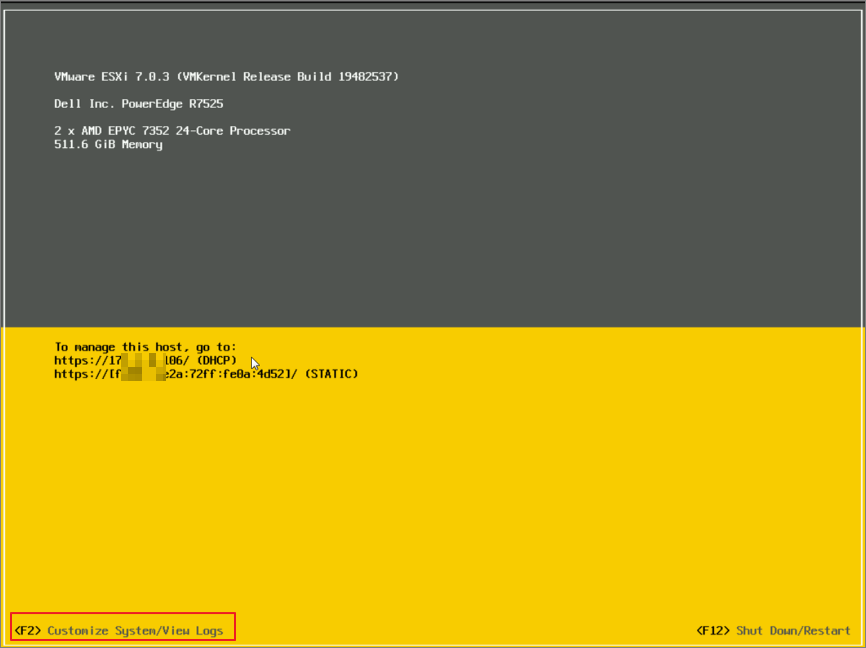
Step2.輸入root密碼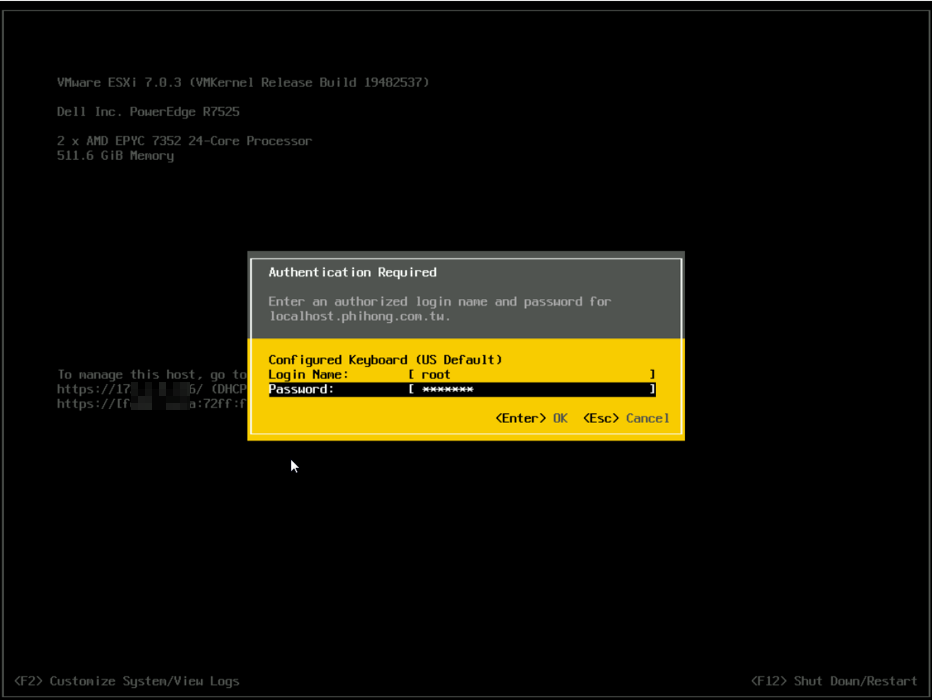
Step3.設定管理網路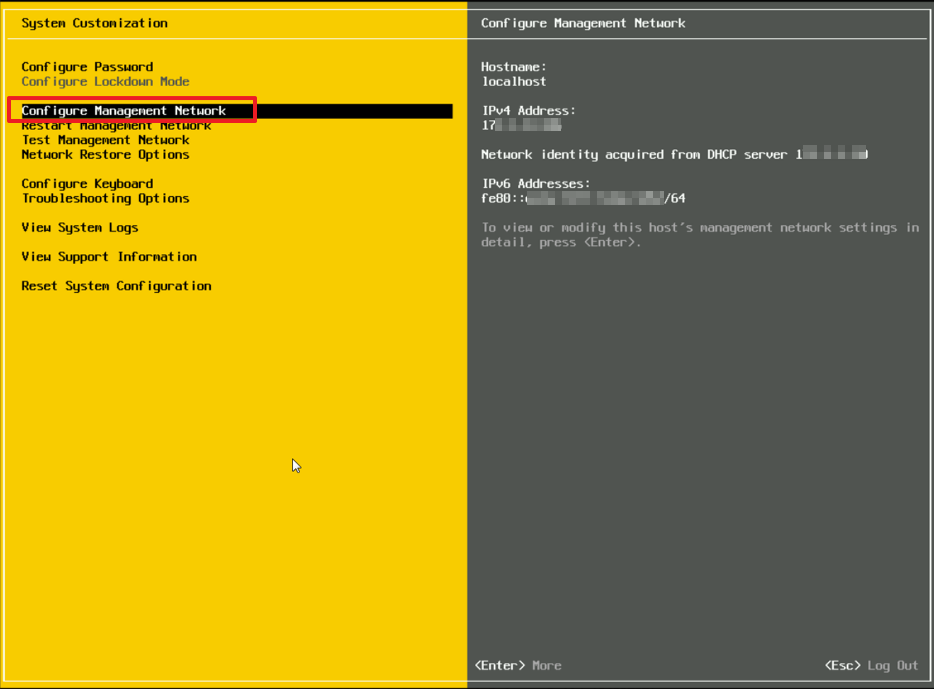
Step4.使用一般的IPv4進行設定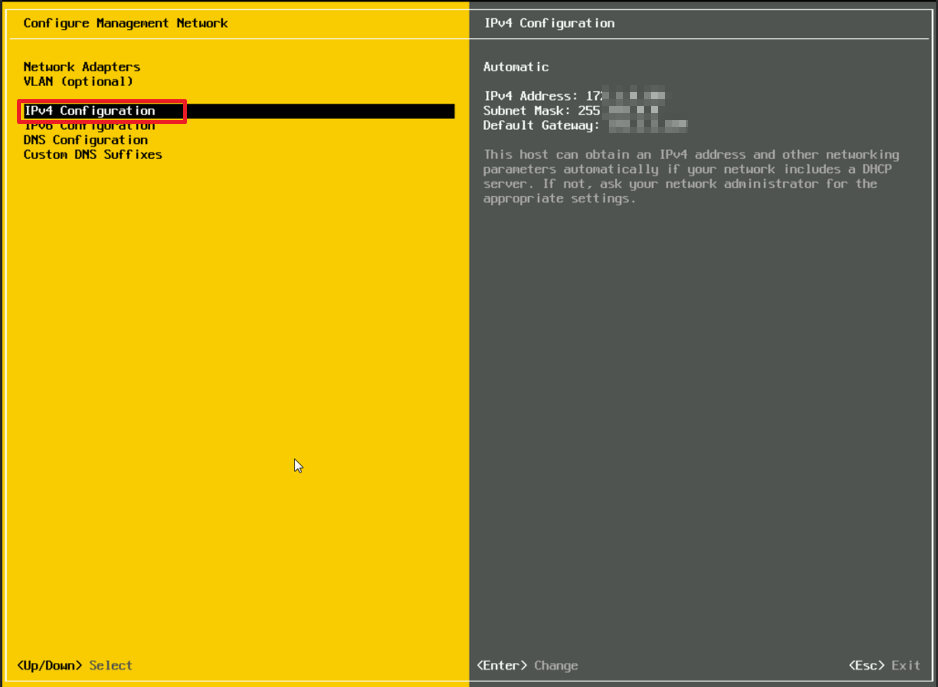
Step5.設定固定IP、Subnet Mask、Gateway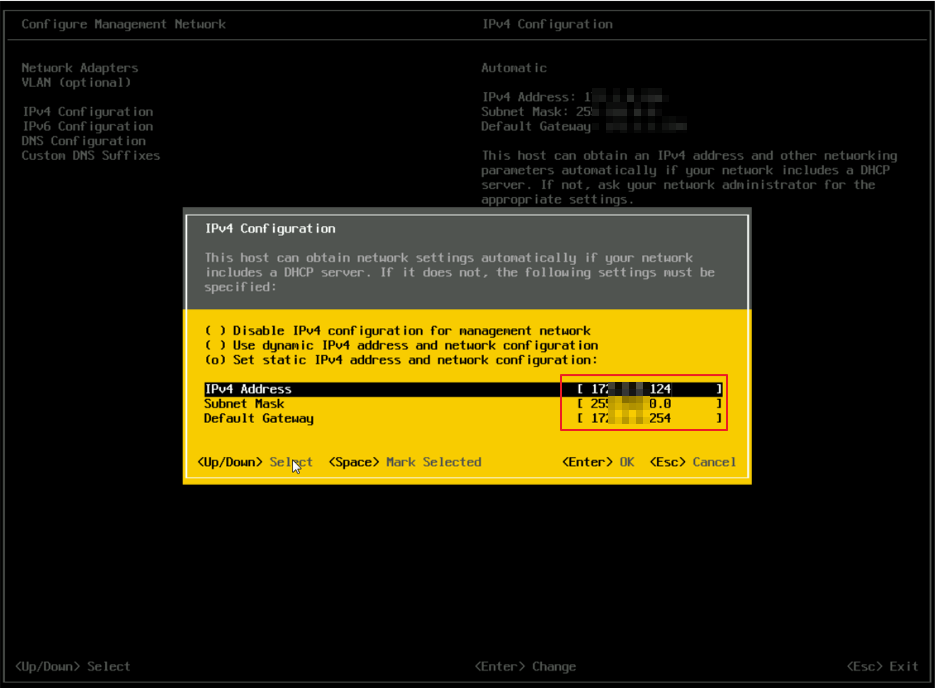
Step6.設定DNS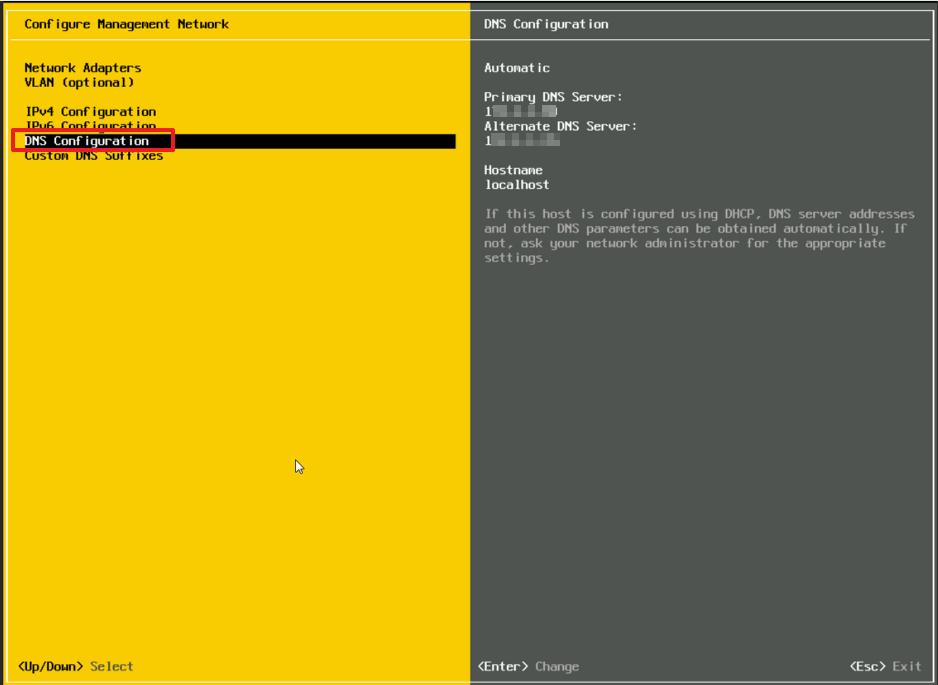
Step7.輸入主、副DNS IP及ESXi的 hostname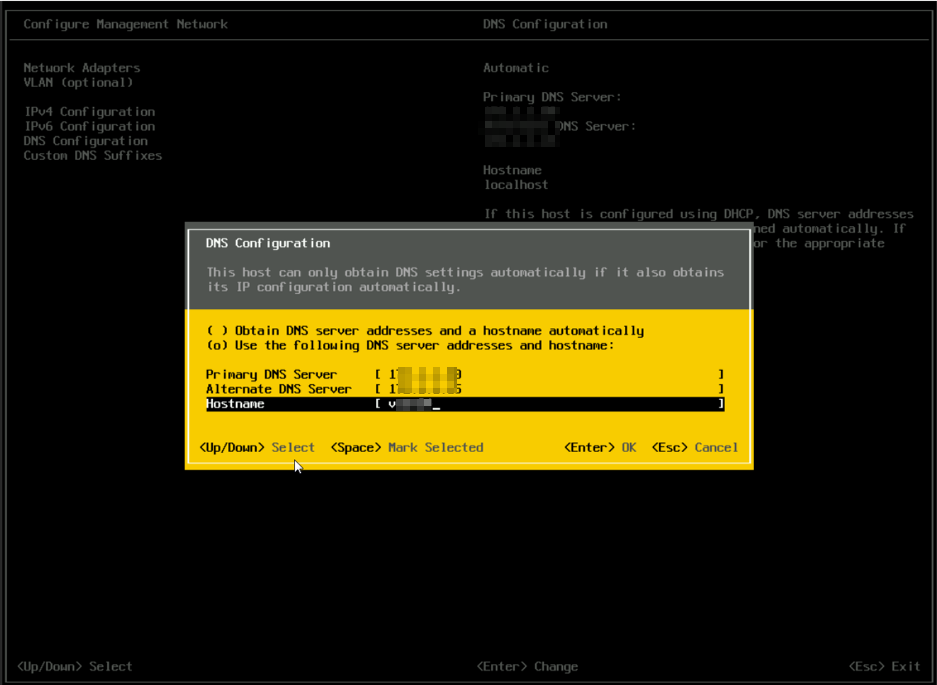
Step8.設定DNS尾碼,你可以設定多組並用【,】隔開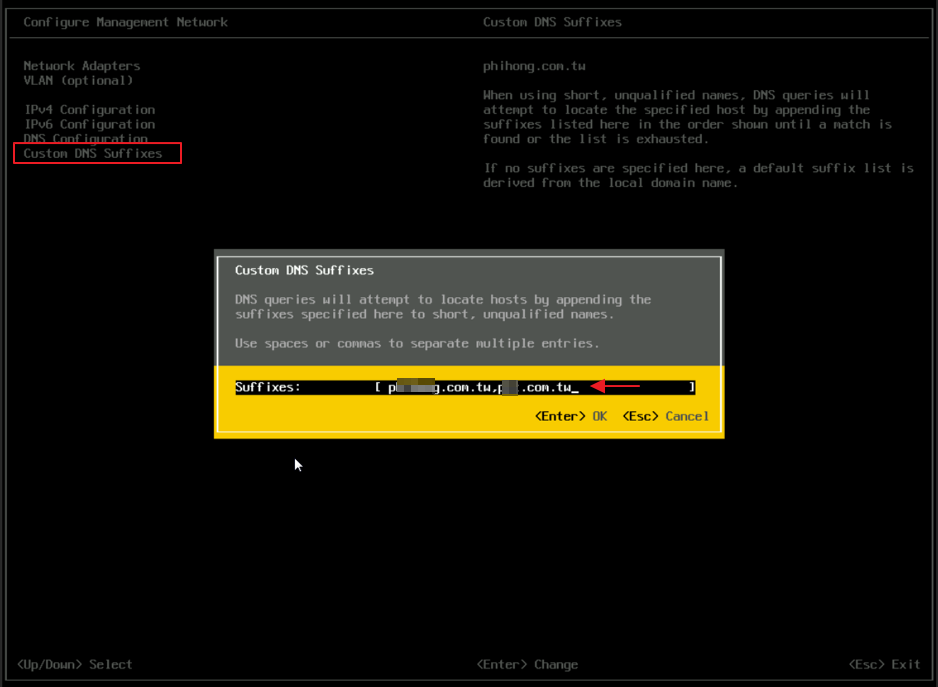
Step9.設定完成後使用【Esc】離開並按【Yes】重新啟動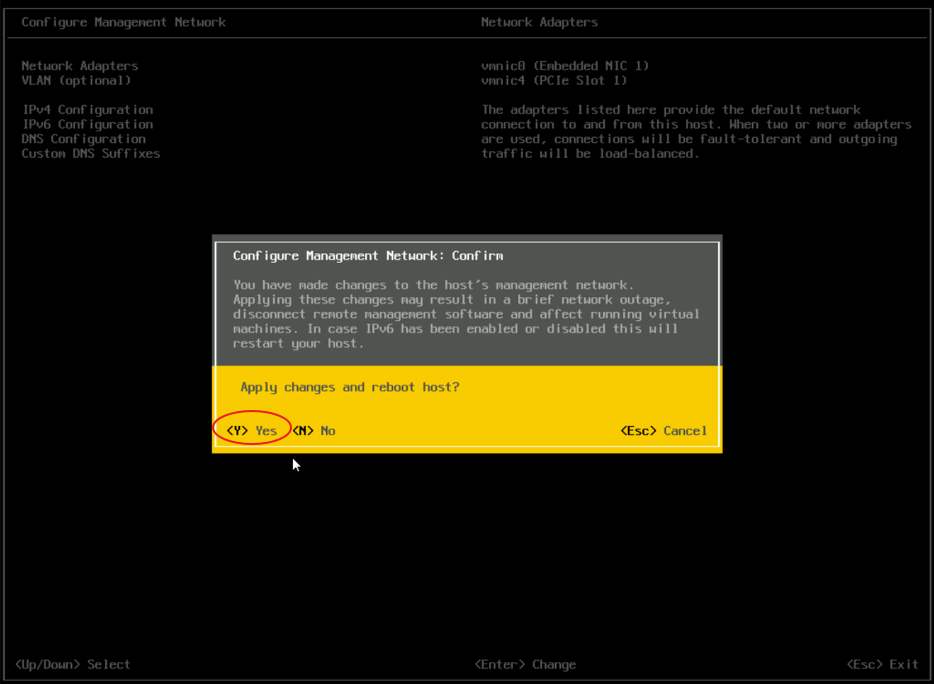
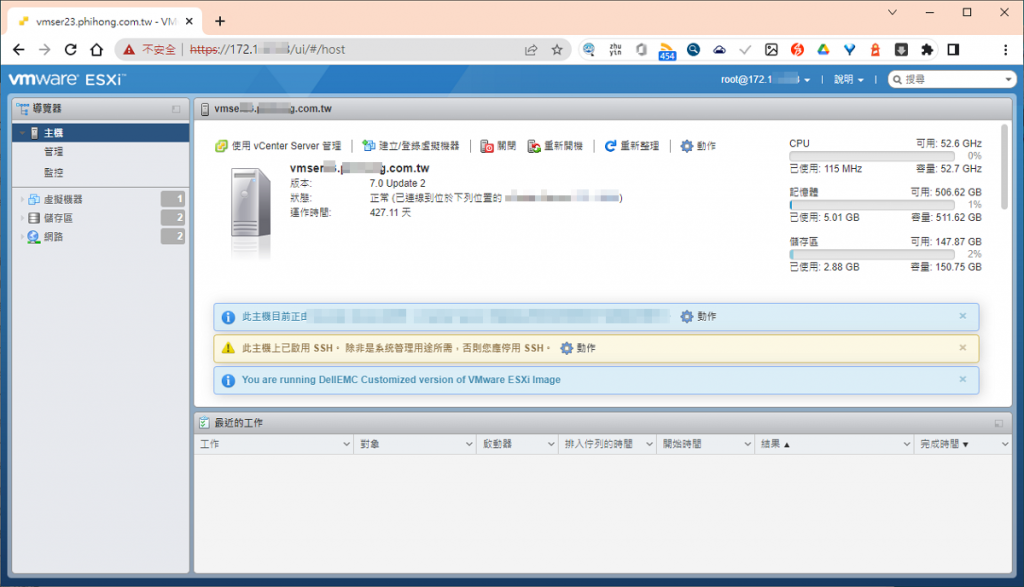
Step10.重啟後使用瀏覽器,連線設定的IP> http://esxi-ip-address/ui
完成登入