今天來整理利用video開啟攝影機進行capture的影像輸入
先來看看p5.js的方式
使用 createCapture(VIDEO); 建立video元件,基本的程式如下
let can;
let capture;
function setup() {
	can = createCanvas(640, 480);
	can.id("can1");
	can.class("c1");
	can.position(0, 0);
	background(255, 255, 0);

	capture = createCapture(VIDEO);
	capture.size(640, 480);
	capture.id("cap1");
	capture.class("cp1");
	capture.position(640, 0);
	capture.hide();
	console.log(capture);
	console.log(capture.elt);
}

function draw() {
  image(capture, 0, 0, 640, 480);

  if(mouseIsPressed){
	capture.loadPixels();
	console.log(capture.pixels);
  }
}
產生的video元件, 物件類別為 MediaElement
<video playsinline="" crossorigin="anonymous" width="640" height="480" style="width: 640px; height: 480px; position: absolute; left: 640px; top: 0px;" id="cap1" class="cp1"></video>
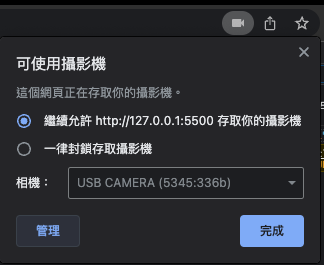
在設定createCapture(VIDEO),其中VIDEO會以瀏覽器預設的camera作為capture的相機。
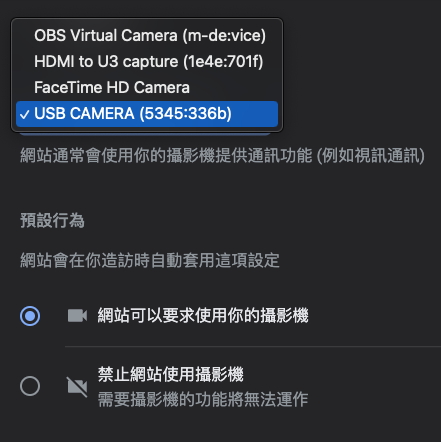
若有多個視訊來源的話,需要到chrome的「攝影機」設定區切換不同的視訊來源。

其中除了筆電上的攝影機之外,像是外接的webcam,OBS的虛擬相機,影像擷取卡的影像輸入都可以作為視訊來源。
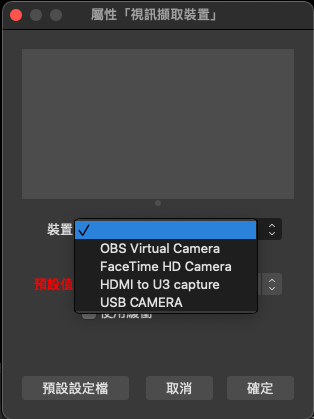
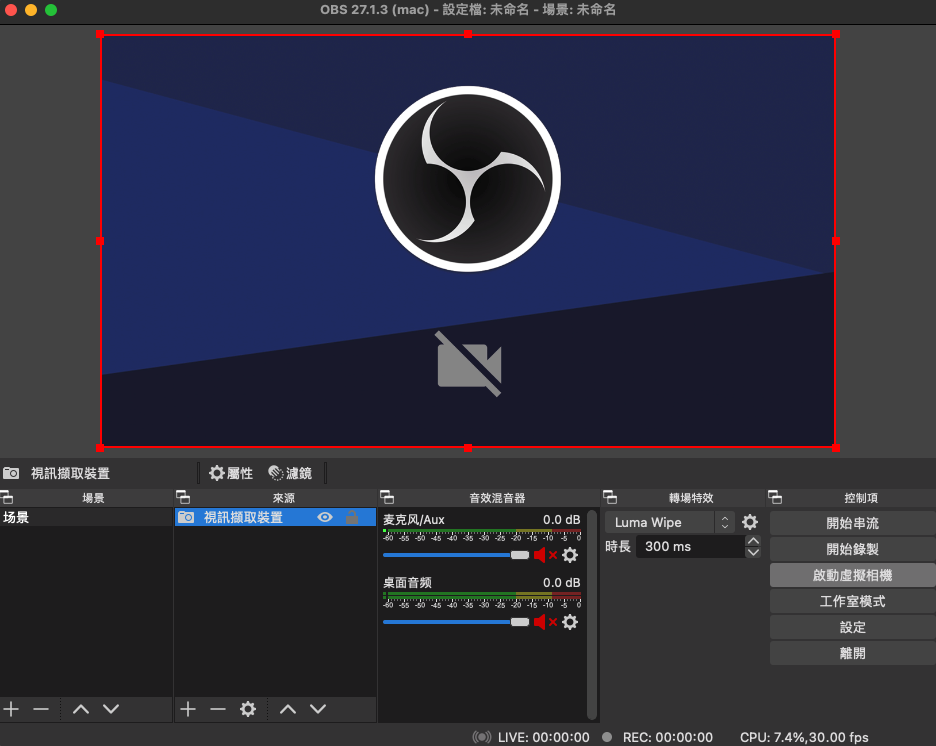
以下是OBS的虛擬相機設定方式,


在chrome的「攝影機」設定區會看到有4種的視訊來源
分別為
如果要將capture的影像繪入到canvas的話,
要先執行 capture.hide(); 將capture隱藏起來,
再到 draw() 程式區塊中 執行 image(capture, 0, 0, 640, 480);
在p5.js中,image(img, x, y, w, h);
img可以繪入的種類有p5.Image,p5.Element,p5.Texture
其中 p5.Image 是以 createImage(w, h); 或是 loadImage(path); 所建立的圖像元件,
p5.Element 是以 createCanvas(), createGraphics(), createDiv(), createImg(), createInput()等指令所建立的圖像元件
p5.Texture 為使用 texture(img); 指令所建立的圖像元件,一般是指WEBGL建立的圖像。
let can;
let capture;
function setup() {
	can = createCanvas(640, 480);
	can.id("can1");
	can.class("c1");
	can.position(0, 0);
	background(255, 255, 0);

	navigator.mediaDevices.enumerateDevices().then((devices) => {
		//console.log(devices);

		let device_name = "OBS Virtual Camera";
		devices.find((dev) =>{
			if(dev.label.indexOf(device_name) != -1){
				//console.log(dev.deviceId + ", " + dev.kind + ", " + dev.label);
				let constraints = {
					audio: false,
					video: {
						//facingMode: "user",   //-- "user","environment",
						//exact: "environment",
						deviceId: dev.deviceId
					}
				};
				capture = createCapture(constraints, (stream) => {
					console.log(stream);  // 回傳的物件類別是 MediaStream
					capture.size(640, 480);
					capture.id("cap1");
					capture.class("cp1");
					capture.position(640, 0);
					capture.hide();
				});
			}
		});
	});
}


function draw() {
  if(capture!=undefined){
	image(capture, 0, 0, 640, 480);
  }
  if(mouseIsPressed){
	capture.loadPixels();
	console.log(capture.pixels); //-- 回傳的資料類型 Uint8ClampedArray(1228800)
	//-- 陣列長度 640x480x4 = 1228800
  }
}
利用 navigator.mediaDevices.enumerateDevices().then((devices) => {});
可以查閱全部有連結的影音設備,透過篩選設定要連結的視訊來源。
同是可以利用 constraints 來設定影音來源的條件。
facingMode 可以設定 "user"(面向自拍的方向), "environment"(面向前方的方向)
capture = createCapture(constraints, (stream) => {}); 回傳的物件類別是 MediaStream
capture.pixels 回傳的資料類型 Uint8ClampedArray(1228800)
Uint8ClampedArray是 8位元整數的陣列類別,Uint8是指整數範圍是 0 ~ 255,Clamped是指若數值大於255, 則設定為255,若數值小於0,則設定為0,若數值是浮點數的話,則設定為最接近的整數,初始值為0。
另外,條件式是防止capture還沒準備好就要執行 image(capture, 0, 0, 640, 480); 造成 undefined 的錯誤。
let device_name = "OBS Virtual Camera"; 用來設定要連線的視訊來源,
要查閱有哪些連結設備,可以用 console.log(devices); 列示出來。
利用以下程式碼篩選要連結的視訊來源,
let device_name = "OBS Virtual Camera";
devices.find((dev) =>{
  if(dev.label.indexOf(device_name) != -1){ }
});
參考資料
Uint8ClampedArray
https://developer.mozilla.org/en-US/docs/Web/JavaScript/Reference/Global_Objects/Uint8ClampedArray
createCapture()
https://p5js.org/reference/#/p5/createCapture
