前面在圖文選單設定時,C選單我設定是【地點】
內容是
類型:文字
內容:@地點
所以意味著我點選【地點】,系統就會自動發出【@地點】,那我的機器人就應該回覆地址訊息給用戶。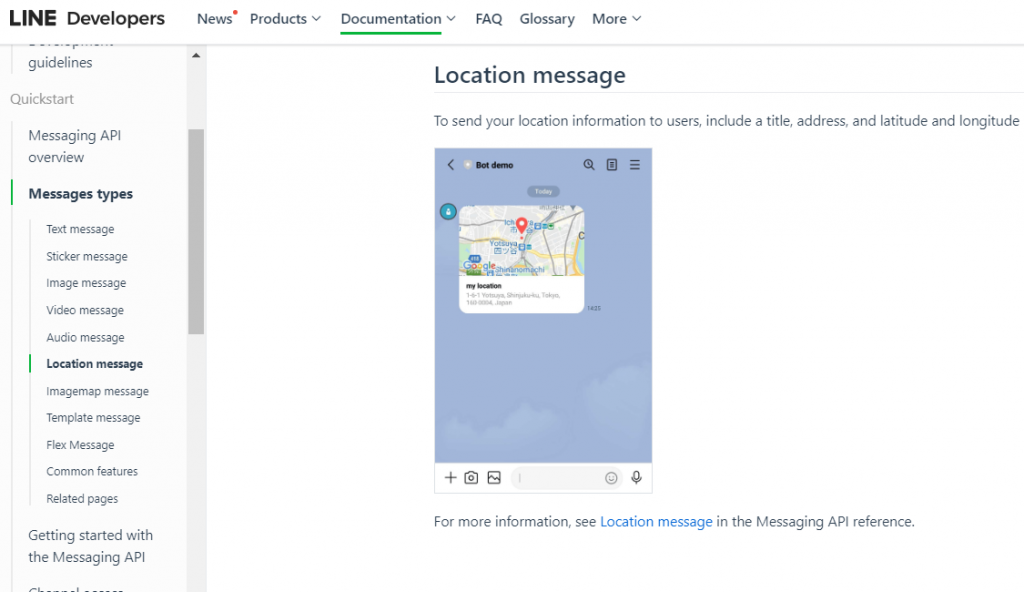
接下來就來做這個設定。
【LocationSendMessage】讓機器人傳送。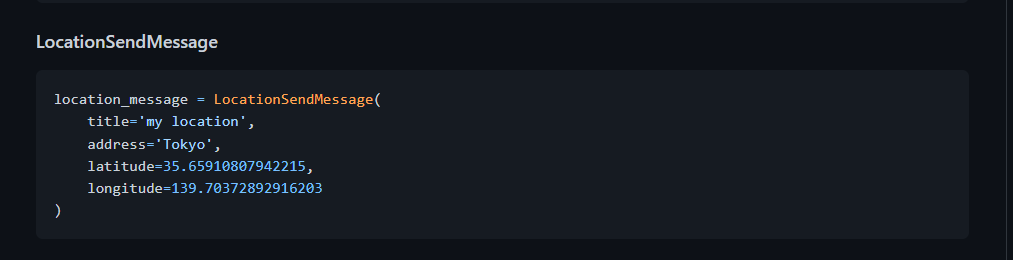
location_message = LocationSendMessage(
title='my location',
address='Tokyo',
latitude=35.65910807942215,
longitude=139.70372892916203
)
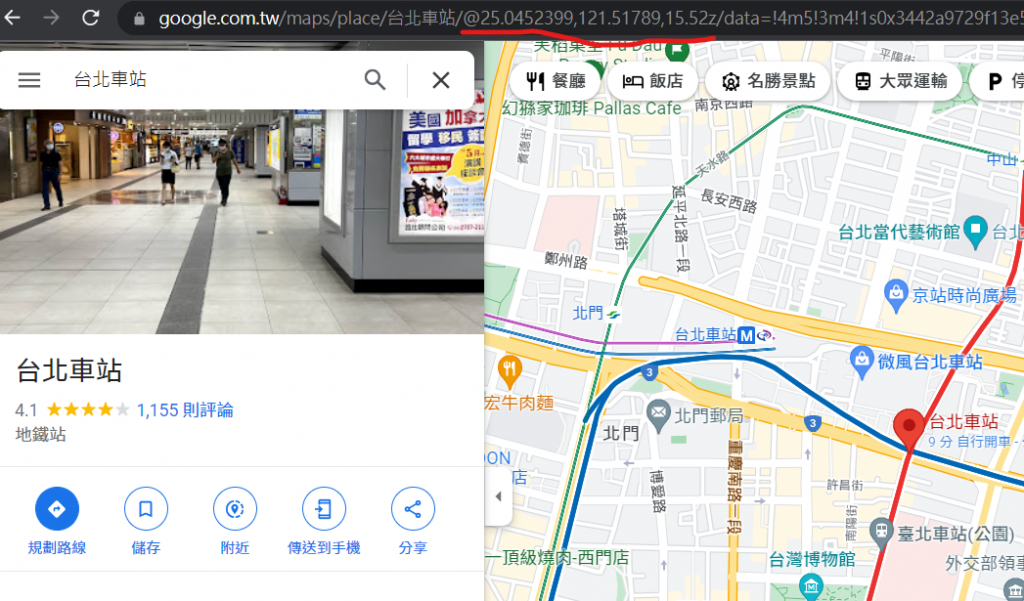
從程式碼中可以看到,我們是需要添加標題(title)、地址(address)與經緯度(latitude),完成設置後就可以回傳地址給用戶。
接下來把location_message 貼入 Pycharm,由於是要在系統傳【@地點】時機器人才回傳地址訊息,所以在這添加elif的判斷式,【elif message_text == '@地點':】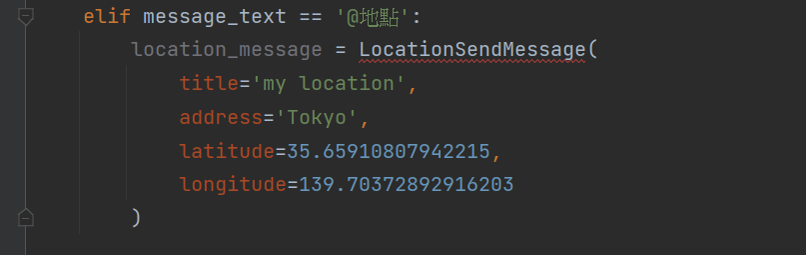
一樣也看到LocationSendMessage有紅底線,所以一樣回到上方找到[from linebot.models import],然後將[LocationSendMessage]然後將模組匯入。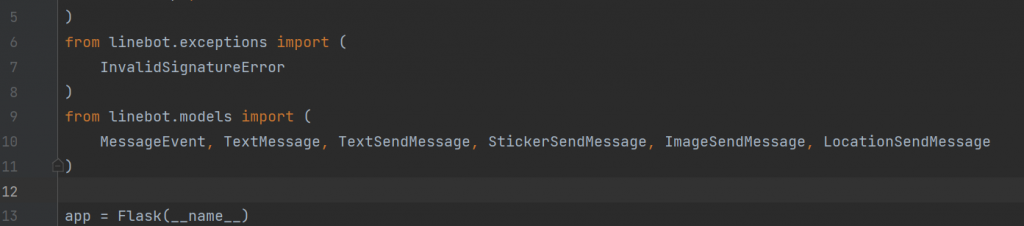
完成後看到LocationSendMessage紅底線就消失了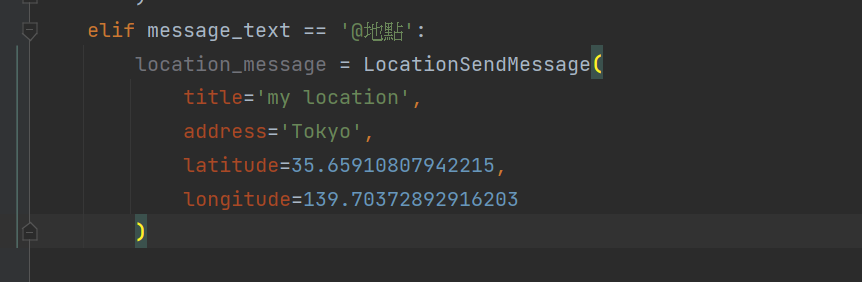
並且透過line_bot_api協助回傳地址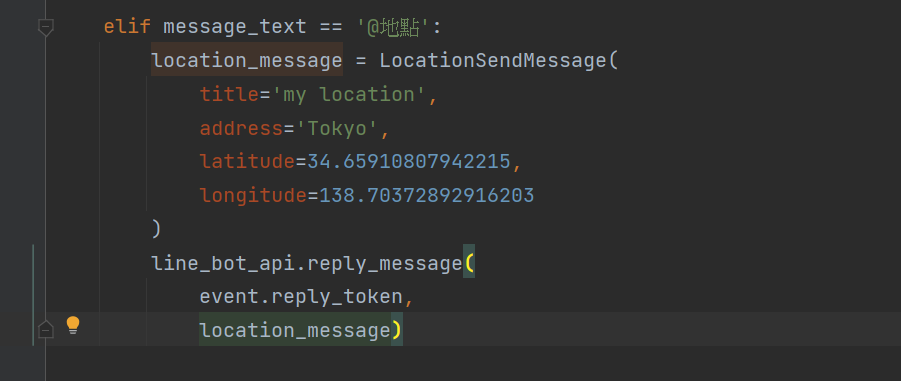
填回Pycharm上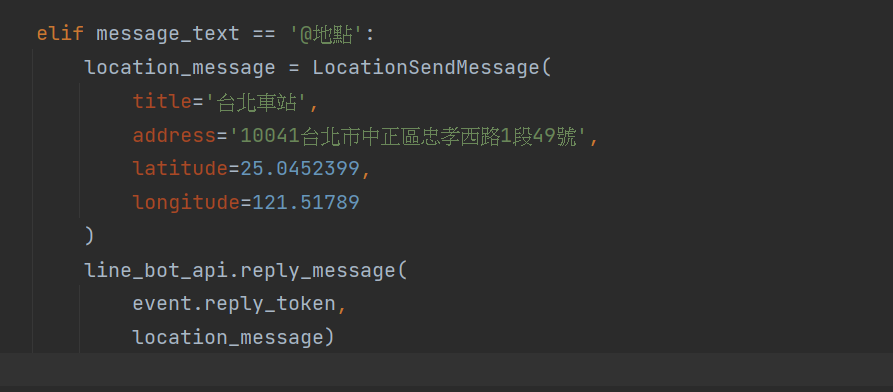
然後重啟Sever看看效果。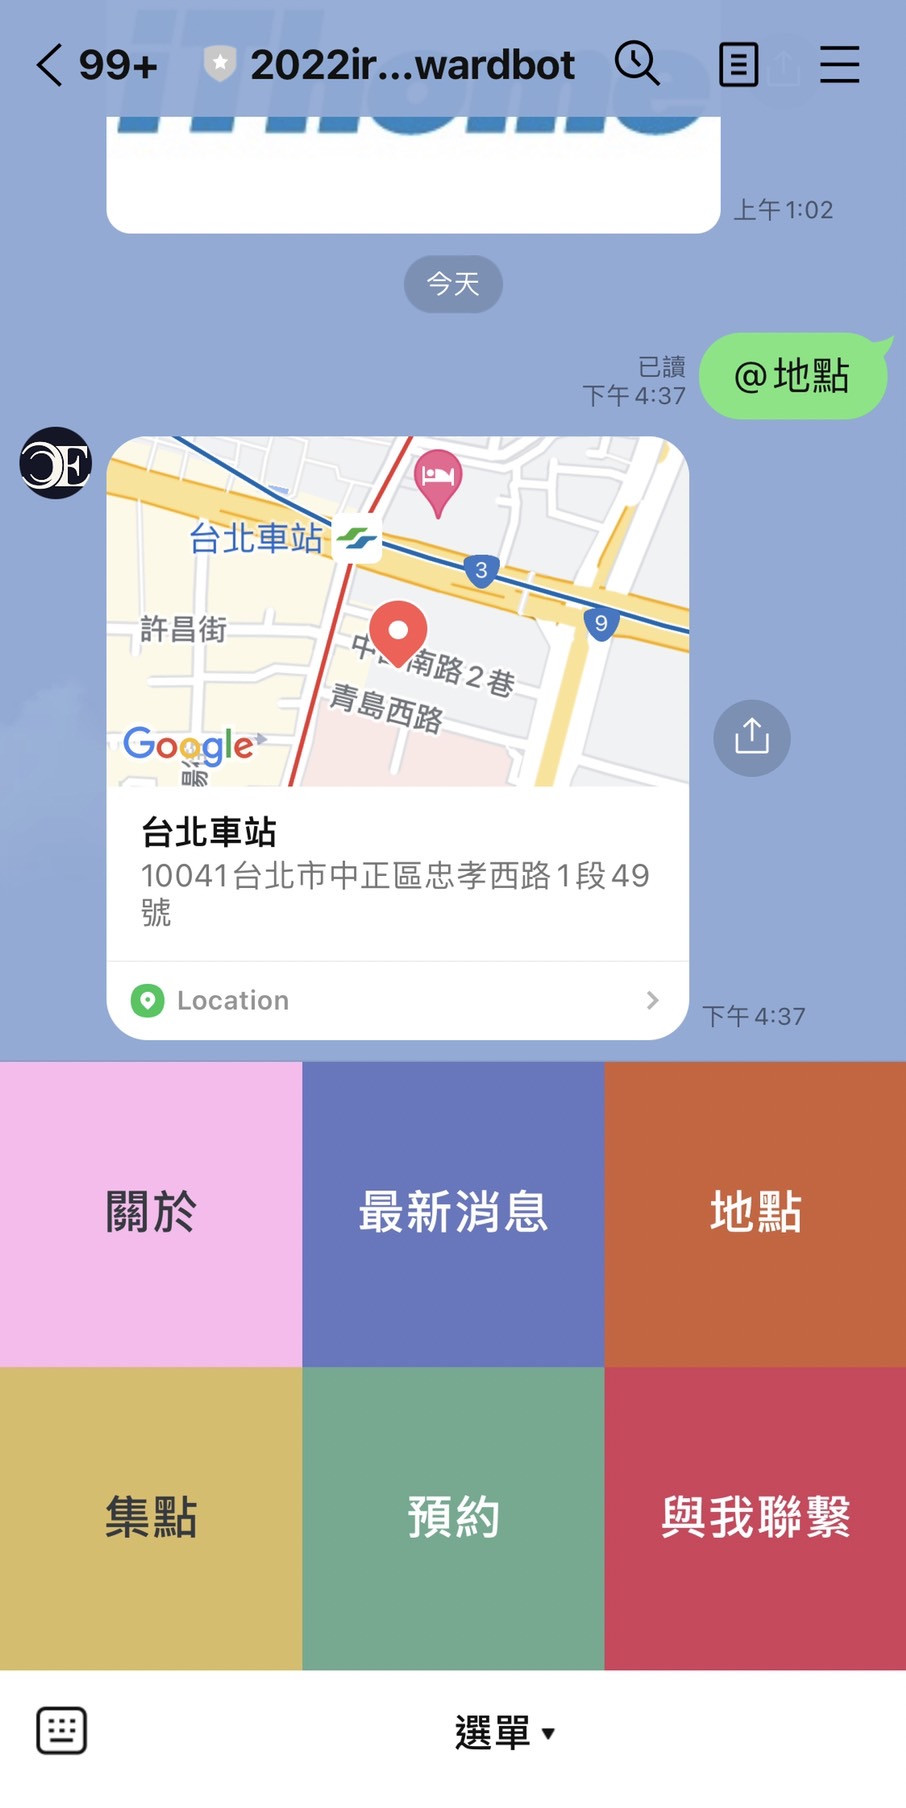
@handler.add(FollowEvent)
def handle_follow(event):
print(event)
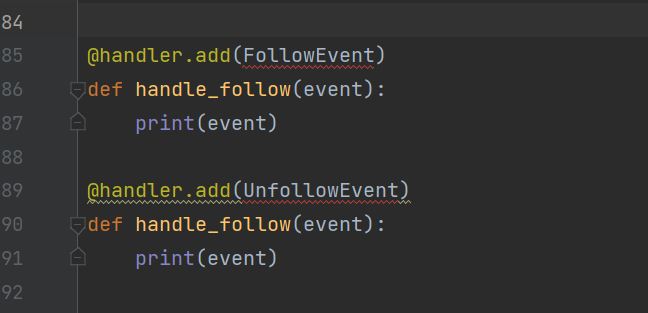
同樣也看到FollowEvent與UnfollowEvent有紅底線,所以一樣回到上方找到[from linebot.models import],然後將[FollowEvent]與[UnfollowEvent]然後將模組匯入。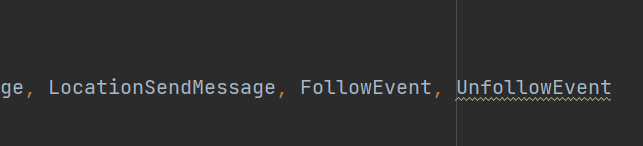
這樣紅底線沒了,接下來就重啟SEVER試試看。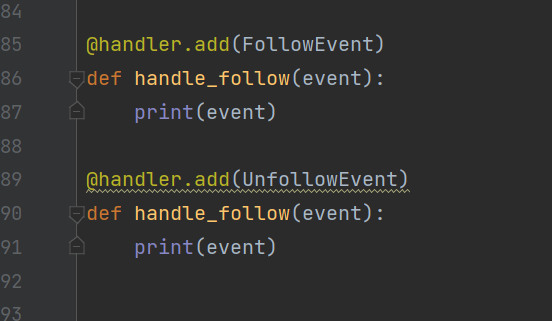
首先封鎖,可以看到回傳的type值式unfollow
然後在解除封鎖就可以看到type的值是follow
接下來,讓機器人發送歡迎內容
一樣重新啟動sever看看效果有沒有如預期。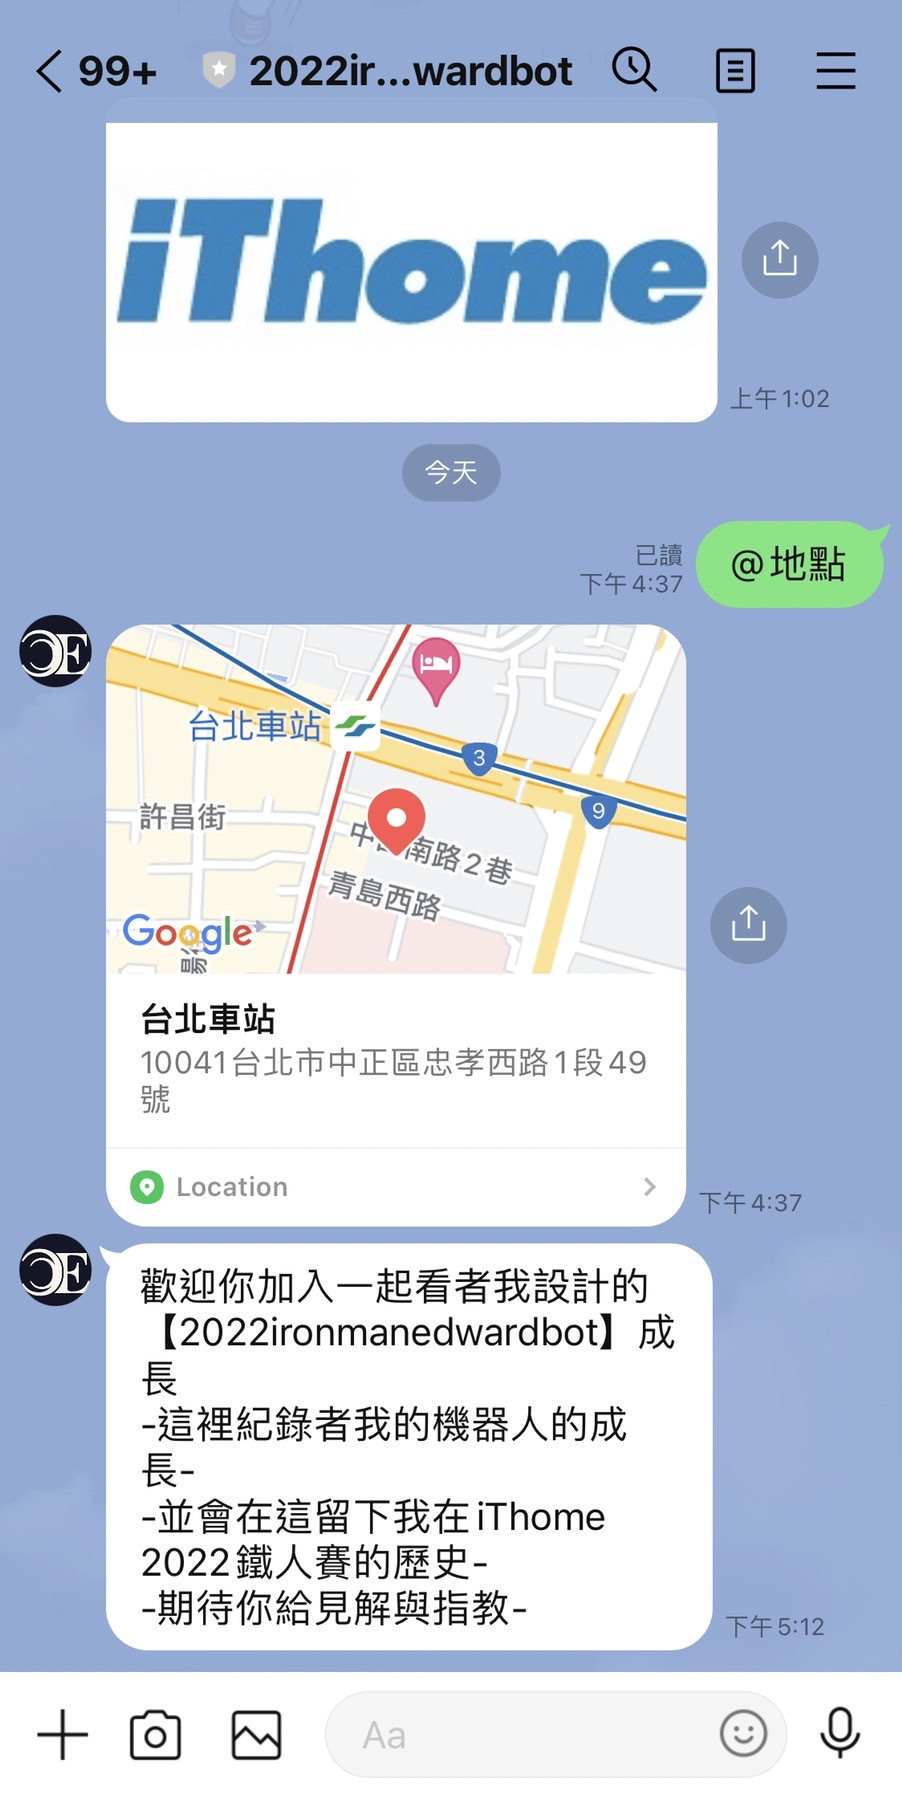
下一篇,就開始進階訊息設置