網頁需要做下滑只要把Figma的 Frame 再拉長
接著我們要來做一點元件的變化
先拉出你需要放進圖片的圖形
到 □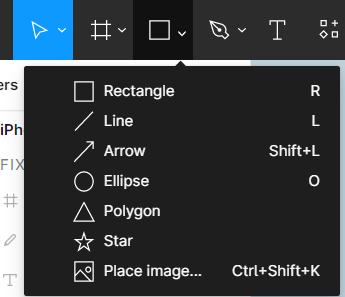
選取
點選要放入的圖形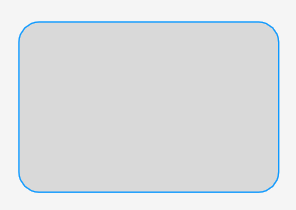
放入後可至右欄Image做圖片微調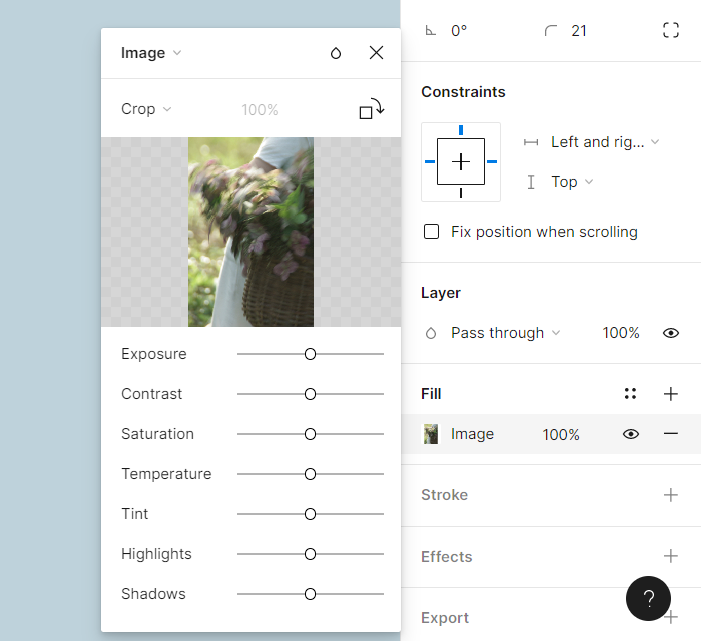
或裁切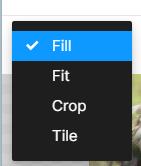
因為是水平滾動,需要相同大小樣式的圖形
我們點選Image選取Solid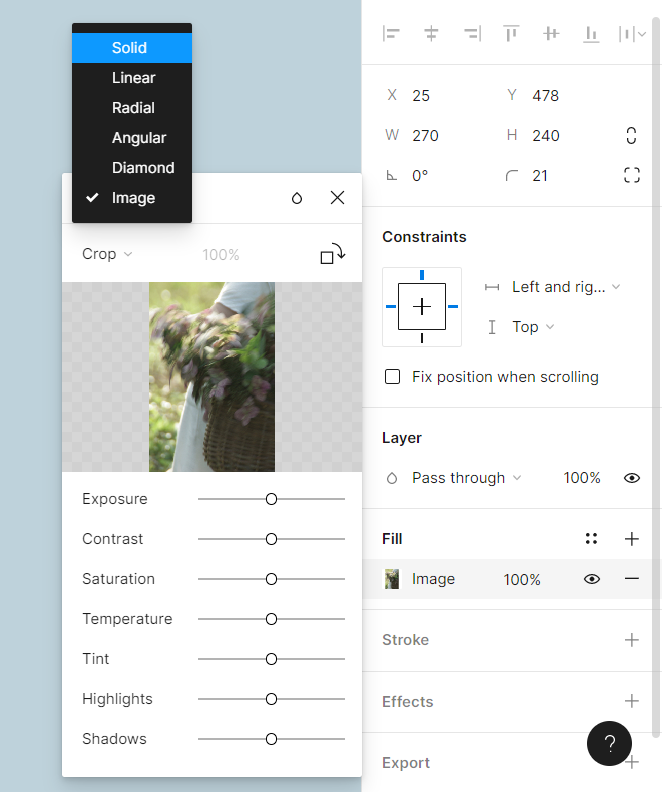
就會變回原本沒放圖片單色的樣子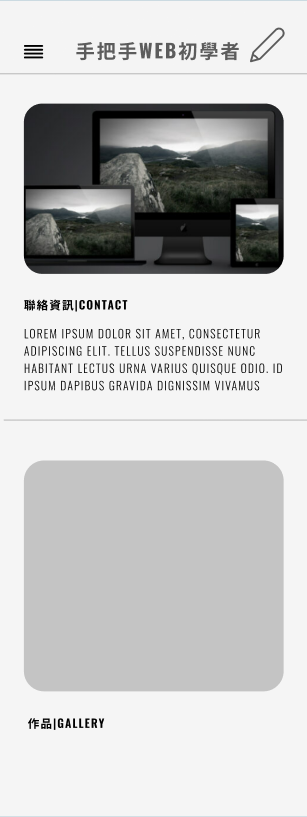
我們複製個你需要的圖片數量
這裡我複製4個或使用
點擊圖形後會發現上方有一個四個菱形的按鈕
點選之後它就會變成被紫色框框的組件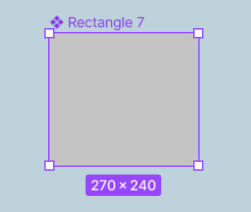
然後儲存到左欄的Assets中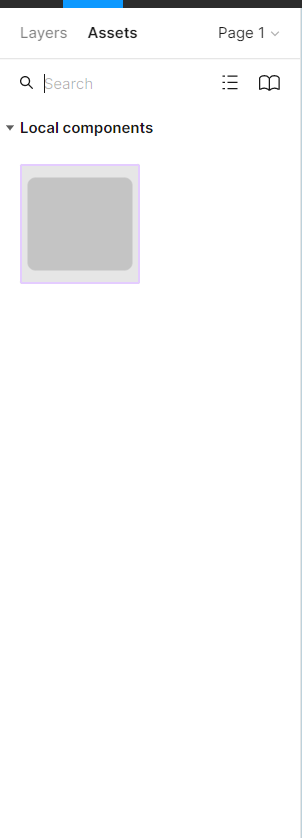
我們可以從Assets拉出圖形
這樣乍看跟複製沒兩樣
但差別就在於
當你需要修改時,只要修改組件的一個部分,其他的也會跟著動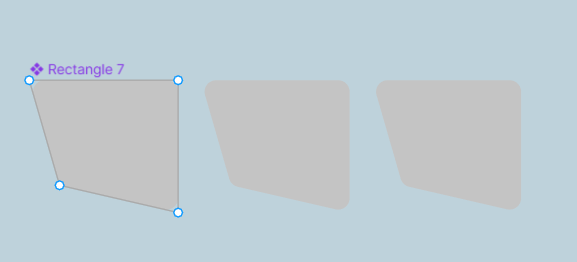
接著我們排列好後組件後,選取四個圖型並拉出原本的 Frame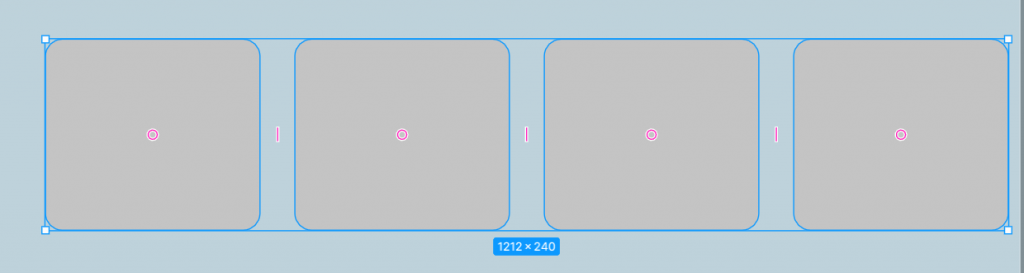
便會發現右欄多了一個

這裡可以快速排列圖形的方向以及之間的間距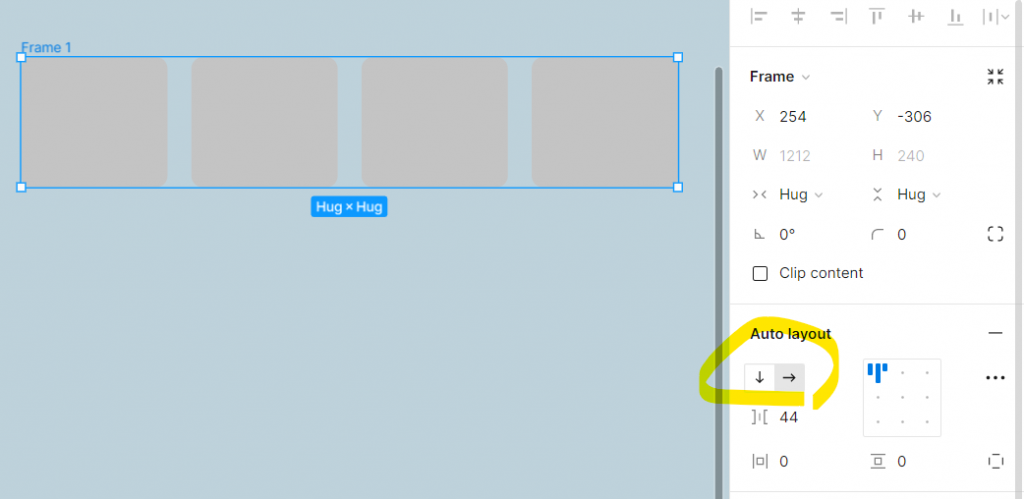
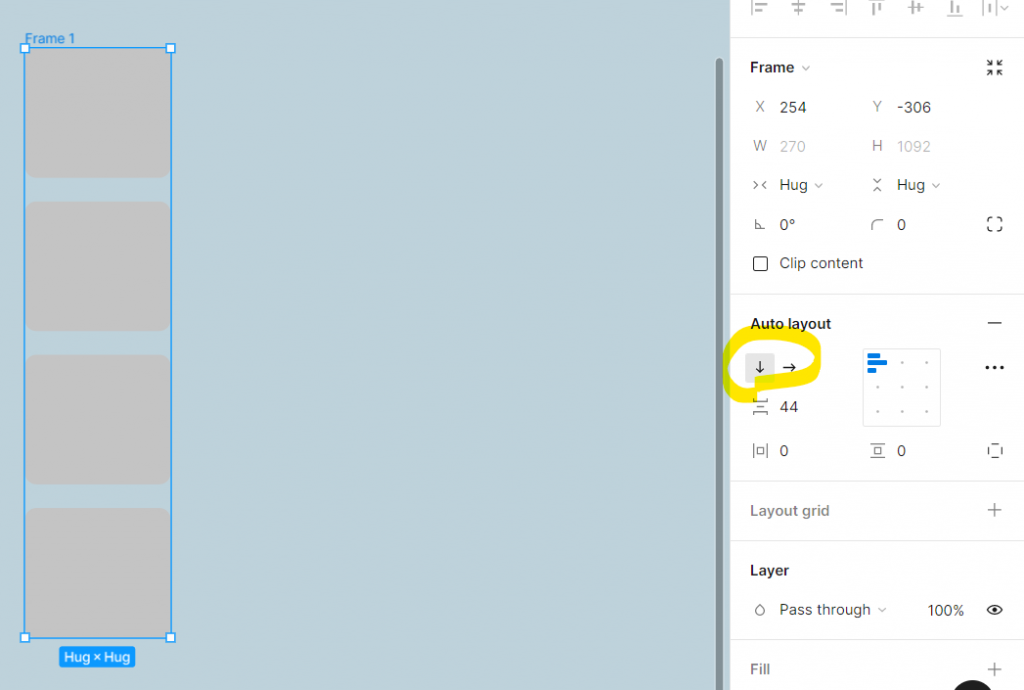
以及padding的大小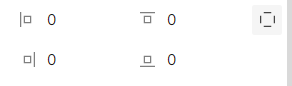
都設定好了之後我們再把圖片置入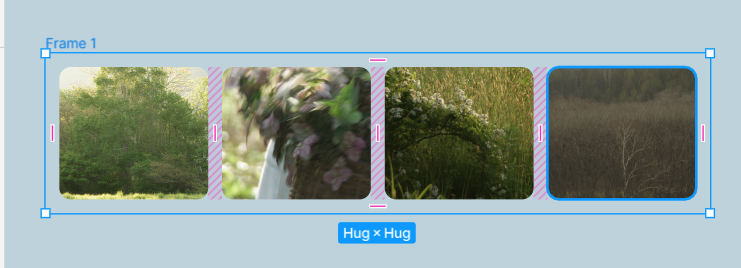
接著我們將 Frame 拉到只容得下一張圖的大小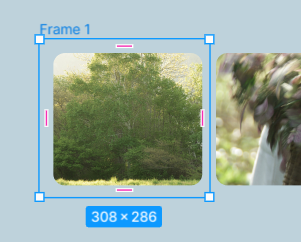
到右欄選取 Prototype 有個Overflow scrolling,點選Horizontal scollling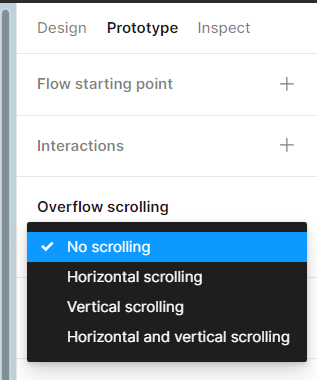
再將圖片拉回手機主頁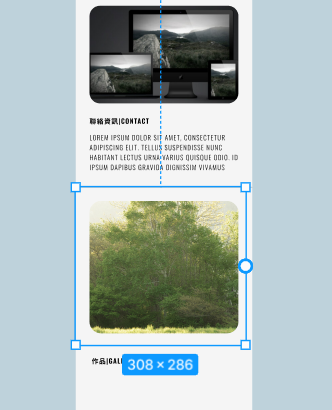
我們要來設計我們的menu
首先拉出一個你想要menu點開的樣子
調整好圖形後,按右鍵點選 frame selection
就會變成新的 frame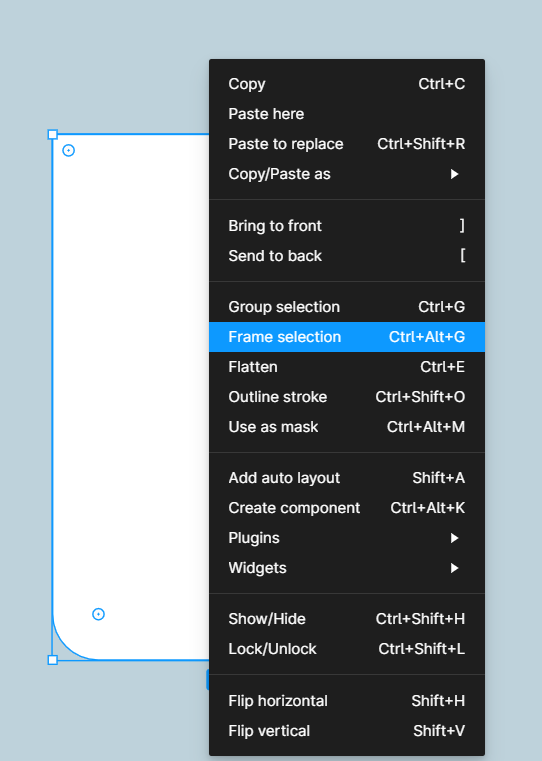
做出你想要的畫面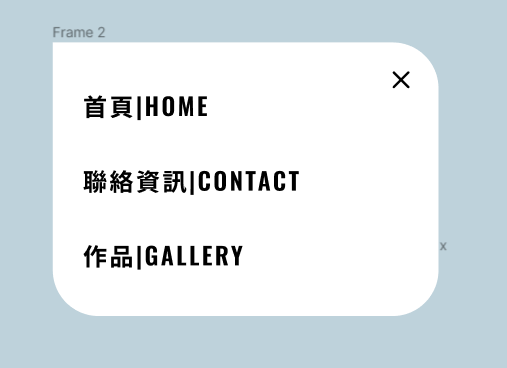
接著我將menu點選起來,到右欄點選 Prototype ,點選 Interactions
再將需要做出效果的menu點選拉出箭頭指向點開會出現的frame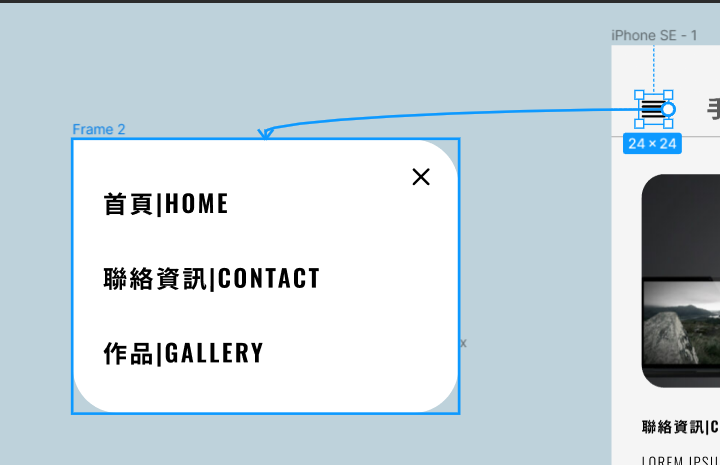
接著會出現動畫的設定
選擇疊加在頁面的Open overlay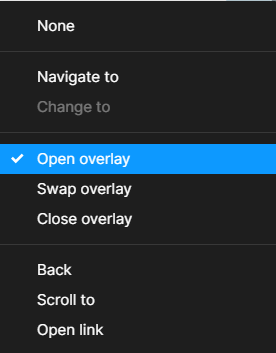
並且對齊螢幕右側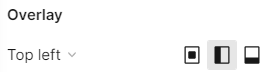
且將開啟背景調亮(第二個選項加入背景)
將第一個也勾勾代表點擊外部將會關閉視窗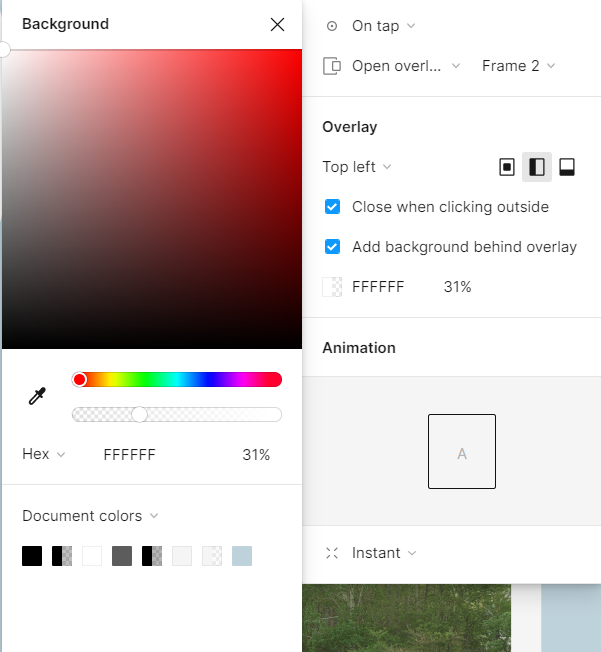
點選上欄的撥放 ▶ 按鍵
就會實際跑出你選取的手機樣式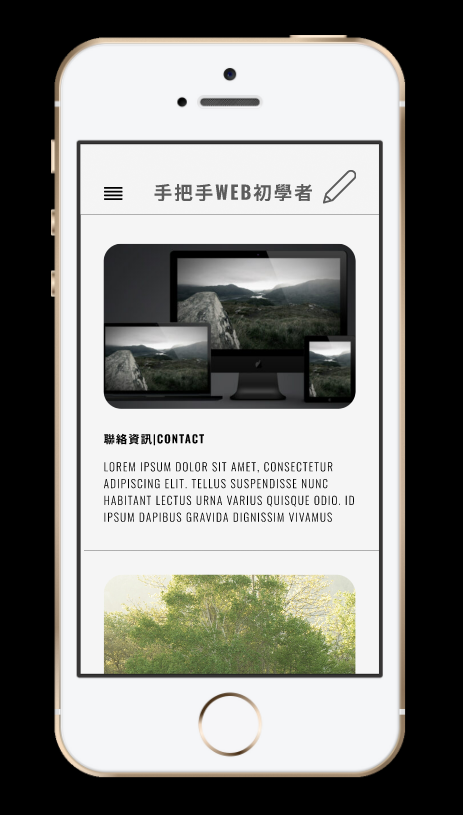
我們測試一下圖片是否能滑動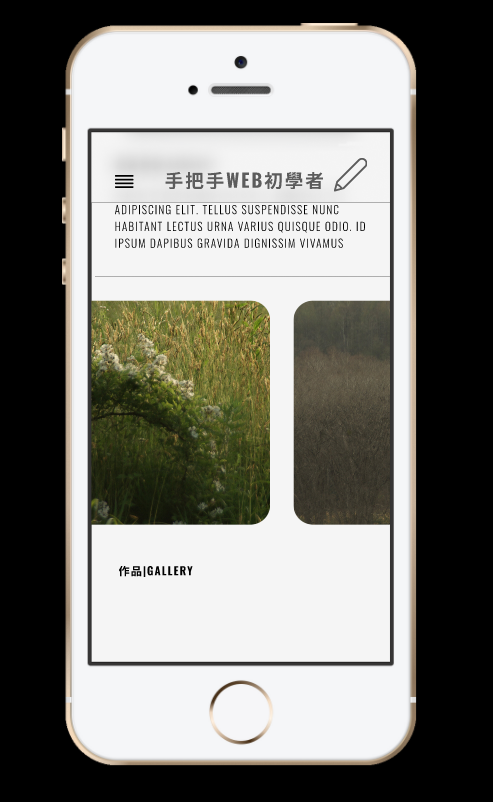
將將將~成功了!
我們測試一下圖點選menu是否能跳到小頁面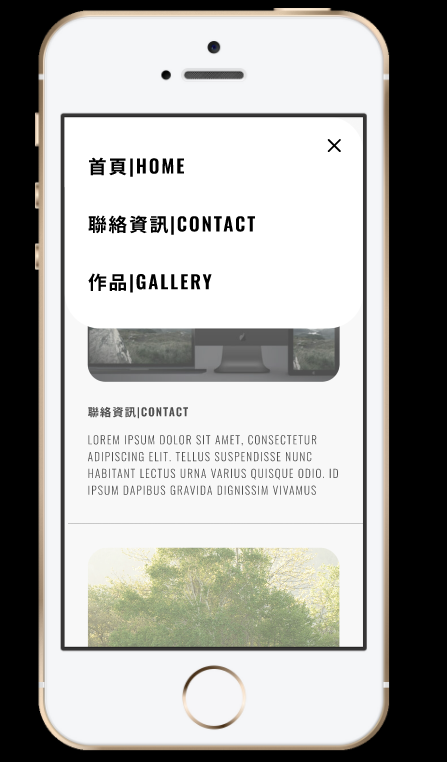
將將將~成功了!
當然這只是 Figma 一小部分的範例
還有許多強大有趣的功能~等著你去探索呦!


 iThome鐵人賽