繼前篇第二台AD備援的建置後,接下來我們來進行AD的備份作業,這個部分主要分為兩個步驟:
安裝Windows Server Backup步驟:
Step1.開啟伺服器管理員儀表板 > 新增Windows Server Backup功能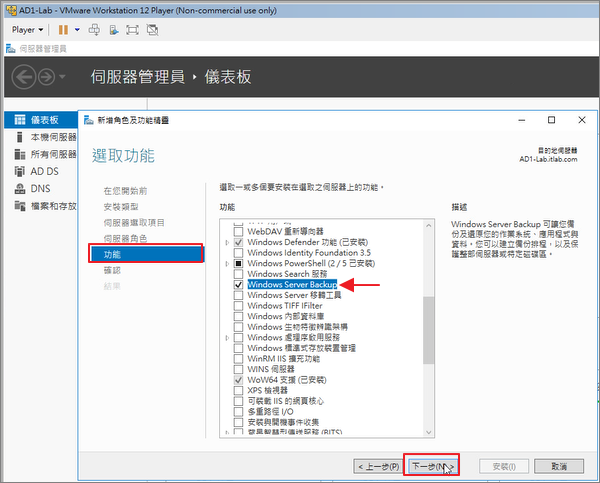
Step2.可自行決定是否勾選 >必要時自動重新啟動目的伺服器 >安裝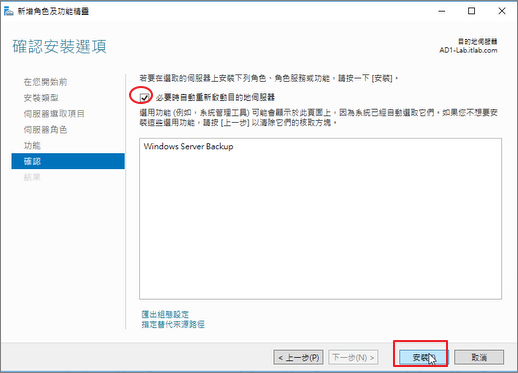
Step3.安裝成功 >關閉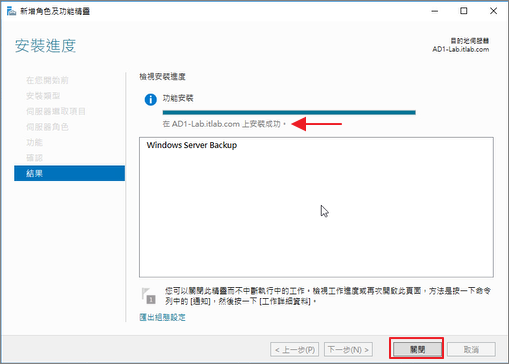
執行AD系統狀態備份排程作業:
Step1.執行 >Windows Server Backup功能
Step2.選擇本機備份 >Mouse右鍵 >備份排程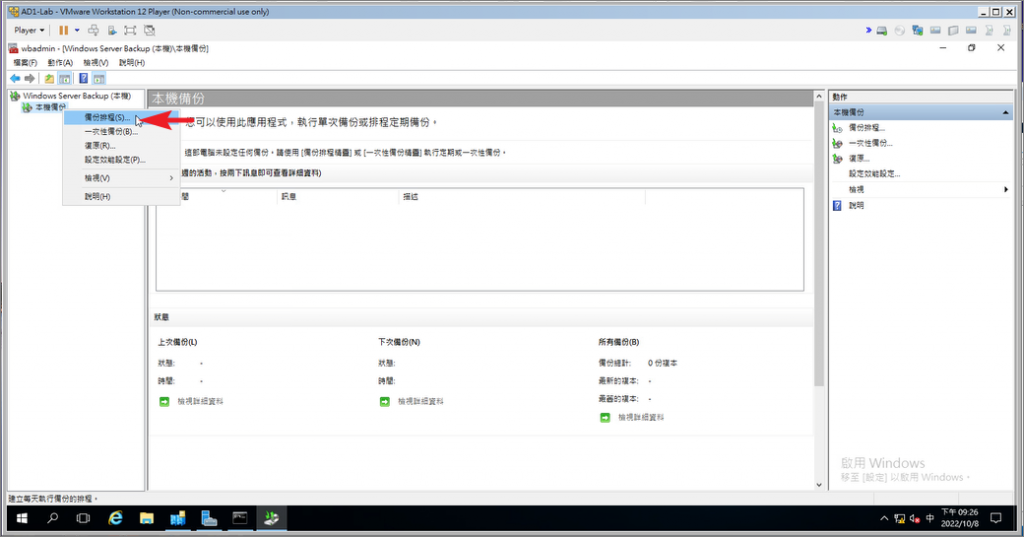
Step3.下一步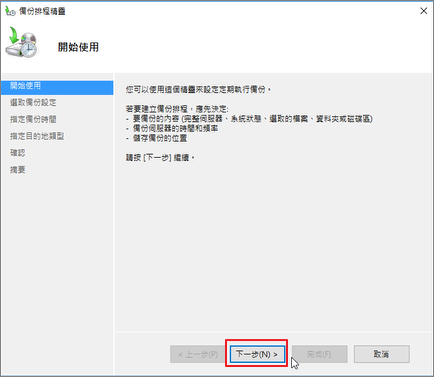
Step4.選擇【自訂】 >下一步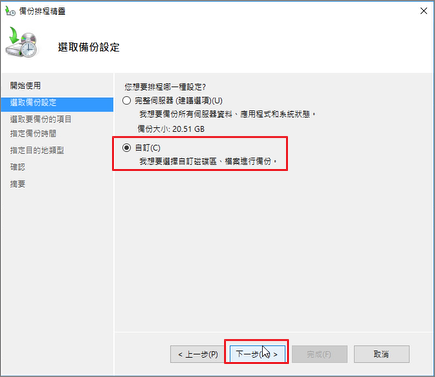
Step5.新增項目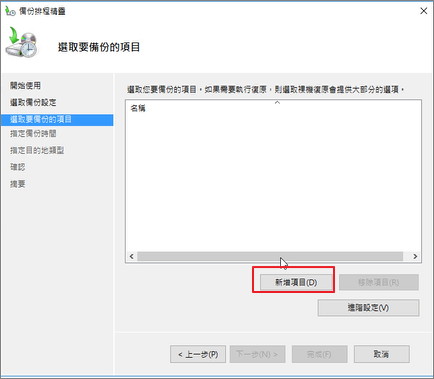
Step6.選擇【系統狀態】 >確定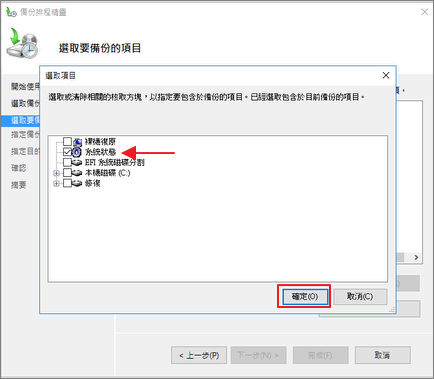
Step7.下一步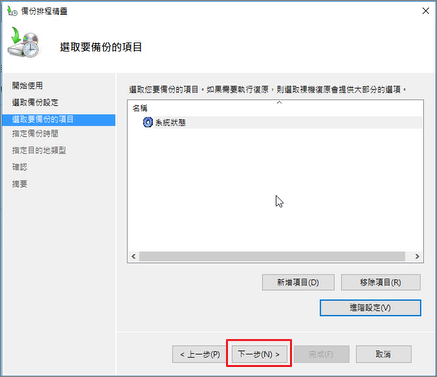
Step8.選擇備份時間和週期>下一步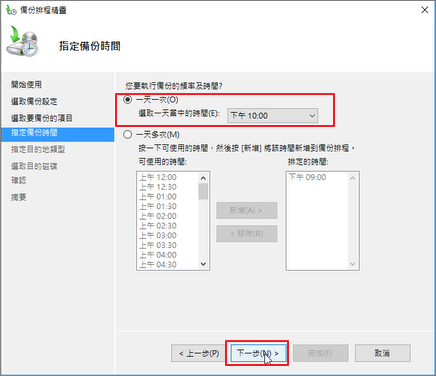
Step9.這邊試著在另一台AD2上建立一個共用資料夾,提供AD1備份網路空間。(備份位置可視本身條件來定義)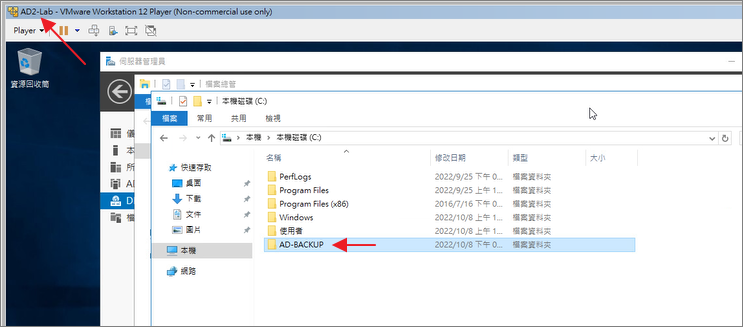
Step10.選擇「備份到共用網路資料夾」>下一步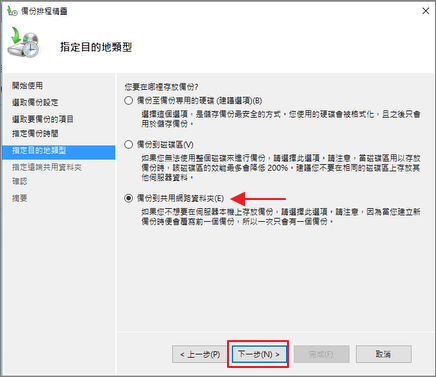
Step11.系統提示當我們使用遠端共用資料夾做為備份的目的地時,將只能保留一份最新的備份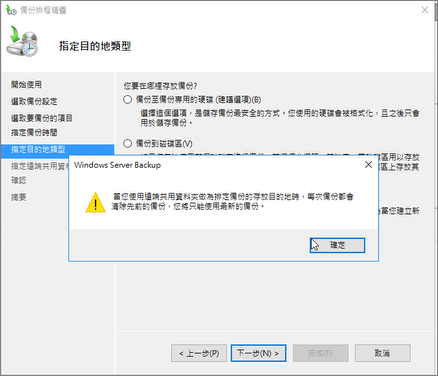
Step12.輸入備份的共用網路資料夾位置 >下一步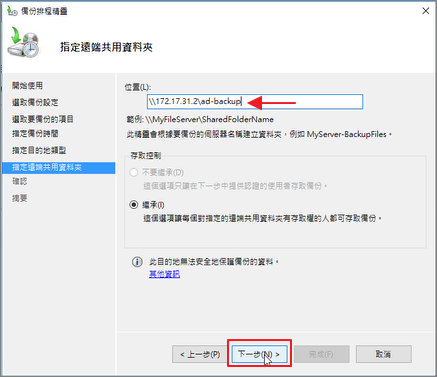
Step13.輸入提示需要的權限及密碼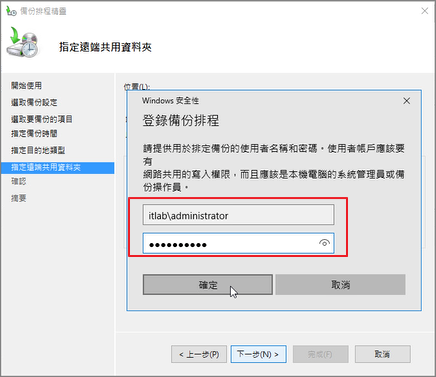
Step14.確認後點選完成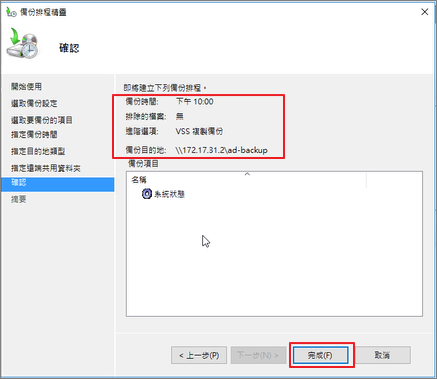
Step15.開始建立備份排程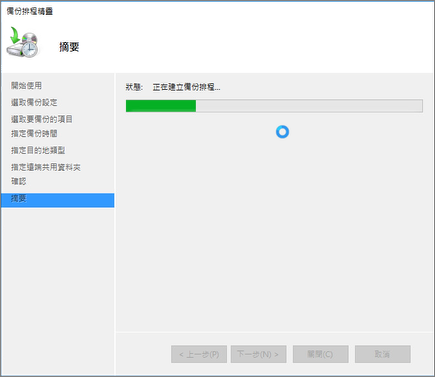
Step16.成功建立備份排程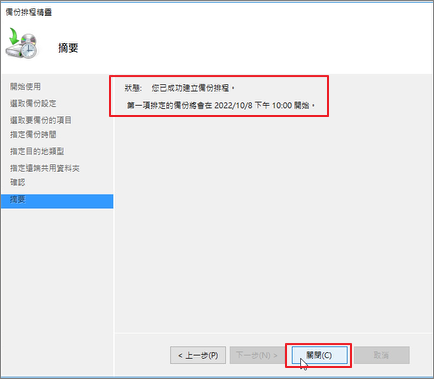
Step17.執行 taskschd.ms開啟工作排程器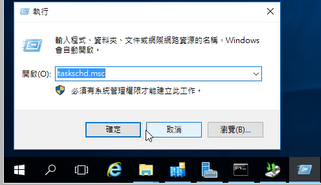
Step18.展開後到 Microsoft > Windows > Backup可以發現剛剛的排程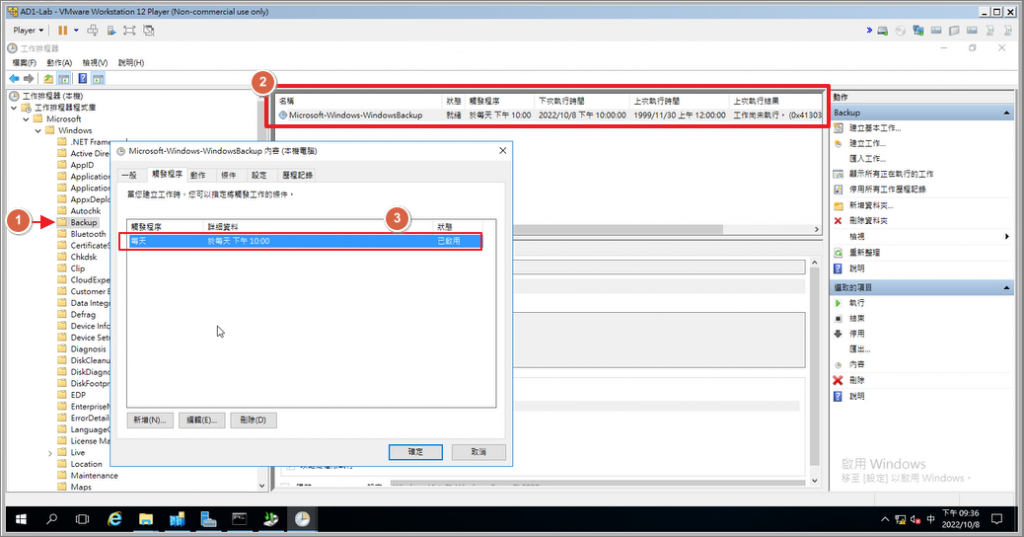
Step19.啟動備份狀態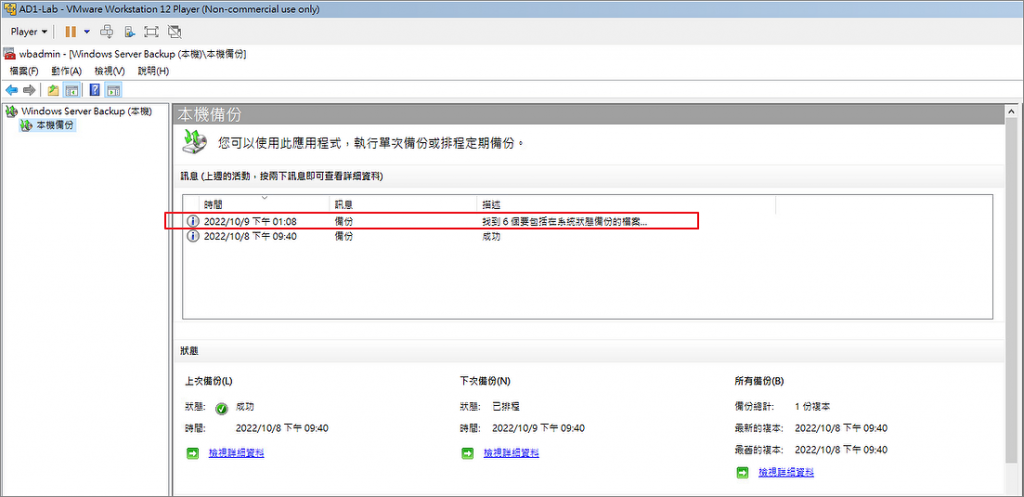
Step20.檢視已完成的備份檔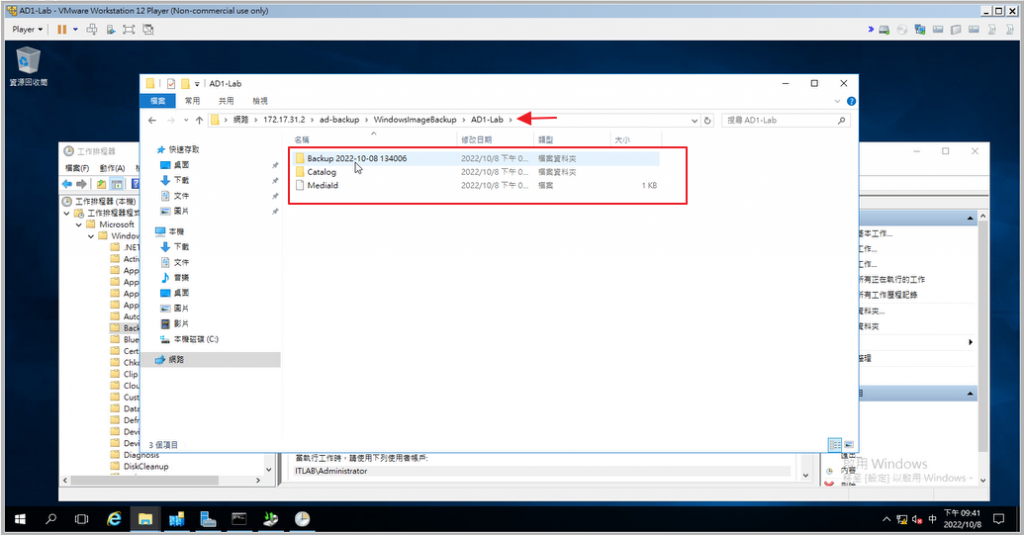
同樣的AD2也可以使用相同的方式備份【系統狀態】,並在AD上建置一個共用資料夾供其存放,後續我們也可使用第三方VM備份程式,將AD,AD2整個VM備份下來,最後抄寫至異地端,滿足【備份321】的原則。

