今天要來研究 Fluentd 這一套工具,
在我打聽時,有前輩跟我推薦了 Fluentd,說是業界很常用的 Docker Log 收集工具,
同時在昨天分享的文章中,也有提到了這套工具,
因此今天來看看 Fluentd 要怎麼用、以及如何跑起來。
根據官方網站,Fluentd 的宗旨就是把散佈在各個服務中的 Log,可以集中到同一個地方,
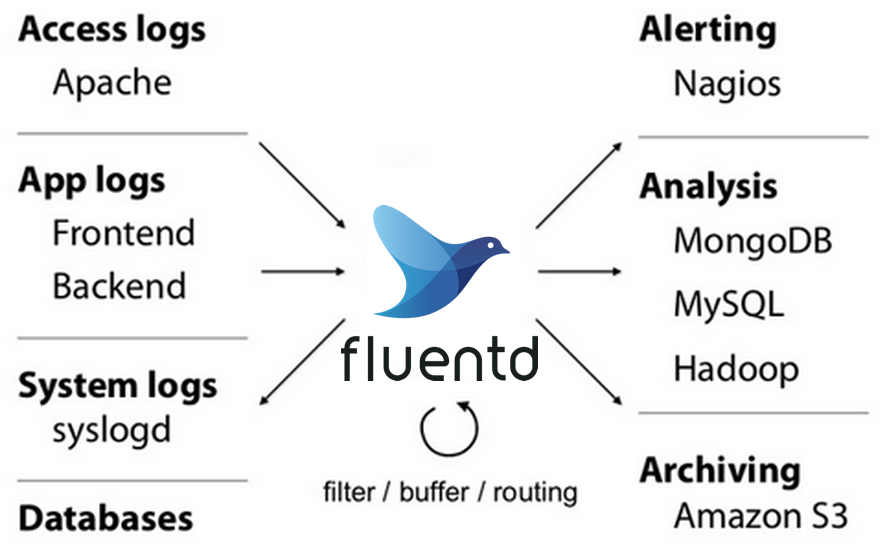
服務產生的 Log,會寫入 Fluentd,經過整理後,再轉送到其他地方儲存,例如 Database 或雲端平台上的 Log 服務。
Fluentd 可以直接裝在 Server 上,同時官方也提供了 Docker image,可以參考 Install by Docker,
既然我們是講 Docker,就讓我們用 Docker 來安裝吧,
首先要先定義一個 Fluentd 的設定檔,
# fluentd.conf

<source>
  @type http
  port 9880
  bind 0.0.0.0
</source>

<match **>
  @type stdout
</match>
啟動 fluentd image,引入設定檔,就可以使用了:
$ sudo docker run \
	-d \
    --name=fluentd \
	-p 9880:9880 \
	-v $(pwd):/fluentd/etc \
	fluent/fluentd:edge-debian \
	fluentd -c /fluentd/etc/fluentd.conf
Fluentd 預設佔用 9880 port,並提供用 HTTP POST method 寫入 Log,
用 Docker 安裝的版本,寫入 Fluentd 的內容也會呈現在 Docker Log 上,因此可以馬上看到有成功寫入 Log,
目前猜測使用不同 Endpoint,就會在 Log 中寫入不同的前綴,後續也許還可以做進一步的分類,
$ curl -X POST -d 'json={"hello":"fluentd"}' \
http://localhost:9880/cool.message

$ sudo docker logs fluentd

fluentd -c /fluentd/etc/fluentd.conf
2022-10-12 13:45:35 +0000 [info]: parsing config file is succeeded path="/fluentd/etc/fluentd.conf"
2022-10-12 13:45:35 +0000 [info]: gem 'fluentd' version '1.15.2'
...
2022-10-12 13:47:41.560014765 +0000 cool.message: {"hello":"fluentd"}
那今天的研究就先到這邊,明天再接續著看看可以如何以 Fluentd 做到更多應用。