在 Spring 專案中,profile 是用於區分各種環境的,例如本機環境、開發環境、測試環境、正式環境等等。本文介紹一個透過 profile 來達成自動適應環境的開發與部署方式。此方法可以減少不必要的人工步驟,從開發到部署,透過指令就可以輕易完成。
你是否曾在 release day 當天,才在打包好的 war 檔中,手動調整成正式環境的 application.yml / application.properties 呢 ?
又或者,整份專案只有正式環境使用的 .yml / .properties ,每當你在開發時都要自己生一份屬於本機開發的 .yml / .properties,而且還要小心翼翼的不要放到 git 上呢 ?
希望本篇文章對你有幫助。
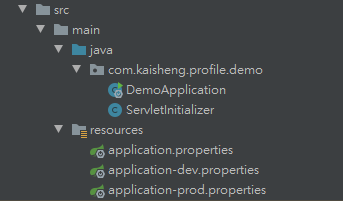
首先準備好所有需要的 .properties / .yml,根據自己的需求而定。例如開發環境 (dev) 、正式環境 (prod) 等,以及一個主要的 application.properties。
application.properties 只有一行 spring.profiles.active="@activeProfile@"

注意要加上雙引號,否則可能會出現
ScannerException: while scanning for the next token
found character '@' that cannot start any token. (Do not use @ for indentation)
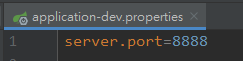
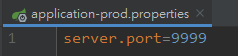
開發環境與正式環境,根據你的需求而定,本文以 server.port 為例。在開發環境中,我希望使用 8888 port ,而在正式環境中使用 9999 port。
準備完成後,專案結構會像這樣:
接著在 pom.xml 加入以下程式碼:
  <profiles>
    <profile>
      <id>dev</id>
      <activation>
        <activeByDefault>true</activeByDefault>
      </activation>
      <properties>
        <activeProfile>dev</activeProfile>
      </properties>
    </profile>
    <profile>
      <id>prod</id>
      <properties>
        <activeProfile>prod</activeProfile>
      </properties>
    </profile>
  </profiles>
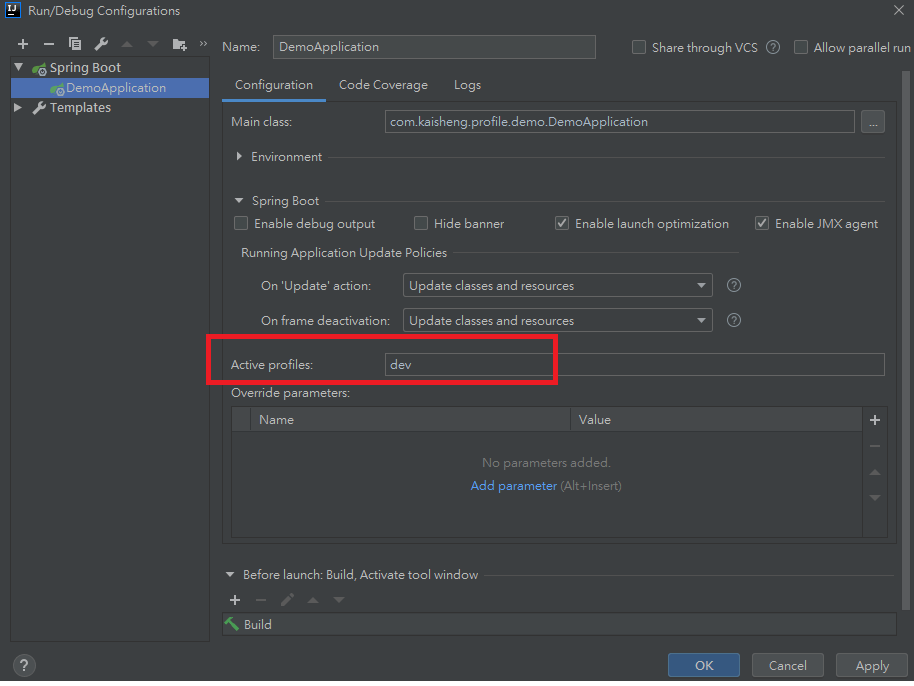
在開發的階段,我們必須告訴 IDE,請它套用適合本機開發環境的 profile。設定 Run Configuration,‘Active profiles’ 填入 dev
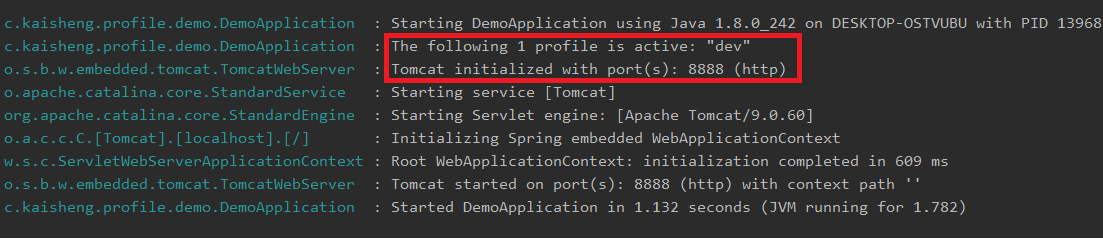
按下 Run 之後, IntelliJ 就會使用 ‘dev’ profile 執行 Spring boot 程式,程式成功在 port 8888 執行。
當我們開發完成,利用 mvn package / install 指令來打包時,需加入 -P 參數,告訴 maven 幫我們將 application.properties 的 '@activeProfile@' 字串替換成 ‘prod’,指令如下:
mvn clean package -P prod
我們將打包好的 war 檔打開來看,可以發現 3 個 .properties 都已經打包進來
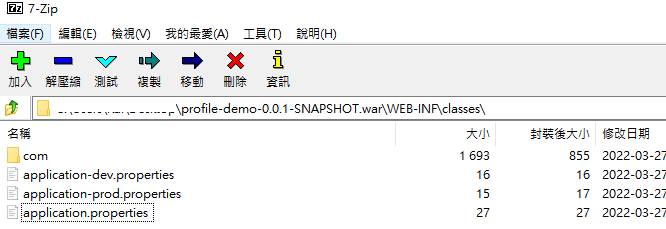
接著打開 application.properties

可以看到 @activeProfile@ 已經自動被替換成 prod 了。
接著再執行我們的 war 檔
java -jar <my-artifact>.war
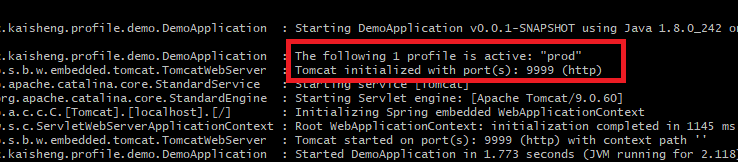
可以看見 Spring boot 如我們預期的使用 prod profile .
透過本文介紹的方式,可以讓開發人員輕鬆的在任何環境中套用 Spring 專案中的 .properties / .yml,不需要再根據環境來手動調整。當然也可以將這方法套用在 jenkins 來做 CI/CD ,在日後千百次的打包/執行/部署的過程中,能替我們節省許多成本。
幫團隊節省成本,就是替幫公司賺錢。
本文範例完整程式碼 https://github.com/KaiSheng714/spring-maven-profile-integration-demo
 Kai-Sheng's Blog

 iThome鐵人賽