繼續昨天的 Sequelize 連線,
今天我們要實作CRUD 與資料庫連接取得我們想要的資料。
首先,我們需要先建立連線資料庫的資料模型。
來到在 models 資料夾底下的 index.js 的檔案,加入負責存放資料模型。
在終端機執行 npm install sequelize-auto 指令,安裝 sequelize-auto 套件。
在終端機下指令,自動產生 book 資料表的資料模型。
npx sequelize-auto -h ${host} -d ${database} -u ${username} -x ${password} -p ${port} -o "${想要存放的位置}" -t ${table} --noInitModels
npx sequelize-auto -h localhost -d book -u root -x ${password} -p 3306 -o "./models/mysql" -t booktest --noInitModels
    module.exports = function(sequelize, DataTypes) {
      return sequelize.define('booktest', {
        id: {
          autoIncrement: true,
          type: DataTypes.INTEGER,
          allowNull: false,
          primaryKey: true
        },
        bookName: {
          type: DataTypes.STRING(50),
          allowNull: true
        }
      }, {
        sequelize,
        tableName: 'booktest',
        timestamps: true,
        indexes: [
          {
            name: "PRIMARY",
            unique: true,
            using: "BTREE",
            fields: [
              { name: "id" },
            ]
          },
        ]
      });
    };
接下來回到 models\index.js,引入 booktest 資料模型。
    models\index.js

    const Sequelize = require('sequelize')

    const sequelize = new Sequelize('book', 'root', '', {
        host: 'localhost',
        dialect: 'mysql'
    })

    // 引入 booktest 模型
    const booktest = require('./mysql/booktest')(sequelize, Sequelize)


    module.exports = {
      booktest
    }
在 Day 11 我們有介紹了 MySQL CRUD 的 SQL 指令,
現在我們來比對一下,就可以知道使用 Sequelize 帶來的方便。
.findAll() 取得該資料表所有資料
MySQL
    SELECT * FROM `booktest`

    -- 讀取 booktest 資料表的所有資料
Sequelize
    booktest.findAll({raw: true})

    // raw: true 代表查詢結果返回的是資料庫原始資料,不会包含任何額外的方法或 Sequelize 模型的功能。
.update(where{條件}) 更新資料
MySQL
    UPDATE `booktest` SET `bookName` = 'testBook1' WHERE id = 1

    -- 將 booktest 資料表 id = 1 的 bookName 欄位資料改為 'testBook1'
Sequelize
    booktest.update('testBook1',{
        where: {
          id : 1
        }
    })
.create() 新增一筆資料
MySQL
    INSERT INTO `booktest` (`bookName`) VALUES
    ('testBook')

    -- 在 booktest 的資料表新增欄位 `bookName` 為 'testBook' 的資料
Sequelize
booktest.create({ bookName: 'testBook' }, { raw: true })
.destroy(where{條件}) 刪除資料
MySQL
    DELETE FROM `booktest`  WHERE id = 1

    -- 將 booktest 資料表 id = 1 的資料刪除
Sequelize
    booktest.destroy({
        where: {
          id : 1
        }
    })
是不是看起來簡化很多呢?
接下來可以來修改一下我們原本的程式。
我們先在 routes\modules 資料夾底下新建立一個 bookBySequelize.js 檔案,讓原本 book.js 使用 MySQL 連線的部分可以先留著。
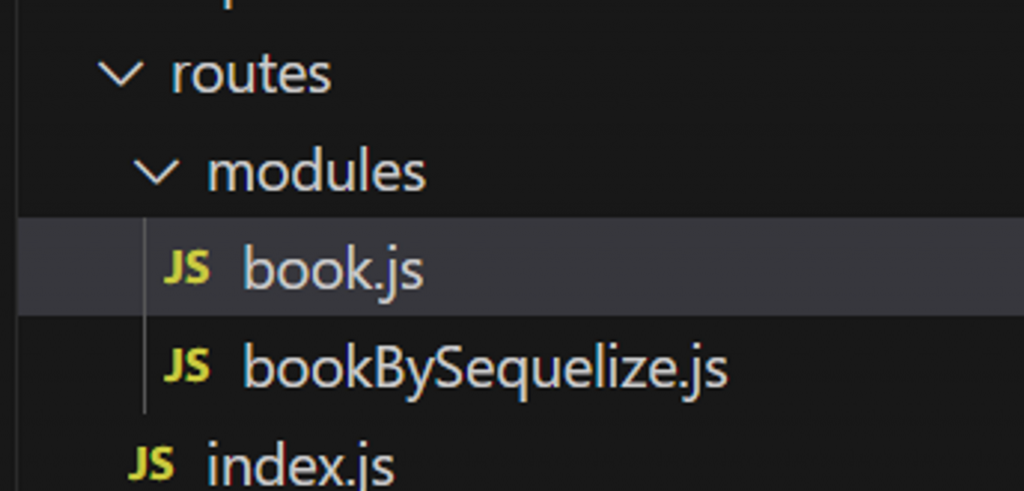
將原本在 book.js 的路由複製一份到 bookBySequelize.js。
引入剛才設定 Sequelize 的相關模組。
    const { booktest } = require('../../models/index')

    // 引入連線與資料模型等相關模組
修改 MySQL 連線的地方,改為使用 Sequelize 連線。
    // routes\modules\bookBySequelize.js

    router.get('/', async (req, res) => {

      try {
        const books = await booktest.findAll({raw: true})
        console.log(books)

      } catch (error) {
          console.error("An error occurred:", error);
      }

      res.render('page',{'text': 'Get a book'})
    })

    // define the book route by post method
    router.post('/', async (req, res) => {
      const bookName = req.body.bookName // 設定一個要新增的書名

      try {
        const books = await booktest.create({ bookName: bookName }, { raw: true })

      } catch (error) {
          console.error("An error occurred:", error)
      }

      // res.send('Post a book')
      res.render('page',{'text': `add a new book: ${bookName}`})
    })

    // define the book route by delete method
    router.delete('/:id', async (req, res) => {
      const id = req.params.id

      try {
        const books = await booktest.destroy({
          where: {
            id : id
          }
      })

      } catch (error) {
          console.error("An error occurred:", error)
      }

      // res.send('Delete the book')
      res.render('page',{'text': `Delete the book number ${id}`})
    })
最後把 routes\index.js 修改一下,改為使用我們新調整的 bookBySequelize.js 檔案。
    // routes\index.js

    const express = require('express')
    const router = express.Router()
    // const book = require('./modules/book')
    const book = require('./modules/bookBySequelize')

    router.use('/book', book)

    module.exports = router
測試一下每一個方法,是不是都可以順利的運作,這樣我們就學會使用基本的 Sequelize 與資料庫做資料交換了哦!
試著新增一個名為 postNewBook 的書。
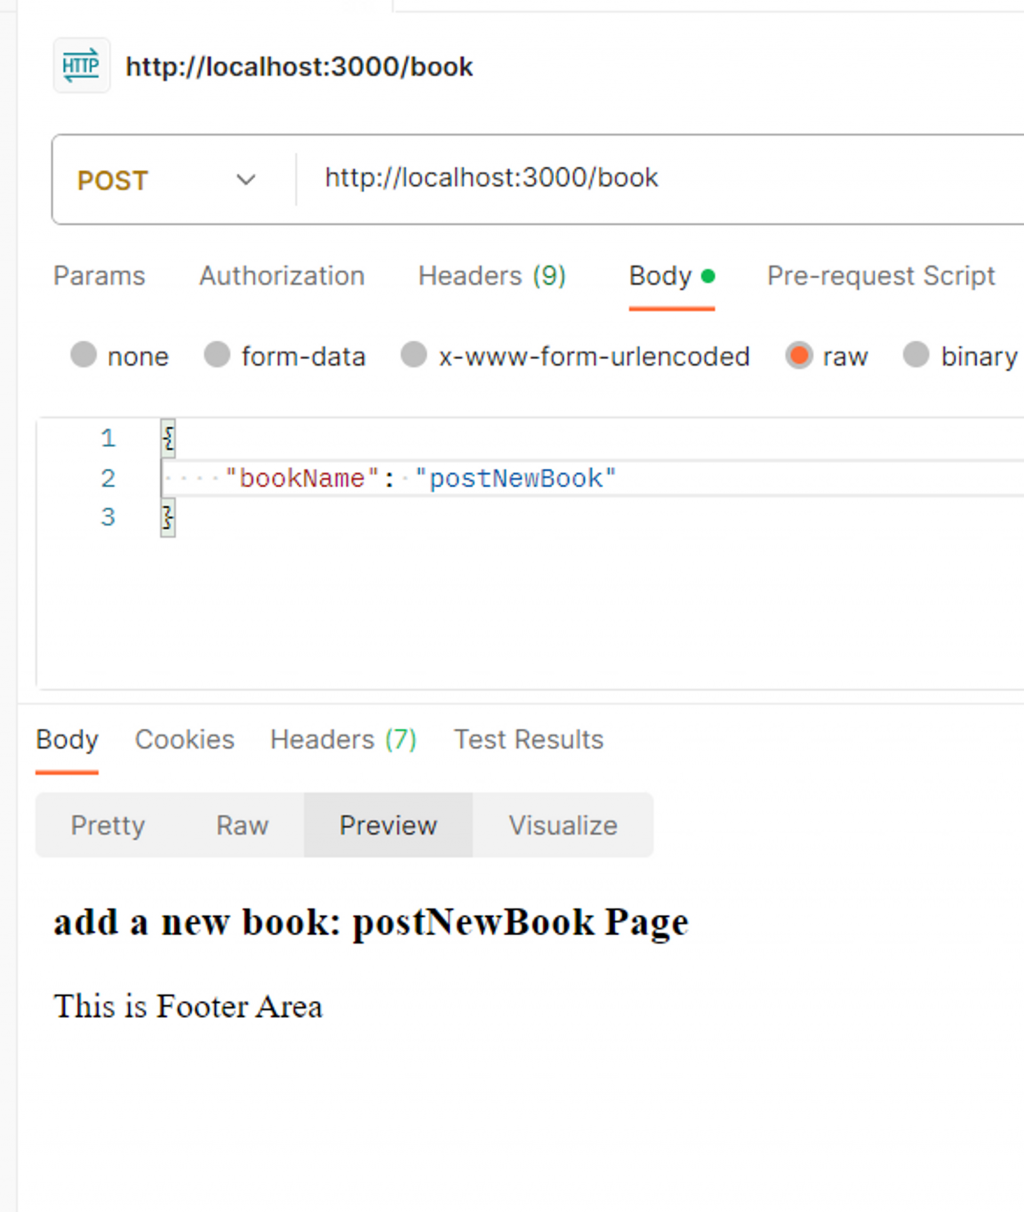
查看資料庫有沒有寫進去。

如果想要更深入了解 Sequelize ,也可以參考他的官網,
都有很詳細的說明與範例!
經過了好幾天的介紹,以上有關資料庫連線的部分就先介紹到這裡!
後面會開始將這半個月所學的部分做一個小專案,
謝謝大家持續看我鐵人的介紹,你們的支持都是我每天發文的動力。
參考資料:

