上回我們完成了側邊欄的外觀,這次我們繼續完善側邊欄的功能,讓按下去時字體和icon會有變化。
我們先回到Router.jsx,添加分割線,提升我們的專案與真Instagram相似度。
<div className="w-[20%] border">
	<Sidebar />
</div>
w-[20%]代表側邊欄大小佔整個網頁20%的寬度,是我們自訂的屬性。
border:設定邊界。
接下來我們要開始撰寫按下去的事件,來到Sidebar.jsx,在return區塊前添加以下內容:
const [activeTab, setActiveTab] = setState([]);
	const navigate = useNavigate();

	const handleTabClick = (title) => {
		setActiveTab(title);
		//點擊Profile按鈕時,跳到/username
		if (title === "Profile") {
			navigate("/username");
		}
		//點擊Home按鈕時,跳到/
		else if (title === "Home") {
			navigate("/");
		}
	};
記得import使用到的library
import { useState } from "react";
import { useNavigate } from "react-router-dom";
我們編寫好事件,接下來讓按鈕點下去會發生事件,同樣是Sidebar.jsx,來到menu.map區塊修改內部內容。
<div
	onClick={() => handleTabClick(item.title)}
	className="flex items-center cursor-pointer mb-5 text-lg"
>
	{activeTab === item.title ? item.activeIcon : item.icon}
	<p
		className={`${
			activeTab === item.title ? "font-bold" : "font-semibold"
		}`}
	>
		{item.title}
	</p>
</div>
除了Search和Profile以外,按下各個按鈕就可以看到變化,因為Search和Profile的activeIcon跟icon是相同的。
圖為按下Home之後的變化。

接下來,我們要開始寫Profile部分。
在Components下,新增ProfileComponents資料夾。
在ProfileComponents下,新增ProfileUserDetails.jsx。
在Pages下,新增Profile資料夾。
在Profile下,新增Profile.jsx。
ProfileComponents資料夾:用來儲存Profile會用到的Components。
ProfileUserDetails.jsx:用來顯示個人資料的內容。
Profile.jsx:用來顯示Profile的內容。
Profile.jsx的程式碼如下:
import React from 'react'

const Profile = () => {
  return (
    <div>Profile</div>
  )
}

export default Profile
修改Router.jsx,增加切換至Profile的功能。
在開頭先導入Profile.jsx
import Profile from "../Profile/Profile"
在<Route path="/" element={} />下,添加以下內容:
<Route path="/username" element={<Profile />} />
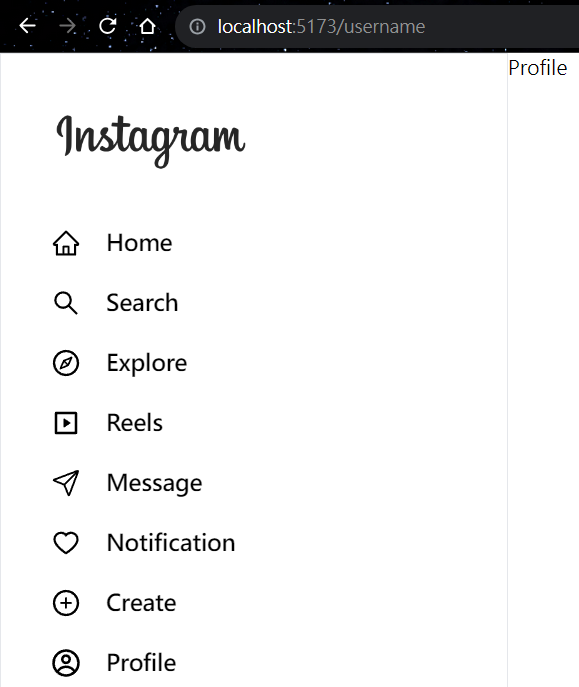
現在可以啟動專案,按Profile就能觀察到右側從HomePage變成Profile了,網址也有變化。

下回,我們將編寫Profile裏面的內容。
