iT邦幫忙

2023 iThome 鐵人賽

DAY 9
0

今天我要來介紹我如何透過cicd將服務部署上Azure SQL Server,那甚麼是Azure呢? Azure是微軟提供公有雲的服務,公有雲服務御三家【Azure】、【GCP】、【AWS】。那我是透過Azure教育帳號,用學校的email註冊,有一年的有效期限,起始就有一百美金~~真香/images/emoticon/emoticon34.gif

首先我們要先將本地的資料庫部署上Azure SQL Server,我們要先到Azure,在搜尋欄搜尋【Azure Sql Server】,我們選擇 SQL 資料庫
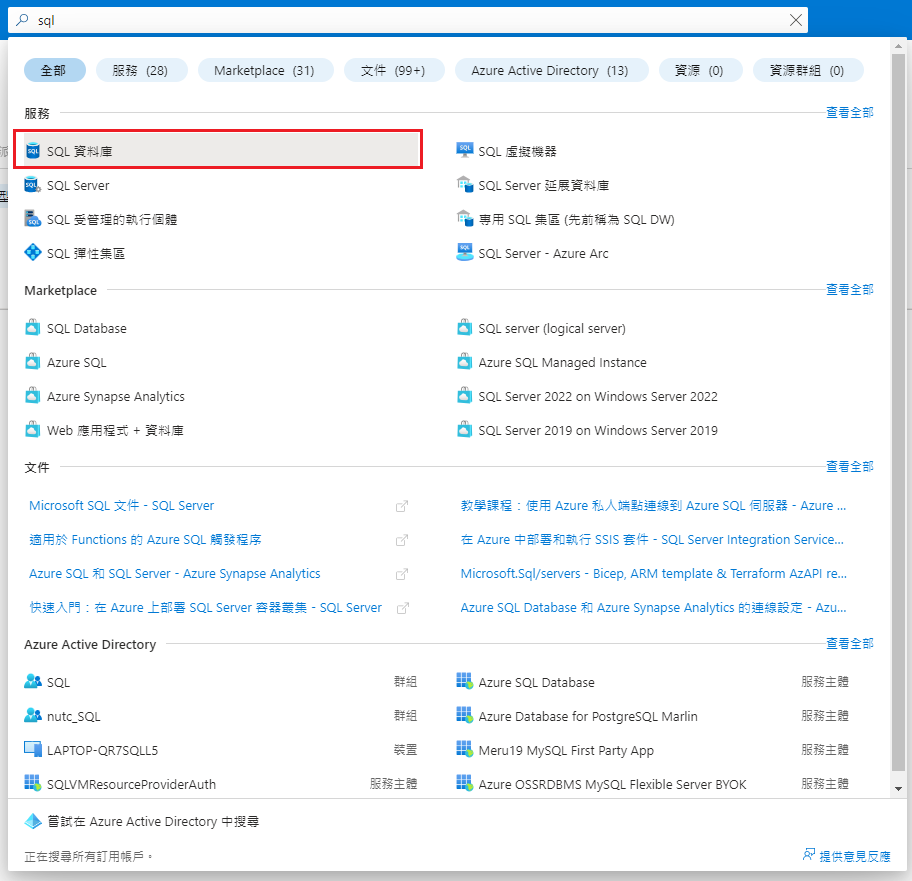
https://ithelp.ithome.com.tw/upload/images/20230908/20140874AZVZuI0FTZ.png

新建一個SQL 資料庫
https://ithelp.ithome.com.tw/upload/images/20230908/20140874cjmSSgk1Qt.png

建立資源群組
https://ithelp.ithome.com.tw/upload/images/20230908/20140874kvIJSmIeVm.png

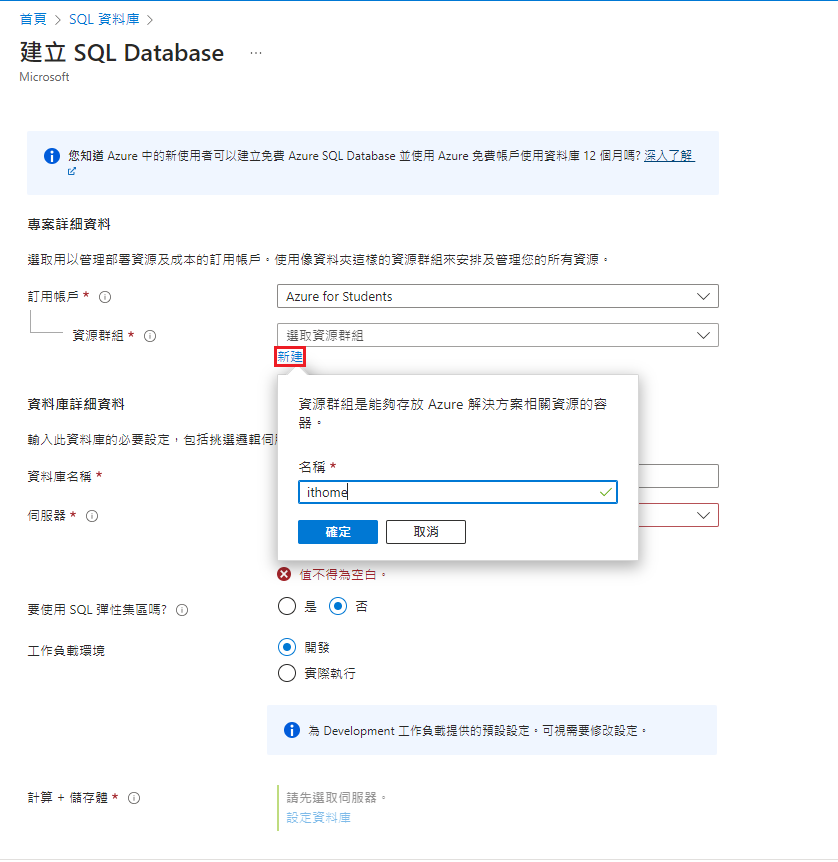
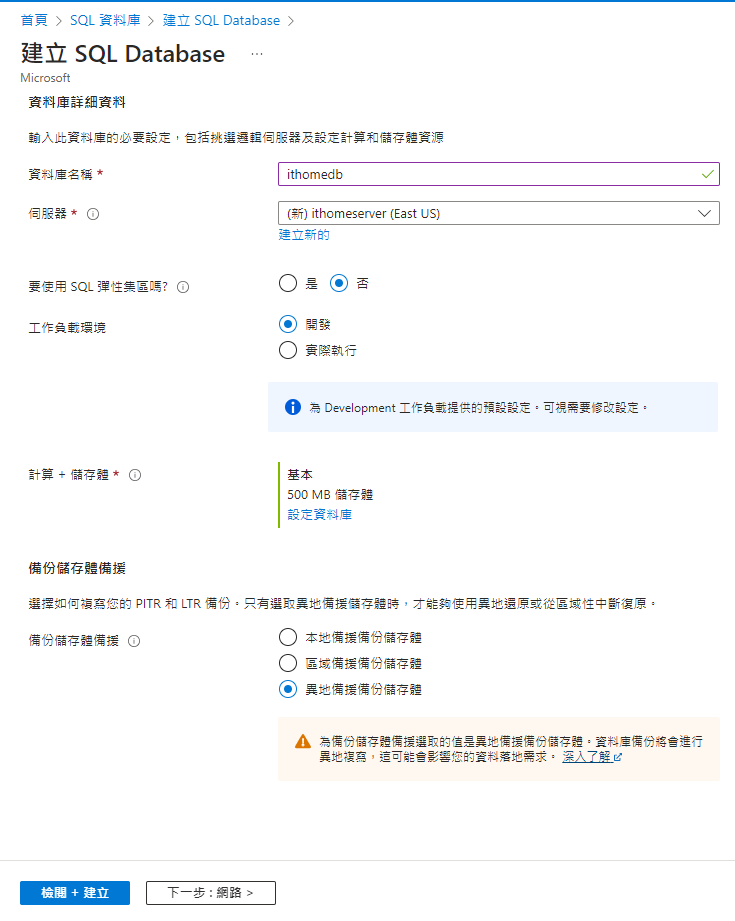
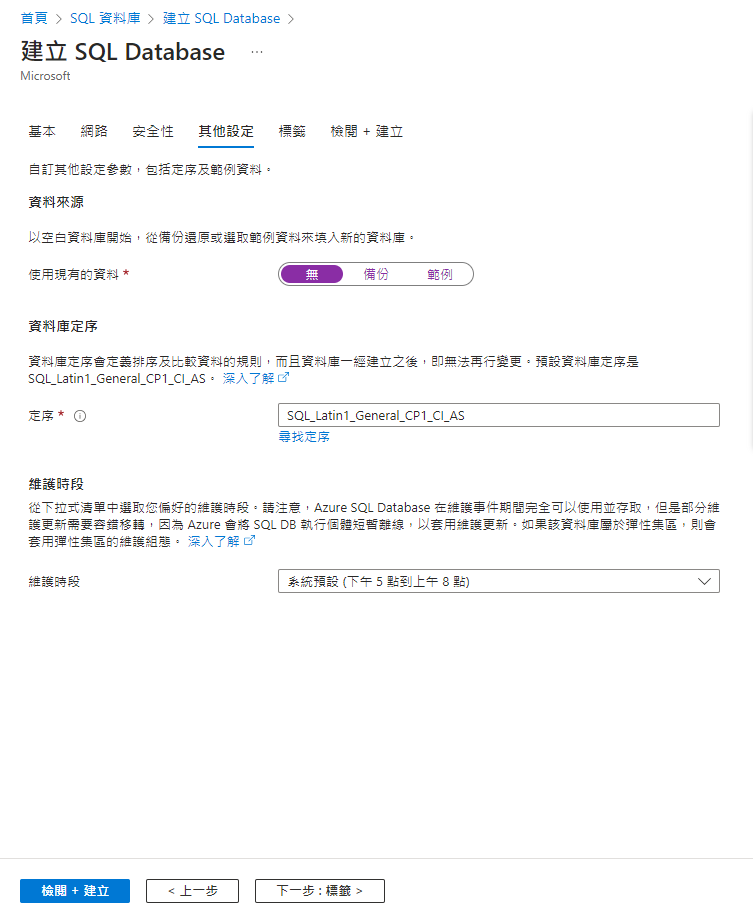
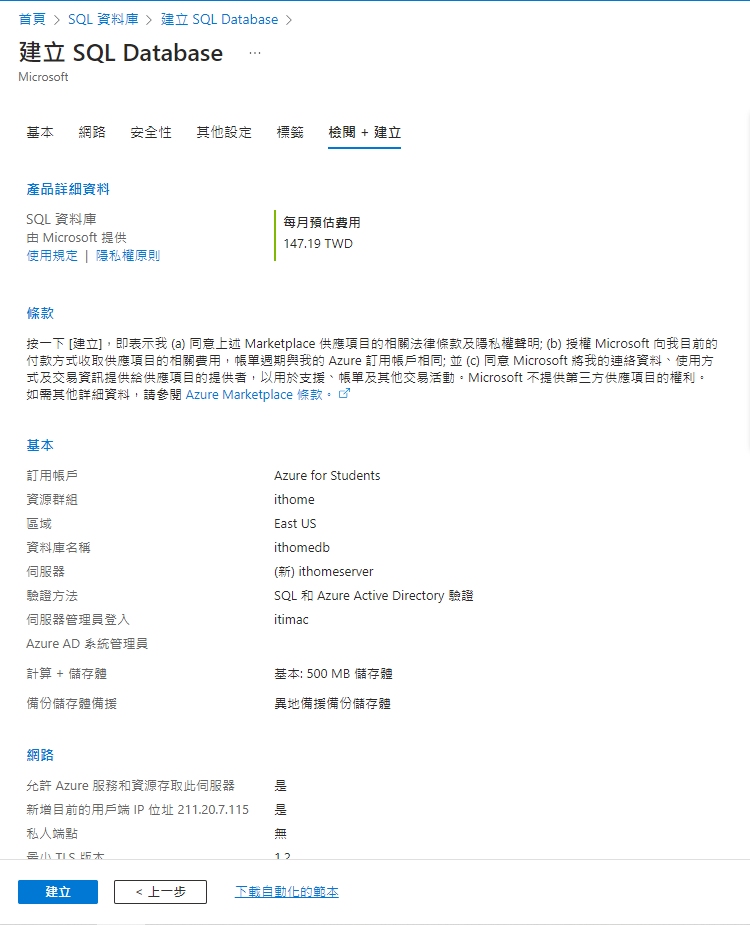
接下來這邊就很重要了,新建一個SQL Server不是資料庫哦,是! Server,取個名稱,選擇 SQL 驗證 和 AD 驗證,註冊帳號密碼
https://ithelp.ithome.com.tw/upload/images/20230908/20140874PdwuIa1WYh.png

https://ithelp.ithome.com.tw/upload/images/20230908/20140874hPkFJSIzqn.png

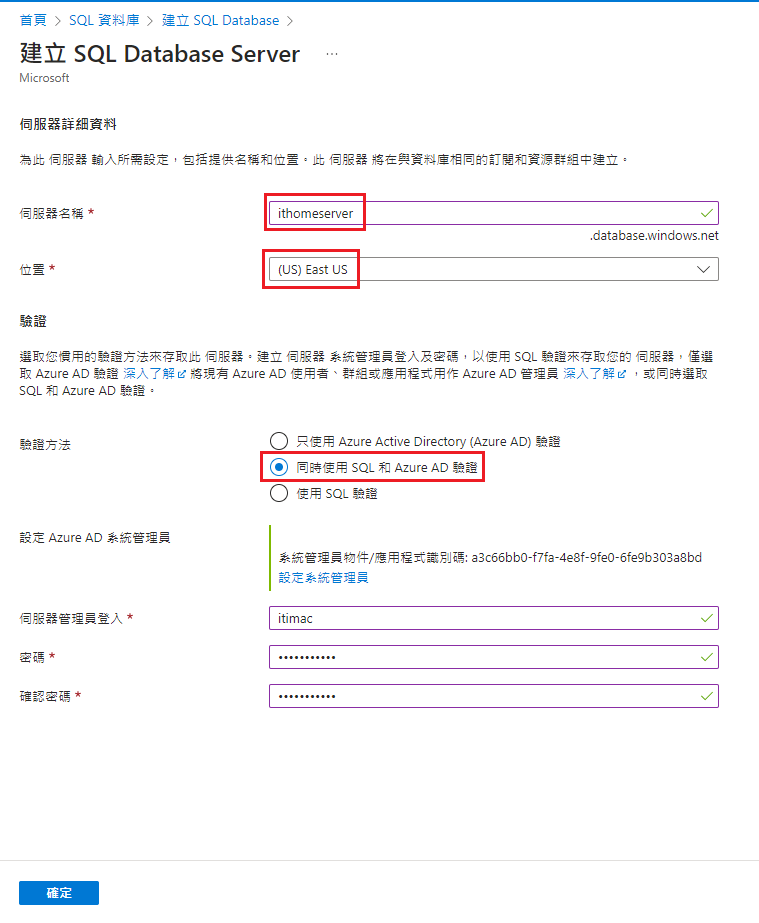
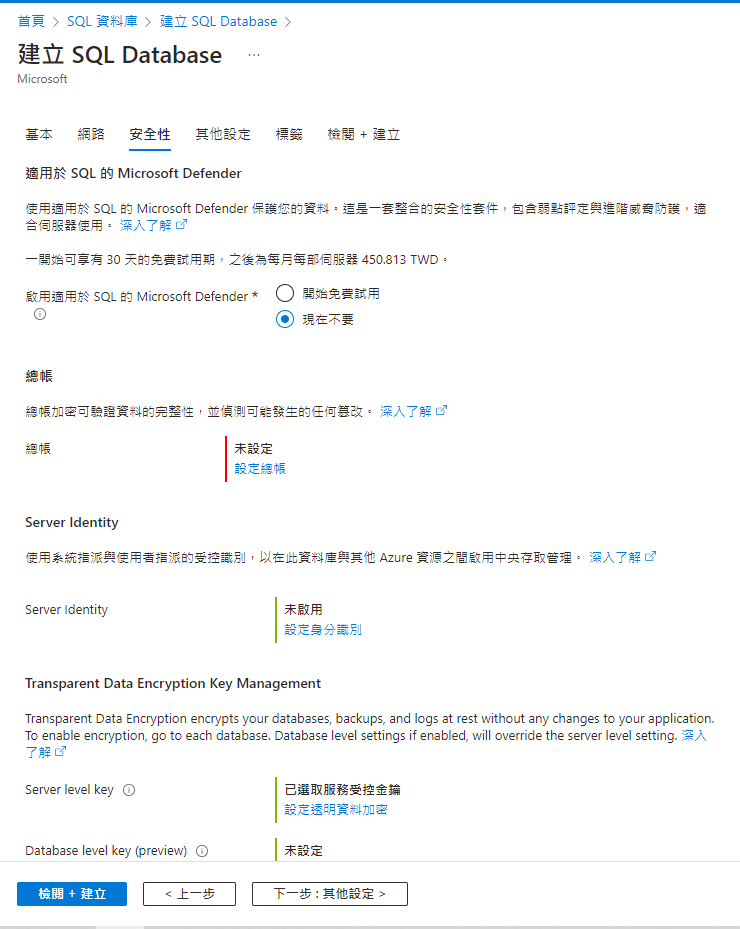
然後這邊注意要開啟【公開端點】然後把【本機IP加入】,這樣才能讓我們能夠連線
https://ithelp.ithome.com.tw/upload/images/20230908/20140874qlvONGSMZI.png
https://ithelp.ithome.com.tw/upload/images/20230908/20140874zdGe9rew6t.pnghttps://ithelp.ithome.com.tw/upload/images/20230908/20140874S754uupbc7.pnghttps://ithelp.ithome.com.tw/upload/images/20230908/20140874uA7gnl4Gap.png
https://ithelp.ithome.com.tw/upload/images/20230908/20140874JGLHWGf4G6.png
https://ithelp.ithome.com.tw/upload/images/20230908/20140874bwdUjbjyuC.png

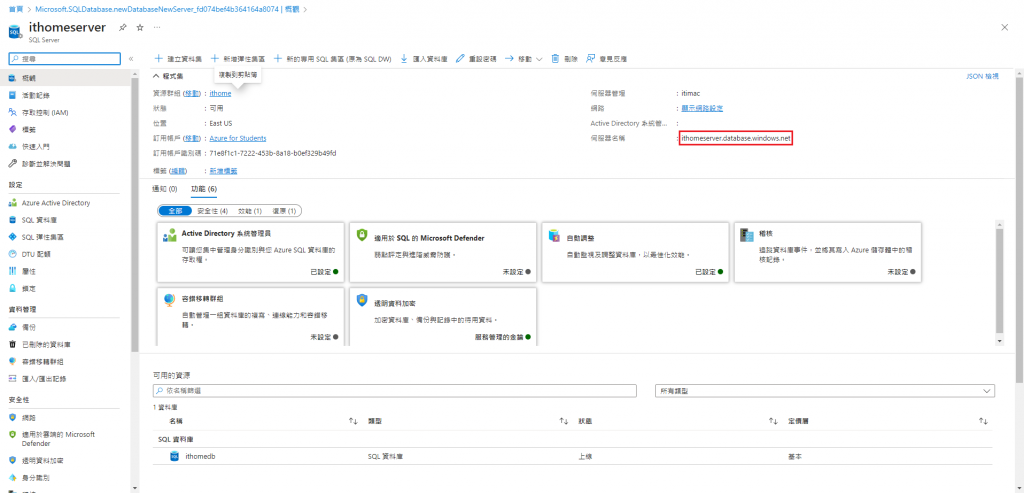
建立完之後,先到Server的介面,複製伺服器名稱
https://ithelp.ithome.com.tw/upload/images/20230908/20140874WMHJFP3buR.png
https://ithelp.ithome.com.tw/upload/images/20230908/20140874QdO94RrYDJ.png

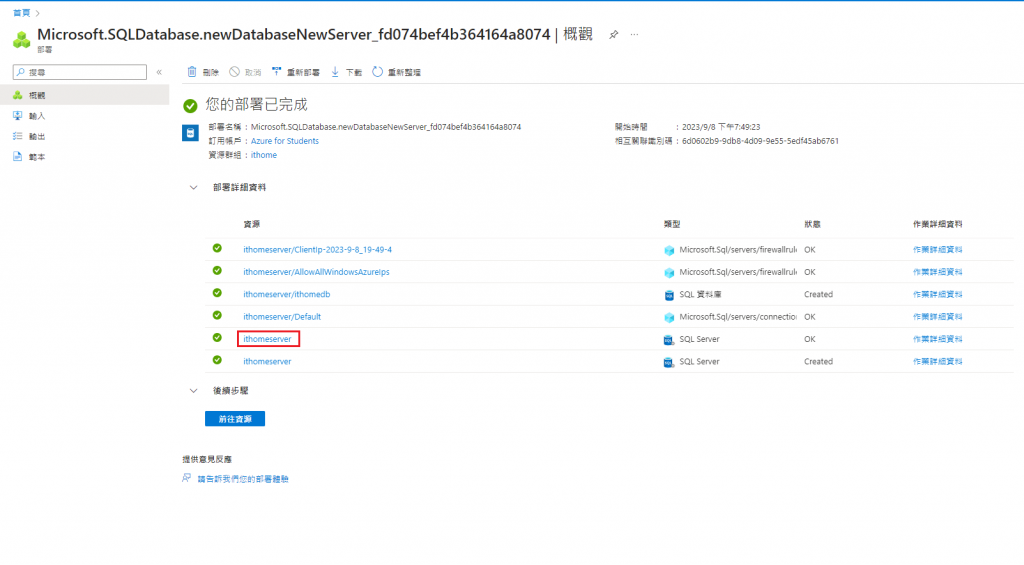
接著到 SQL Server Management Studio
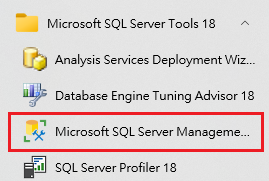
https://ithelp.ithome.com.tw/upload/images/20230908/20140874tTWYBir5l7.png
先登入本地資料庫
https://ithelp.ithome.com.tw/upload/images/20230905/20140874JgurTPUjxv.png
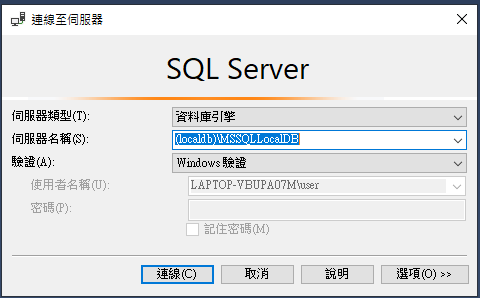
不知道名稱的,可以回到Visual Studio 前往SQL Server 物件總管查看
https://ithelp.ithome.com.tw/upload/images/20230905/20140874pyFDjyzYrR.png

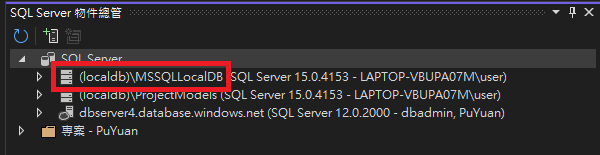
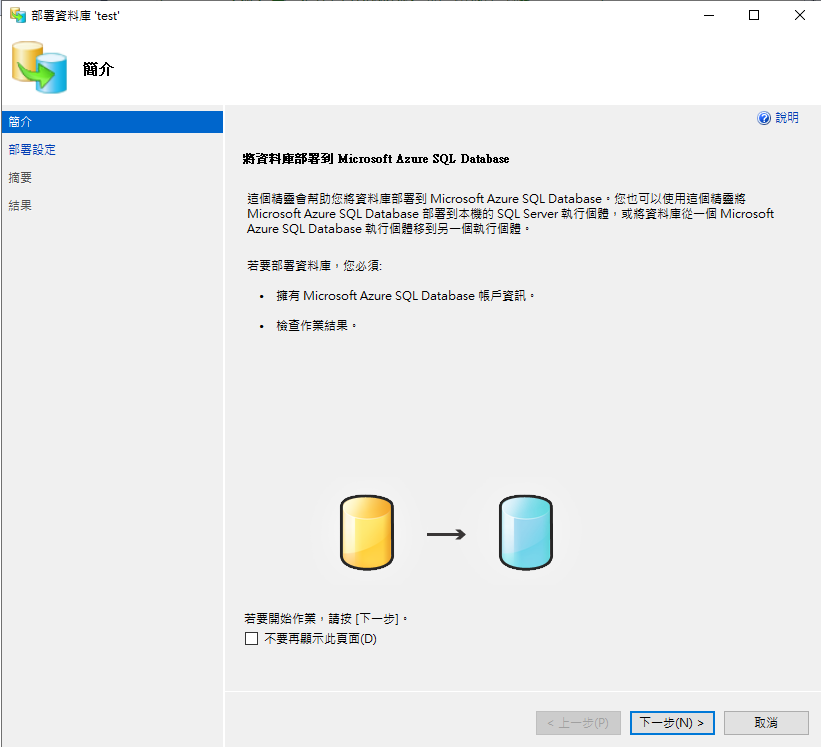
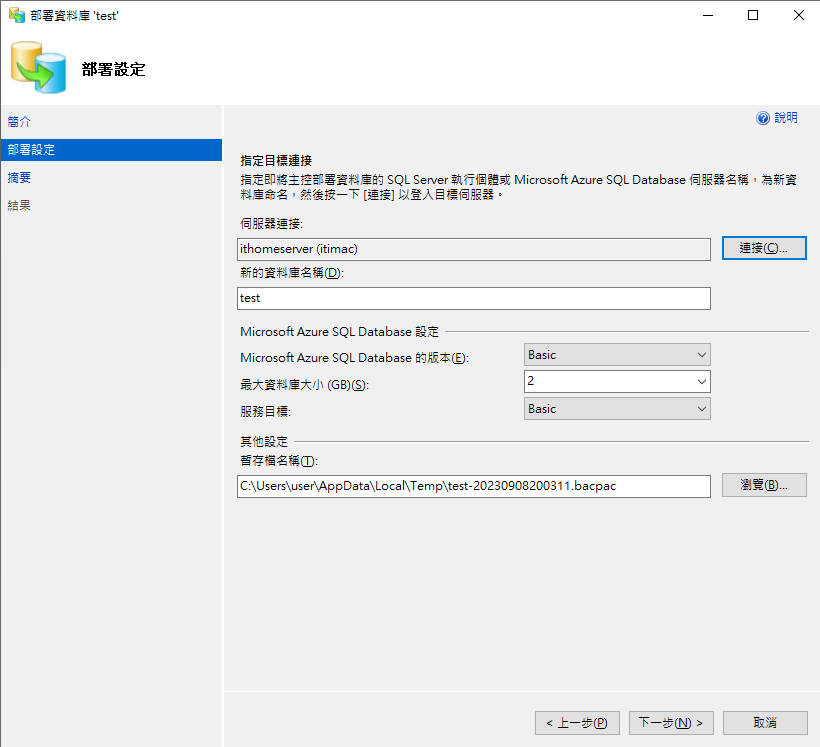
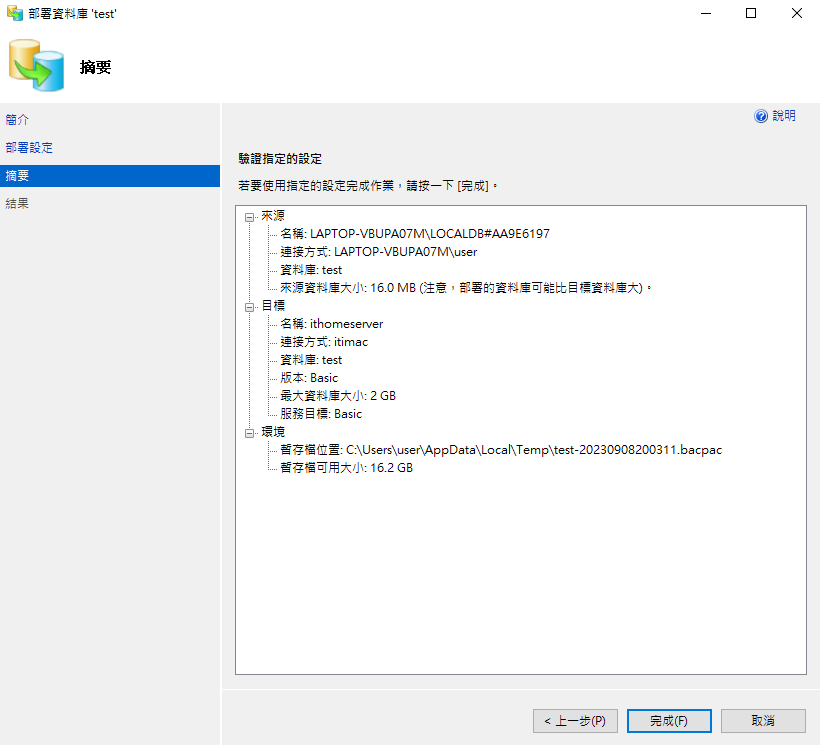
接著對要部署上Azure Sql Server的資料庫右鍵,選取工作 > 將資料庫部署到Microsoft Azure SQL資料庫
https://ithelp.ithome.com.tw/upload/images/20230908/20140874UKRoCG4GXQ.png
https://ithelp.ithome.com.tw/upload/images/20230908/20140874P9lVBf3m4b.png
https://ithelp.ithome.com.tw/upload/images/20230908/20140874oLFPkcYJZp.png
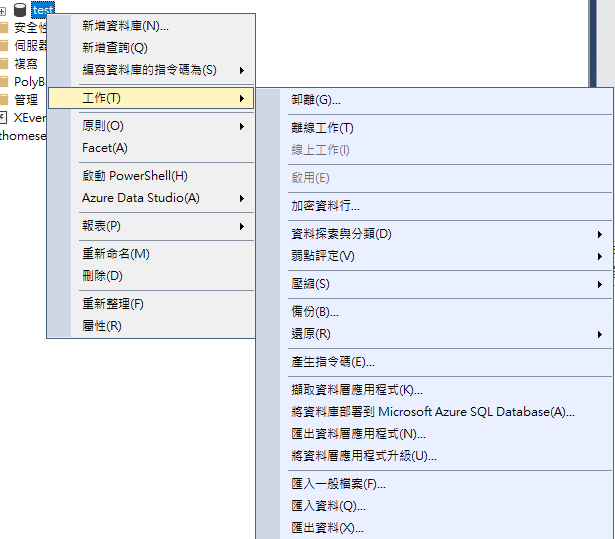
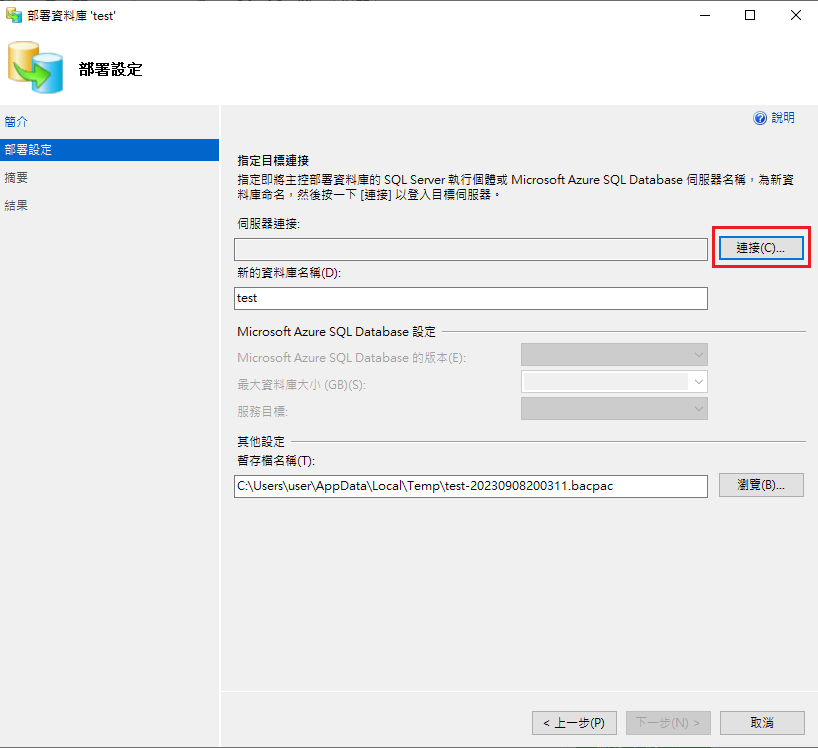
然後會跳出一個登入畫面,驗證方法選擇【SQL Server驗證】,這時候要輸入剛剛找到的【伺服器名稱】以及前面在新建SQL Server所註冊的帳號密碼。
https://ithelp.ithome.com.tw/upload/images/20230908/20140874ivJeIlx0Co.png
https://ithelp.ithome.com.tw/upload/images/20230908/20140874e1YYI9fSo0.png
https://ithelp.ithome.com.tw/upload/images/20230908/20140874qJQAVA8YXy.png
https://ithelp.ithome.com.tw/upload/images/20230908/20140874Zm2XG2jsh5.png

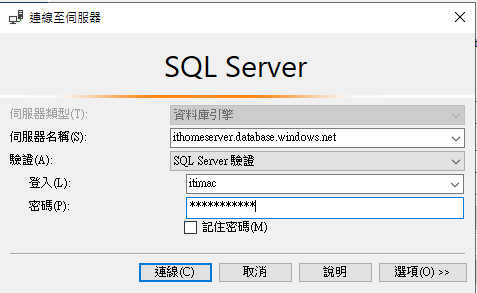
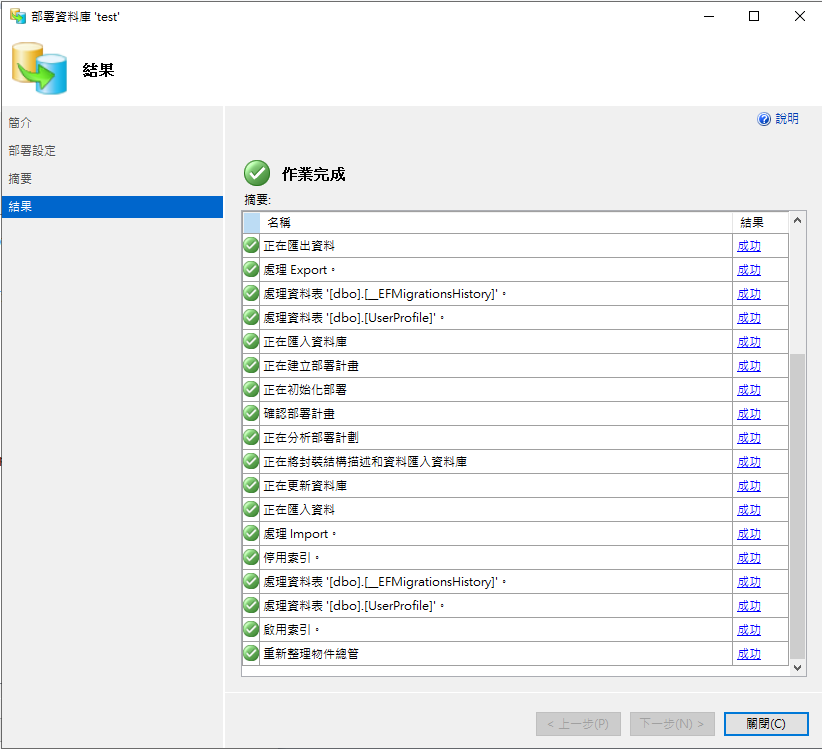
遷移上雲之後,可以回到創建的SQL Server介面下,發現有我們本地搬遷過去的資料庫
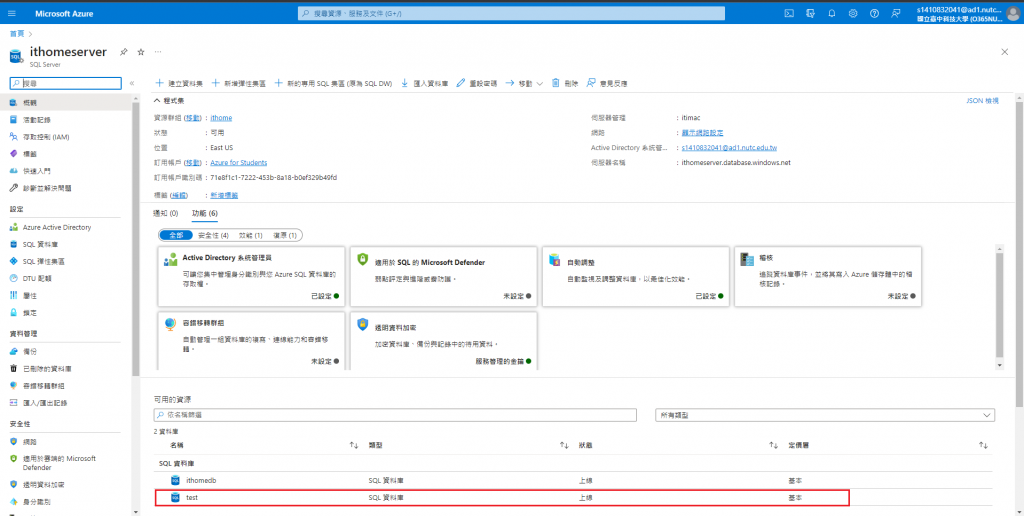
https://ithelp.ithome.com.tw/upload/images/20230908/20140874inMDaJZfZt.png
接著我們進入資料庫查看【連結字串】
https://ithelp.ithome.com.tw/upload/images/20230908/20140874HHCPofc3IY.png
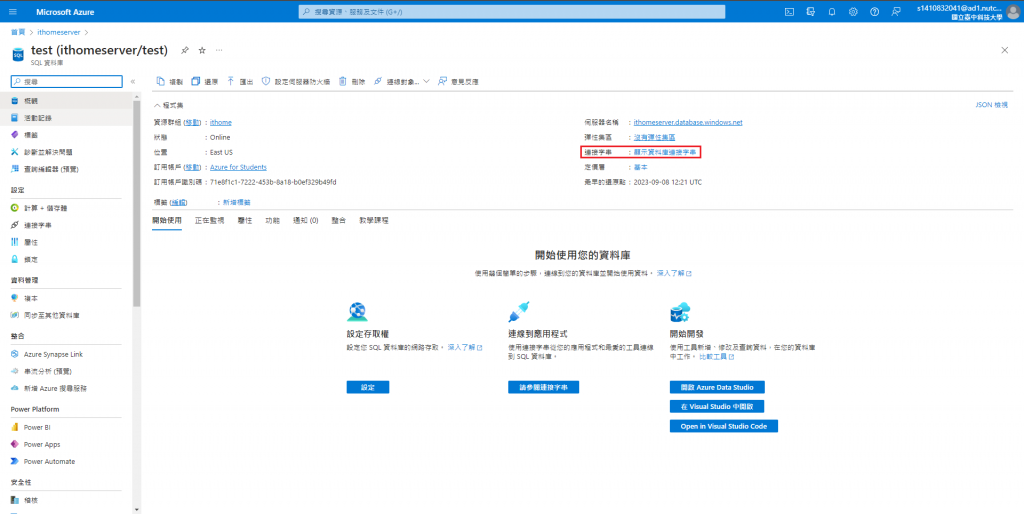
我們可以選擇上面兩種方式的連結字串來做連線,第二種方式密碼記得要修改哦
https://ithelp.ithome.com.tw/upload/images/20230908/20140874U5vN6lX33l.png
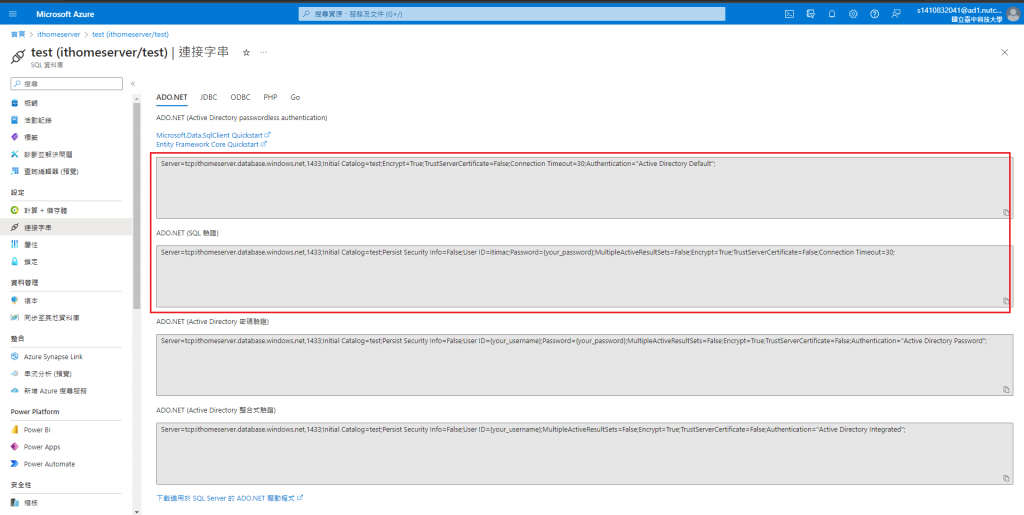
複製好後,回到我們的appsettings裡面對ConnectionStrings重新做設定
https://ithelp.ithome.com.tw/upload/images/20230908/201408740bfJFTu9l7.png
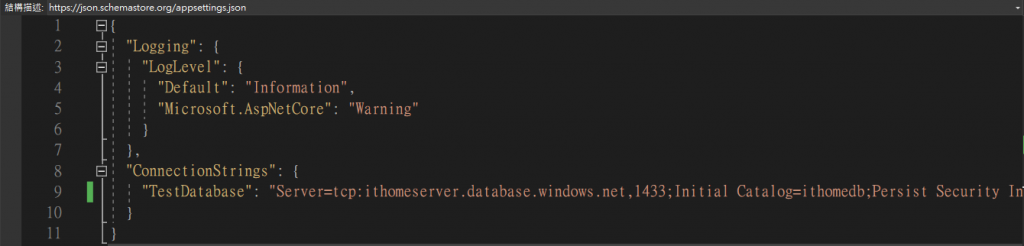
接下來我們就是一樣測試API的流程,打開Swagger,打api,檢查資料庫
https://ithelp.ithome.com.tw/upload/images/20230908/20140874w1YOLvzqBy.png

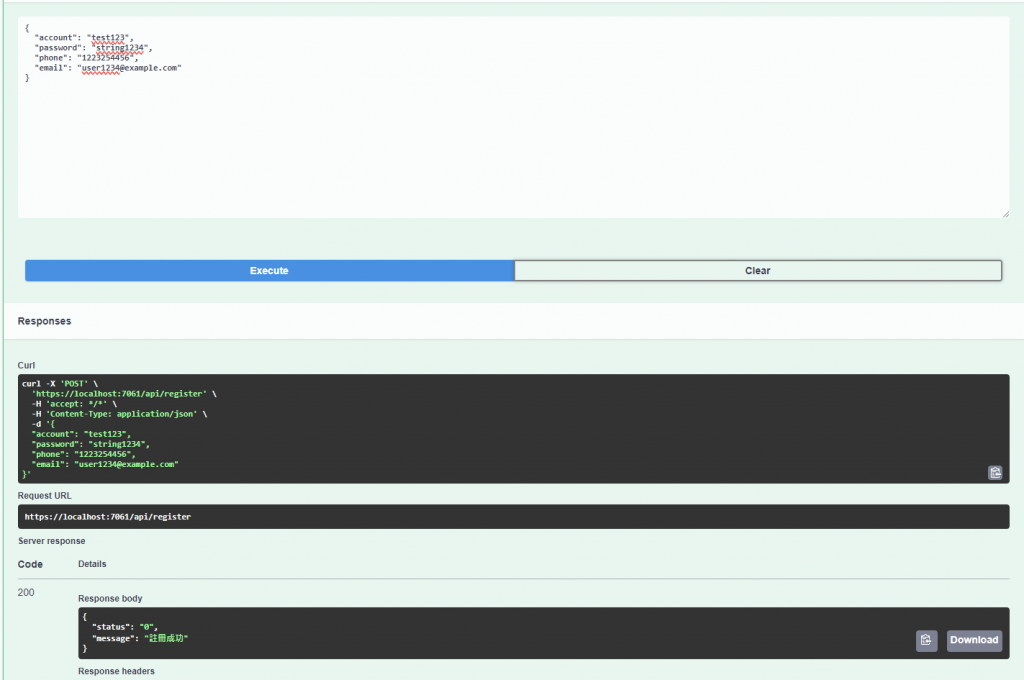
檢查的方式有兩種,一種是使用SSMS在連線一個資料庫引擎,像剛剛遷移一樣,輸入伺服器名稱、帳號密碼
https://ithelp.ithome.com.tw/upload/images/20230908/20140874ACT5nqkpfZ.png
https://ithelp.ithome.com.tw/upload/images/20230908/20140874ytk8csaWAk.png

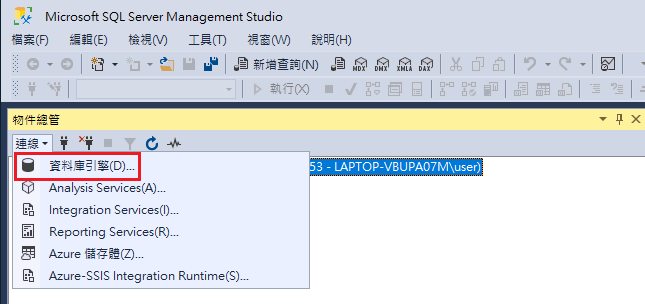
或者是回到Azure 點開建立的資料庫,側邊欄選擇【查詢編輯器】
https://ithelp.ithome.com.tw/upload/images/20230908/20140874CClVPslCxw.png

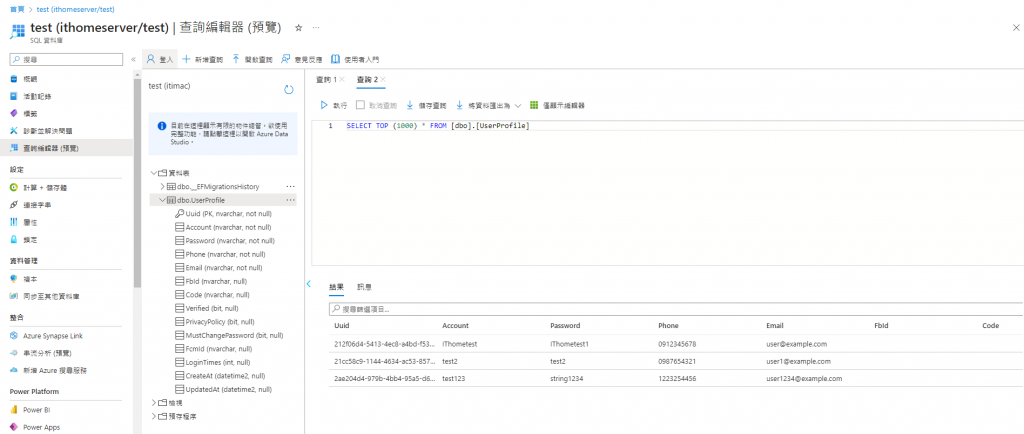
查看後有新增的資料後,恭喜 !! 終於弄好了一件很簡單的事情,做一次很難、做兩次很難,做到第十次的時候,還是覺得有點一點點難,但是有好一點了,明天我們要接著把CD的部分補上/images/emoticon/emoticon08.gif


上一篇
Day 08 撰寫.gitlab-ci.yml
下一篇
Day 10 介紹k8s/ASP.NET Core服務上雲
系列文
你累了嗎,今天來點克勞內提夫!31
圖片
  直播研討會
圖片
{{ item.channelVendor }} {{ item.webinarstarted }} |
{{ formatDate(item.duration) }}
直播中

尚未有邦友留言

立即登入留言