最近好久沒登入 Firebase 管理推播,沒想到登入確認的時候,發現【雲端通訊】的推播伺服器API已經升級了-.-a
如下:
舊版 HTTP 或 XMPP API (已於 2023 年 6 月 20 日淘汰),請務必在 2024 年 6 月 20 日以前,改用最新的 Firebase Cloud Messaging API (HTTP v1)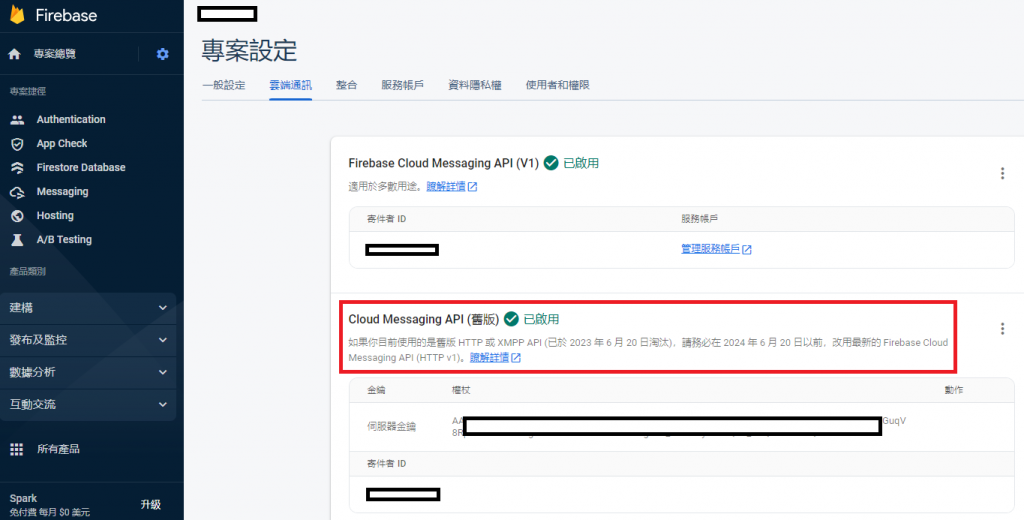
經點擊【瞭解詳情】後,開啟網頁查看解說。
https://firebase.google.com/docs/cloud-messaging/migrate-v1?hl=zh&authuser=0&_gl=11yc83x4_gaMTMzNDU0MDY5LjE2ODYxMDI5NzQ._ga_CW55HF8NVT*MTY5NDY3NzAxMy4yNC4xLjE2OTQ2NzgxODEuMC4wLjA.
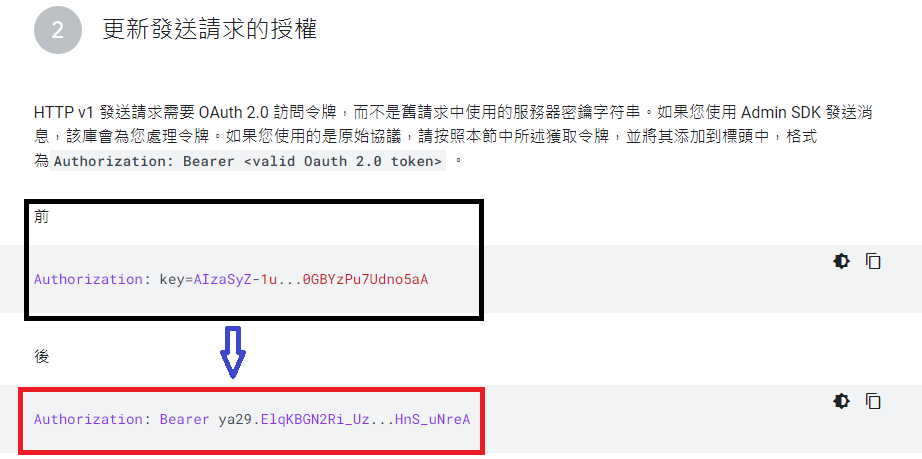
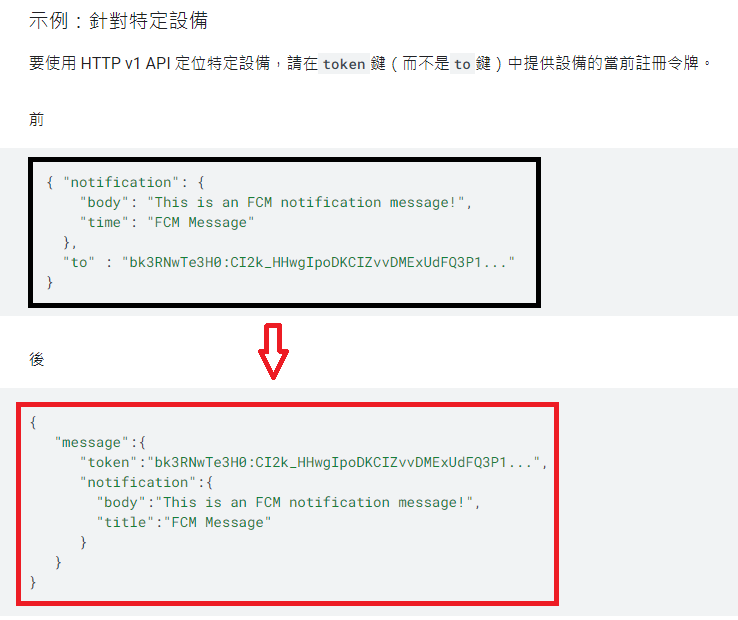
得知固定的Server Key,改成隨機Server Bearer方式登入,將固定發送位置改成伺服器專案發送位置,以及原先推播通知的Json內容,也要改成新的Json內容動應。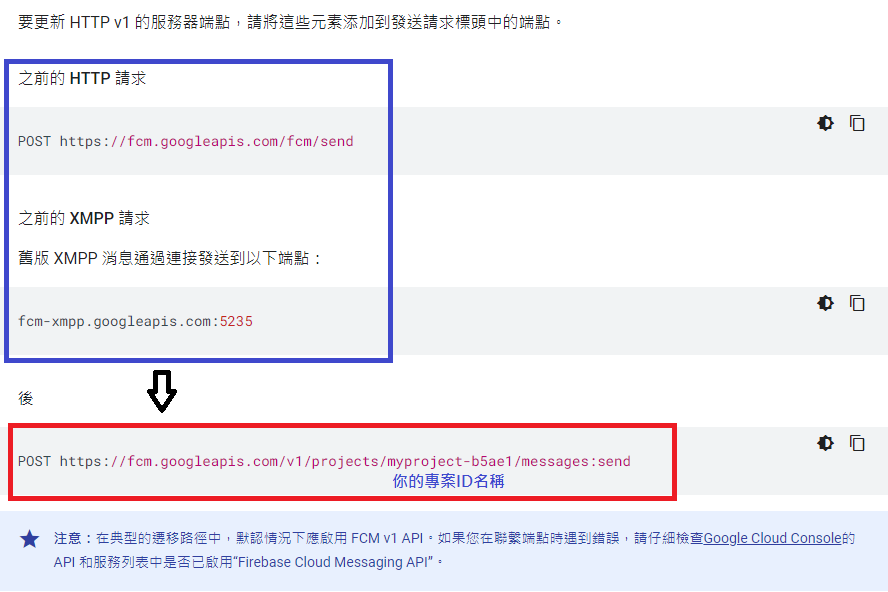
知道以上API更新內容後,我發現我現有的程式碼版本無法直接取得【隨機Server Bearer】
因為我是用asp net(vb)架站的,Firebase沒提供微軟程式碼的取得方式
只提供node.js、JAVA、Python、Go這四種語言方式登入
後來找了範例一陣子,在用node.js範例終於有解了(我測試成功了!)
node.js教學範例參考網址:
[Firebase] Messaging 推播訊息 利用Nodejs發送推播
https://vocus.cc/article/64545d9dfd89780001b87527
1.首先開啟命令提示字元或輸入cmd開啟
2.因為位置會在系統碟的User位置,所以我下【cd /d d:\】,變更到D槽位置。
3.建立FCM測試目錄,所以我下【mkdir FcnMsg】建立空目錄
4.移動到FcnMsg目錄,所以我下【cd FcnMsg】移動。
5.執行【npm init】指令初始化,這邊要注意你的電腦要有安裝nod.js軟體才有。
6.執行【npm init】指令後,會問你一堆問題,全部都直接enter過去不管!最後輸入yes結束。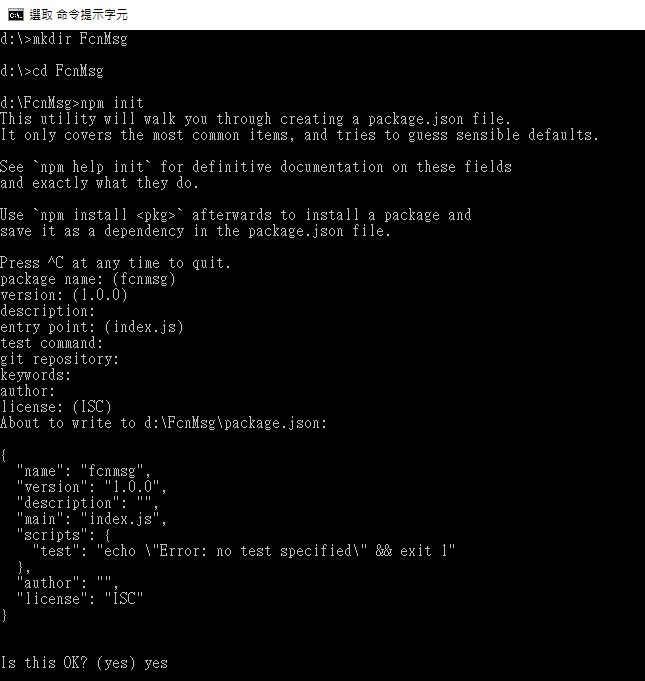
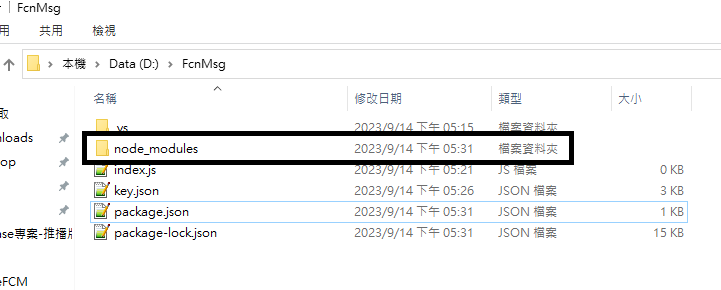
7.在FcnMsg目錄下,就會生成package.json檔案。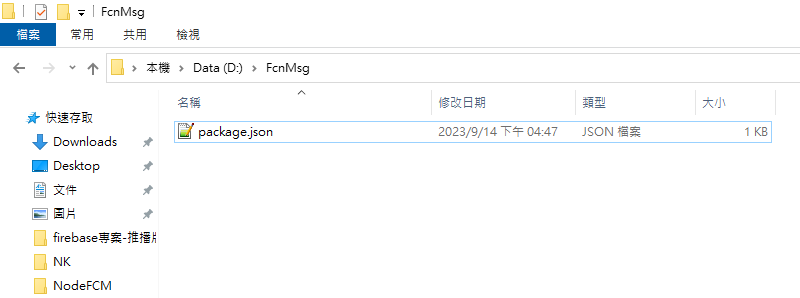
8.這邊我有安裝VS 2022免費開發版本,採用此軟體打開FcnMsg目錄,建立專案。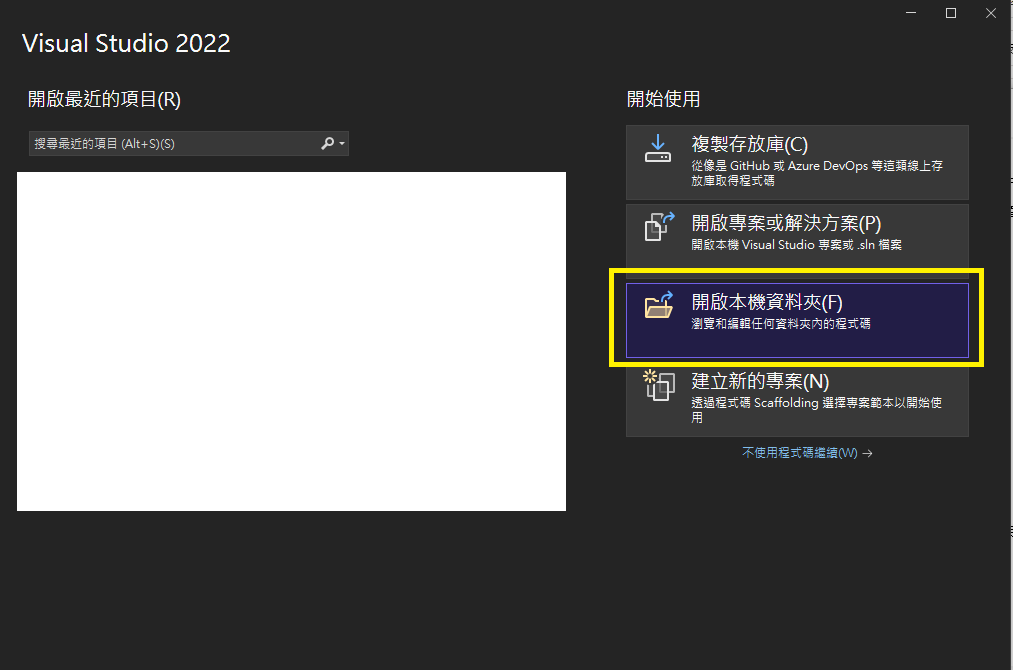
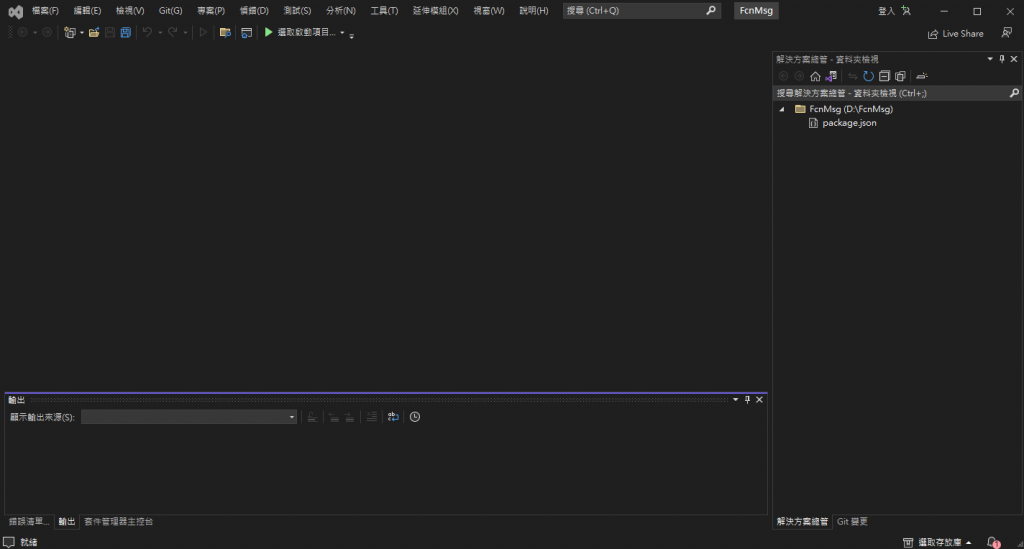
9.在FcnMsg資料夾內新增index.js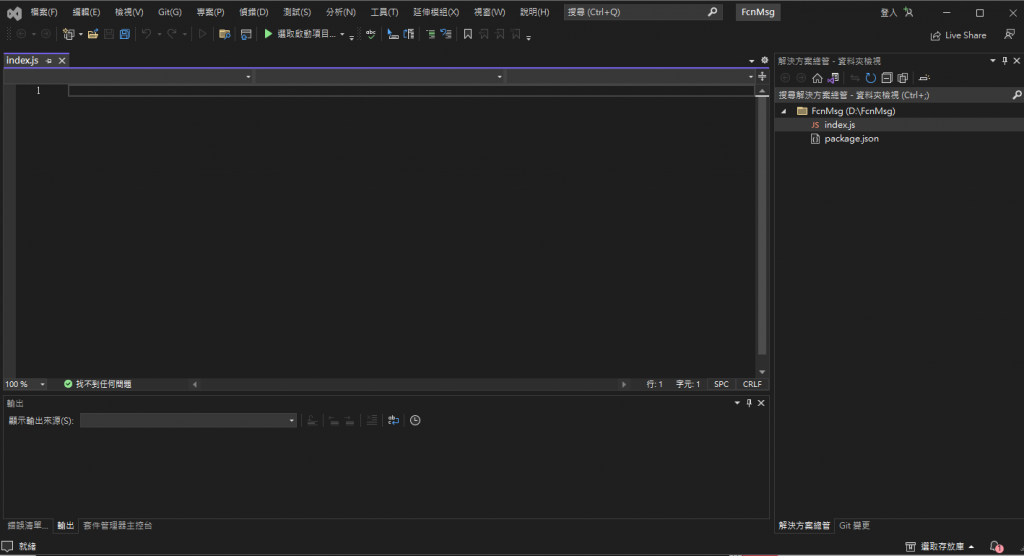
10.再新增key.json,將在firebase的新API版本(Firebase Cloud Messaging API)的私密金鑰內容完整的貼進來
11.然後在FcnMsg目錄下,下指令安裝googleapis需要的引用檔案【npm i https googleapis -s】
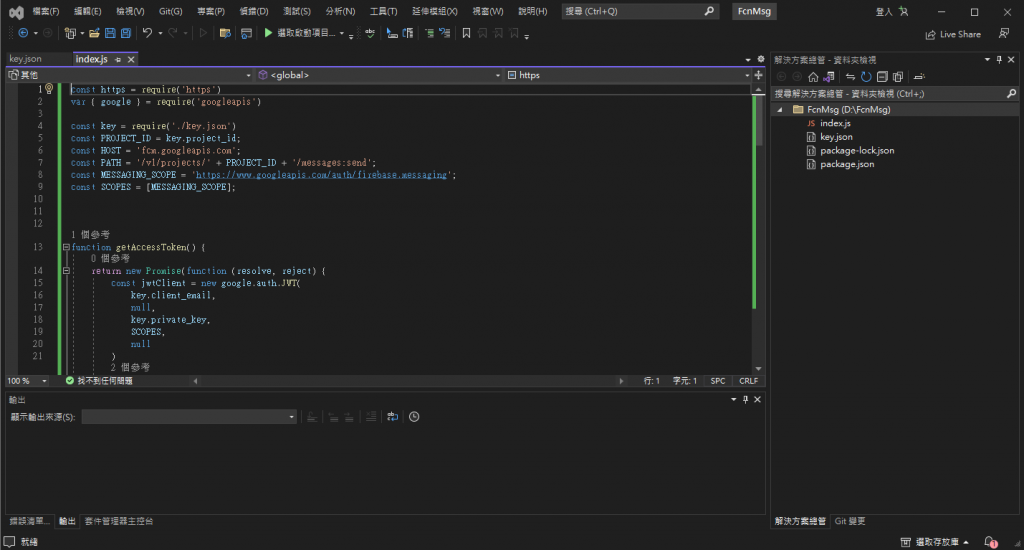
12.之後在index.js貼上下列程式碼(範例程式碼)
const https = require('https')
var {google} = require('googleapis')

const key = require('./key.json')
const PROJECT_ID = key.project_id;
const HOST = 'fcm.googleapis.com';
const PATH = '/v1/projects/' + PROJECT_ID + '/messages:send';
const MESSAGING_SCOPE = 'https://www.googleapis.com/auth/firebase.messaging';
const SCOPES = [MESSAGING_SCOPE];


function getAccessToken() {
    return new Promise(function(resolve, reject) {
      const jwtClient = new google.auth.JWT(
        key.client_email,
        null,
        key.private_key,
        SCOPES,
        null
      )
      jwtClient.authorize(function(err, tokens) {
        if (err) {
          reject(err);
          return;
        }
        resolve(tokens.access_token);
      });
    });
  }

 /**
 * Send HTTP request to FCM with given message.
 *
 * @param {object} fcmMessage will make up the body of the request.
 */
function sendFcmMessage (fcmMessage) {
    getAccessToken().then(function(accessToken) {
      const options = {
        hostname: HOST,
        path: PATH,
        method: 'POST',
        // [START use_access_token]
        headers: {
          'Authorization': 'Bearer ' + accessToken
        }
        // [END use_access_token]
      };

      const request = https.request(options, function(resp) {
        resp.setEncoding('utf8');
        resp.on('data', function(data) {
          console.log('Message sent to Firebase for delivery, response:');
          console.log(data);
        });
      });

      request.on('error', function(err) {
        console.log('Unable to send message to Firebase');
        console.log(err);
      });

      request.write(JSON.stringify(fcmMessage));
      request.end();
    });
  }

   /**
   * Construct a JSON object that will be used to define the
   * common parts of a notification message that will be sent
   * to any app instance subscribed to the news topic.
   */
   function buildCommonMessage() {
    return {
      'message': {
        'topic': 'all',
        'notification': {
          'title': 'FCM Notification',
          'body': 'Notification from FCM',
        }
      }
    };
  }


  const commonMessage = buildCommonMessage();
  console.log('FCM request body for message using common notification object:');
  console.log(JSON.stringify(commonMessage, null, 2));
  sendFcmMessage(buildCommonMessage());
13.完成之後,要用node 去執行index.js的程式,測試發送message,在command line下輸入【node index.js】
14.然後command line就會出現以下訊息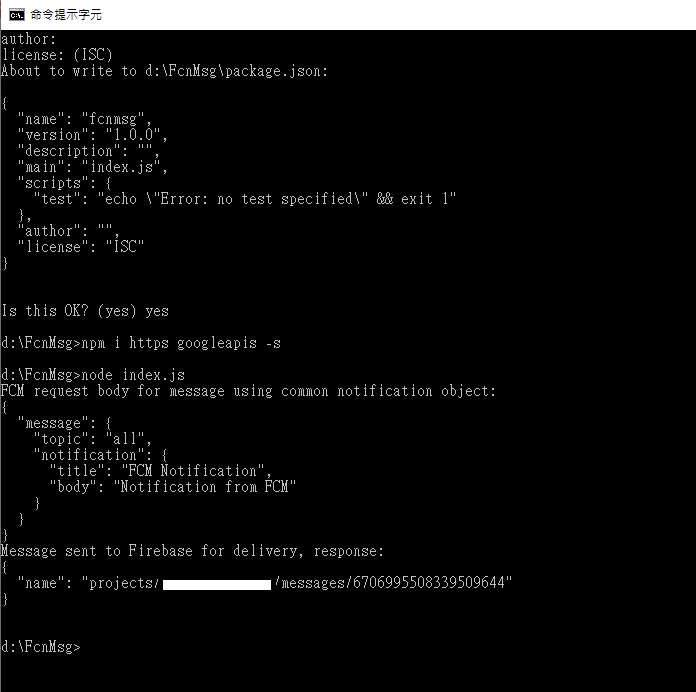
15.依照firebase官方文件,response出現下列文字就是正常可以發送。
Message sent to Firebase for delivery, response:
{
  "name": "projects/你的專案ID名稱/messages/6706995508339509644"
}
16.以上經由範例測試後,得知如何只取得【Server Bearer】,在丟回我的vb網頁在使用!
17.新增Bearer.js檔案,用來只取得Bearer Key資料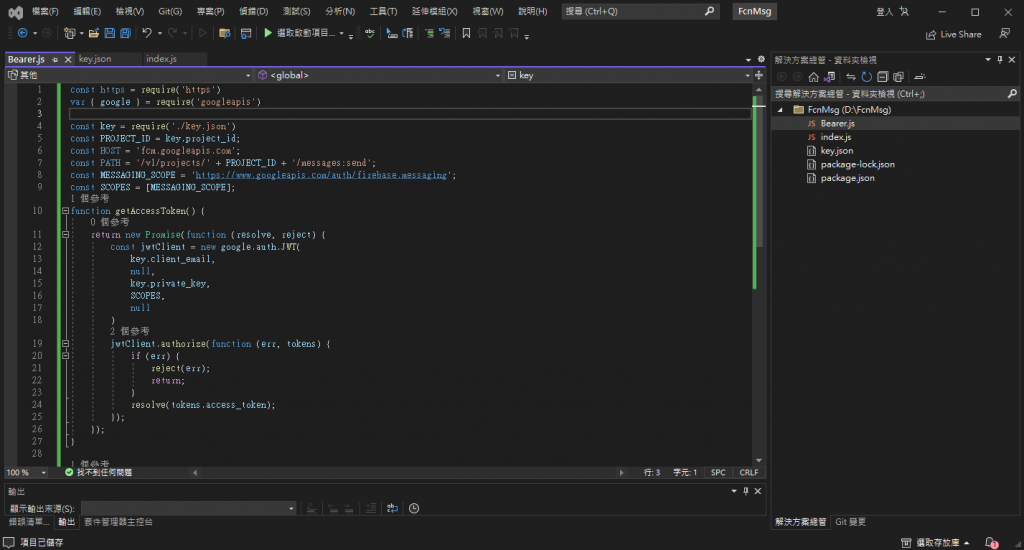
const https = require('https')
var { google } = require('googleapis')

const key = require('./key.json')
const PROJECT_ID = key.project_id;
const HOST = 'fcm.googleapis.com';
const PATH = '/v1/projects/' + PROJECT_ID + '/messages:send';
const MESSAGING_SCOPE = 'https://www.googleapis.com/auth/firebase.messaging';
const SCOPES = [MESSAGING_SCOPE];
function getAccessToken() {
    return new Promise(function (resolve, reject) {
        const jwtClient = new google.auth.JWT(
            key.client_email,
            null,
            key.private_key,
            SCOPES,
            null
        )
        jwtClient.authorize(function (err, tokens) {
            if (err) {
                reject(err);
                return;
            }
            resolve(tokens.access_token);
        });
    });
}

function GetData() {
    getAccessToken().then(function (accessToken) {
        console.log(accessToken);
    });
}

GetData();
18.在命令提示字元,輸入執行【node Bearer.js】,就會得到Server Bearer key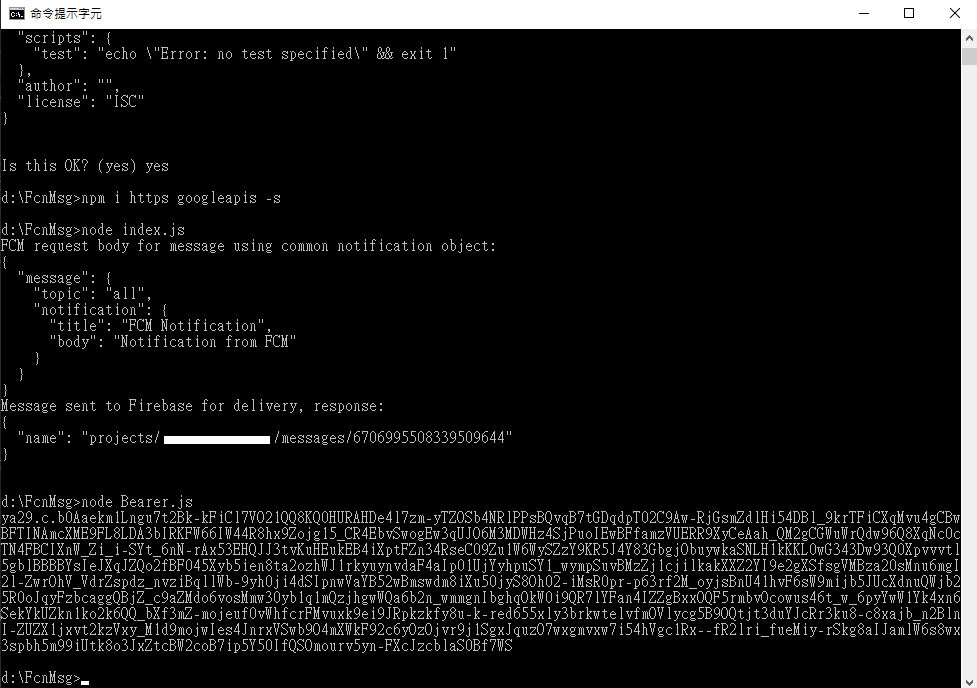
19.然後返回我的asp網頁,寫程式碼取得命令提示字元輸出的內容資料
<%@ Page Title="" Language="VB"  %>
<script runat="server">

    Protected Sub Page_Load(ByVal sender As Object, ByVal e As System.EventArgs) Handles Me.Load

        Dim App_Str As String = Server.MapPath("./") & "Bearer.js"

        Dim p As System.Diagnostics.Process = New System.Diagnostics.Process()

        p.StartInfo.FileName = "node"
        p.StartInfo.Arguments = App_Str
        p.StartInfo.UseShellExecute = False
        p.StartInfo.RedirectStandardOutput = True
        p.Start()

        Response.Write(p.StandardOutput.ReadToEnd())

        p.WaitForExit()

    End Sub
</script>
20.然後我是用區網新架win10方式,因為Server版本太舊無法安裝node.js,只能繞遠路..
以前Firebase是這樣簡單方式,固定Server Key方送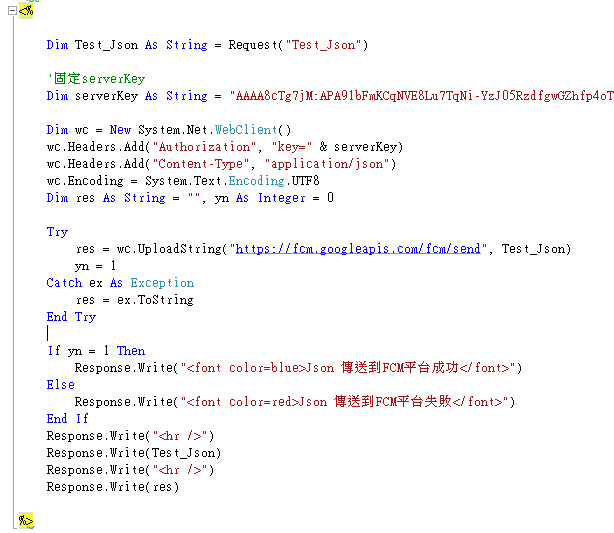
改成要先到Firebase取得Bearer key才可以發送...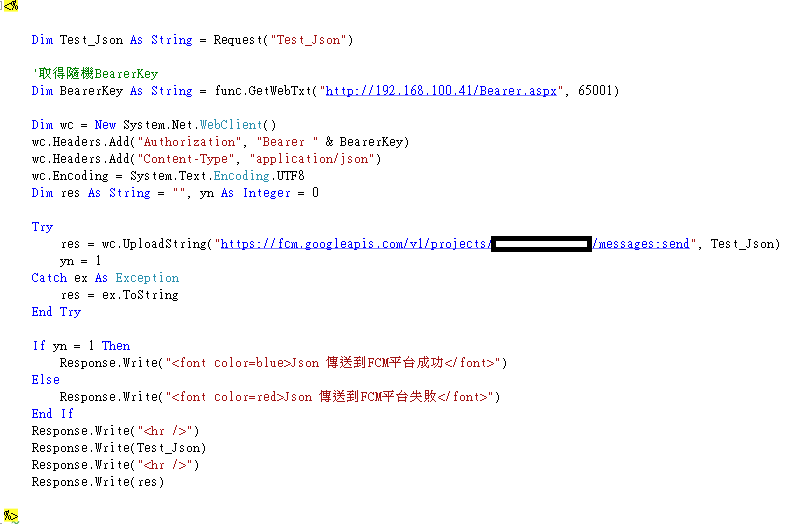
真是繞好大圈= =....
下一篇更新方式~
Firebase專案-伺服器推播用Asp.net (VB) 取得BearerKey驗證
https://ithelp.ithome.com.tw/articles/10325909
 純真的人
純真的人
