在開始學習Linux前,在不影響主要操作系統的情況下,先安裝虛擬主機和安裝Ubuntu(依各人需求可安裝不同的操作系統版本),進行linux學習和操作。
Step 1:下載VMware Workstation 17 Player(for free),並進行安裝
網址:https://www.vmware.com/tw/products/workstation-player.html
Step 2:下載Ubuntu Server ISO檔
網址: https://www.ubuntu-tw.org/modules/tinyd0/
Step 3:建立一個新的虛擬機器
打開VMware Workstation Player,然後按照下列步驟進行安裝。
1 建立一個新虚擬主機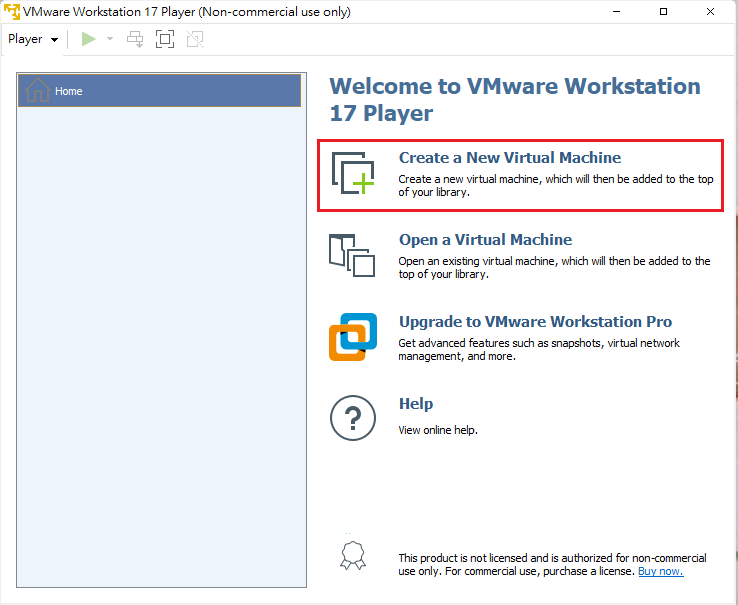
2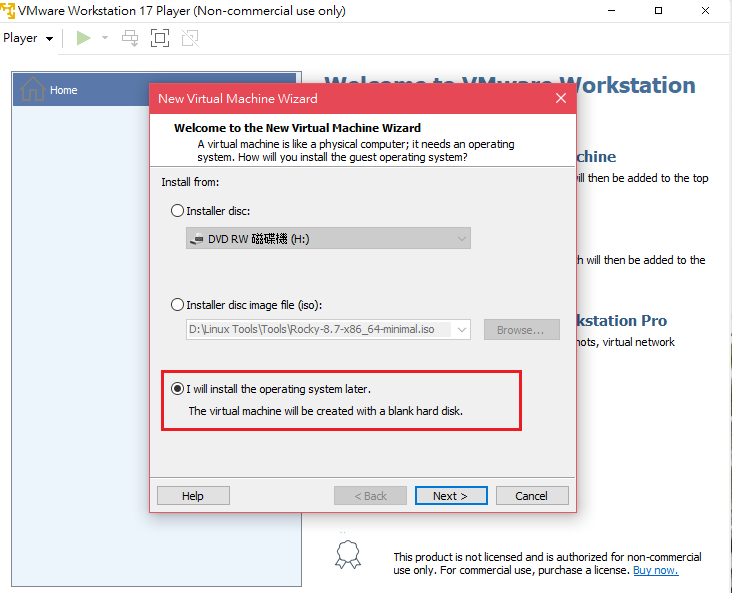
3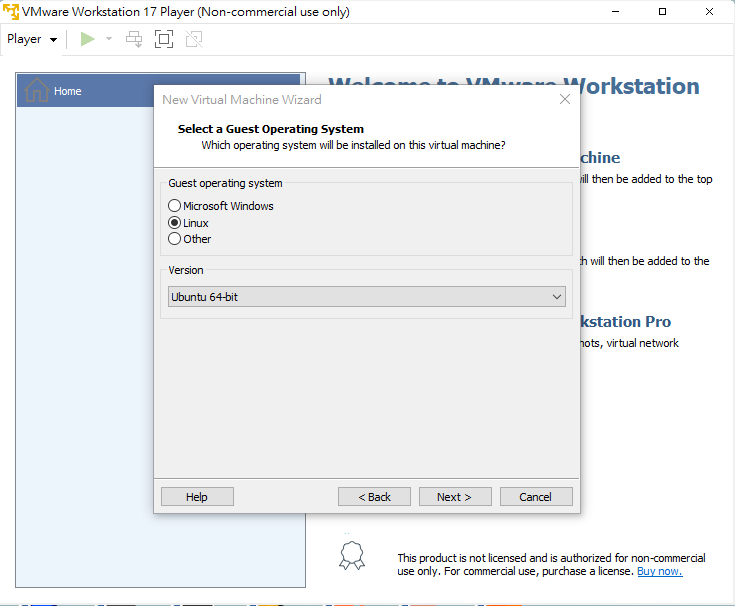
4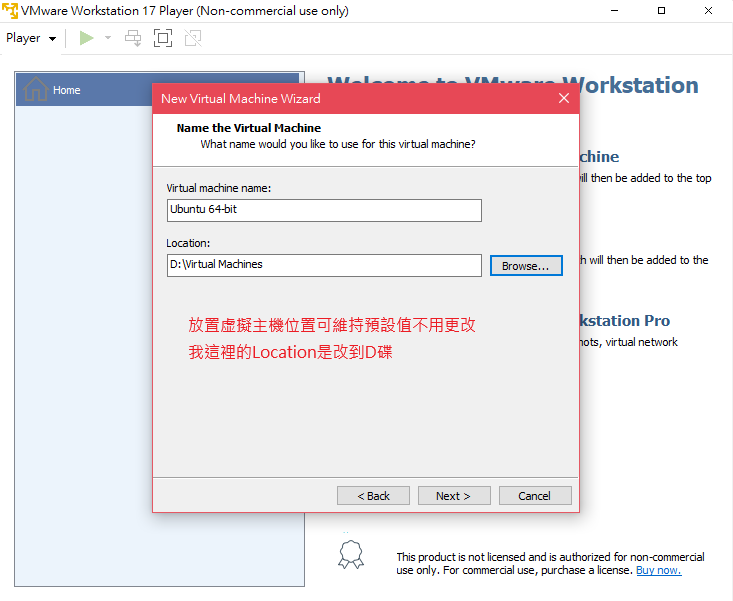
5
6 進入設定硬體配置
7 記憶體大小可自行設定
8 Processors 自行設定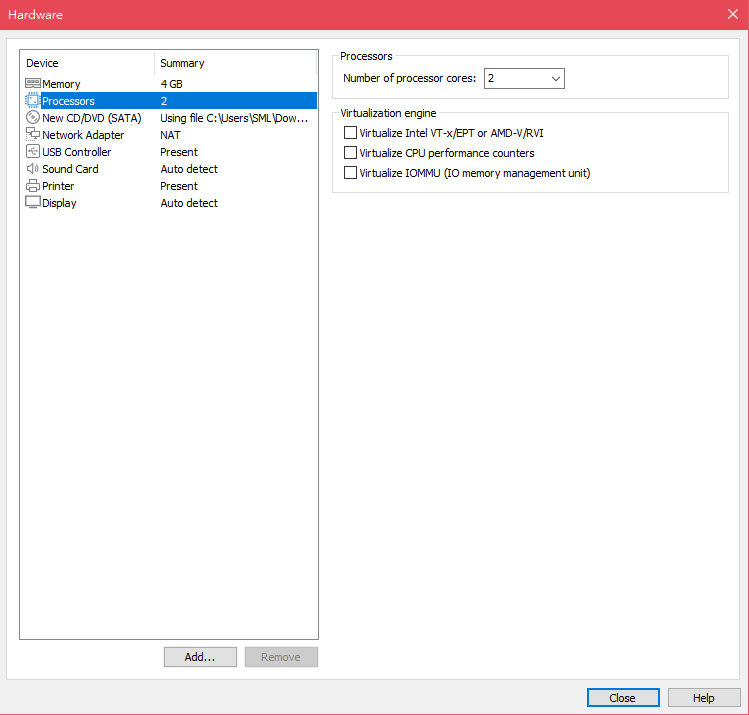
9 匯入ubuntu iso檔
10 完成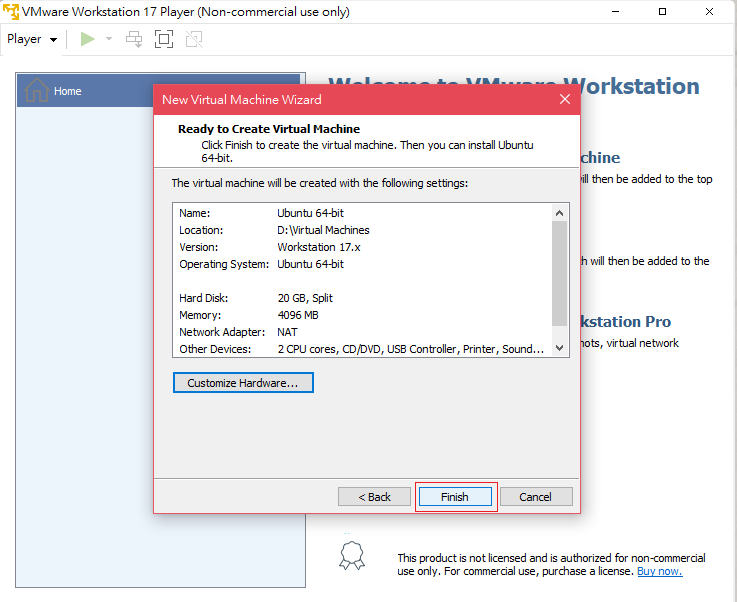
11 啟動虚擬主機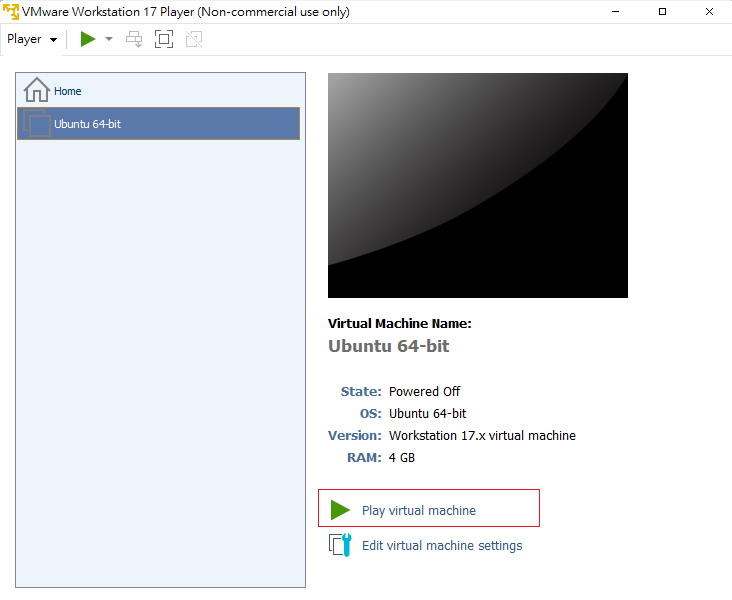
Step 4:安裝Ubuntu
虛擬主機的啟動後,將進入Ubuntu的安裝程序。按照提示進行安裝,包括選擇語言、鍵盤布局、磁碟分區等。
備註:在ubuntu操作配置設定時,游標要移動並點到設定畫面內,並用上下左右箭頭移動,進行設定。
12 英文
13 繼續安裝不更新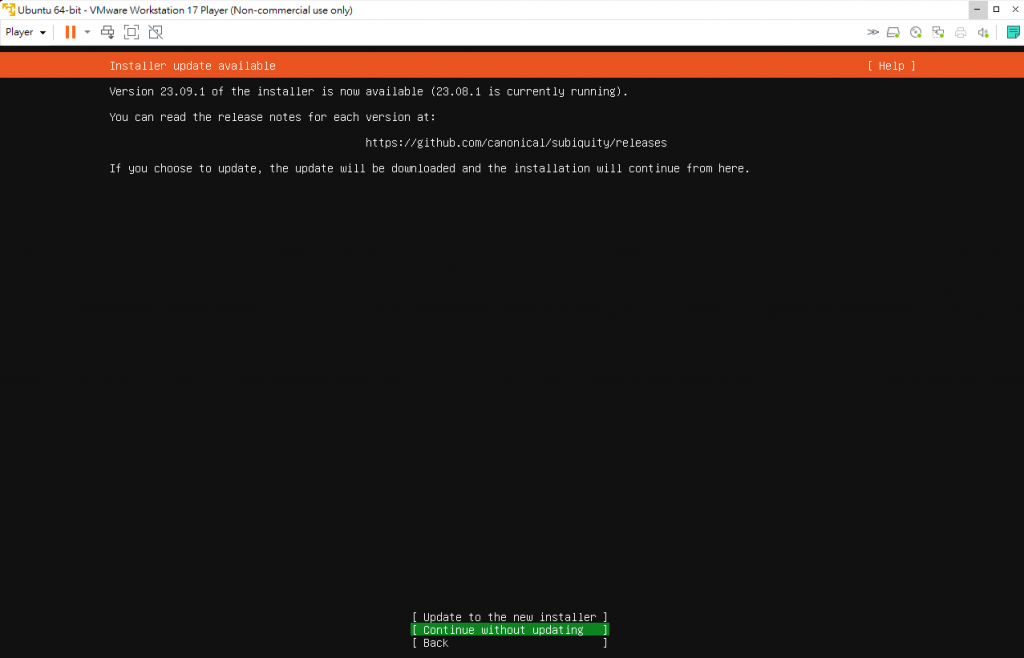
14 維持預設值,按Done
15 維持預設值,按Done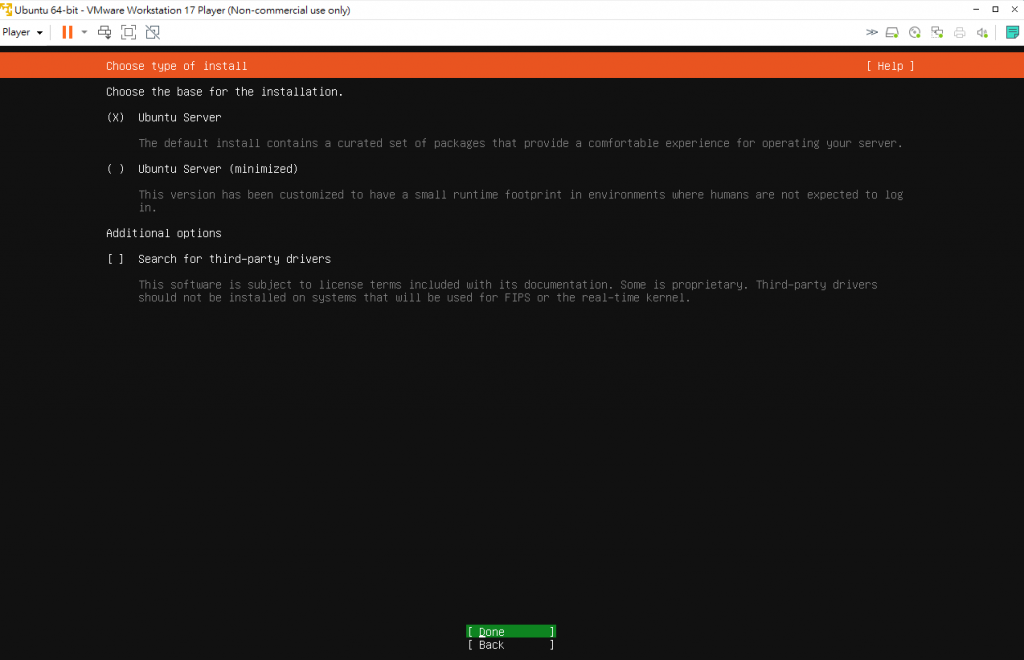
16 維持預設值,按Done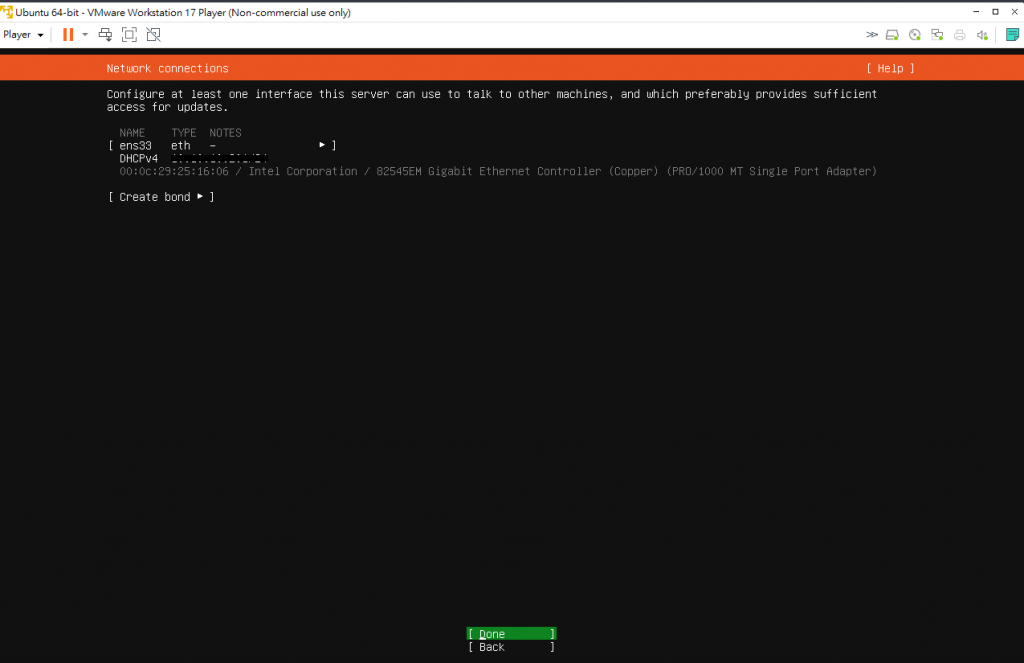
17 維持預設值,按Done
18 維持預設值,按Done
19 維持預設值,按Done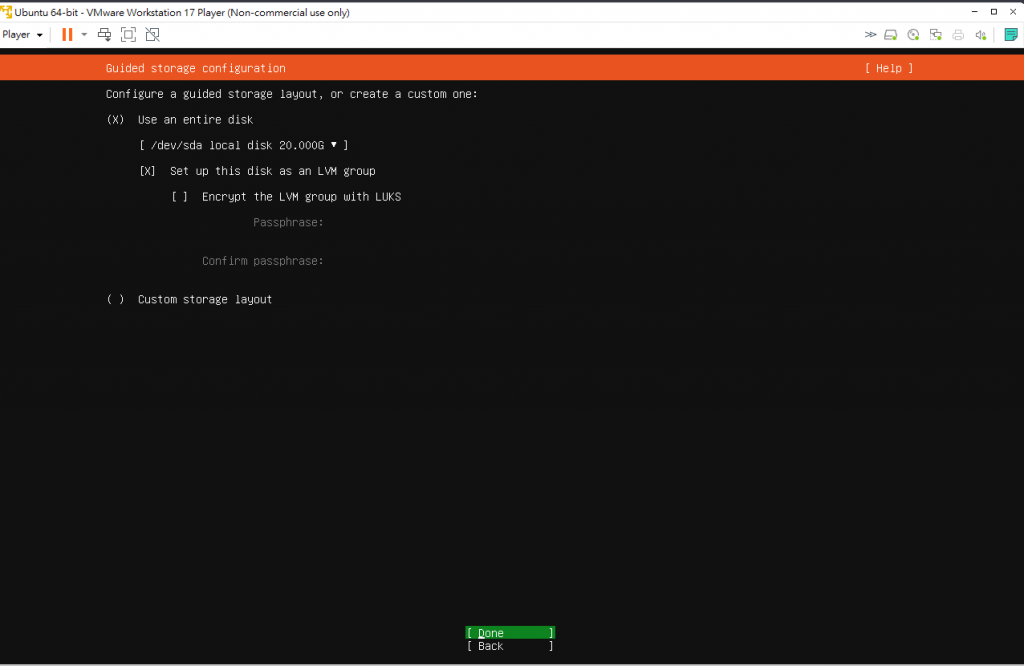
20 維持預設值,按Done
21 請自行設定名稱和密碼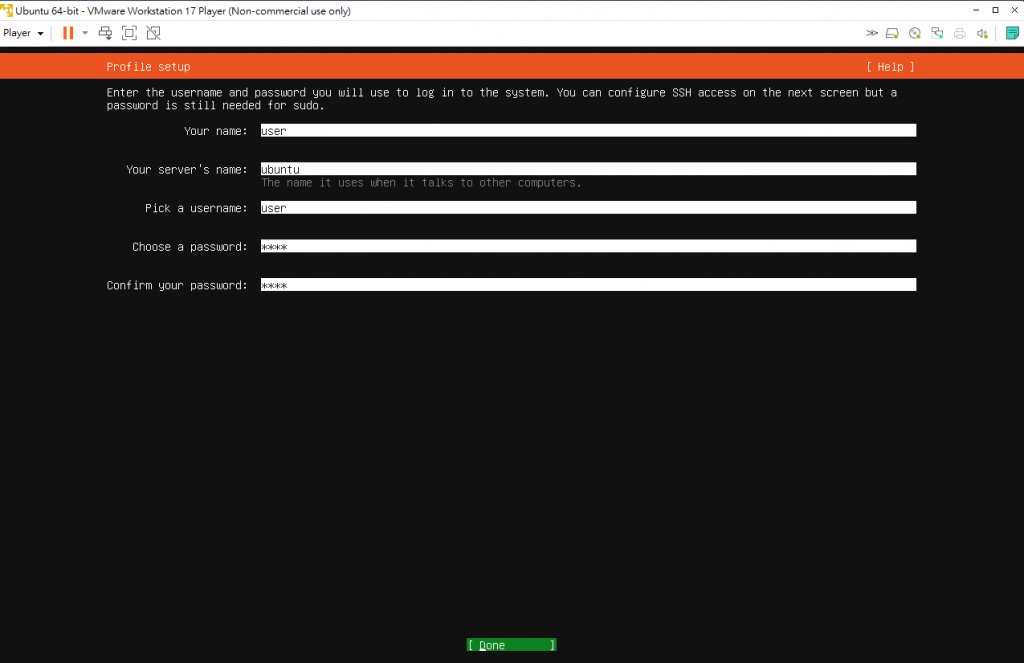
22 勾選install OpenSSH server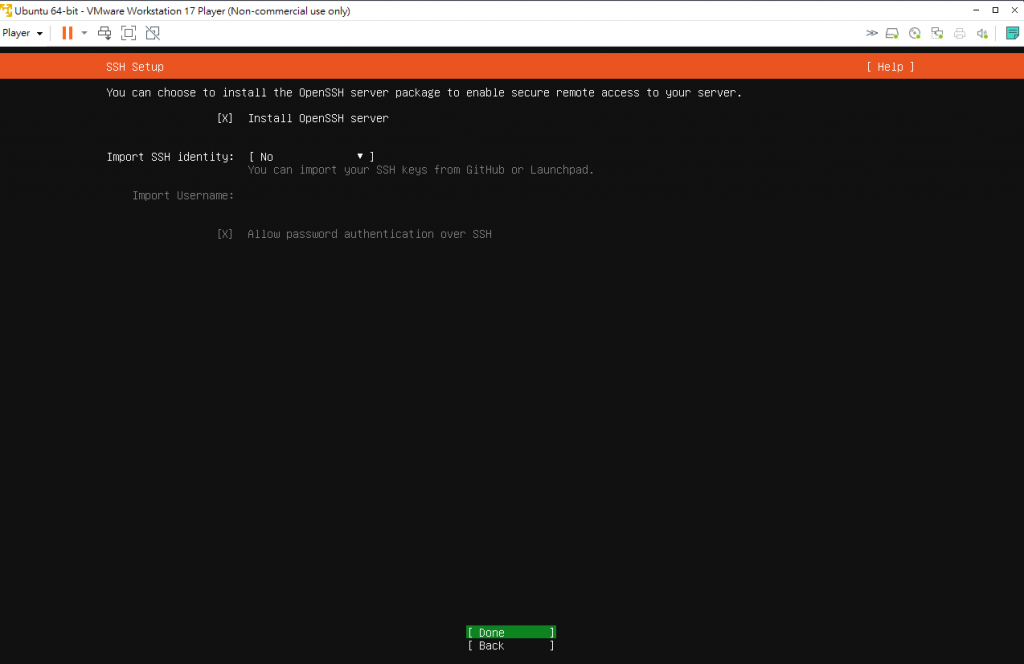
23 維持預設值,按Done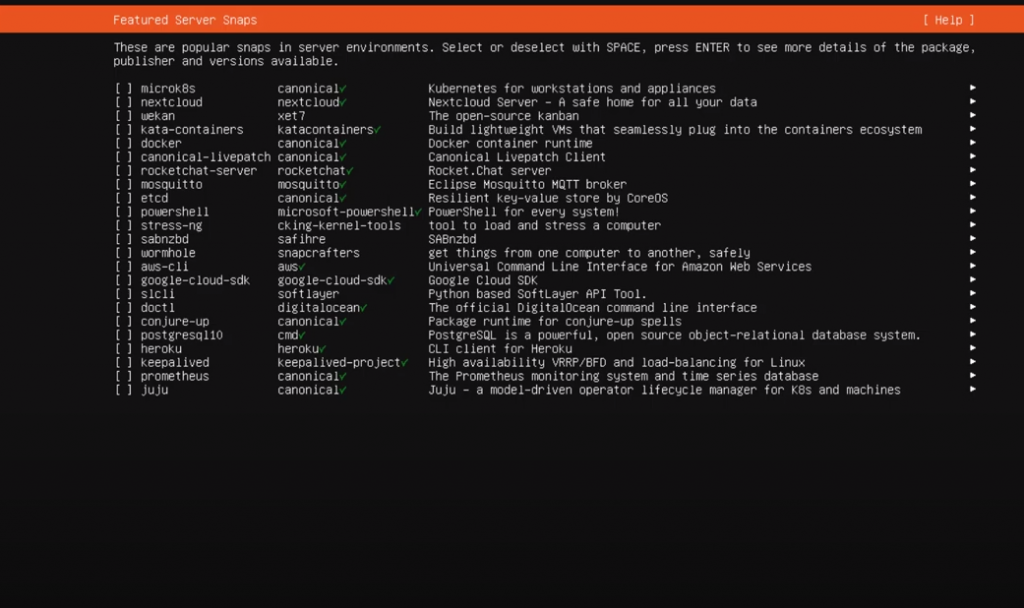
24 reboot重新開機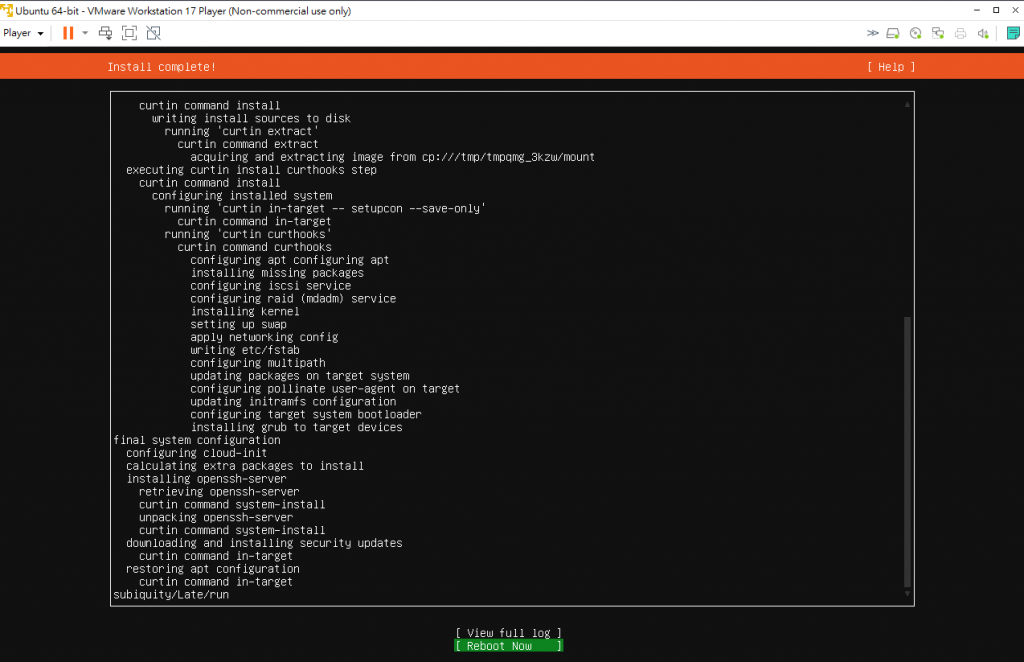
25 重新開機後,需輸入主機名稱和密碼,才可進行後續操作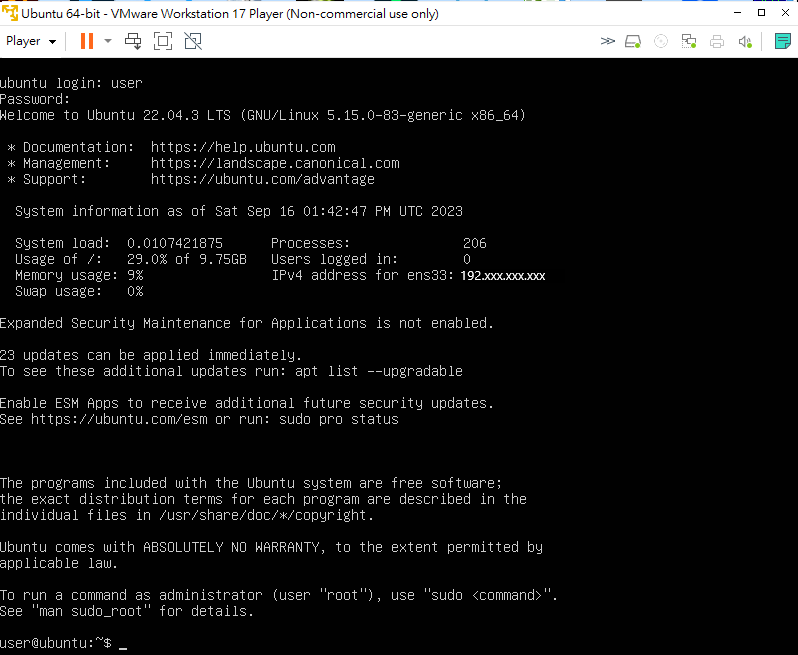


 iThome鐵人賽