Pipe是在錯誤處理機制範圍中扮演一個檢查的角色,用來處理使用者傳入的參數.典型的應用場景有:
驗證類:
-ValidationPipe
型別轉換類(Parse* pipe):
-ParseIntPipe
-ParseFloatPipe
-ParseBoolPipe
-ParseArrayPipe
-ParseUUIDPipe
-ParseEnumPipe
-DefaultValuePipe
-ParseFilePipe
將pipe與特定路由處理程序綁在一起,以確保在該方法被調用之前運行
任務要求:驗證路由參數是否為整數(確保findUser( )接受的參數是一個整數,否則在路由處理程序被調用之前就拋出異常)
方法: 在@Param裝飾器的第一個參數帶入路由參數,第二個參數帶入用來型別轉換的ParseIntPipe,因為受到轉換,所以id型別是number
@Get(':id')
async getUser(@Param('id', ParseIntPipe) id: number) {
  return{
          id,
          user:'user123'
   };
}
api測試-1(路由參數為整數):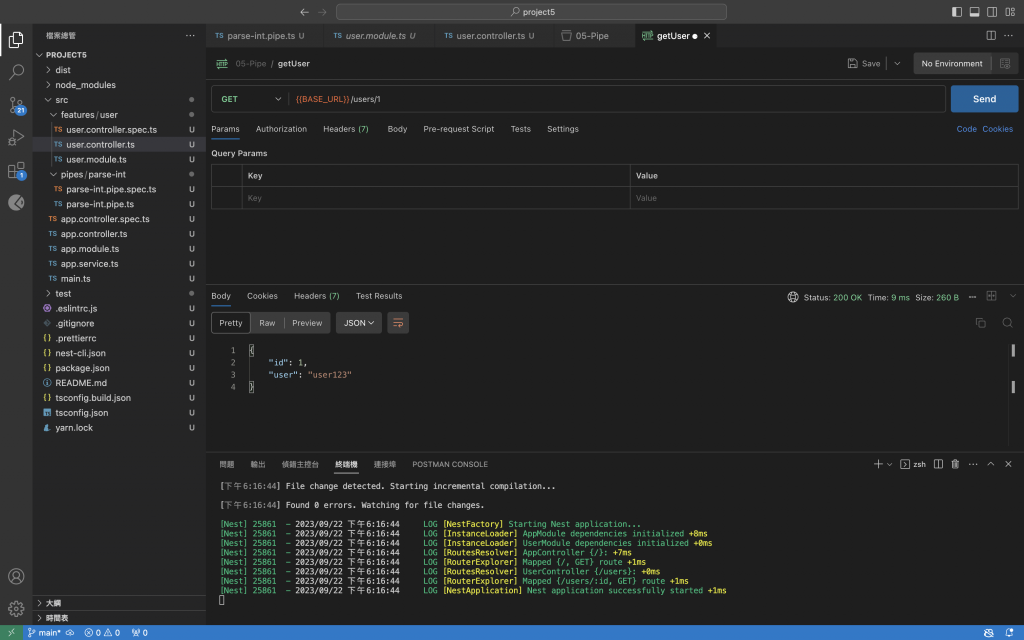
api測試-2(路由參數不為整數):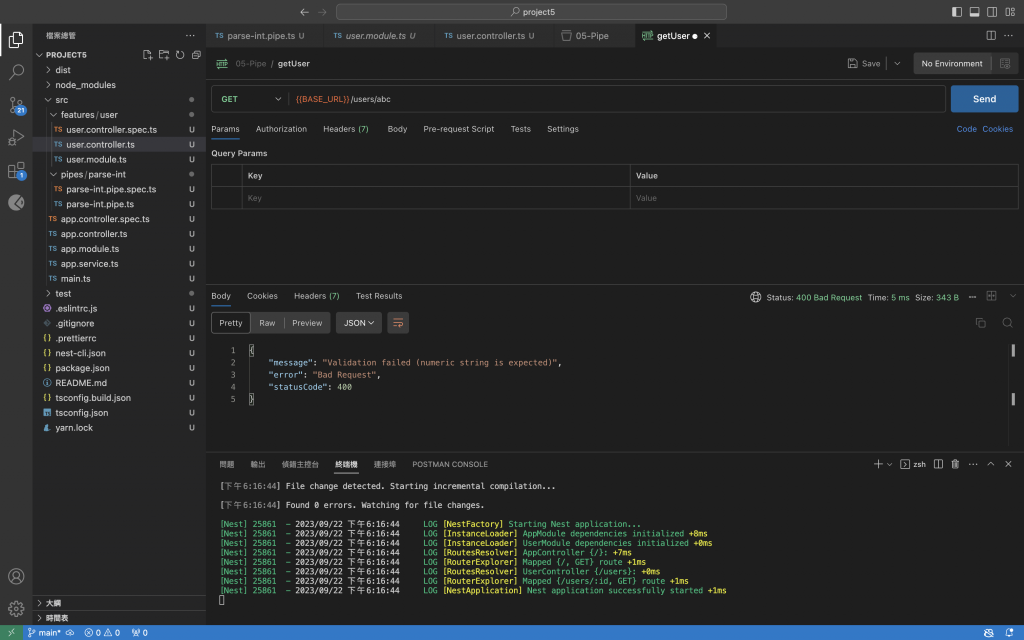
產生pipe的指令:$ nest g pipe <PIPE_NAME>
產生出來的pipe程式碼骨架:
import { PipeTransform, Injectable, ArgumentMetadata } from '@nestjs/common';

@Injectable()
export class ValidationPipe implements PipeTransform {
  transform(value: any, metadata: ArgumentMetadata) {
    return value;
  }
}
解釋說明:
import { PipeTransform, Injectable, ArgumentMetadata, BadRequestException } from '@nestjs/common';

@Injectable()
export class ParseIntPipe implements PipeTransform<string, number> {
  transform(value: string, metadata: ArgumentMetadata): number {
    const val = parseInt(value, 10);
    if (isNaN(val)) {
      throw new BadRequestException('不是數字');
    }
    return val;
  }
}
解釋說明:
接著來套用自訂的ParseIntPipe
import { Controller, Get, Param} from '@nestjs/common';
import { ParseIntPipe } from '../../pipes/parse-int/parse-int.pipe';

@Controller('users')
export class UserController {
    @Get(':id')
    getUser(@Param('id',ParseIntPipe) id:number){
        return{
            id,
            user:'user123'
        };
    }
}
解釋說明:
注意ParseIntPipe的來源,如果是來自@nestjs/common就不會套用到自訂的Exception
api測試(路由參數不為整數):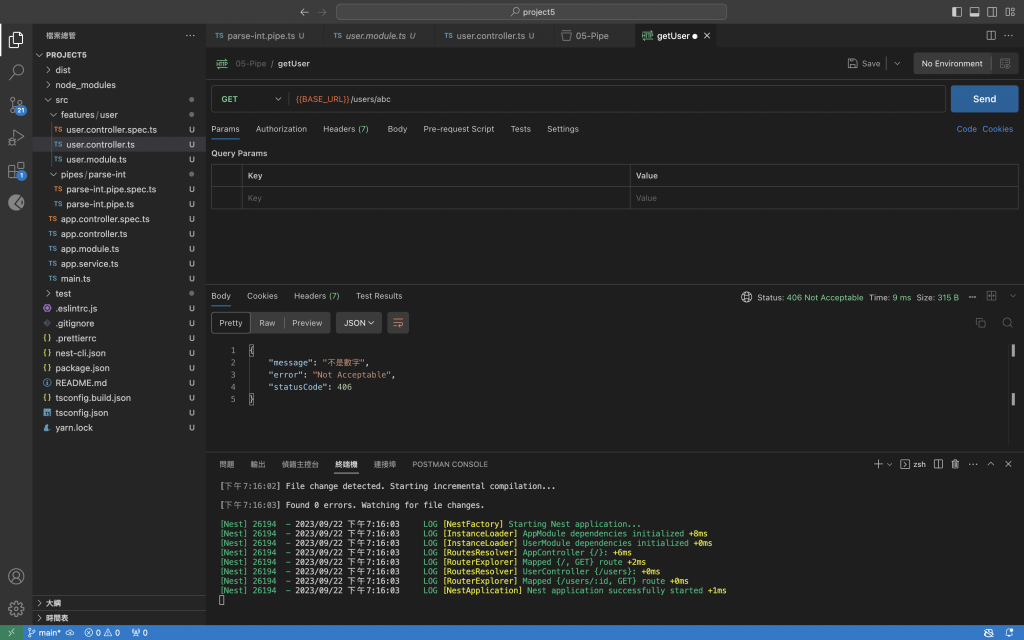
ValidationPipe可以針對client端傳來的Http Body(主體資料)做驗證,檢查傳進來的資料是否符合驗證需求.
安裝class-validator、class-transformer(以yarn為例):$ yarn add class-validator class-transformer
一、先建立一個dto資料夾,並創建一個create-user.dto.ts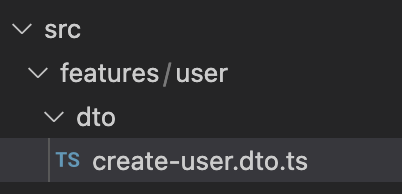
設定我們的CreateTodoDto內容:
import { IsOptional, Length, Max, Min} from "class-validator";

export class CreateUserDto{
    @Length(1,20)
    public readonly name:string;

    @Min(1)
    @Max(100)
    public readonly age:number;

    @IsOptional()
    @Length(1,100)
    public readonly about:string;
}
解釋說明:
我們依據自己的需求在 https://github.com/typestack/class-validator 中找尋需要的裝飾器套用在設定的變數上即可.
比如@Length(min,max)設定name的長度限制、@Min( )、@Max( )設定最小最大值、@isOptional( )設定about為可選填的
二、把validationPipe配置成全域:
在app.module.ts中
import { Module, ValidationPipe } from '@nestjs/common';
import { AppController } from './app.controller';
import { AppService } from './app.service';
import { UserModule } from './features/user/user.module';
import { APP_PIPE } from '@nestjs/core';

@Module({
  imports: [UserModule],
  controllers: [AppController],
  providers: [AppService,
    {
      provide:APP_PIPE,
      useClass:ValidationPipe,
    }],
})
export class AppModule {}
解釋說明:
新增一個provider,其token為APP_PIPE,並使用useClass來產生ValidationPipe
三、新增api-getUser
在user.controller.ts中新增
    @Post()
    postUser(@Body() dto:CreateUserDto){
        return dto;
    }
解釋說明:
使用post裝飾器,並用postUser這個handler裡面使用@Body( )來取得Http Body,取得的dto型別為CreateTodoDto.
api測試-1(通過驗證):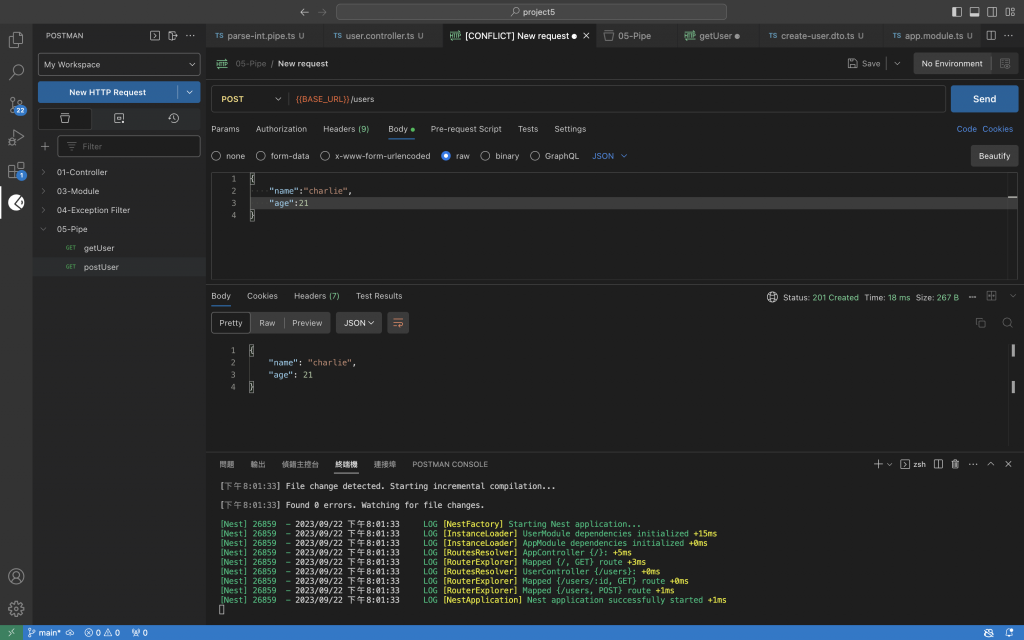
api測試-2(無通過驗證):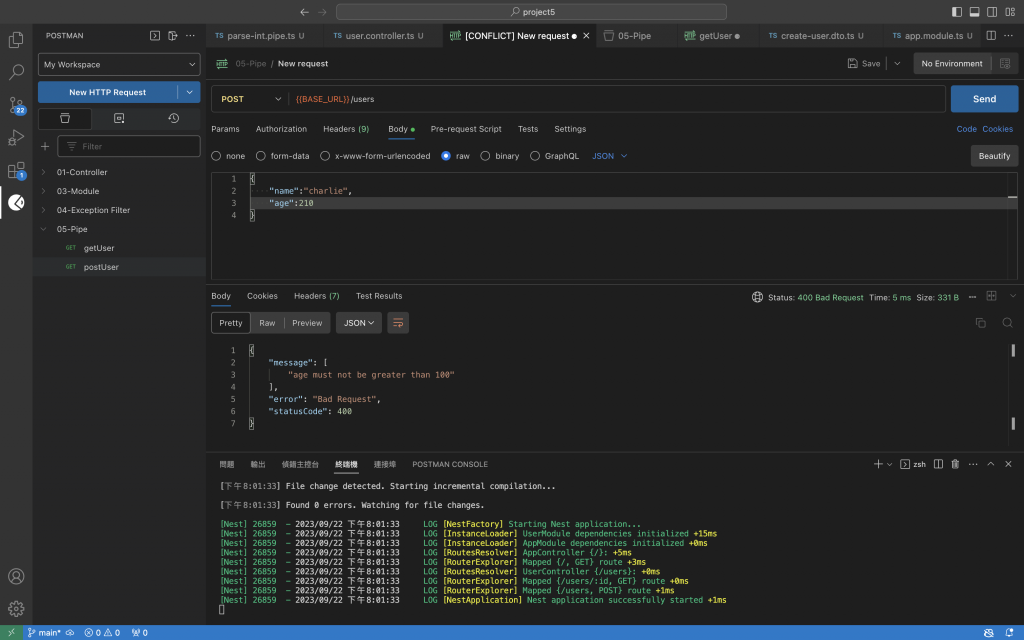
ㄧ、新增update-user.dto.ts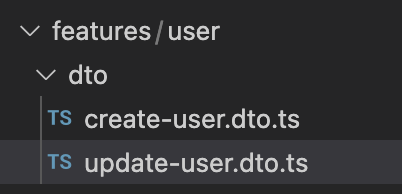
二、使用PartialType讓UpdateUserDto去繼承CreateUserDto,Partial類型是取用既有DTO的所有欄位並將其全轉成IsOptional( )
import { PartialType } from "@nestjs/mapped-types";
import { CreateUserDto } from "./create-user.dto";

export class UpdateUserDto extends PartialType(CreateUserDto){}
關於Mapped Types的更多資訊:https://docs.nestjs.com/openapi/mapped-types
三、新增一個Handler-UpdateUser:
    @Patch(':id')
    updateUser(@Param('id')id:string, @Body()dto:UpdateUserDto){
        return{id,...dto}
    }
解釋說明:使用Param裝飾器取得id,型別為string、使用@Body裝飾器取得dto,型別為UpdateUserDto
api測試結果: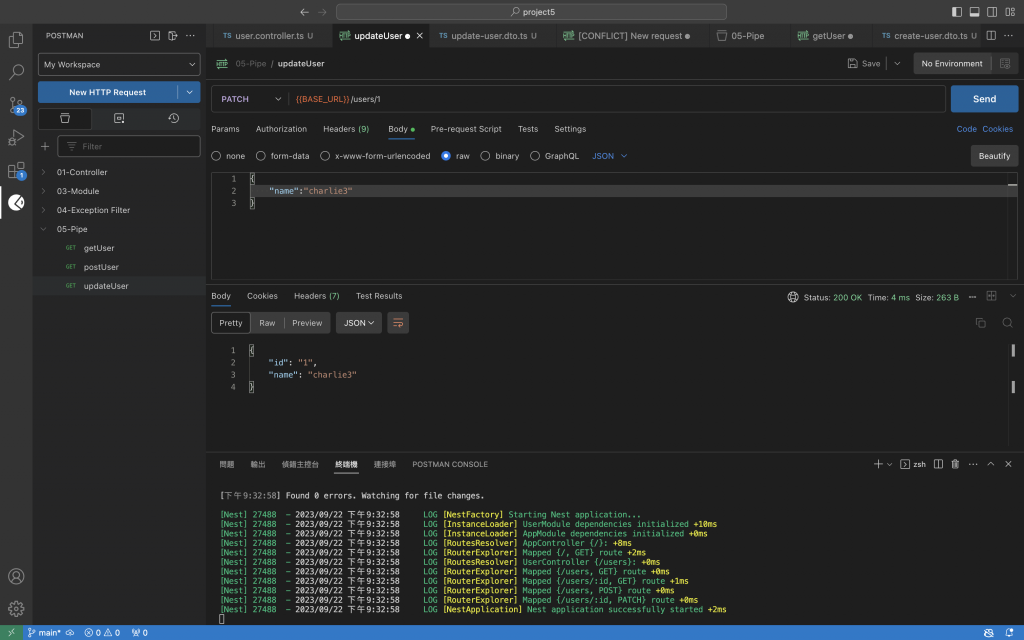
沒有任何防護措施,帶入其他欄位(text),依然可以更新:
解決辦法:開啟whitelist將多餘不必要的欄位過濾掉
在app.module.ts中:
 {
      provide:APP_PIPE,
      useFactory:()=>{
        return new ValidationPipe({whitelist:true})
      },
    }
api測試結果(帶入其他欄位時):