大家好~ 今天我們要來繼續介紹DOM的實作~
html
<html>
<head>
    <title>getElementById</title>
</head>
<body>
    <h1 id="Head">Hello World!</h1>
    <button id="change">點我</button>
    <script src="getElementById.js"></script>
</body>
</html>
javascript
document.addEventListener("DOMContentLoaded", function() {
var heading = document.getElementById("Head");
var button = document.getElementById("change");
button.addEventListener("click", function() {
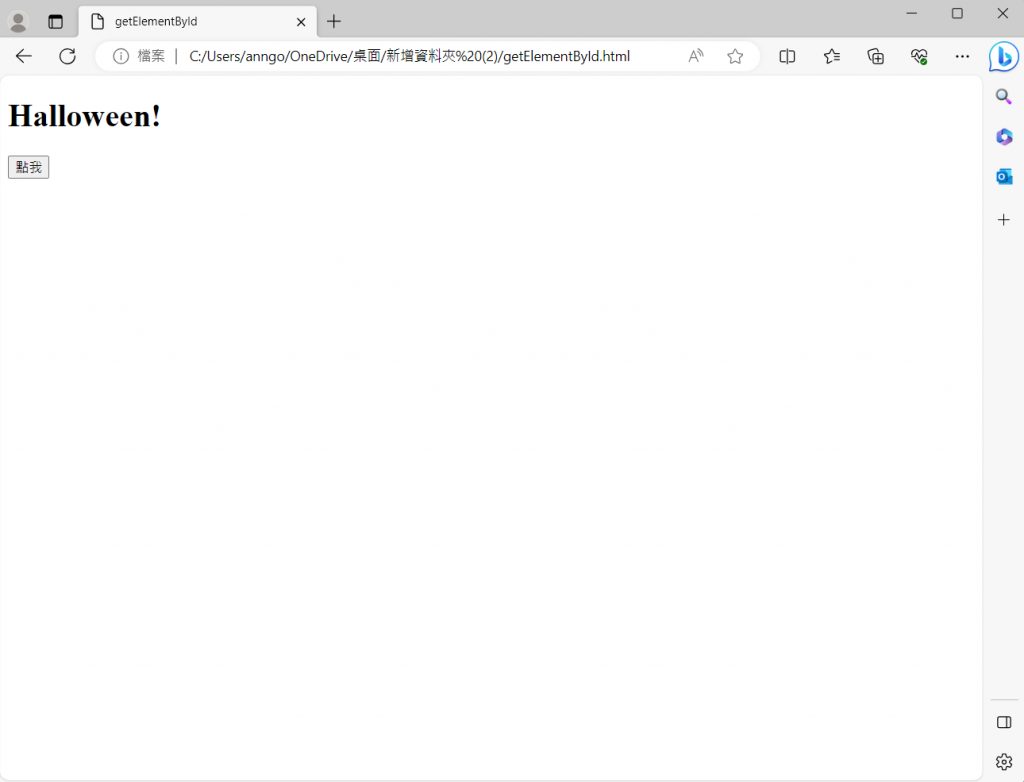
heading.innerHTML = "Halloween!";
});
});
我們先讓Hello World!的id設置為Head把button的id設置為change。然後看到js這邊,document.addEventListener("DOMContentLoaded", function() {}是當該元素觸發相應的事件時,相應的函數將被執行,DOMContentLoaded是我們的事件名稱,代表在 HTML 文件完全載入且所有 DOM 元素都可以被使用之後觸發的事件。var heading = document.getElementById("Head");代表在html中找到一個id為Head的元素並把它存在一個叫做 heading 的變數中。下面的同理,所以網頁在點擊按鈕之後就會變換標題。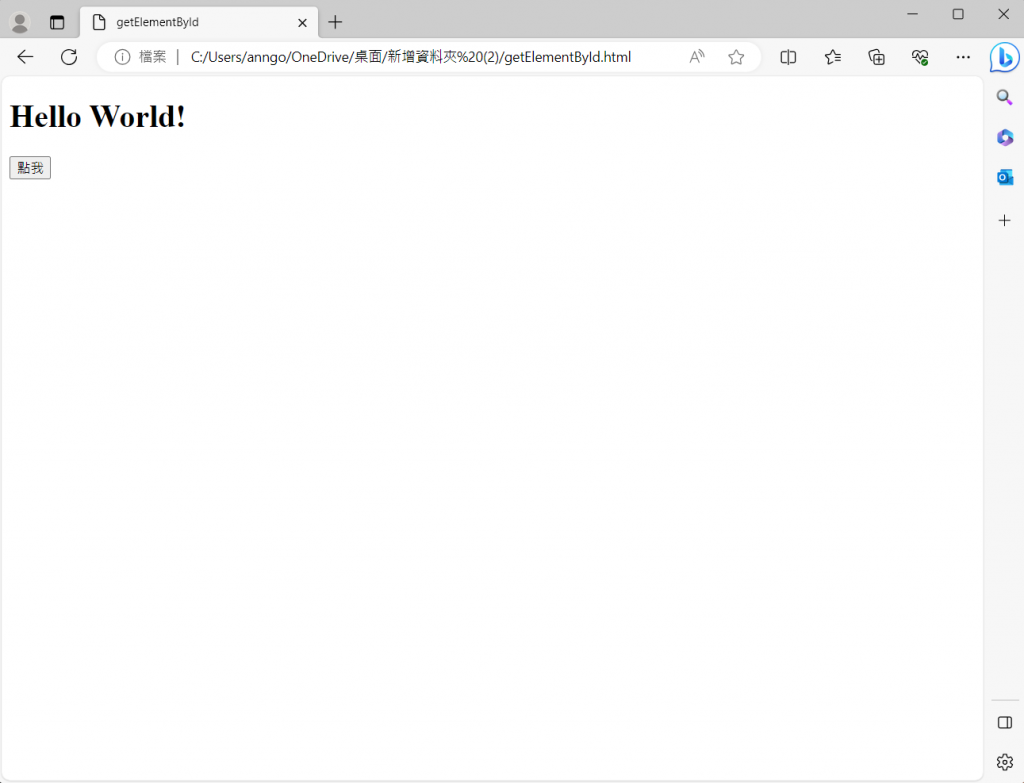
html
<!DOCTYPE html>
<html>
<head>
<title>getElementsByClassName</title>
</head>
<body>
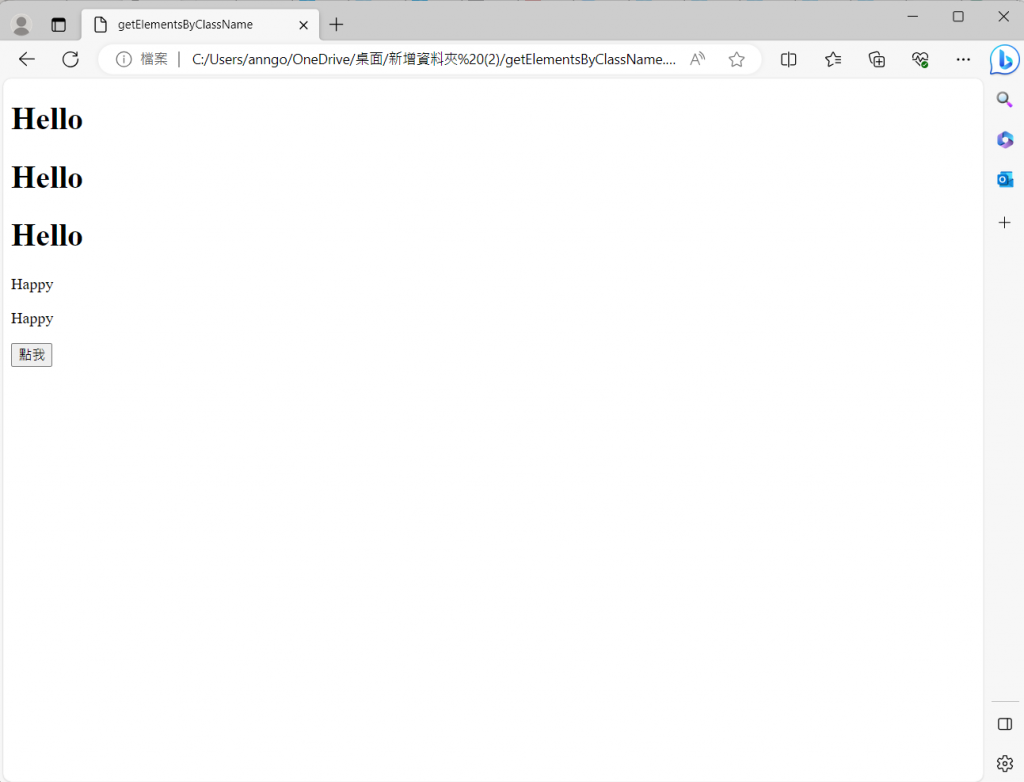
<h1 class="heading">Hello</h1>
<h1 class="heading">Hello</h1>
<h1 class="heading">Hello</h1>
<p class="paragraph">Happy</p>
<p class="paragraph">Happy</p>
<button onclick="changeText()">點我</button>
<script src="getElementsByClassName.js"></script>
</body>
</html>
javascript
document.addEventListener("DOMContentLoaded", function() {
var headings = document.getElementsByClassName("heading");
var paragraphs = document.getElementsByClassName("paragraph");
function changeText() {
for (var i = 0; i < headings.length; i++) {
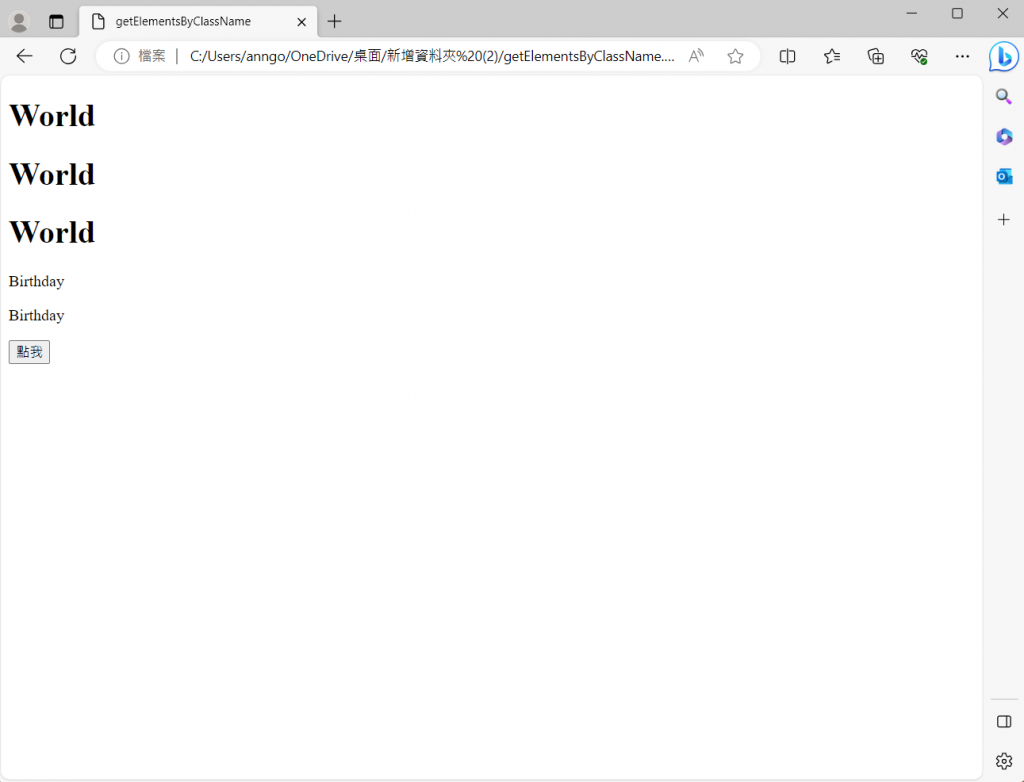
headings[i].innerHTML = "World";
}
for (var i = 0; i < paragraphs.length; i++) {
paragraphs[i].innerHTML = "Birthday";
}
}
// 將 changeText 函數連結到按鈕點擊事件
var button = document.querySelector("button");
button.addEventListener("click", changeText);
});
html
<!DOCTYPE html>
<html>
<head>
<title>getElementsByTagName</title>
</head>
<body>
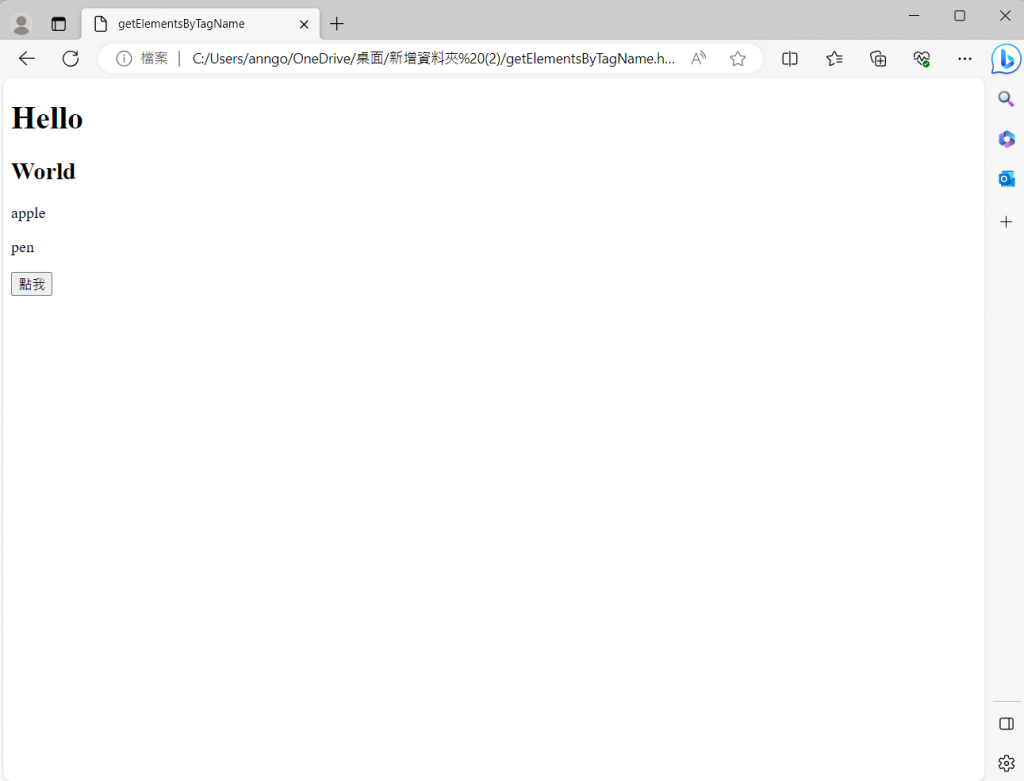
<h1>Hello</h1>
<h2>World</h2>
<p>apple</p>
<p>pen</p>
<button onclick="changeText()">點我</button>
<script src="getElementsByTagName.js"></script>
</body>
</html>
javascript
<!DOCTYPE html>
<html>
<head>
    <title>getElementsByTagName</title>
</head>
<body>
    <h1>Hello</h1>
    <h2>World</h2>
    <p>apple</p>
    <p>pen</p>

    <button onclick="changeText()">點我</button>

    <script src="getElementsByTagName.js"></script>
</body>
</html>
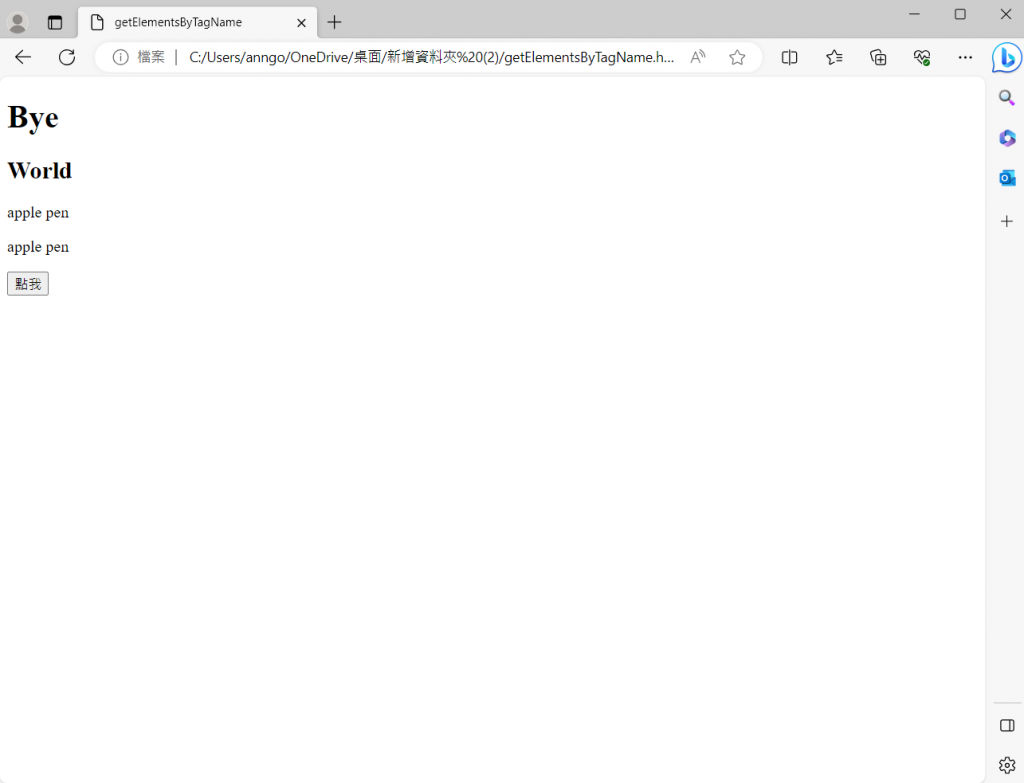
getElementsByClassName與getElementsByTagName跟getElementById非常相似,只是選取的目標不同。分別是以class以及id來選取單位。
而querySelector以及querySelectorAll的用法也十分相似。
他們是以css選擇器來選擇目標。
html
<a href="https://www.example.com" id="myLink">點我點我</a>
javascript
var link = document.getElementById("myLink");
var url = link.getAttribute("href");

console.log(url);
var url = link.getAttribute("href");代表找到href這個屬性的值(網址)。console.log(url);則是輸出訊息到控制台。
執行後長這樣:
setAttribute(要設定的屬性,屬性名字)則是設置元素屬性值的方法。
以上都是常見的DOM操作
今天先介紹到這邊~我們明天見~


 iThome鐵人賽