最簡單的 BashOperator 已經使用過了,今天就要使用 PythonOperator 製作多個 Tasks,學習資料間諜 Xcoms 是怎麼在當中傳遞資訊的 ~
XComs 其實是 cross-communications 的縮寫,可以讓任務之間傳遞資料,但是針對少量資料設計的,大型資料還是盡量不要透過 XComs 傳遞。
from datetime import datetime
from airflow import DAG

with DAG(
    dag_id = 'python_dag',
    start_date = datetime(2023, 9, 24),
    schedule_interval=None
) as dag:

python_dag.py,然後貼上上面的架構from airflow.operators.python import PythonOperator
def say_hello():
print("hello")
task1 = PythonOperator(
task_id=say_hello,
python_callable=say_hello
)
應該都知道這些要放在哪裡吧~
datetime 和 DAG import 放一起import 和 with DAG( 的中間task1=PythonOperator(... 這部分最重要,要放在 with DAG( 的裡面加起來就會變這樣
from datetime import datetime
from airflow import DAG
from airflow.operators.python import PythonOperator

def say_hello():
    print("hello")

with DAG(
    dag_id = 'first_dag',
    start_date = datetime(2023, 9, 22),
    schedule_interval=None
) as dag:
    task1 = PythonOperator(
    task_id='say_hello',
    python_callable=say_hello
    )

    task1
對了不要忘記最下方要加上 task1,airflow 才知道你要使用喔!
提醒+1: task_id 和 function 的名稱也盡量一樣,比較不會亂~
Trigger DAG 執行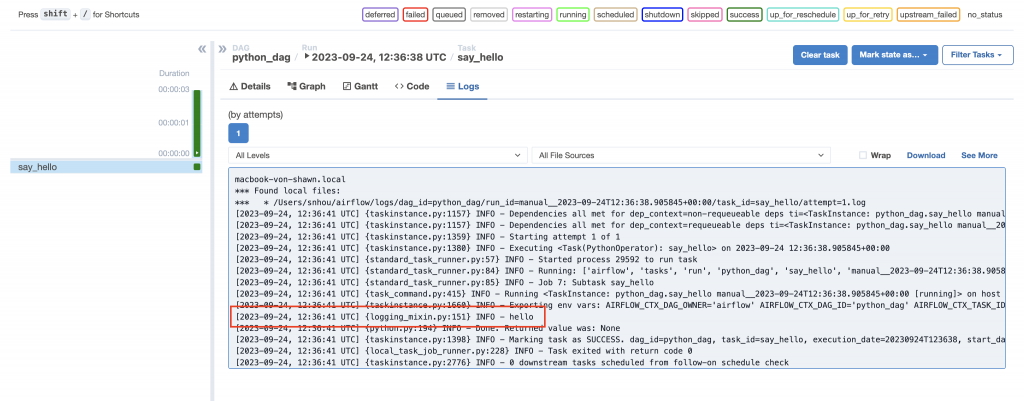
ti 參數:代表 task instance 任務實例,可以從中存取 Airflow XComs 的值,可以把它想成是一個暫存區,或是你家一進門的鞋櫃,一回家會先把外套包包放在櫃子上,脫完鞋,再拿下來走進客廳。xcoms_push 和 xcoms_pull : 有在用 git 的人,肯定對 pull push 不陌生,在task 當中,使用 push 可以將值傳遞給 xcoms,pull 可以將值從 xcoms 拿回來。def say_hello(ti):
name = ti.xcom_pull(task_ids='send_name', key='name')
print("hello", name)
def send_name(ti):
ti.xcom_push(key='name', value='Shawn')
我們接著建立兩個 function 來說明,send_name 把 key 是 name、value 是 Shawn 的資料給 xcoms,到了 say_hello 我們再透過 task_ids=send_name 和 key=name 把資料拿回來,沒錯,就很像是 Dictionary 的 key-value 型態,所以一定要給 task_id 才能拿到值嗎?沒錯,因為整個 DAG 裡面的 function 都是用 Xcoms 在溝通的,一定要很明確才能拿到 value,就像是全家人一起把東西放到鞋櫃上,這時候突然沒電,你確定你拿到的外套是你的嗎?
with DAG(
    dag_id = 'python_dag',
    start_date = datetime(2023, 9, 22),
    schedule_interval=None
) as dag:
    task1 = PythonOperator(
    task_id='say_hello',
    python_callable=say_hello
    )

    task2 = PythonOperator(
    task_id='send_name',
    python_callable=send_name
    )

    task1 >> task2
上面都沒問題吧~都是一樣的內容以此類推~
記得每一次修改完程式,執行前都要重開 webserver 喔!(之後用 docker 就不用這麼麻煩了~)
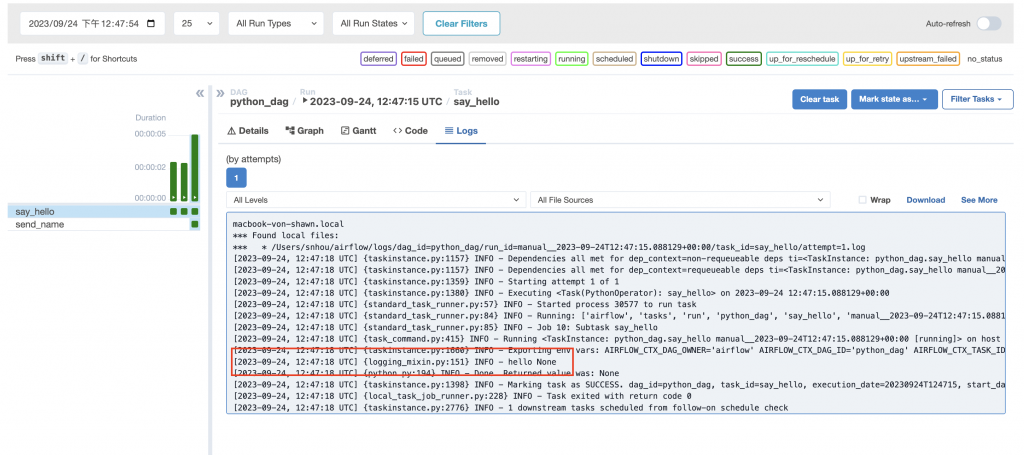
None~失敗~(登~登~登~登~
有人知道為什麼嗎?
有發現問題就在最後一行 task1 >> task2 嗎?
因為在執行 task1 的時候 XComs 根本還沒有 name 的資料。
所以只要交換順序就沒問題了。
task2 >> task1
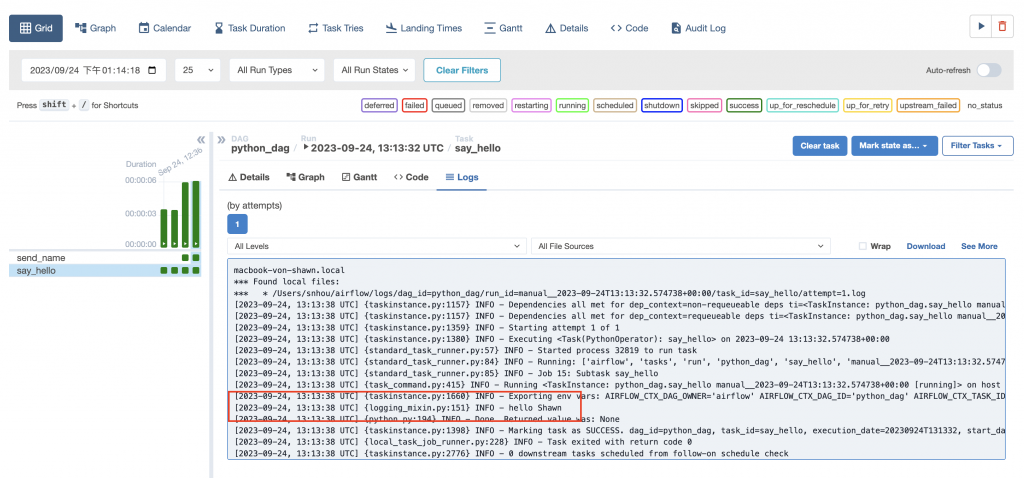
Do~Re~Mi~So~成功了~
今天先到這邊吧~明天再繼續講 Airflow 的 Varaible 有哪些~


 iThome鐵人賽