在進行網站和應用程式建構前,我們先來規劃頁面結構和 API 設計。目前我們的頁面規劃如下:
 |
 |-- index.tsx  (主頁,展示所有商品)
 |
 |-- auth
 |   |-- login.tsx  (登入頁面,使用 LoginForm 組件)
 |   |-- register.tsx  (註冊頁面,使用 RegisterForm 組件)
 |
 |-- profile
 |   |-- index.tsx  (會員中心頁面)
 |
 |-- products
 |   |-- index.tsx  (列出所有商品,使用 ProductCard 組件)
 |   |-- [id].tsx  (單一商品詳細頁面,使用 ProductDetails 組件)
 |
 |-- cart
 |   |-- index.tsx  (購物車頁面,列出所有購物車項目,使用 CartItem 組件)
 |
 |-- checkout
     |-- index.tsx  (結帳頁面,使用 CheckoutForm 組件)
並且API也稍微規劃一下,並且我們API 的部分涵蓋了用戶認證、商品管理和購物車操作等主要功能:
Queries:
|
|-- getProducts: [Product]
|-- getProduct(id: ID!): Product
|-- getUserProfile: User
|-- getCartItems: [CartItem]

Mutations:
|
|-- loginUser(username: String!, password: String!): AuthPayload
|-- registerUser(input: UserInput!): AuthPayload
|-- addCartItem(productId: ID!, quantity: Int!): [CartItem]
|-- removeCartItem(productId: ID!): [CartItem]
|-- updateCartItem(productId: ID!, quantity: Int!): [CartItem]
|-- checkout(cartItems: [CartItemInput!], paymentInfo: PaymentInput!): Order
我們先簡單地實現了主頁的設計。
打開apps\iron-ecommerce-next\app\home.client.tsx:
import { Flex } from "@radix-ui/themes";

// eslint-disable-next-line @typescript-eslint/no-empty-interface
interface Props {}

// eslint-disable-next-line no-empty-pattern
const HomeClient = ({}: Props) => {
	return (
		<Flex direction="column">
			<header className="flex flex-direction:row jc:space-between ai:center p:1em bg:#333 color:#fff">
				<div className="flex-shrink:0 f:1.5rem f:bold">Iron Shop</div>
				<nav className="flex-grow:1 flex m:0|1em">
						<ul className="list-style:none flex gap:20px m:0 p:0 {cursor:pointer}>li">
								<li>Home</li>
								<li>Products</li>
						</ul>
				</nav>
			</header>
			<Flex align="center" justify="center">
				<div className="bg:blue h:100rem flex-basis:xs flex-basis:full@<xs">Main</div>
			</Flex>
		</Flex>
	);
};

export default HomeClient;
創建結果如下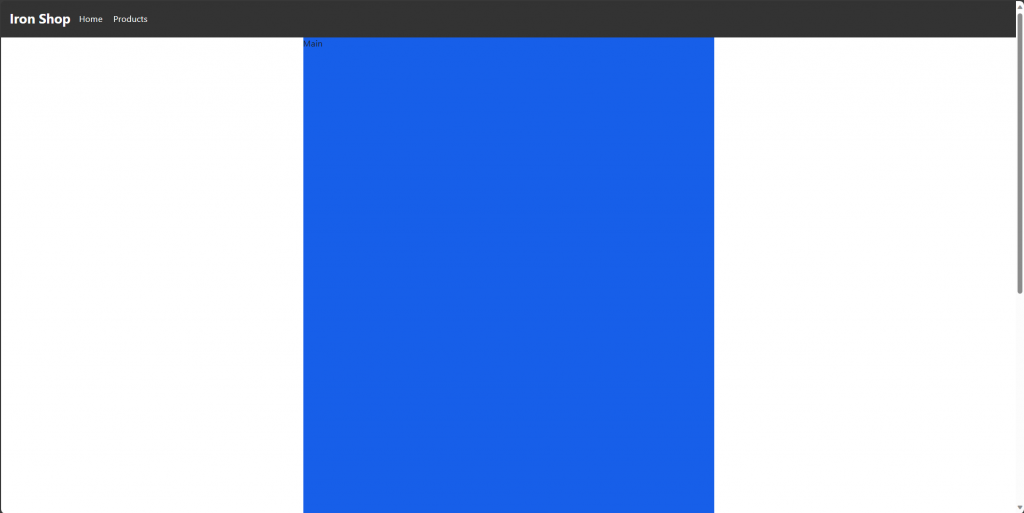
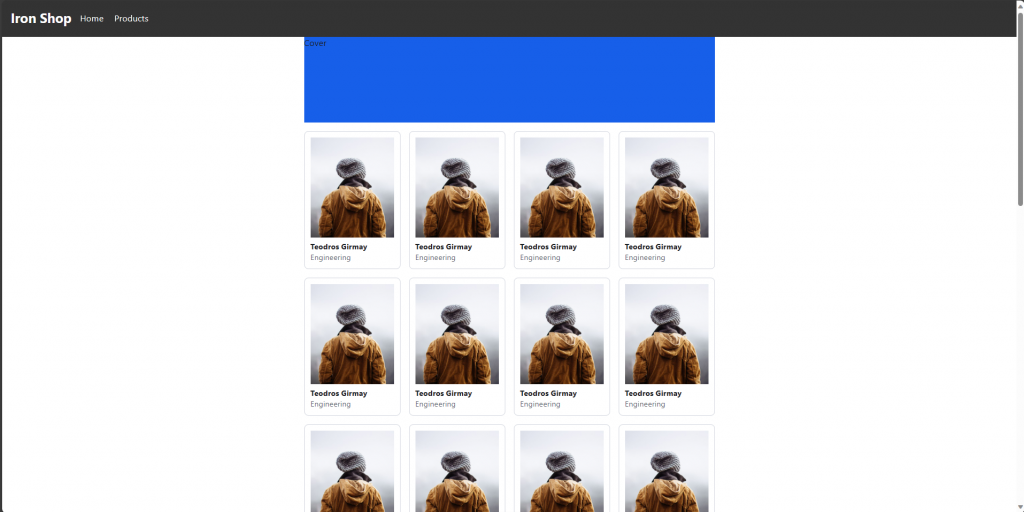
接著,我們在簡易創建卡片:```
"use client";
import { Box, Card, Flex, Text } from "@radix-ui/themes";

// eslint-disable-next-line @typescript-eslint/no-empty-interface
interface Props {}

// eslint-disable-next-line no-empty-pattern
const HomeClient = ({}: Props) => {
	return (
		<Flex direction="column">
			<header className="flex flex-direction:row jc:space-between ai:center p:1em bg:#333 color:#fff">
				<div className="flex-shrink:0 f:1.5rem f:bold">Iron Shop</div>
				<nav className="flex-grow:1 flex m:0|1em">
						<ul className="list-style:none flex gap:20px m:0 p:0 {cursor:pointer}>li">
								<li>Home</li>
								<li>Products</li>
						</ul>
				</nav>
			</header>
			<Flex align="center" justify="center">
				<section className="flex flex:wrap flex-direction:row flex-basis:xs flex-basis:full@<xs gap:1rem jc:center">
					<div className="bg:blue w:100% h:10rem">Cover</div>
					{Array.from({ length: 32 }).map((_, i) => (
						<Card key={i} className="flex:1|1|20% flex:1|1|40%@<xs">
							<Box>
								<picture>
									<img src="https://www.w3schools.com/tags/img_girl.jpg" alt="Sample Image" width="100%"  />
								</picture>
								<Text as="div" size="2" weight="bold">
									Teodros Girmay
								</Text>
								<Text as="div" size="2" color="gray">
									Engineering
								</Text>
							</Box>
						</Card>
					))}
				</section>
			</Flex>
		</Flex>
	);
};

export default HomeClient;
我們規劃了商店頁面的基礎結構和功能,並初步的完成首頁。明天,我們將繼續深入,將我們創建的元件進一步拆分和完善,並完成剩餘的頁面設計。