隨著功能越加越多,我們的專案也需要開始來區分前後台了
我們就簡單區分一下:
前台是給使用者看的
後台是給管理員看的
後台會用到的功能應該會比較多,所以我們就把後台區隔開來
因為前台是給使用者看的,前台的網址以簡單且能傳達意思為主,
所以原本的設定就保留給前台
後台我們需要再另外設定路徑
如果需要跟前台做區別,controller 就要不一樣,
以商品來說,我的 controller 也想要叫 drinks 與 desserts 啊,不然很難做區分耶
遇到這種狀況,我們可以在上一層加上 controller 來做區分,但路徑就必須要做調整
有幾個選項可以達成這個目標,namespace 與 scope
來看一下 namespace 與 scope 的差別

namespace 不需要額外加 model 就可以達成我們要的目的,
而且也比較好閱讀(當然有可能會跟 coding style 有關,就照個人習慣選擇)
這邊我選擇用 namespace 來做
# config/routes.rb

Rails.application.routes.draw do
  devise_for :users
  resource :profiles
  resources :drinks
  resources :desserts

  namespace :admin do
    resources :drinks
    resources :desserts
  end
end
以 drinks 來說,就會做出以下的路徑
    admin_drinks GET    /admin/drinks(.:format)          admin/drinks#index
                 POST   /admin/drinks(.:format)          admin/drinks#create
 new_admin_drink GET    /admin/drinks/new(.:format)      admin/drinks#new
edit_admin_drink GET    /admin/drinks/:id/edit(.:format) admin/drinks#edit
     admin_drink GET    /admin/drinks/:id(.:format)      admin/drinks#show
                 PATCH  /admin/drinks/:id(.:format)      admin/drinks#update
                 PUT    /admin/drinks/:id(.:format)      admin/drinks#update
                 DELETE /admin/drinks/:id(.:format)      admin/drinks#destroy
修改好路徑後,我們就要來修改 controller 了
基本上後面的都只是搬家作業而已
我們需要在 drinks 與 desserts controller 繼承 AdminController
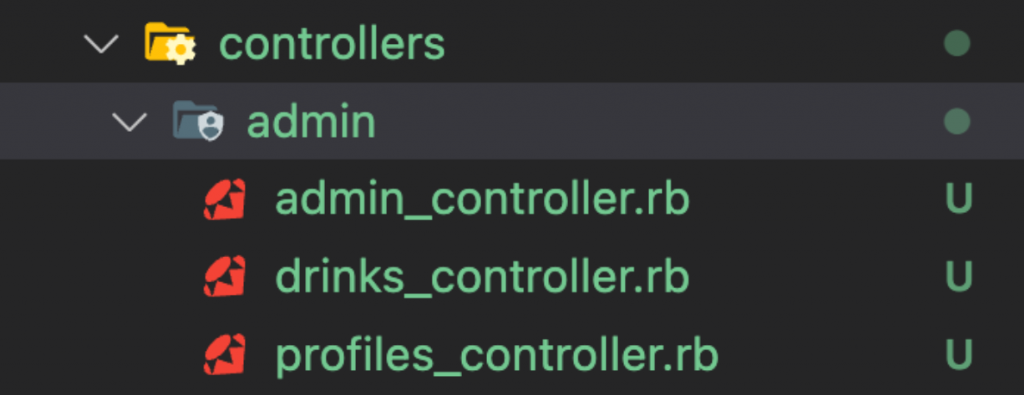
不過為了方便管理,用一個資料夾來統整,這個資料夾我們就叫 admin

再來新增一個 admin controller ,可以把它想像成是後台的 application controller,所有的後台 controller 都繼承 admin controller 的設定
而 admin controller 則是繼承 application controller 的設定
(畢竟我們還是需要使用到 application controller 的方法)
最上層必須是 module Admin,這是 Rails 中的 Coc 規定,遵循這個慣例以便讓 Rails 輕鬆地找到檔案
module Admin
  class AdminController < ApplicationController
    include Pagy::Backend
  end
end
接下來就要設定 desserts controller 了
我們就直接把原本的 drinks_controller.rb 放置到 admin 底下,
並且讓它繼承 AdminController,
DessertsController 同理
module Admin
  class DrinksController < AdminController
    ...
  end
end
module Admin
  class DessertsController < AdminController
    ...
  end
end
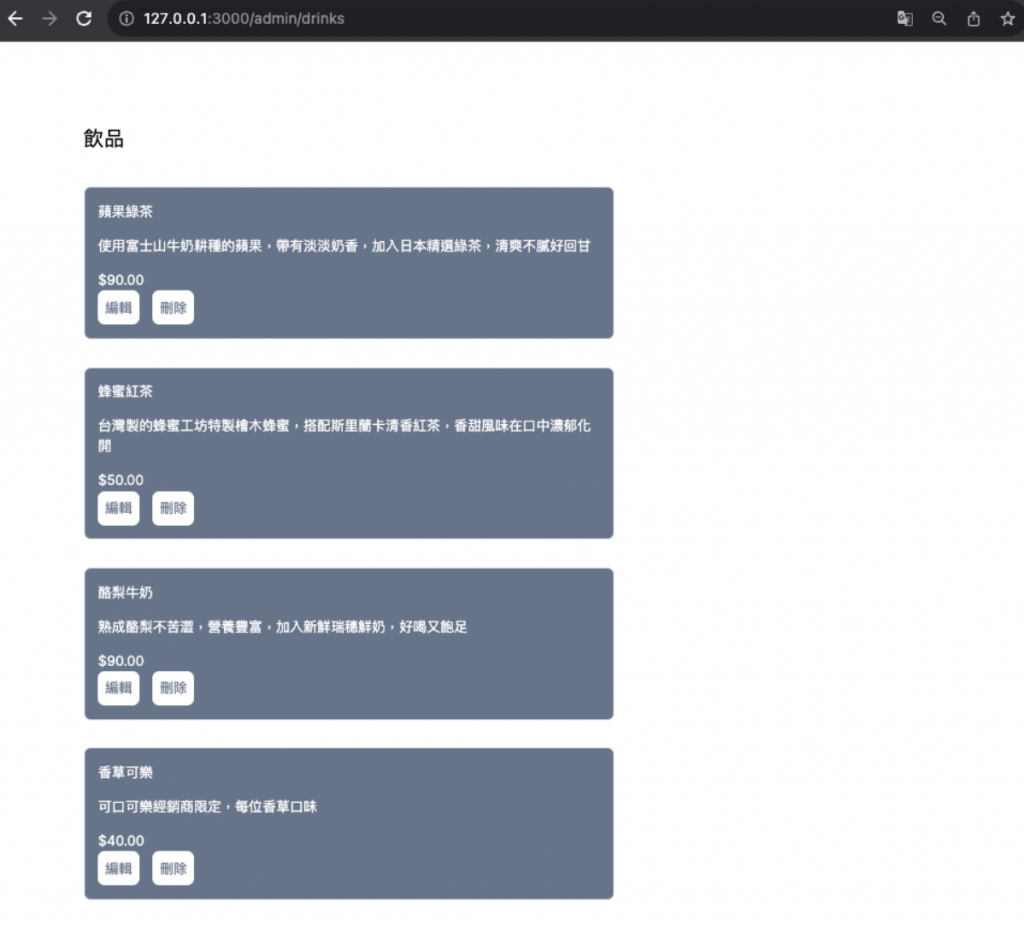
接下來我們輸入路徑試試 127.0.0.1:3000/admin/drinks
這時候畫面應該會壞掉,因為他找不到對應的 view
我們只要做一個 admin 的資料夾,把原本的 drinks 及 desserts 資料夾放進去即可

重新整理畫面後,就恢復囉!

這樣就輕鬆把後台搬移完成了
接下來我們來做一下前台,前台應該會有個頁面包含全部的商品,個別的商品分類也會有自己的頁面
也就是說,應該會
包含所有商品的頁面 * 1
desserts 頁面 * 1
drinks 頁面 * 1
我們先來處理包含所有商品的頁面
由於我們只是要做出一頁,有包含所有商品的頁面
路徑就可以只包含 index
Rails.application.routes.draw do
  ...
  resources :products, only: [:index]
  ...
end
接下來其實就是簡單的 CRUD 而已,因為我們的商品跟 Product 有 polymorphic 的關聯
我們可以直接撈所有的 Product 資料出來
class ProductsController < ApplicationController
  def index
    @pagy, @products = pagy(Product.all)
  end
end
我們這時候就可以到 View 去把畫面渲染出來了
不過因為我們是用 polymorphic 的方式,所以需要每個資料需要用 productable 來把他們撈出來
<h2 class="mb-10 text-2xl">商品</h2>

<% @products.each do |product| %>
  <div class="w-2/4 p-4 mb-8 text-white border-2 rounded-lg bg-slate-500">
    <div class="flex items-center mb-4 field">
      <%= product.productable.name %>
    </div>

    <div class="flex items-center mb-4 field">
      <%= product.productable.description %>
    </div>

    <div class="flex items-center mb-4 field">
      <%= number_to_currency(product.productable.price, precious: 0) %>
    </div>
  </div>
<% end %>

<%== pagy_nav(@pagy) %>
這樣前台就完成囉!
drinks 跟 desserts 的頁面也是基本的 CRUD 就能完成,這邊交給大家去實作囉!
