經過前幾篇的發文,複習了一下在JS及CSS的基礎,在後面的發文中,可以更專注在Vue本身的特點及功能上,同時也想確認一下,透過官網上的說明,是否可以學會Vue,在以往常聽到有人提到,官網的help很難理解,真正的原因是什麼?官網就是原創公司的人所寫的技術文件,有時會發現其實官網的文件都有說明到,但是為什麼不易閱讀,主要在於大部份的人在學習的時候,還沒弄清楚整個技術的開發出來的原因,目的,作用,就直接進到細部的說明,而help文件也常常只是說明部份單一的功能,對於如何用在一個可以真正執行的專案上並不了解,因此就放棄去閱讀文件。 因此,先建立一個可以執行的最小的專案,然後理解文件中提到的功能,是在專案的什麼地方,最好可以提供完整整合好的專案檔,透過理解專案檔的各個程式碼之間的關係,就可以快速的掌握技術的重點。
接下來的幾篇發文,會試著從Vue的官方的Tutorial來看看是否可以快速的了解Vue的特點,
之後就可以透過個別查詢功能特細節以及更多不同的用法的時候,擴增自己對Vue的能力。
首先,先從Vue SFC Playground網頁下載專案檔,這部份在第1篇V01_工欲善其事_Vue先裝起來有介紹到,
接著從 Try the Tutorial 網頁來開始學習
網址為 https://vuejs.org/tutorial
分成幾個主題
1. Getting Started
2. Declarative Rendering
3. Attribute Bindings
4. Event Listeners
5. Form Bindings
6. Conditional Rendering
7. List Rendering
8. Computed Property
9. Lifecycle and Template Refs
10. Watchers
11. Components
12. Props
13. Emits
14. Slots
15. You Did It!
先以 Composition 及 SFC 的版本來學習
在專案檔中 主要的檔案有 index.html, src/main.js, src/App.vue
index.html
<!DOCTYPE html>
<html lang="en">
  <head>
    <meta charset="UTF-8" />
    <link rel="icon" href="/favicon.ico" />
    <meta name="viewport" content="width=device-width, initial-scale=1.0" />
    <title>Vite App</title>
  </head>
  <body>
    <div id="app"></div>
    <script type="module" src="/src/main.js"></script>
  </body>
</html>
main.js
import { createApp } from 'vue'
import App from './App.vue'

createApp(App).mount('#app')
App.vue
<script>
export default {
  data() {
    return {
      msg: 'Hello World!'
    }
  }
}
</script>

<template>
  <h1>{{ msg }}</h1>
  <input v-model="msg">
</template>
index.html 及 main.js的內容大致是固定的
變動的部份是 App.vue
//-------------------------------
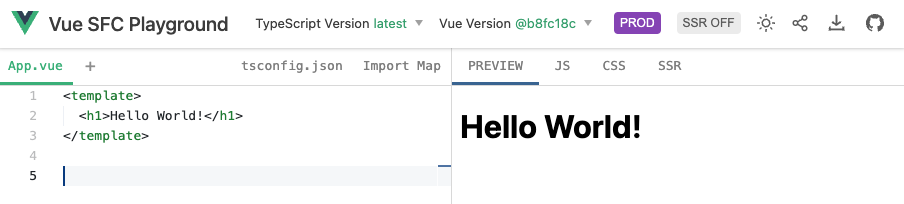
在 1. Getting Started 中的 App.vue
<template>
  <h1>Hello World!</h1>
</template>
可以將這個 App.vue的內容貼到 Vue SFC Playground 測試
https://play.vuejs.org/
執行後,在chrome的DevTools查看實際的結果
原本
<div id="app"></div>
將的內容置入到 id為app的div中
變成
<div id="app" data-v-app="">
  <h1>Hello World!</h1>
</div>
這個動作就是所謂的 Rendering 渲染
//-------------------------------
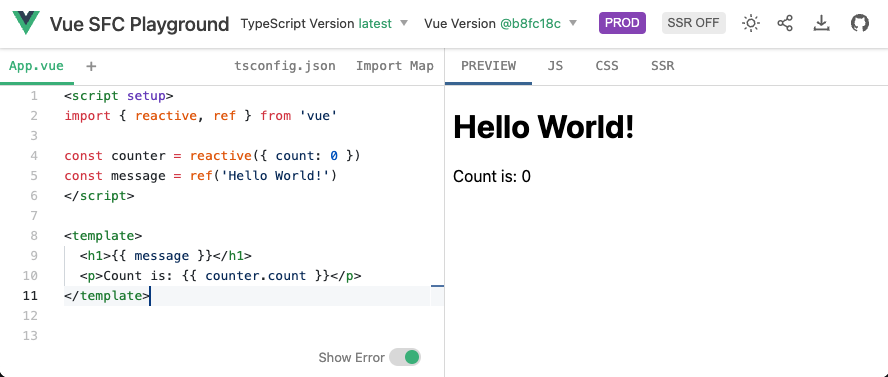
在 2. Declarative Rendering 中的 App.vue 宣告渲染
<script setup>
import { reactive, ref } from 'vue'

const counter = reactive({ count: 0 })
const message = ref('Hello World!')
</script>

<template>
  <h1>{{ message }}</h1>
  <p>Count is: {{ counter.count }}</p>
</template>
這裡看到從vue套件中匯入了 reactive, ref
用來做為變數 counter 及 message 與<template>之間的連動回應
也就是一種狀態的監看。
一旦在<script setup>中的變數有改變,就會即時回應到 {{ message }},{{ counter.count }}中
const counter = reactive({ count: 0 })
其中 的 { count: 0 } 是設定 counter 的初值
const message = ref('Hello World!')
其中 的 'Hello World!' 是設定 message 的初值
reactive() 主要用在陣列類型的變數上
ref() 則是不限類型
例如:
ref('') 字串
ref(0) 數字
ref([]) 陣列
ref({}) 物件
reactive({ count: 0 })
reactive([0, 1, 2])
在 script中 要使用 <script setup> 的語法
<script setup>
import { reactive } from 'vue'

const state = reactive({ count: 0 })
</script>

<template>
  <button @click="state.count++">
    {{ state.count }}
  </button>
</template>
上面的流程是 在<template>中,當<button>按下時,觸發 @click,然後執行 state.count++
造成 state的count加1, 然後連動回到 <template>中的 {{ state.count }}
這個 reactive(),ref()是非常關鍵的特點
//-------------------------------
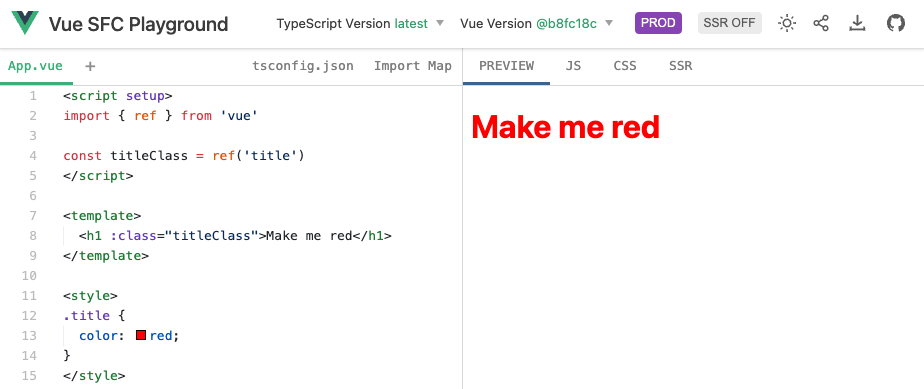
在 3. Attribute Bindings 中的 App.vue 元素屬性綁定
<script setup>
import { ref } from 'vue'

const titleClass = ref('title')
</script>

<template>
  <h1 :class="titleClass">Make me red</h1>
</template>

<style>
.title {
  color: red;
}
</style>
這裡引入一個 v-bind directive 的用法
在<template>中<div v-bind:id="dynamicId"></div>
或是<div :id="dynamicId"></div>
代表 <script>中的 dynamicId 與 <template>中的 id為dynamicId的div進行連動綁定
在這個範例中
<script>中的 titleClass 與 <template>中的 class為titleClass的h1進行連動綁定
這個 const titleClass = ref('title') 其中的 ref('title') 再連動到 <style>中的 .title 樣式
整個流程 可以想成 先設定 一個變數 titleClass 關連到 樣式 .title,再綁定到 <h1> 的:class上
這裡有一個小問題,在上一個範例中
const message = ref('Hello World!') -> {{ message }}
const counter = reactive({ count: 0 }) -> {{ counter.count }}
在這個範例中
const titleClass = ref('title') -> <h1 :class="titleClass"> -> <h1 class="title">
const dynamicId = ref('item-id-1') -> <div :id="dynamicId"> -> <div id="item-id-1">
由以上可看出 若要綁定到 元素的屬性上,就要用 v-bind 的方式
若要綁定到 元素的內容,則用 {{ }} 的方式
v-bind:id => :id
v-bind:class => :class
v-bind:src => :src
//-------------------------------
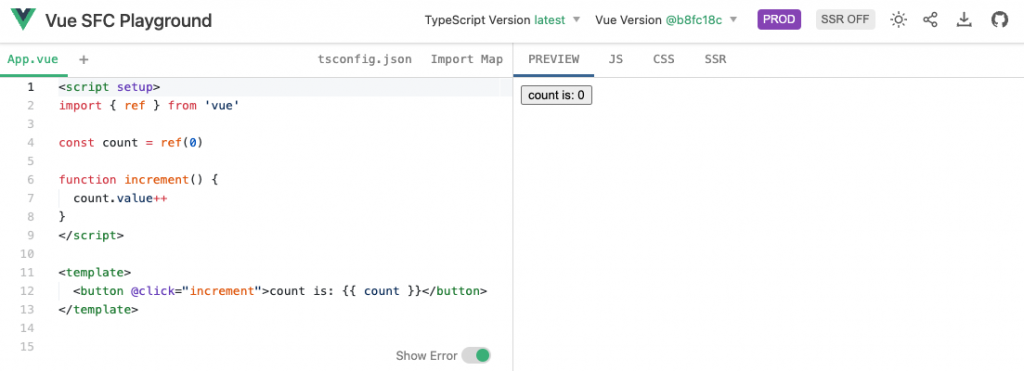
在 4. Event Listeners 中的 App.vue
<script setup>
import { ref } from 'vue'

const count = ref(0)

function increment() {
  count.value++
}
</script>

<template>
  <button @click="increment">count is: {{ count }}</button>
</template>
這裡引入了事件監聽的方法 v-on directive
v-on的語法為<button v-on:click="increment">{{ count }}</button>
或是
<button @click="increment">{{ count }}</button>
在先前有看到這個用法<button @click="state.count++">
用 @click 綁定click事件會連動到執行什麼事情,以這個為例是連動到執行 state.count++
<button @click="increment">
@click 綁定click事件也可以連動到執行功能function
像是在 <script setup> 中加入
function increment() {
  count.value++
}
流程就是宣告變數 const count = ref(0),初值為0
宣告一個 function increment()
將 increment 綁定到 <button> 的事件上 @click
同時 count 連動到 <button> 的內容上 {{ count }}
執行上就是 當按下 <button> -> @click="increment" -> increment() -> count.value++ -> {{ count }}
這個事件綁定 v-on:click => @click 也是同樣重要的特點
//-------------------------------
在 5. Form Bindings 中的 App.vue
<script setup>
import { ref } from 'vue'

const text = ref('')

function onInput(e) {
  text.value = e.target.value
}
</script>

<template>
  <input :value="text" @input="onInput" placeholder="Type here">
  <p>{{ text }}</p>
</template>
這裡說明 v-bind 和 v-on 一起作用的方法
其中
用 text 綁定 <input> 的 value屬性
用 onInput 綁定 <input> 的事件 @input
用 text 綁定 <p> 的內容
流程如下
onInput 在輸入文字的時候 觸發 @input 事件,執行onInput(e),其中 e 是傳入的事件物件,
利用 e.target.value 讀取輸入的文字,再設定給 text.value,再連動到 <input> 的 value屬性上,
以及 <p>的 內容 {{ text }} 上
在<script setup>中,宣告 變數 const text = ref('') 初值為 ''
若要改變text內容的話,要用 text.value 的方法
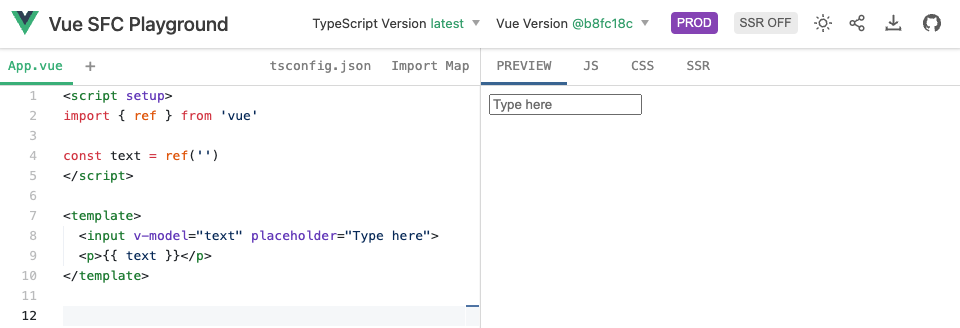
後來發現在 表單Form的範例中,輸入及 立即更新,是很常見的綁定需要
因此提供了另一個用法 v-model
上面的範例,改寫如下
<script setup>
import { ref } from 'vue'

const text = ref('')
</script>

<template>
  <input v-model="text" placeholder="Type here">
  <p>{{ text }}</p>
</template>
v-model簡化了 v-bind 和 v-on同時綁定的問題
原本的用法
<input
  :value="text"
  @input="event => text = event.target.value">
v-model的用法
<input v-model="text">
要注意的是v-model只適用在表單Form的輸入元件
<input>, <textarea> -> value property, input event
<input type="checkbox">, <input type="radio"> -> checked property, change event
<select> -> value prop, change event
可以參考更詳細的說明
Form Input Bindings
https://vuejs.org/guide/essentials/forms.html
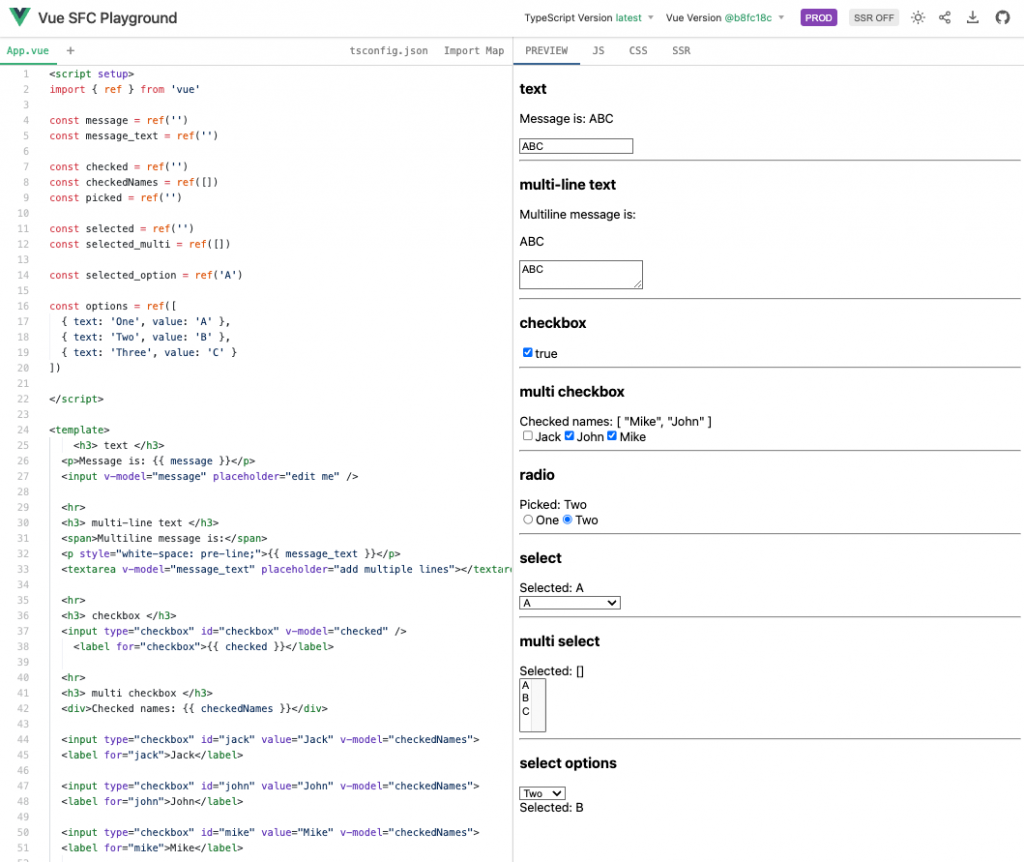
以下列出幾個常見用法
<script setup>
import { ref } from 'vue'

const message = ref('')
const message_text = ref('')

const checked = ref('')
const checkedNames = ref([])
const picked = ref('')

const selected = ref('')
const selected_multi = ref([])

const selected_option = ref('A')

const options = ref([
  { text: 'One', value: 'A' },
  { text: 'Two', value: 'B' },
  { text: 'Three', value: 'C' }
])

</script>

<template>
    <h3> text </h3>
	<p>Message is: {{ message }}</p>
	<input v-model="message" placeholder="edit me" />

	<hr>
	<h3> multi-line text </h3>
	<span>Multiline message is:</span>
	<p style="white-space: pre-line;">{{ message_text }}</p>
	<textarea v-model="message_text" placeholder="add multiple lines"></textarea>

	<hr>
	<h3> checkbox </h3>
	<input type="checkbox" id="checkbox" v-model="checked" />
    <label for="checkbox">{{ checked }}</label>

	<hr>
	<h3> multi checkbox </h3>
	<div>Checked names: {{ checkedNames }}</div>

	<input type="checkbox" id="jack" value="Jack" v-model="checkedNames">
	<label for="jack">Jack</label>

	<input type="checkbox" id="john" value="John" v-model="checkedNames">
	<label for="john">John</label>

	<input type="checkbox" id="mike" value="Mike" v-model="checkedNames">
	<label for="mike">Mike</label>


    <hr>
    <h3> radio </h3>
	<div>Picked: {{ picked }}</div>

	<input type="radio" id="one" value="One" v-model="picked" />
	<label for="one">One</label>

	<input type="radio" id="two" value="Two" v-model="picked" />
	<label for="two">Two</label>

	<hr>
	<h3> select </h3>
	<div>Selected: {{ selected }}</div>

	<select v-model="selected">
	  <option disabled value="">Please select one</option>
	  <option>A</option>
	  <option>B</option>
	  <option>C</option>
	</select>


	<hr>
	<h3> multi select </h3>
	<div>Selected: {{ selected_multi }}</div>

	<select v-model="selected_multi" multiple>
	  <option>A</option>
	  <option>B</option>
	  <option>C</option>
	</select>


	<hr>
	<h3> select options </h3>
	<select v-model="selected_option">
	  <option v-for="option in options" :value="option.value">
	    {{ option.text }}
	  </option>
	</select>

	<div>Selected: {{ selected_option }}</div>


</template>

最後的這個是將options的數值代入的方法
<script setup>
const selected_option = ref('A')

const options = ref([
  { text: 'One', value: 'A' },
  { text: 'Two', value: 'B' },
  { text: 'Three', value: 'C' }
])
</script>
<template>
<select v-model="selected_option">
  <option v-for="option in options" :value="option.value">
    {{ option.text }}
  </option>
</select>

<div>Selected: {{ selected_option }}</div>
</template>
利用 v-for 來產生for loop的效果v-for="option in options" 對比於 JS的 for(let option in options)
option.value 綁定 <option>的 value 值 :value
option.text 綁定 <option>的 內容 值 {{ option.text }}
selected_option 綁定 <select> 的 v-model
selected_option 綁定 <div> 的 內容 {{ selected_option }}
小結:經過這些綁定的操作,相當於簡化了原本要寫一堆JS的程式,
尤其是在 動態監聽變數的狀態,事件的觸發,以及內容的連動更新
這些大概就是Vue最關鍵的特色之一
之後,因應網頁不同的需求,看看Vue會提出什麼解決方案。


 iThome鐵人賽